How to Paint Miniatures: The Ultimate Guide You Need
Here’s my guide to miniature painting for beginners to help you get started on your first model. You’ll find guides, tips, and tutorials.
Here’s my guide to miniature painting for beginners to help you get started on your first model. You’ll find guides, tips, and tutorials.
Howdy, everyone! It’s been a while. This is an off-the-cuff post where I think out loud (or type) and maybe solicit some feedback. 2021 I posted about my lack of anything in 2020 so this is a continuation of that.… Read More »Creative Twilight’s Future and My Thoughts (Feedback Welcomed!)

Do you know a miniature hobbyist who you’d like to buy something for during the holidays or for a special occasion? If so, then you’ve come to the right spot! I’m here to help you get the kind of gifts… Read More »My Top Gift Ideas for Miniature Painters & Hobbyists + Gifts to Avoid
I’ll be honest, I have not done any painting since some time in August, 2020. While that’s only 5 months ago, it feels like so much longer than that. Like a lot of other hobbyists (I imagine anyway), this whole… Read More »The Year That Was 2020 and Where I’ve Been
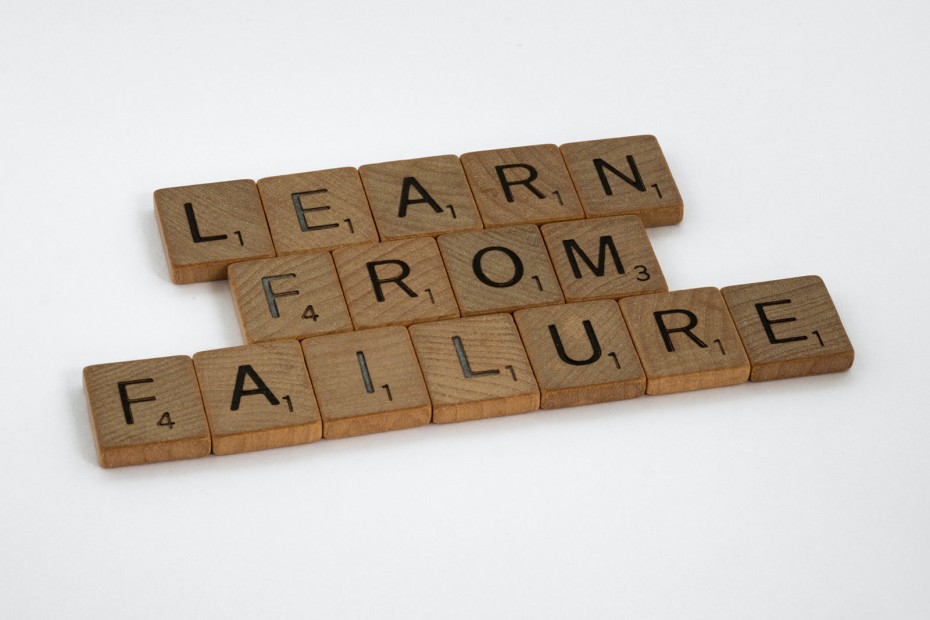
Miniature painting can be a very fun hobby but also an aggravating one when you’re new. There’s a lot of common pitfalls new painters run into that can ruin the whole experience for them, and they give up before they’ve… Read More »Top 5 Reasons Why Most People Fail at Miniature Painting
I’ll be honest. If painting really isn’t your thing, and/or you view it as a means to an end, then this wouldn’t be applicable to you. However, if you enjoy painting and are always striving to get better at it,… Read More »Why You’ll Never Be as Good a Painter as You Want to Be
An area I’ve always struggled with in getting Creative Twilight out to a wider audience is video production. Blogging is a niche these days and video content has taken over. Video is something I’ve always wanted to put more effort… Read More »Streaming & Video on a Budget Using a Phone (Miniature Hobby)

Do you want to paint faster? Do you need to get an army finished on a short deadline? Maybe you just don’t care for painting and want to get it done as quickly as possible. Well, I’m going to share… Read More »11 Tips That Will Help You Paint Your Miniatures Faster
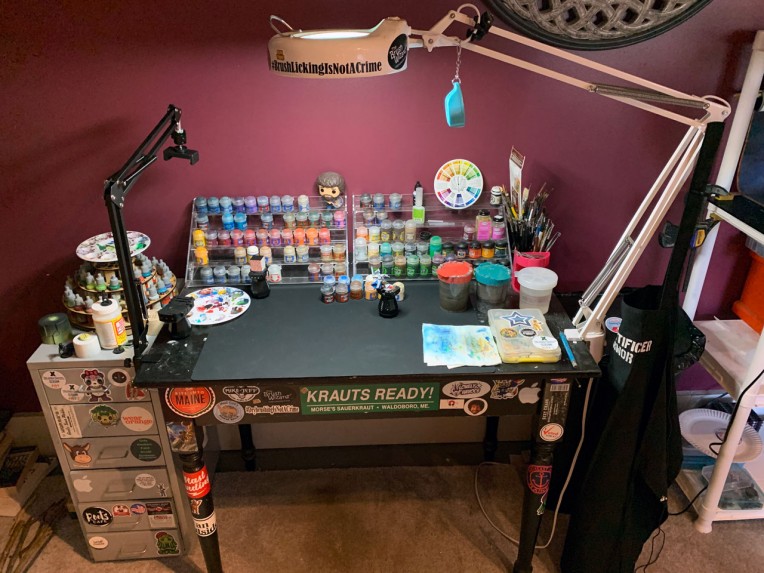
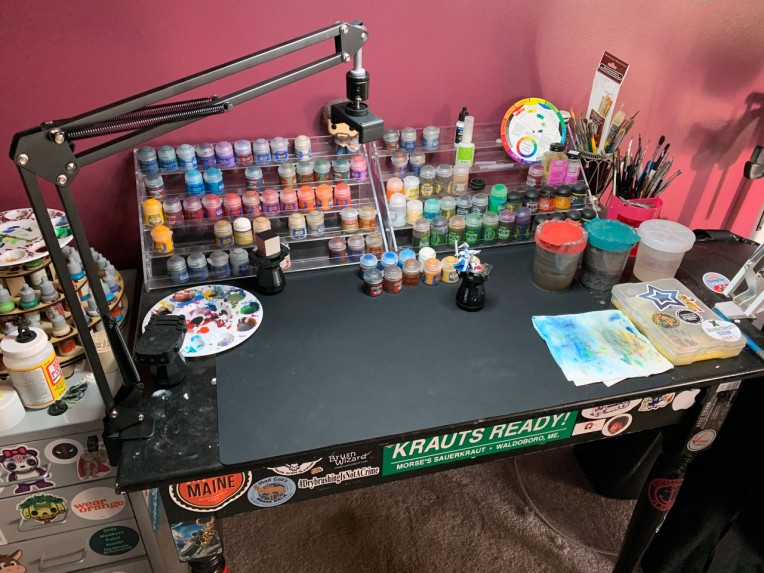
There’s a lot of different things you can do to improve painting and hobby motivation. Today I wanted to talk about what I feel is the #1 thing you can do, and that’s to setup a dedicated hobby space. Having… Read More »Biggest Thing You Can Do to Improve Painting & Hobby Motivation
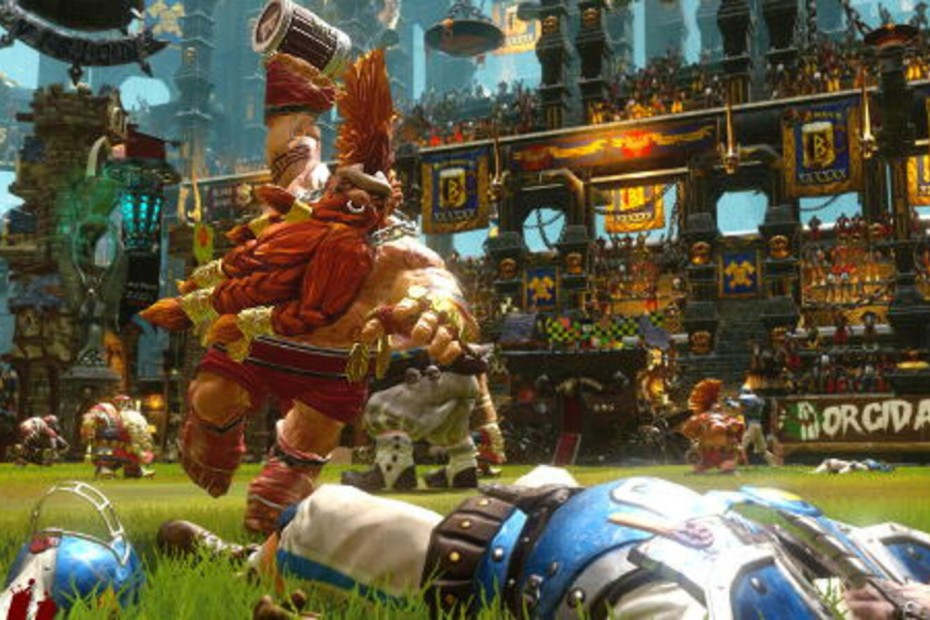
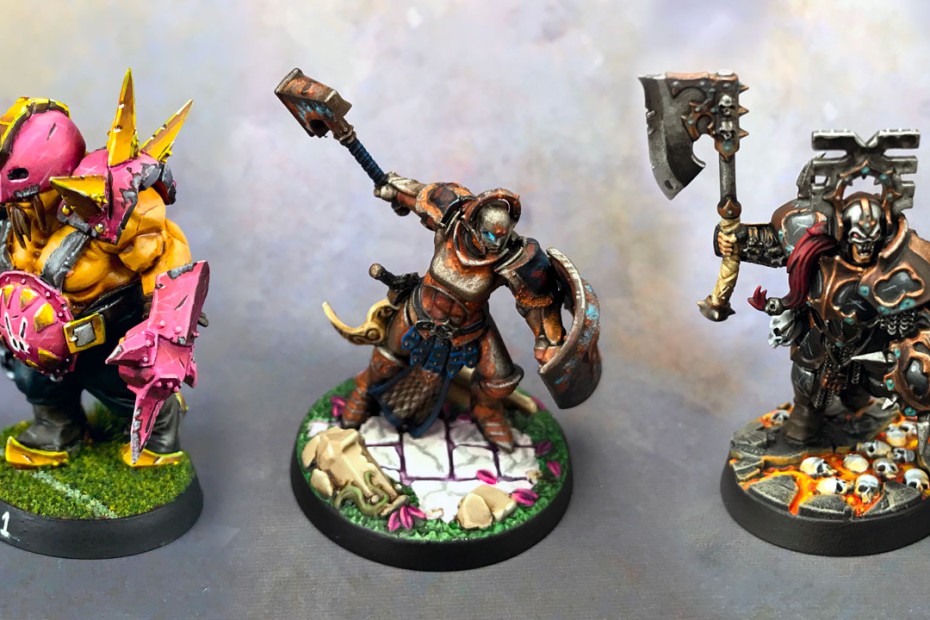
This Blood Bowl topic is going to be a lengthy one. It’s also my perspective. This is my opinion and not everyone is going to agree on the best way to handle team management. Ultimately it’s a subjective area but… Read More »15 Blood Bowl Team Management Tips to Maximize Your Team Value

Miniature painting is hard. Really hard. To finish any painting project, you need a lot of patience, skill, and motivation. Sure, painting miniatures is fun. But, do you wonder about the other benefits of painting miniatures? Does this hobby feed… Read More »Miniature Painting Is More Than Just Fun. It’s Life Changing

This is a topic I’ve thought about for a long time. I last played Warhammer 40K around March of 2018, not all that long after the release of 8th edition. During that time I’ve had a lot of time to… Read More »Why I’m Done Playing Warhammer 40k: This Is the End
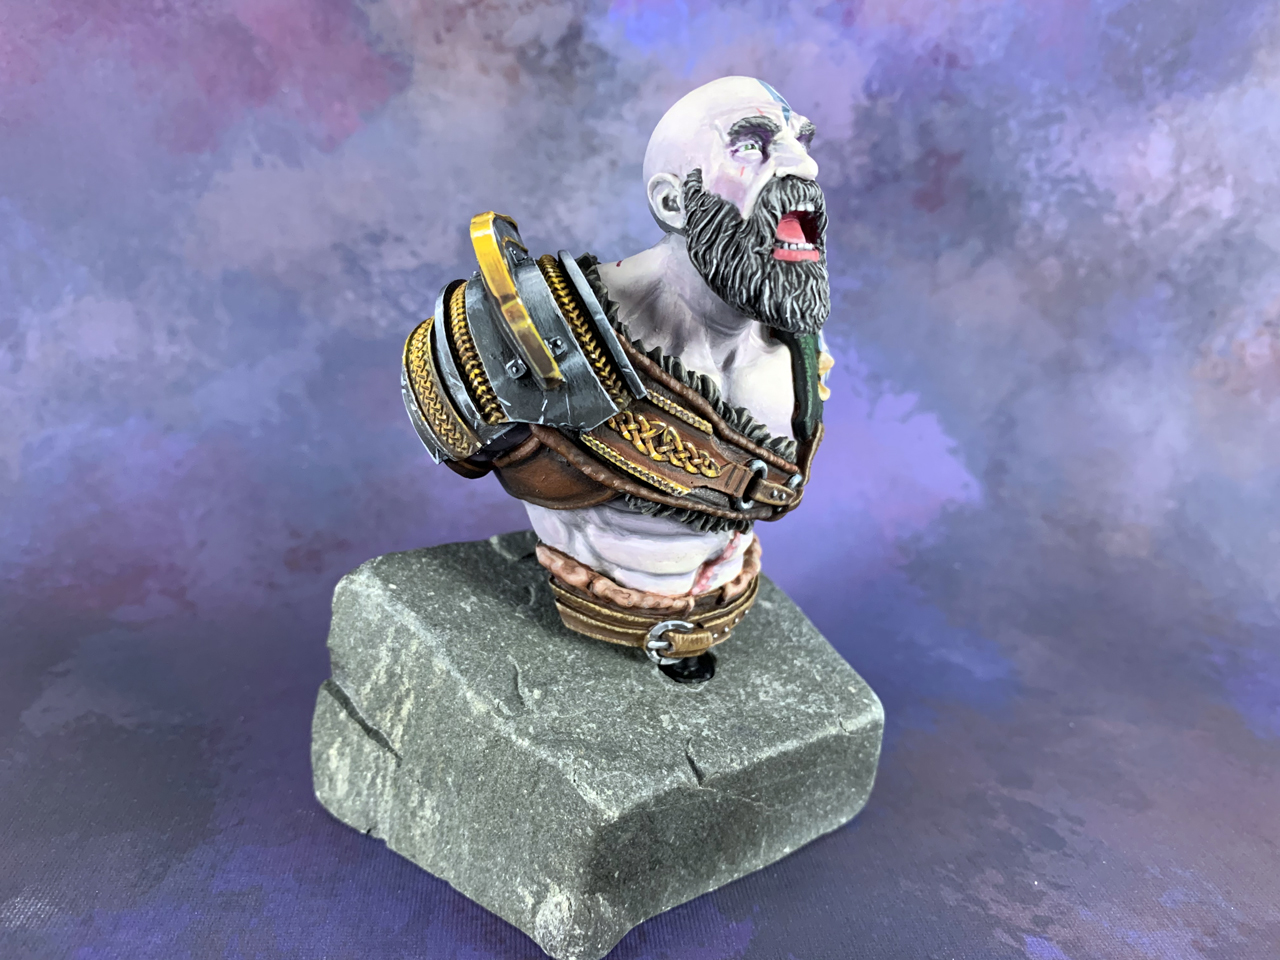
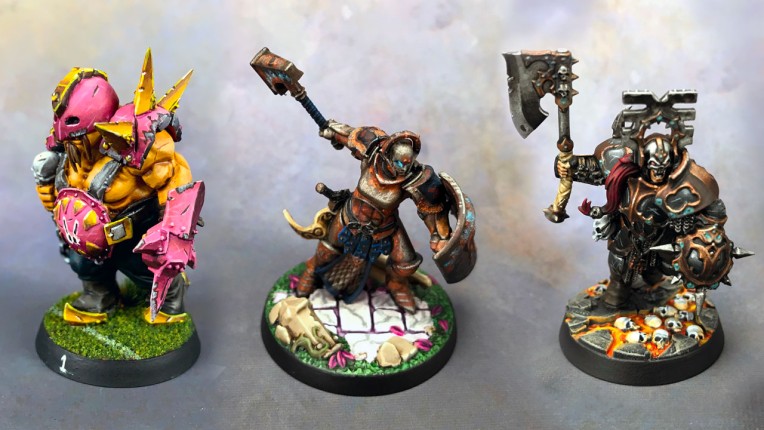
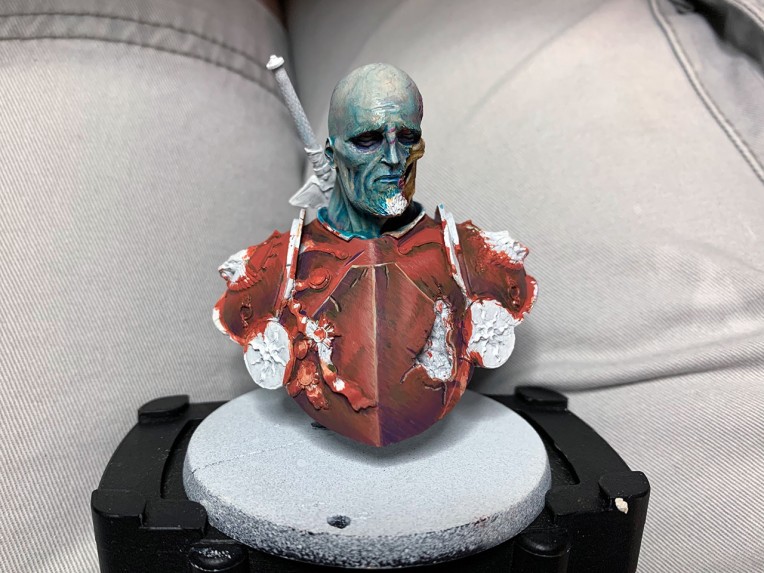
I picked up this bust from Scalebro, who sells the Blood Carrot Knights range of models. I had decided I wanted to try something different, to experiment, and learn. This bust really captured my attention and I thought it would… Read More »Barbarian Painting Showcase (Blood Carrot Knights)