The post relates to the ongoing narrative campaign that is being run by my gaming group. Following on from the close fought draw in the previous mission we now come to the final mission of Phase 2 of our campaign.
Phase 2 mission 3: Fog of War
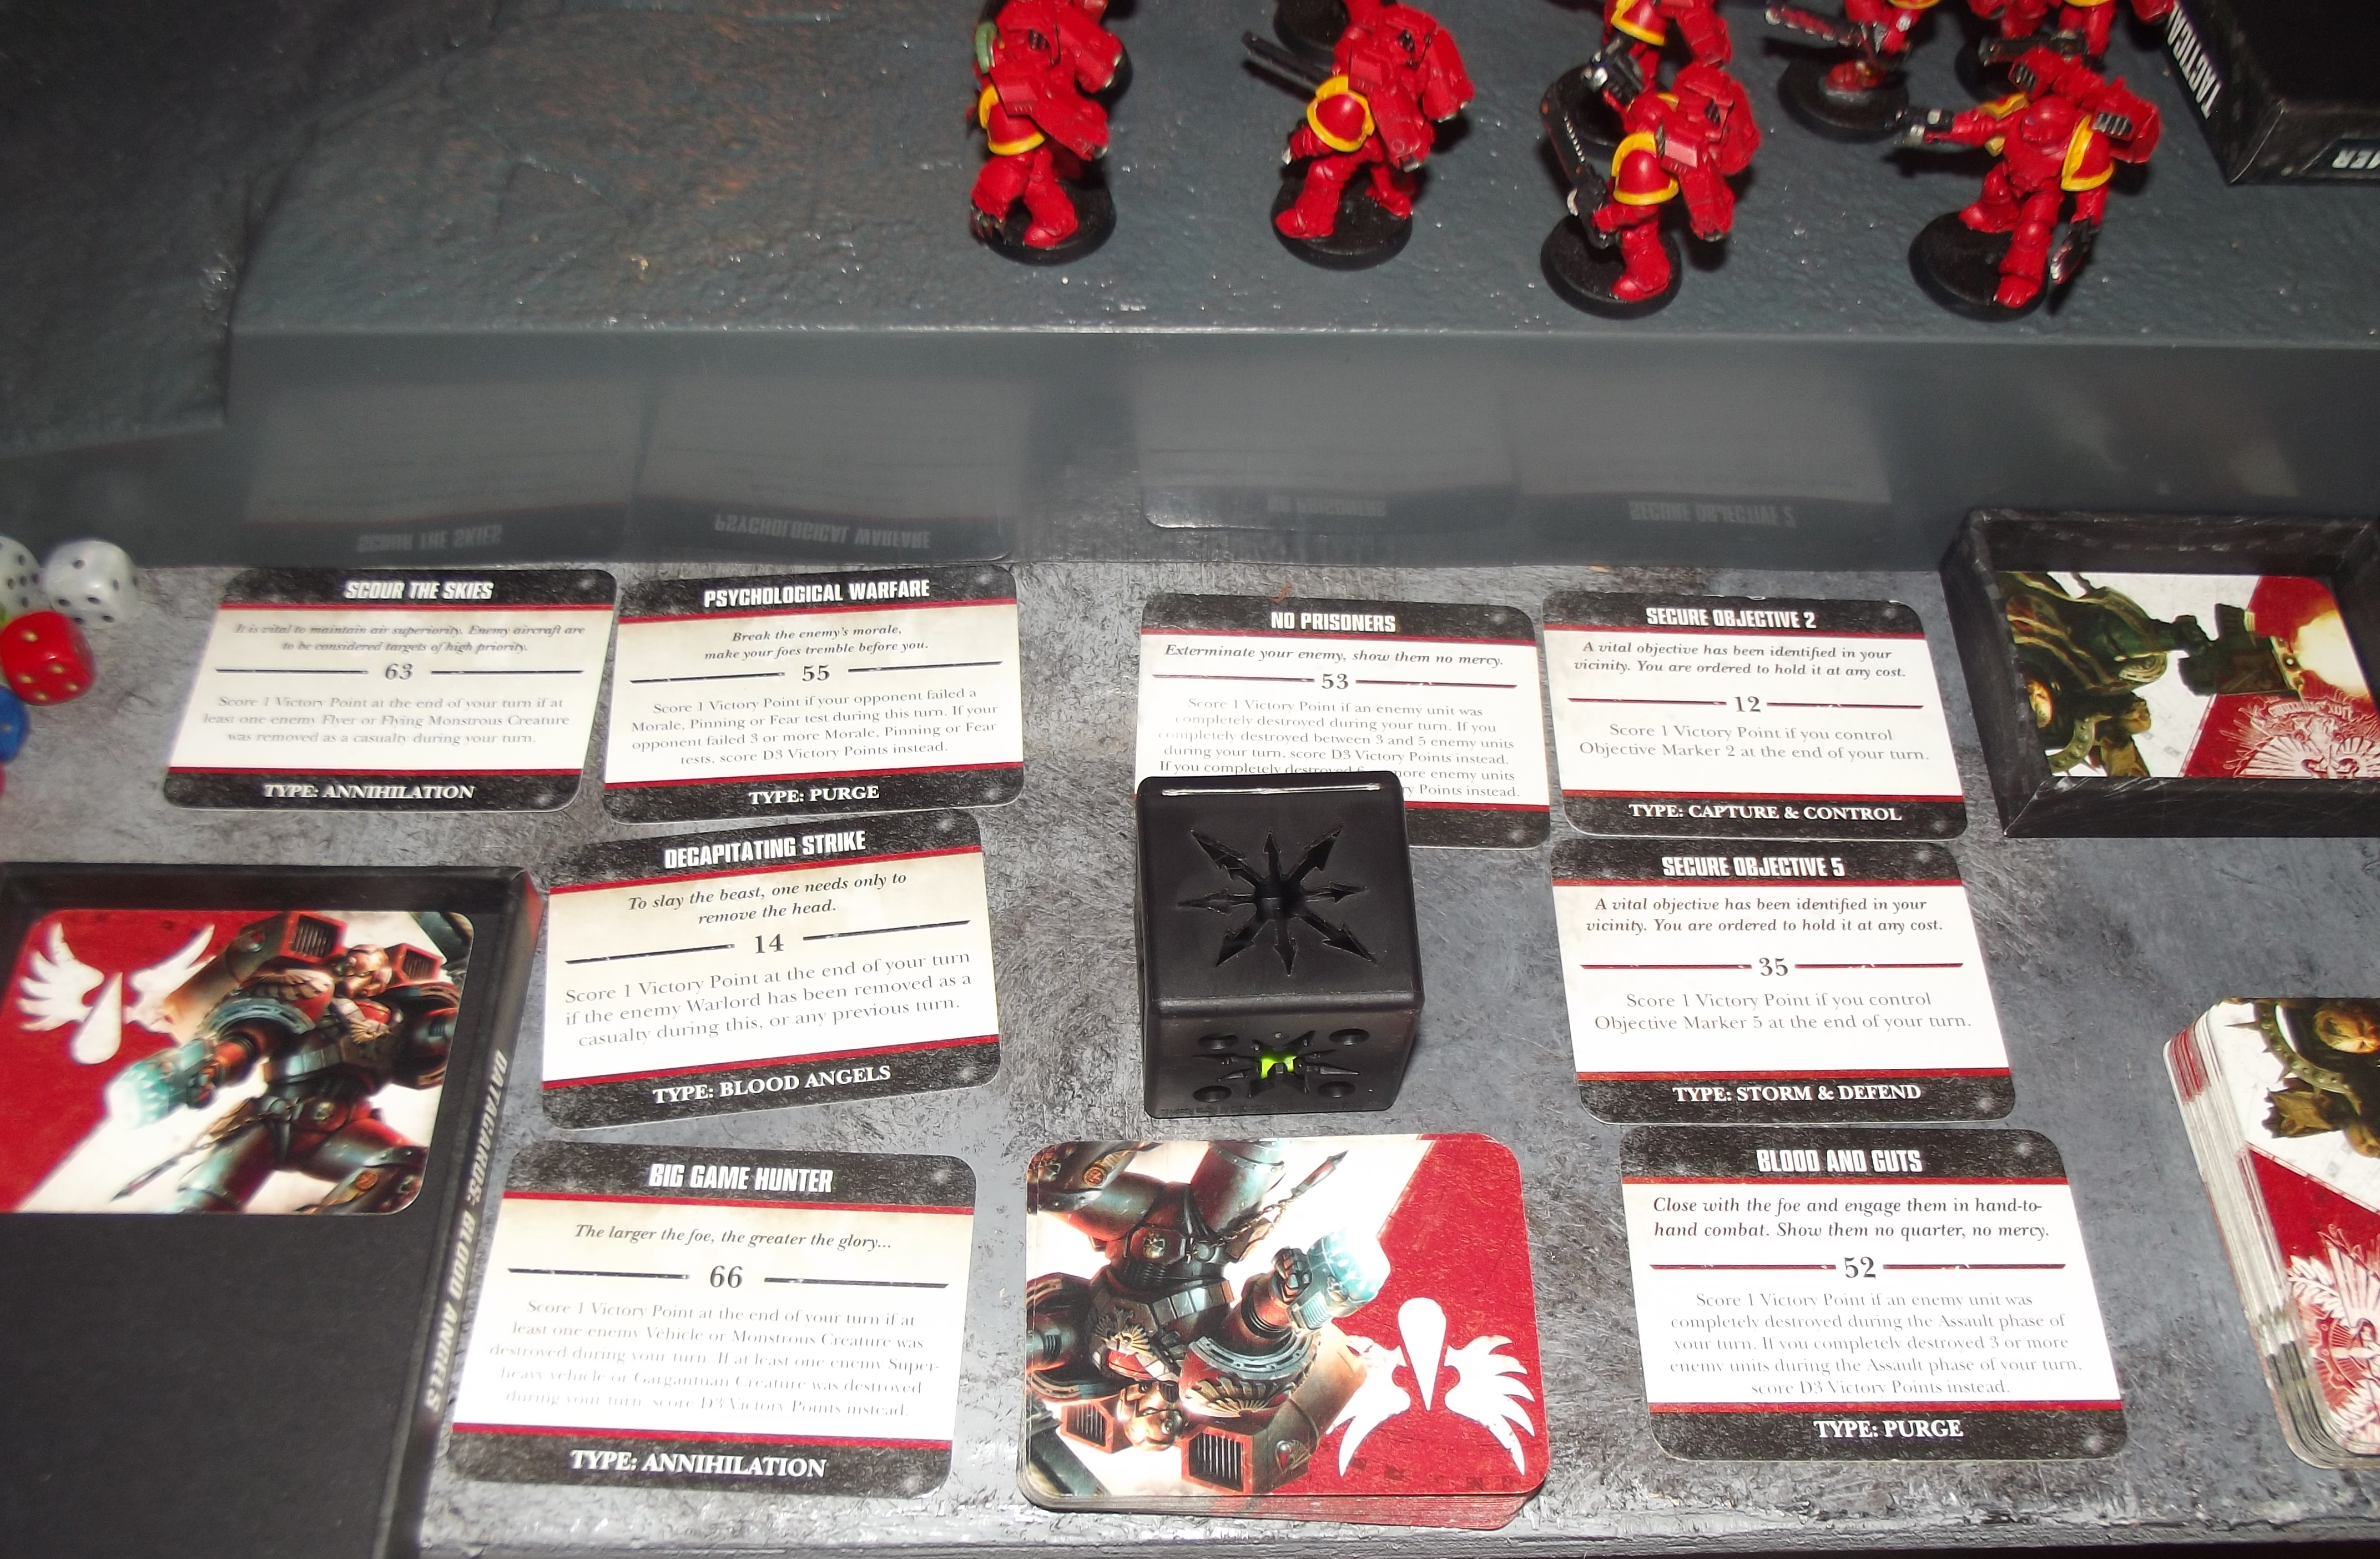
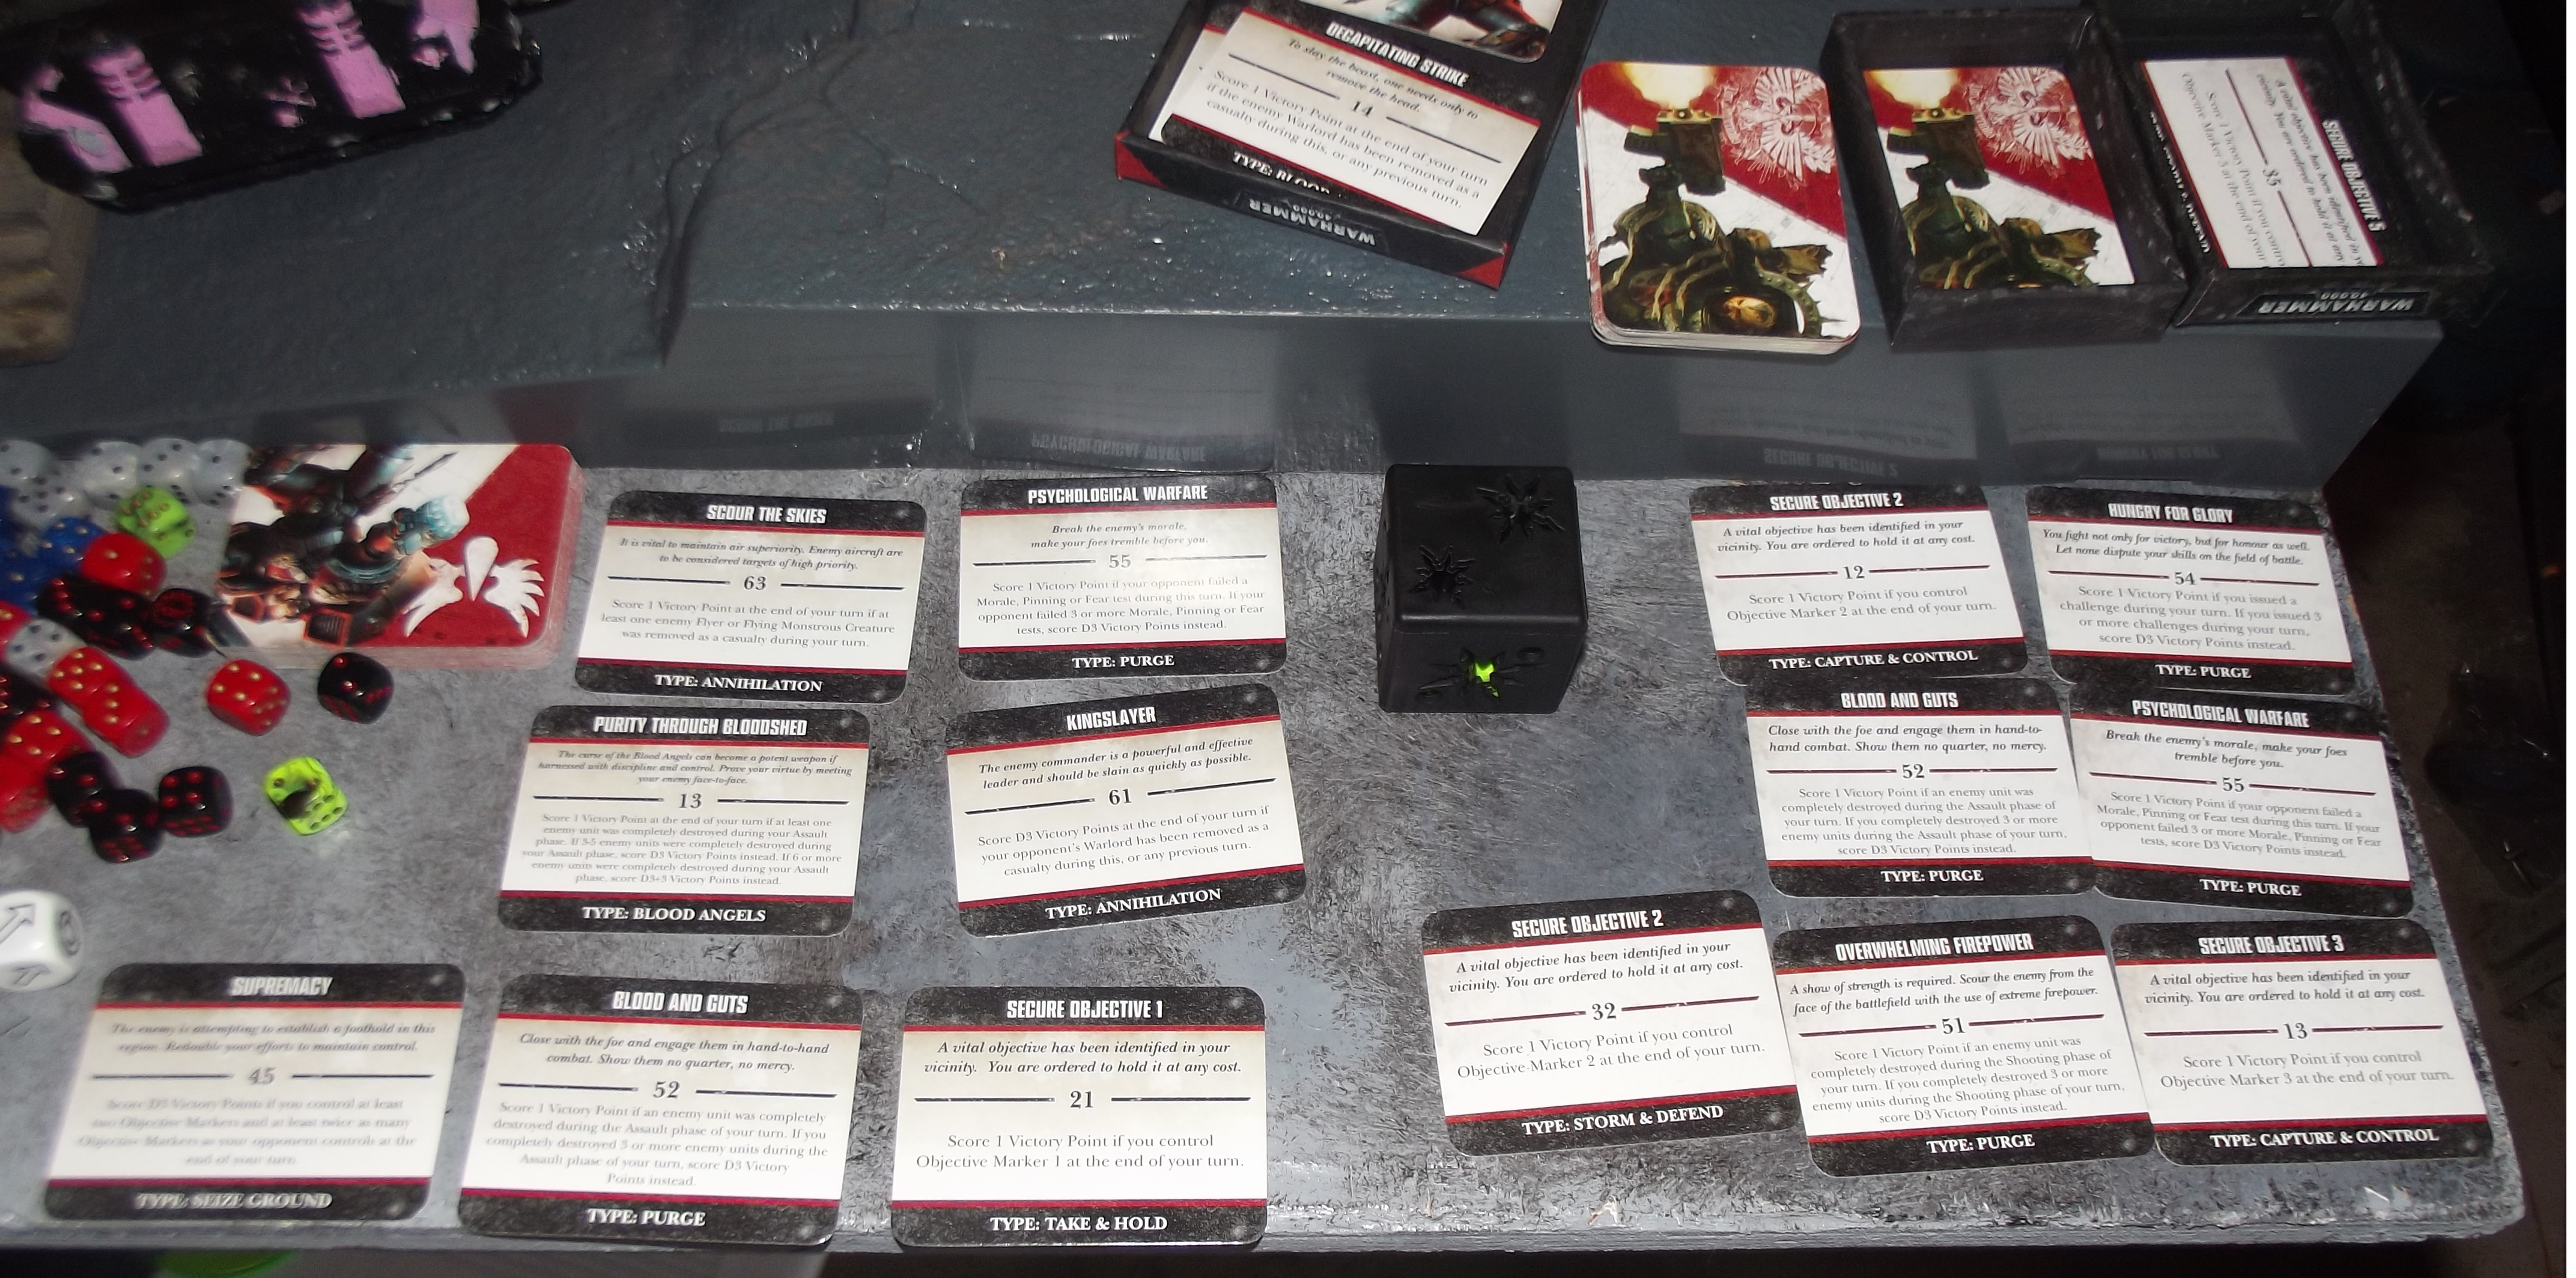
Maelstrom mission. Each side gets D6 maelstrom cards per turn. (one person rolls a D6 and this is the number of cards each side receives.)
These must be kept and cannot be discarded normally but must be discarded if the other team scores the same card number as one you hold. (the maelstrom cards are numbered 11-66) {there is no limit to the number of cards that can be held.} Impossible objectives are the only ones that may be discarded. (EG demolitions, Witch hunter for chaos [As the imperial forces don’t have any psychers] the one for identifying all of the mysterious objectives [as we are not using those rules for this mission], and harness the warp for the imperial forces due to lacking psychers)
Side to side deployment (long table edges.)
6 Objectives [One is deployed in each deployment zone, these should be objectives 1 and 6 respectively.]
Objectives 2-5 are deployed in no man’s land between the two forces (2 and 4 should be deployed closer to 1, with objectives 3 and 5 closer to 6 again using the normal 12″ away from another objective and 6″ away from a table edge restrictions.)
In addition, one of the objectives is a key objective roll a D6 at the end of the turn in which an infantry model controls and objective, on a 6+ (Add 1 to the roll for each revealed objective so it becomes 5+ on the second, 4+ on the third, 3+ on the fourth, 2+ on the fifth and automatic on the sixth) this is the key objective and is worth 3VP to the side that holds it at the end of the game.
Secondary objectives.
Dominion, Onslaught attack, Demonstration of Power
Dominion:-
Score 1 vp for each objective you control at the end of your turn.
Onslaught attack:-
Gain 1 victory point for each unit destroyed in the first turn.
Demonstration of Power:-
Each enemy character killed in a challenge by a character provides a bonus victory point.
Tiebreaker:- Last man standing, in the case of a draw count up the surviving units (those below 50% count as half a unit) and compare to the starting number of the armies. The side with the highest surviving % of forces will be victorious.
Forces
Chaos
KE: Tapestry of evil (list unchanged since last battle.)
DA: Emperors children
Delagatus with combat shield, art armour, jump pack and phoenix spear
Command squad, 4 charnable sabres, banner bearer with power fist, all have combat shields and jump packs.
Tactical squad, 10 bolters, sergeant has ccw + art armour, rhino with combi bolter
Tactical squad, 10 bolters, sergeant with power fist and art armour, rhino with combi bolter
Vindicator, power of the machine spirit
Sicaran
Imperial
AN: Blood Angels
Warlord: Blood eagle – Captain with artificer armour, relic blade, angels wing relic jump pack, inferno pistol (His warlord trait gives all BA units move through cover(Ruins) thus aiding greatly in keeping the assault marines alive as they ignore dangerous terrain tests while he is alive.)
Bodyguard units (Mix of Legion and 40k codex options)
Assault squad 1, 15 men inc 2 meltaguns, 1 inferno pistol, sergeant with artificer armour and power axe, 1 power fist. (Jump packs)
Assault squad 2, 15 men inc 2 power swords, 1 power axe, sergeant with dual lightning claws, melta bomb and artificer armour. (Jump packs)
Sanguinary priest, power sword, bolt pistol, jump pack
Sanguinary priest, power sword, bolt pistol, jump pack
Vindicator with overcharged engines.
Sicaran with lascannon sponsons
Baal predator, sponson assault cannons, printle assault cannon, twin linked assault cannon.
Tactical squad 1, 4 bolters and 1 missile launcher
Rhino, storm bolter
Tactical squad 2, 4 bolters and 1 missile launcher
Razorback, twin linked heavy bolter, storm bolter
Furiso dreadnought, 2 blood fists, meltagun, heavy flamer
Contemptor mortis dreadnought, 2 twin linked lascannons, cyclone missile launcher
Death company dreadnought, 2 blood fists, meltagun, heavy flamer
Death company, 5 models with jump packs, 2 have power axes.
Secondary force (additional troops provided due to the continued absence of our Black Templar player.)
6 Leman russ tanks, 1 punisher with hull heavy bolter, 4 demolishers with hull heavy bolters, 1 demolisher with hull lascannon.
*Rhinos were free for all units that could take them. The BA got a razorback with heavy bolters as only one rhino was available to them.
Story excerpt
Grand pavilion – chaos landing site
Morrs Penna walked into the central chamber of the warmasters fortification and felt the eyes of Vulcan’s Elite cadre upon him.
“Ah Morrs.” Vulcan stated as the holographic table flickered on showing a nearby location. “You are to head to this location. A relic from the dark age of technology rests here and you need to claim it.”
Another line materialised in the region on the holomap. “This is the enemy’s front line. You will have to deal with them as you search for the relic.”
Morrs looked over the terrain and then back to Vulcan. “What is this relic and how can we find it?”
“Sample #650091 Mechanicum designation.” Vulcan replies. “It’s a psychic amplifier that was dumped here when the ark mechanicus carrying it was shot down and then looted.”
“How would you know?”
“Because I was the one who shot it down.”
Morrs nods before turning to leave. “Oh and Morrs. Don’t open the container I have a plan for it and need it intact for the plan to work.”
“Very well Lord Vulcan.” Morrs states as he leaves to gather his forces.
—
Blood Eagle and his Blood Angel task force moved forwards, up ahead a line of Leman russ tanks were idling. As the blood angels neared a commander popped his head up.
“Hail” He shouted
“Hail.” Blood eagle replies. “Report.”
“The enemy are moving in Sir. It’s the same force that Cavros reported on.”
“Any sign of the Brass Scorpion?”
“Negative”
“Emperor be praised for small mercies.” Blood Eagle replies. A ghostly echo thrummed over the vox interrupting him momentarily.
“Vox Malfunction?”
“Negative.” One of his fellow blood angels replies.
“Isolate and trace the source” He states before turning back to the tank commander. “What strategic locations are in this area.”
“The temple of the fall.”
“Temple of the fall?”
“Built to commemorate a local event called the falling sky.”
“There is no strategic value in this site. So they must want something.” Blood Eagle states. “All forces once on site we will attempt to identify the key location the enemy is seeking. This will need to be held at all costs.”
The Game
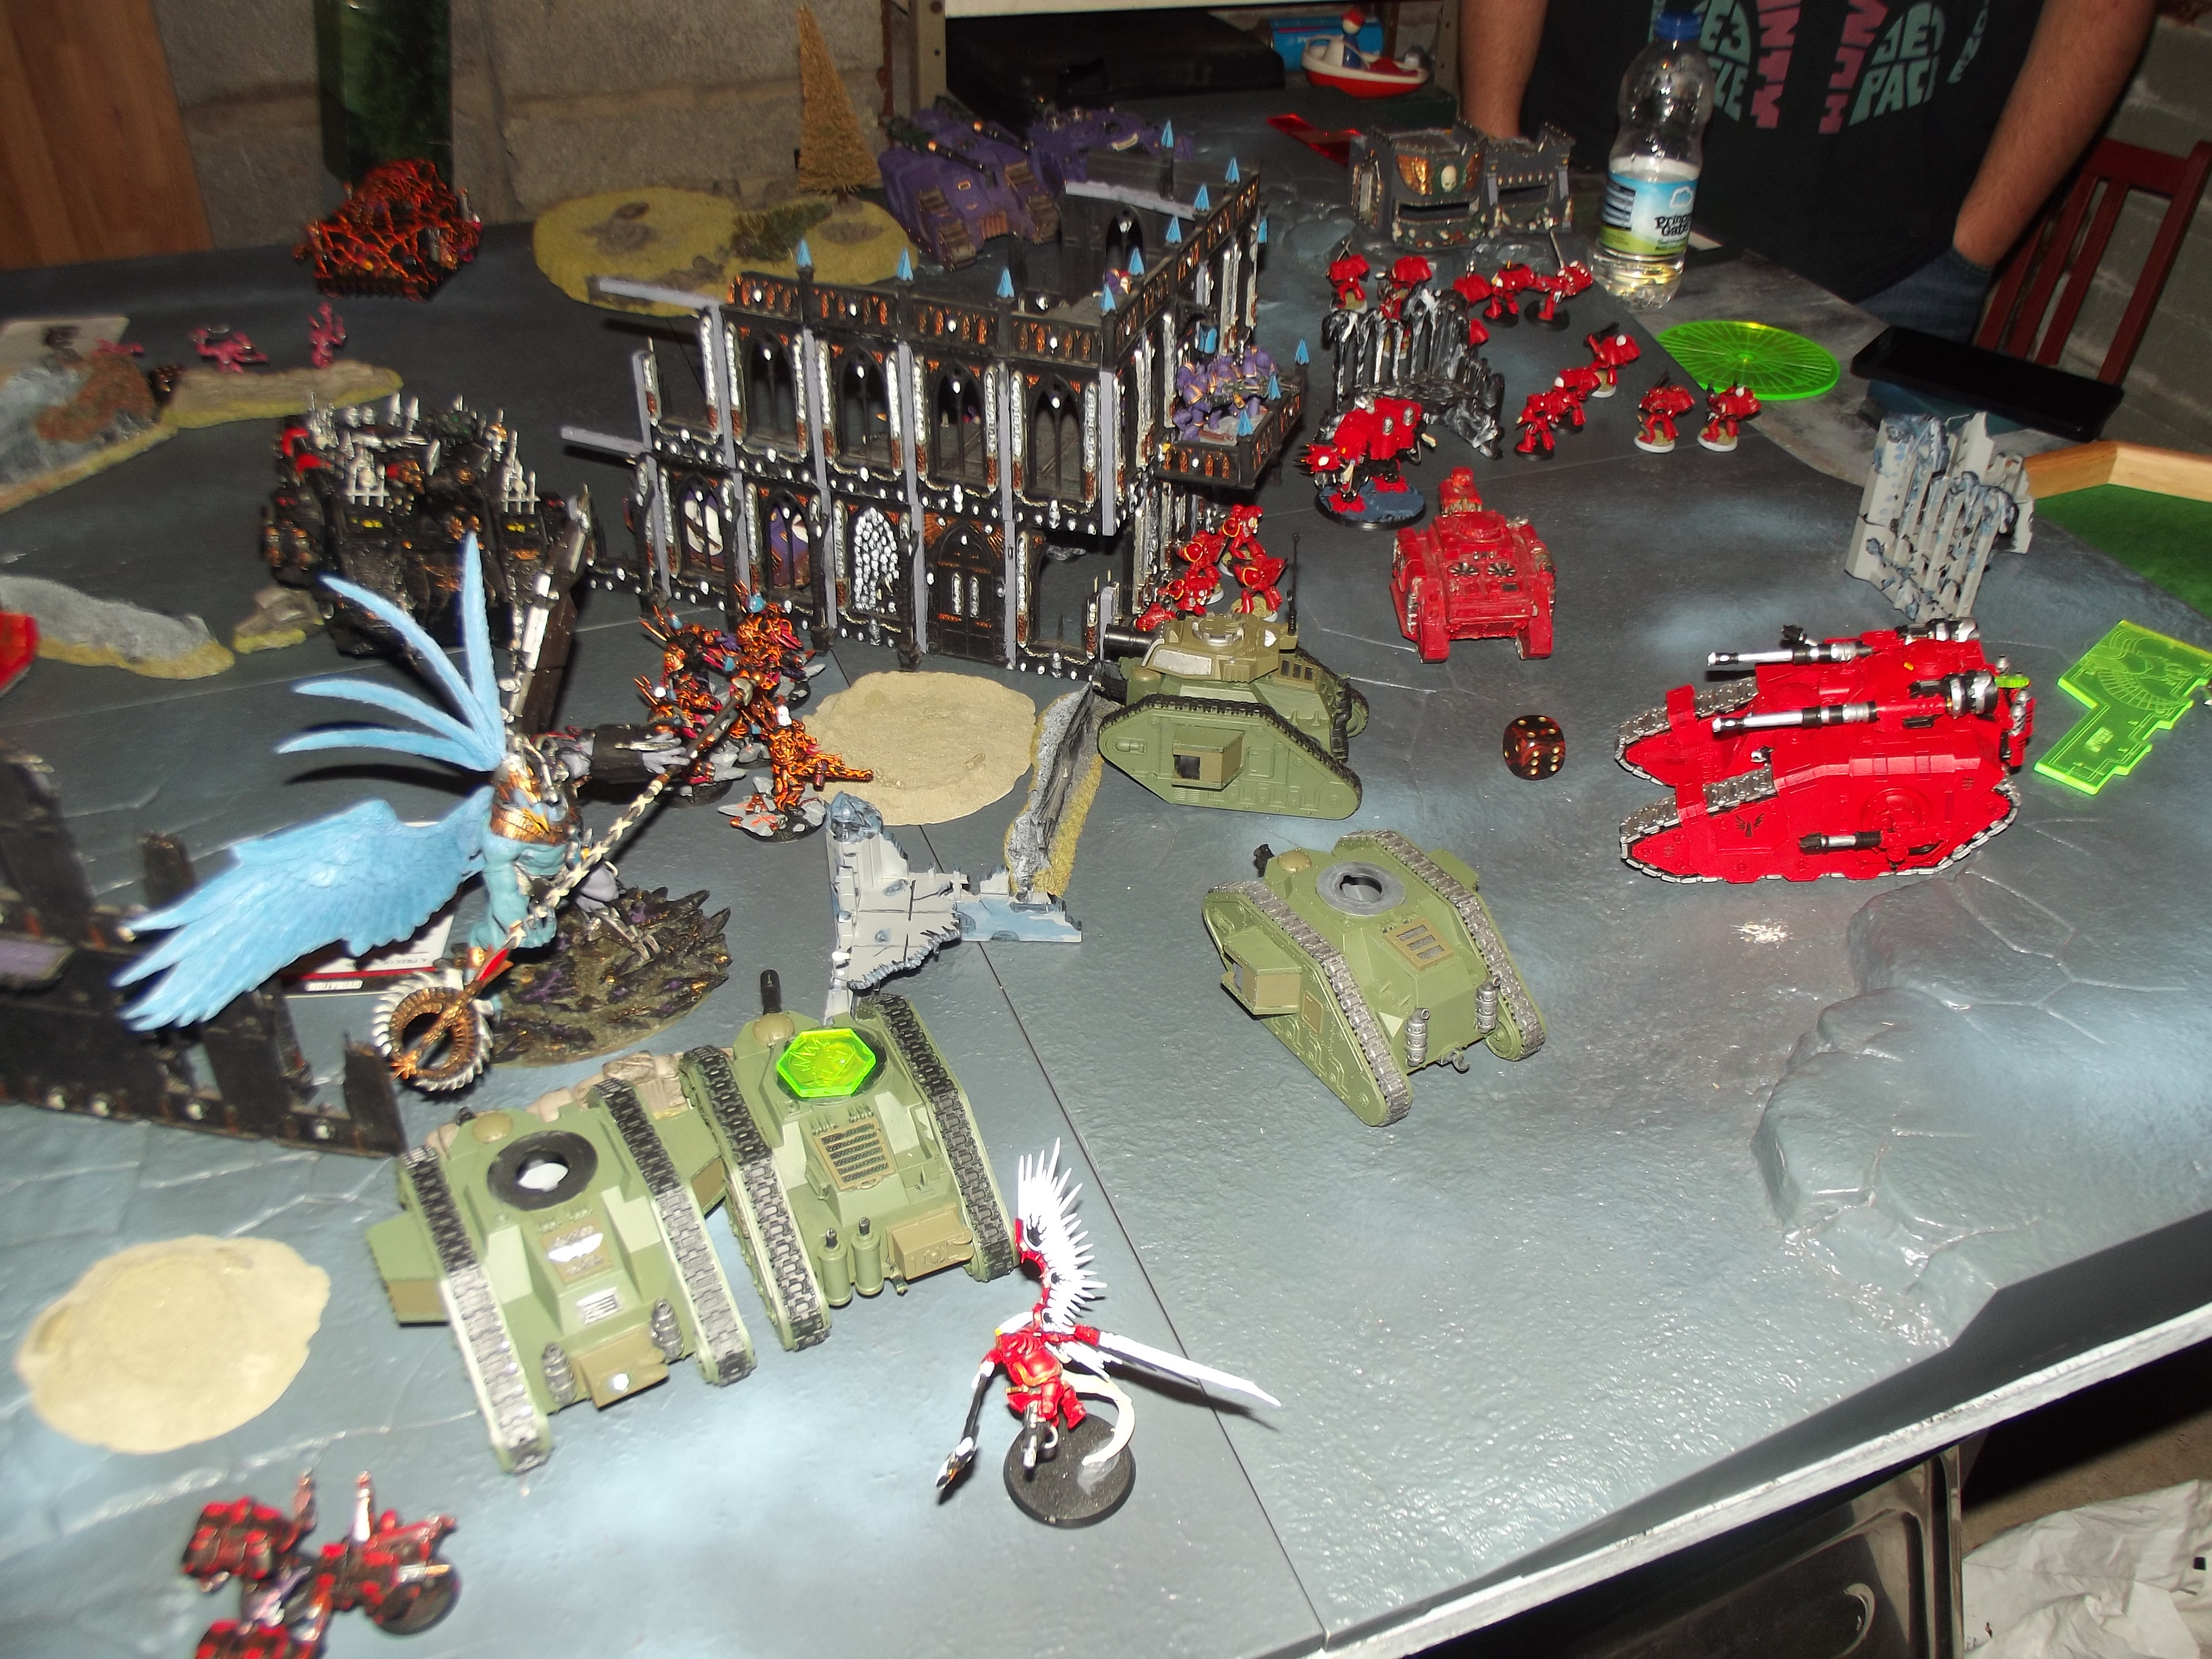
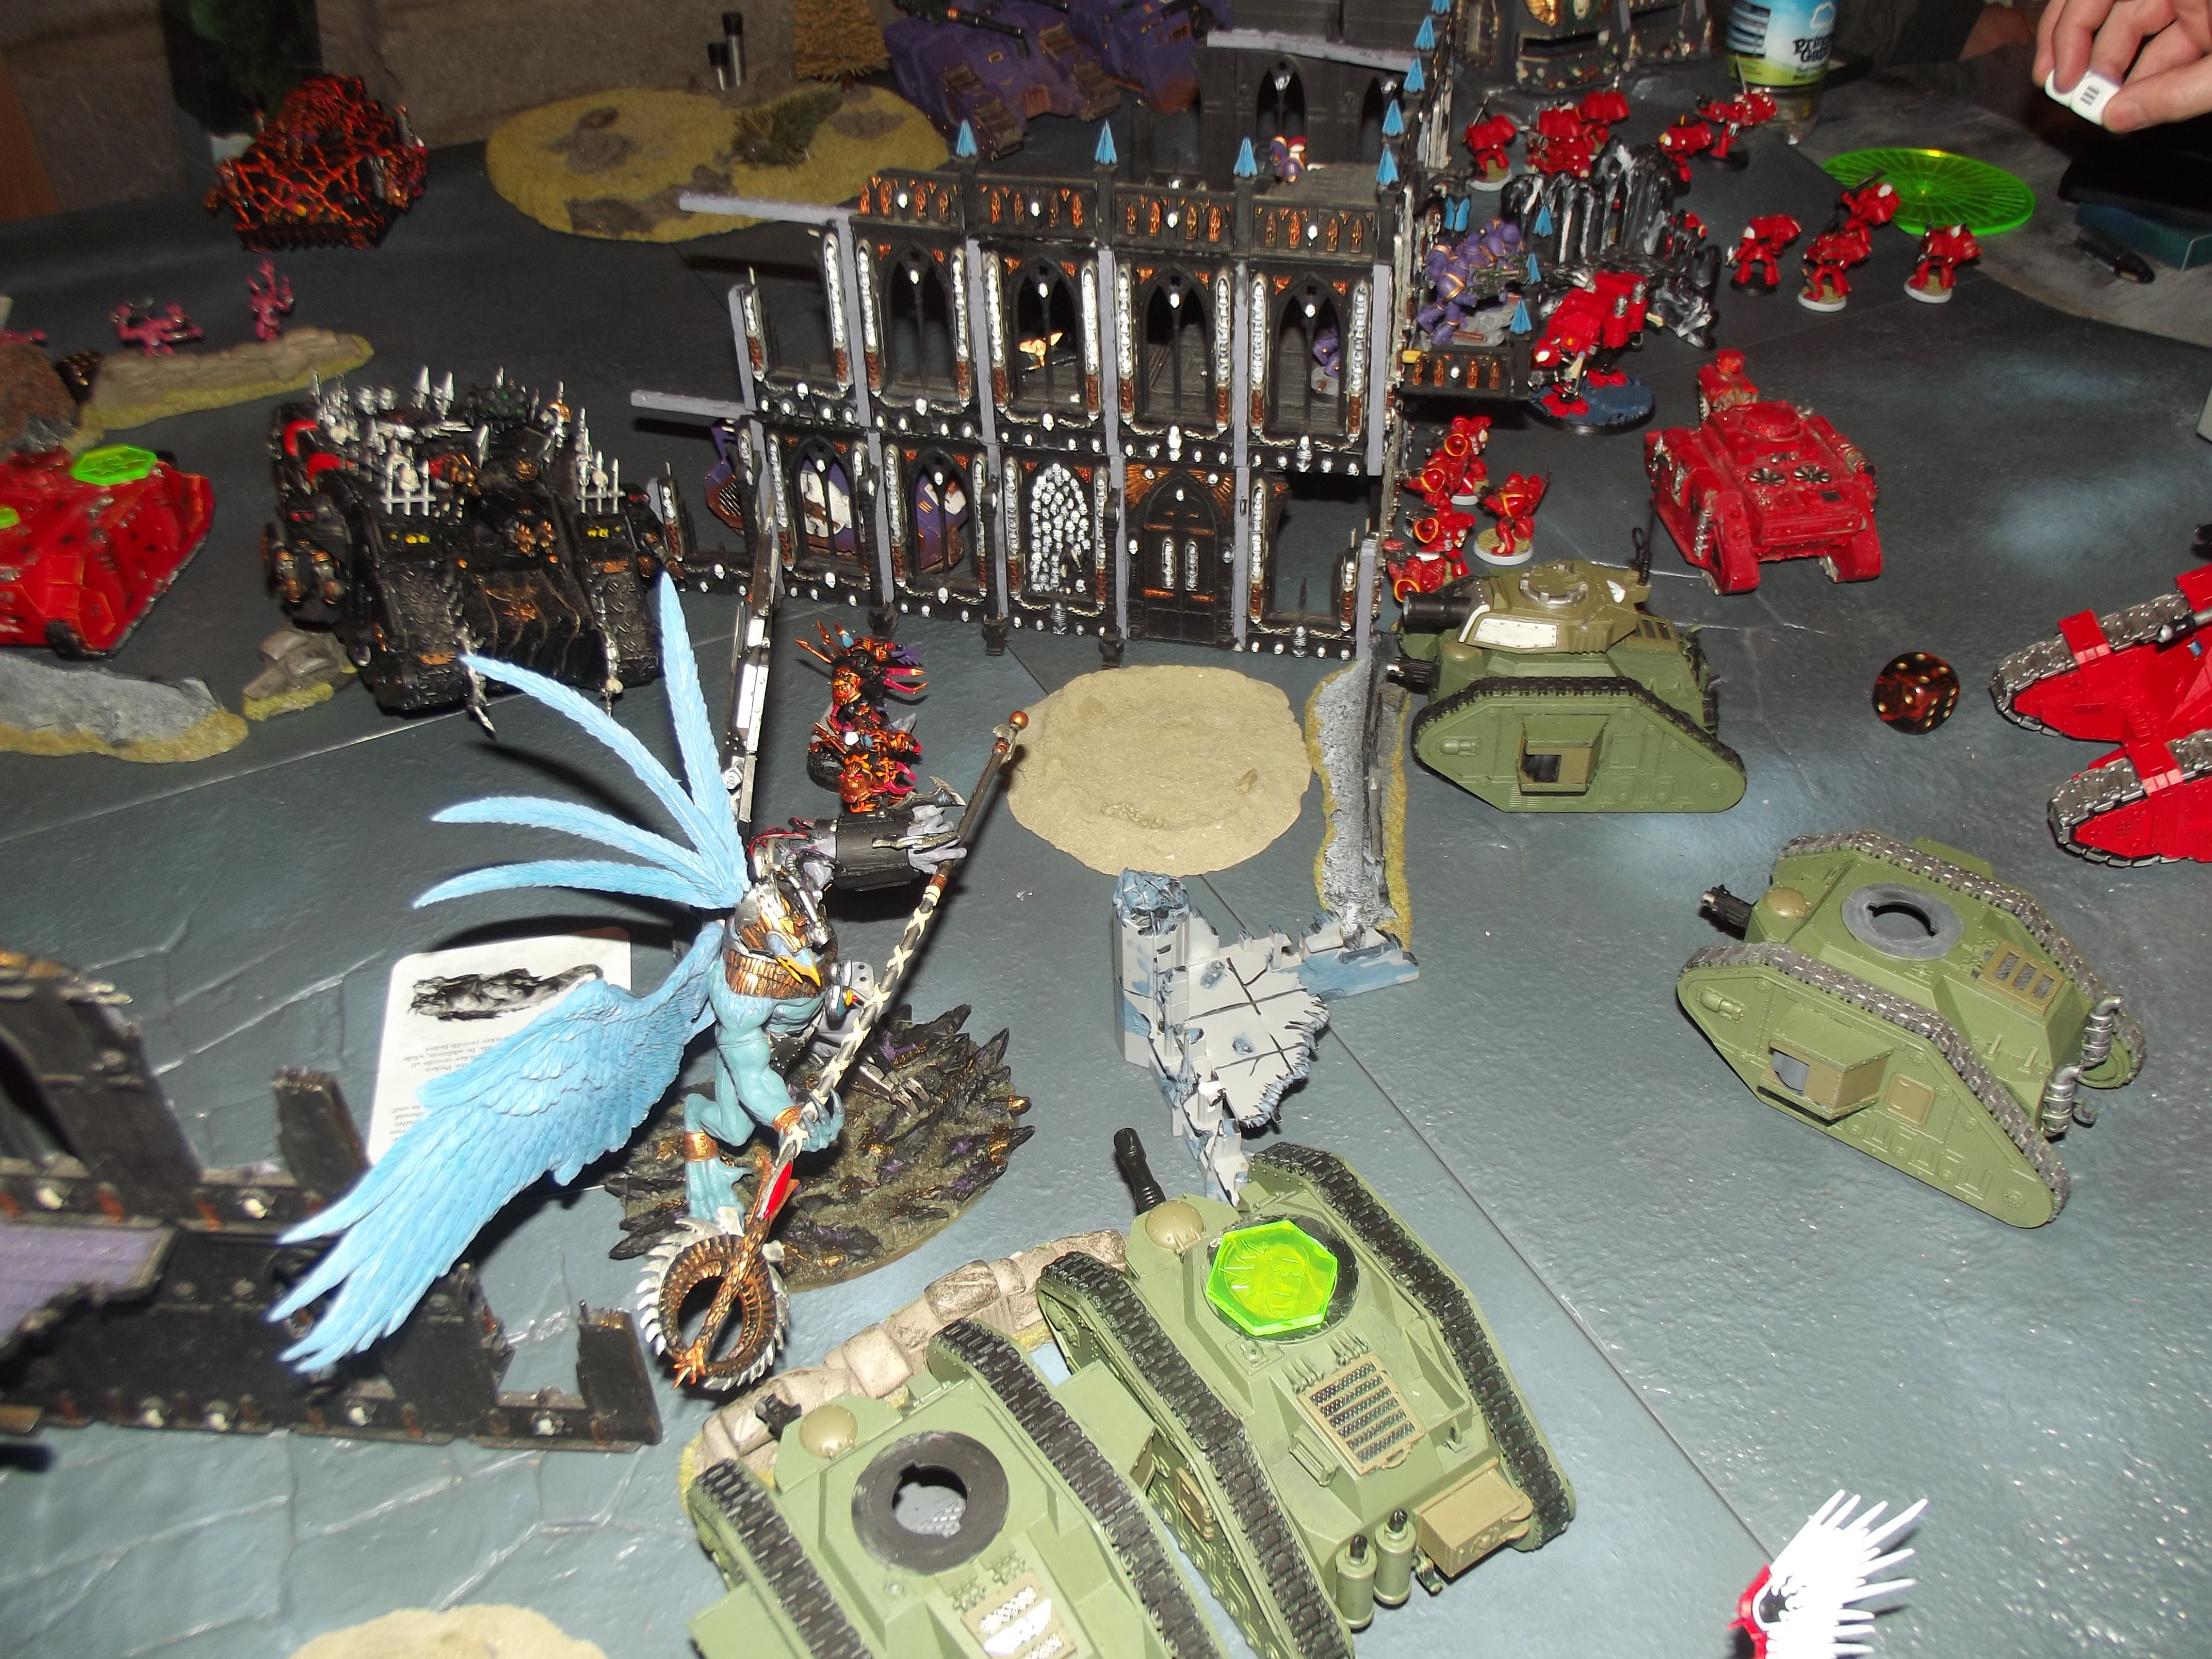
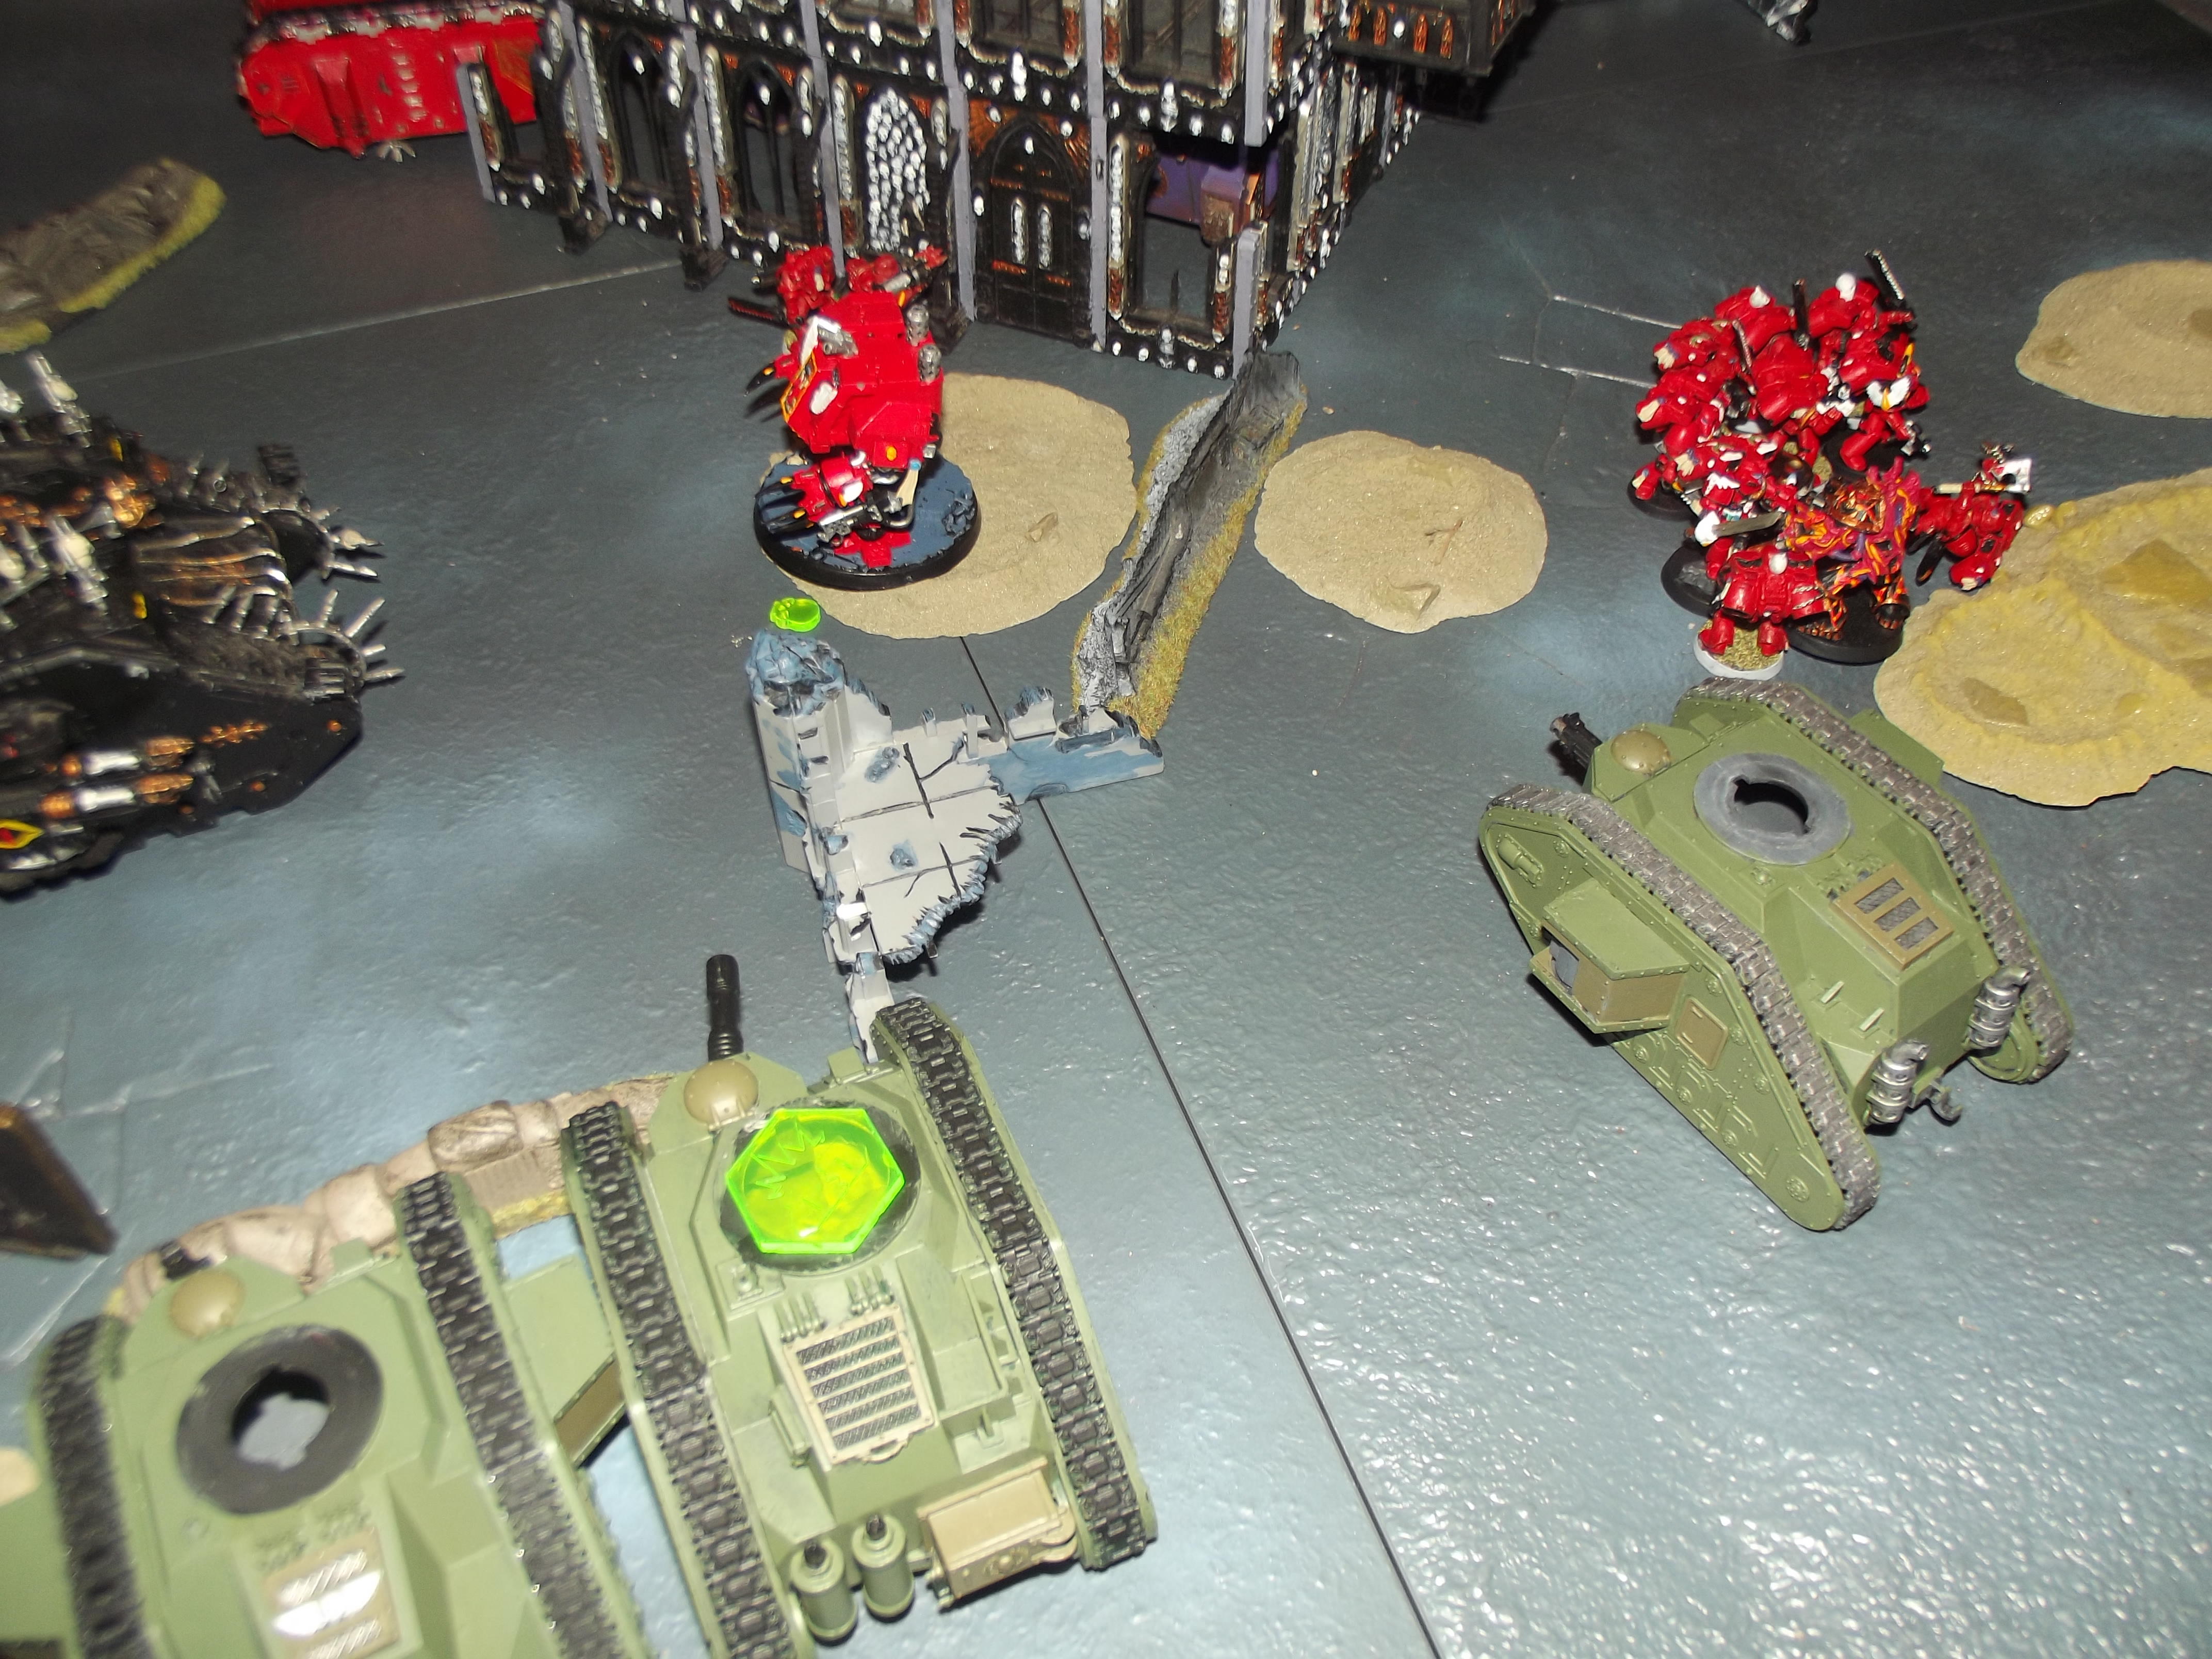
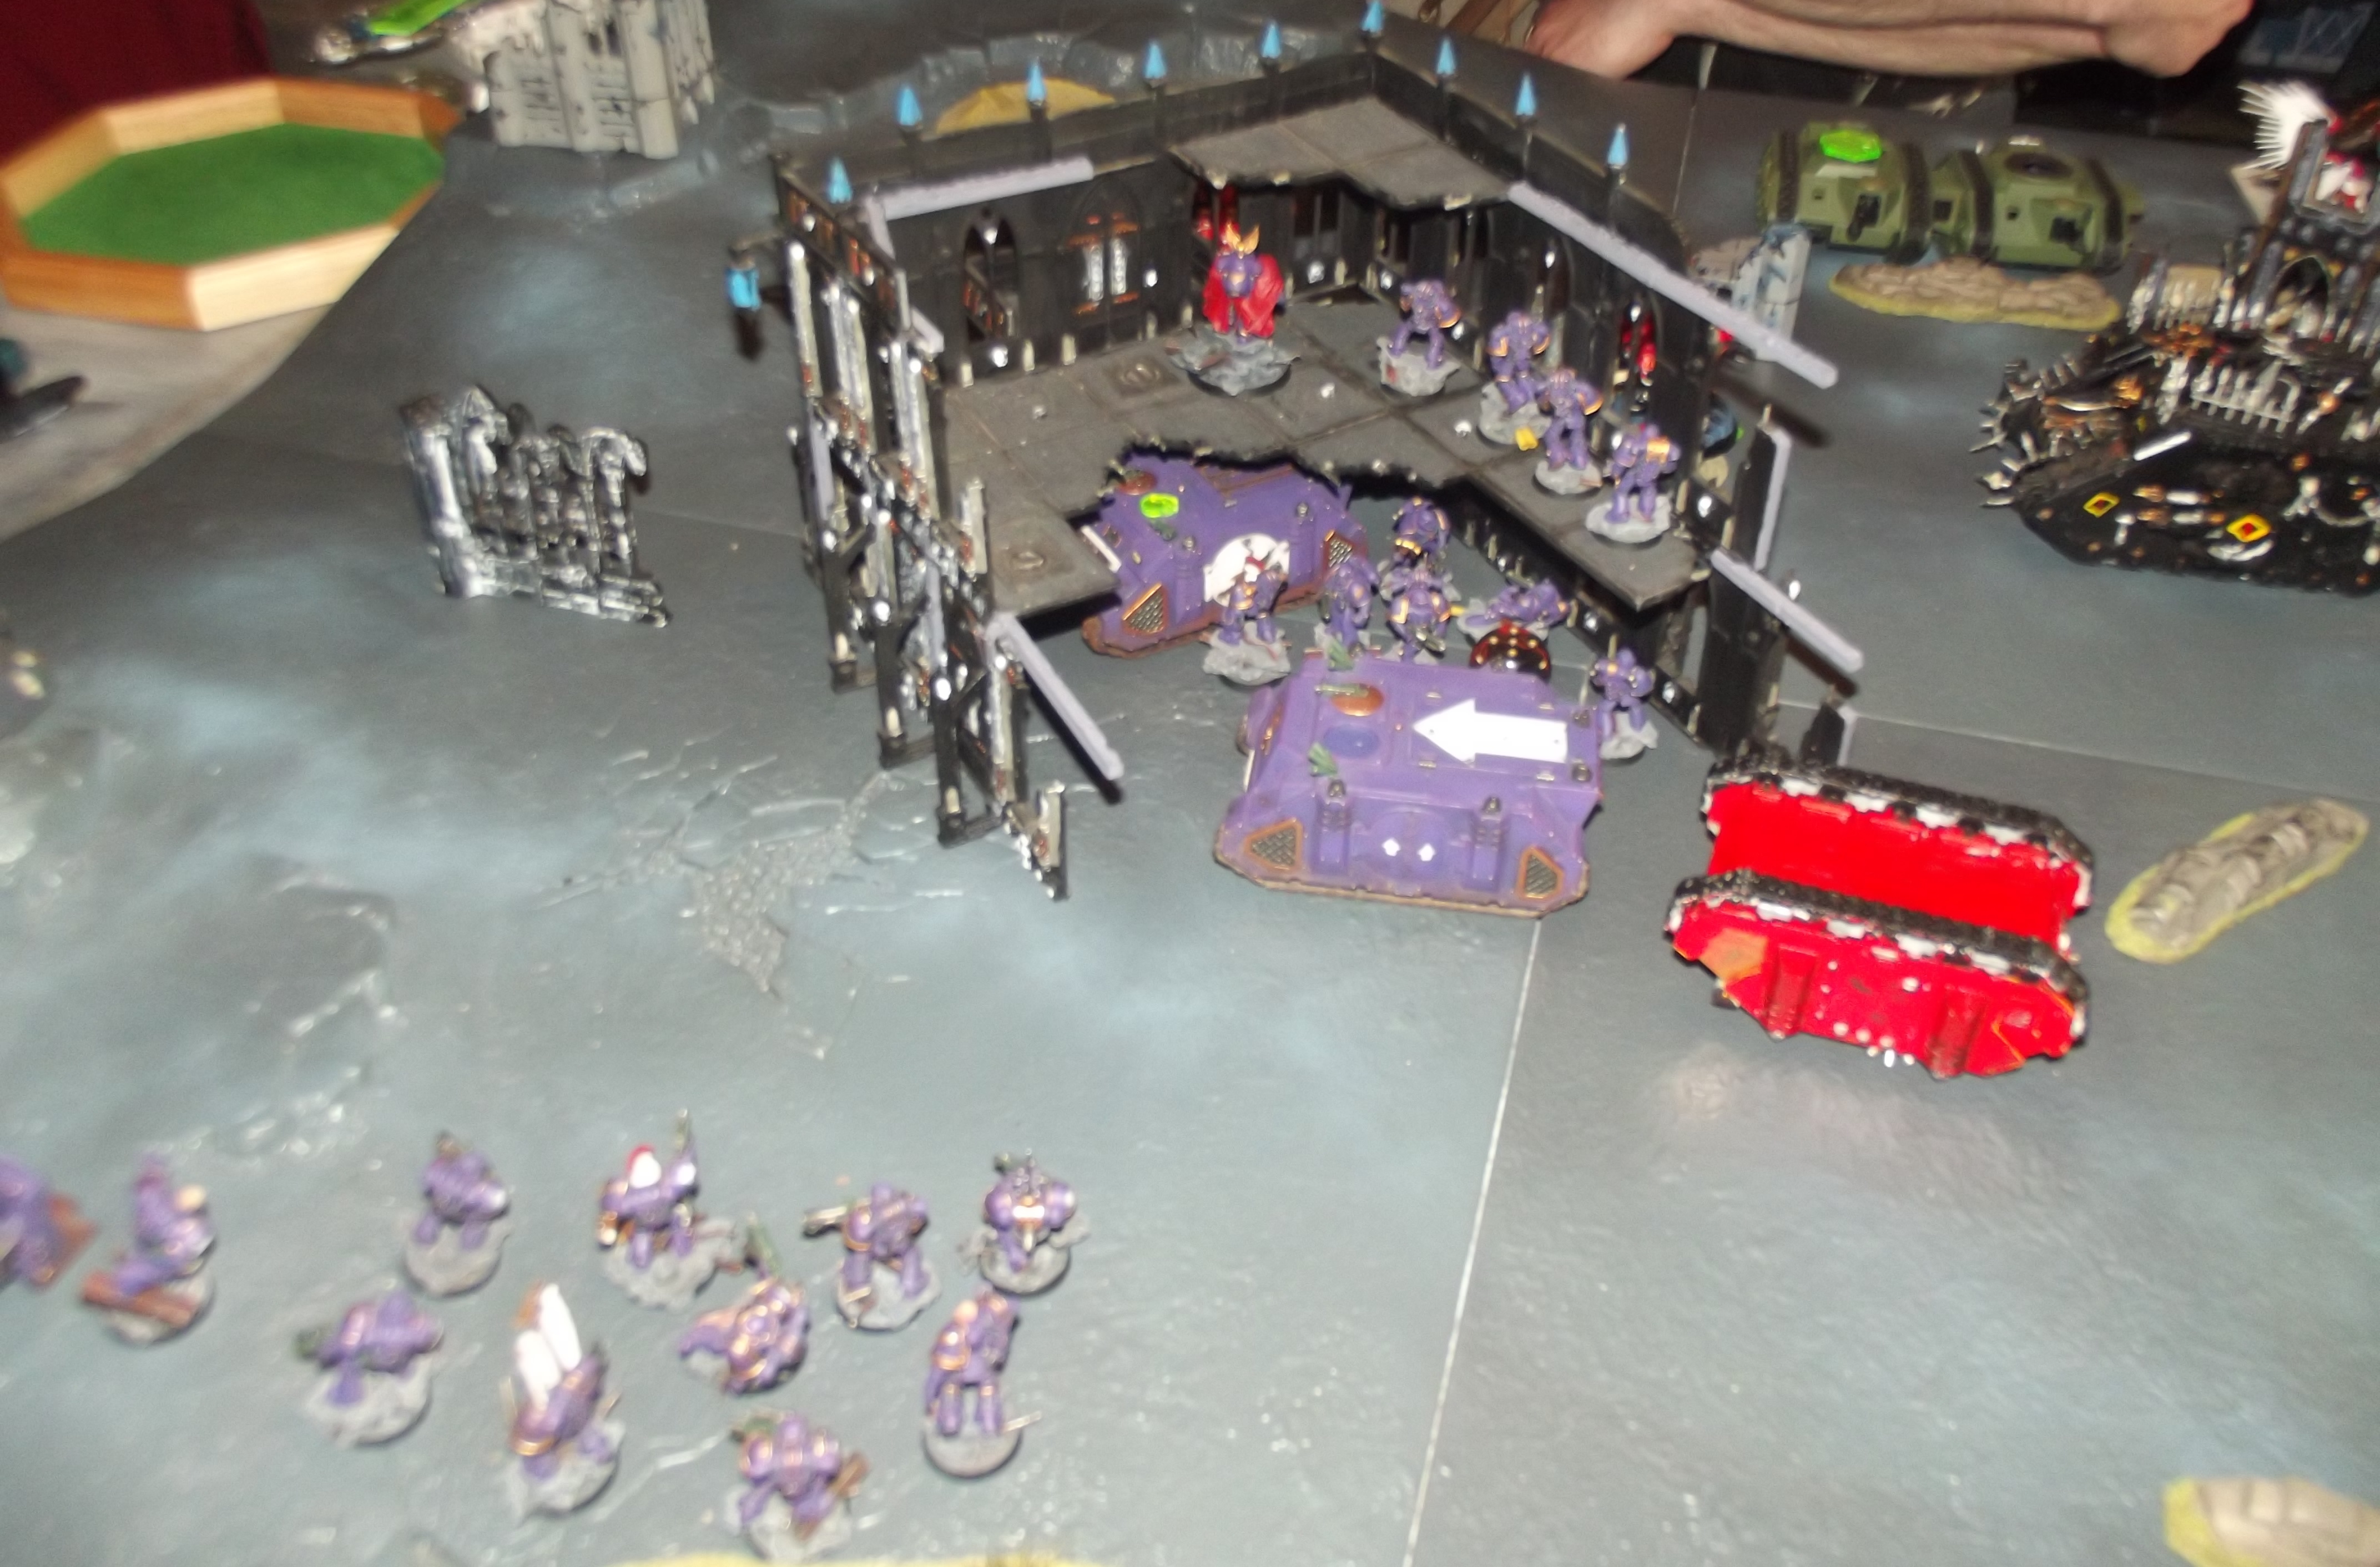
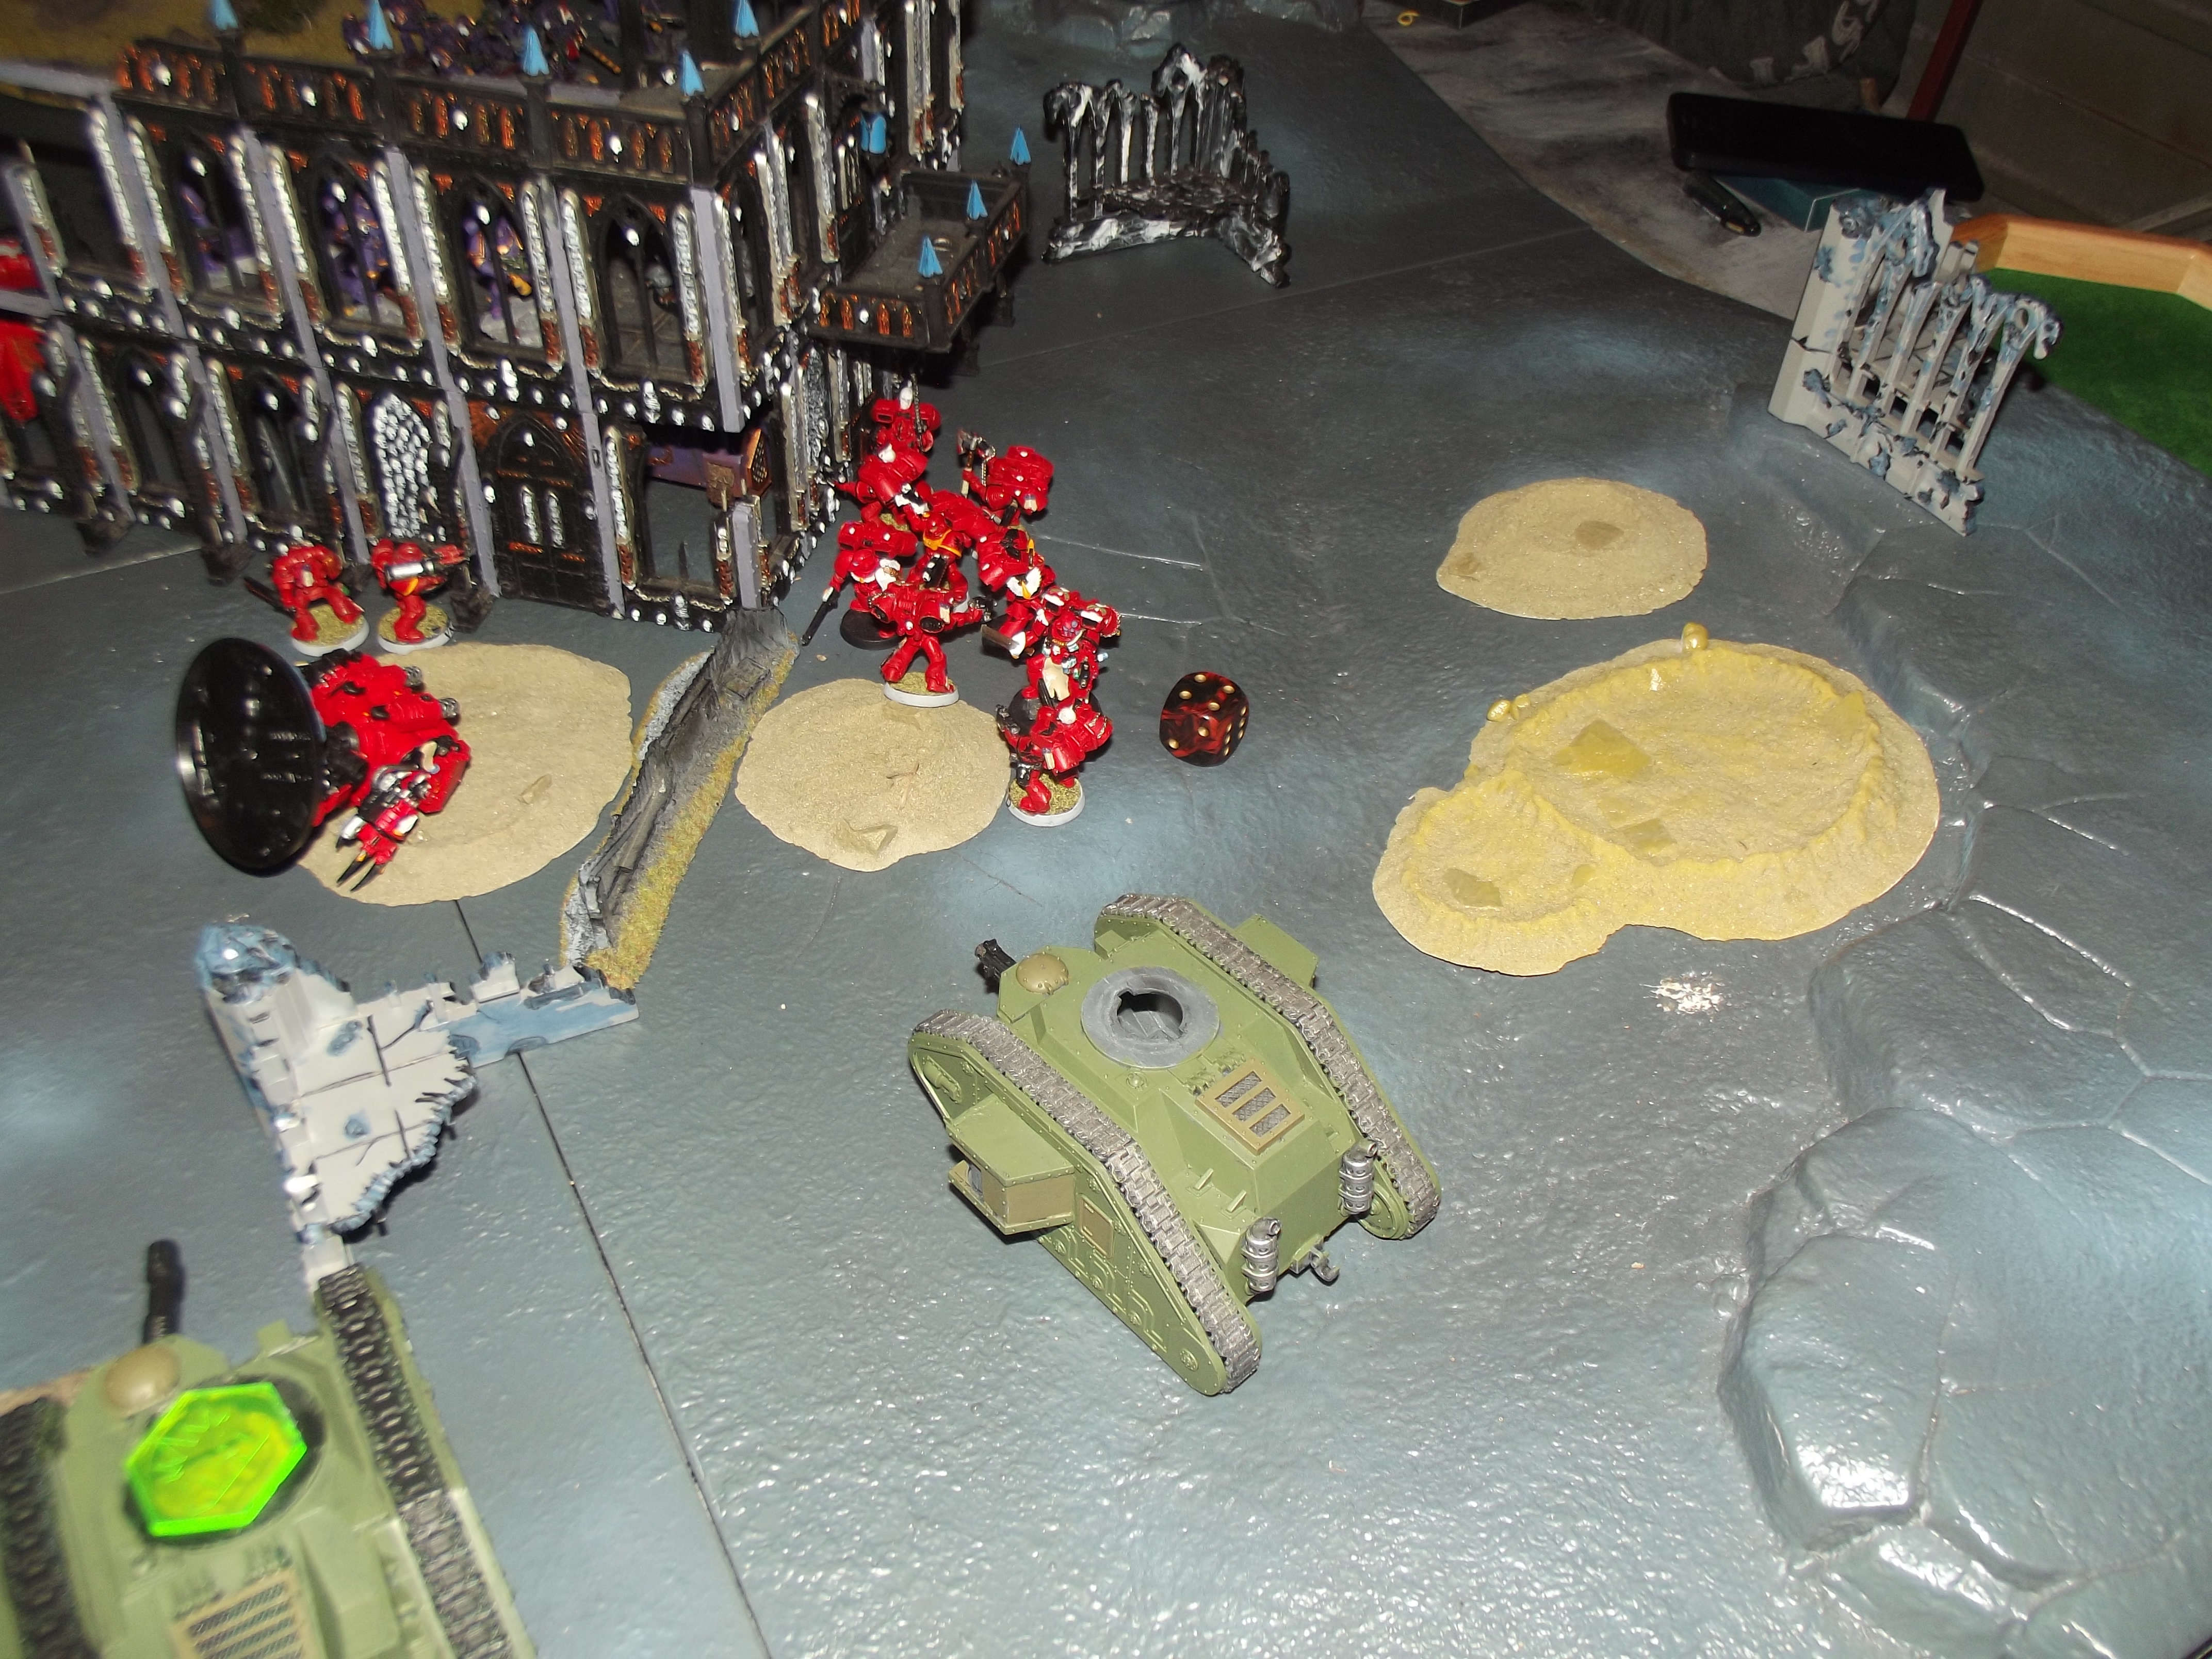
Deployment

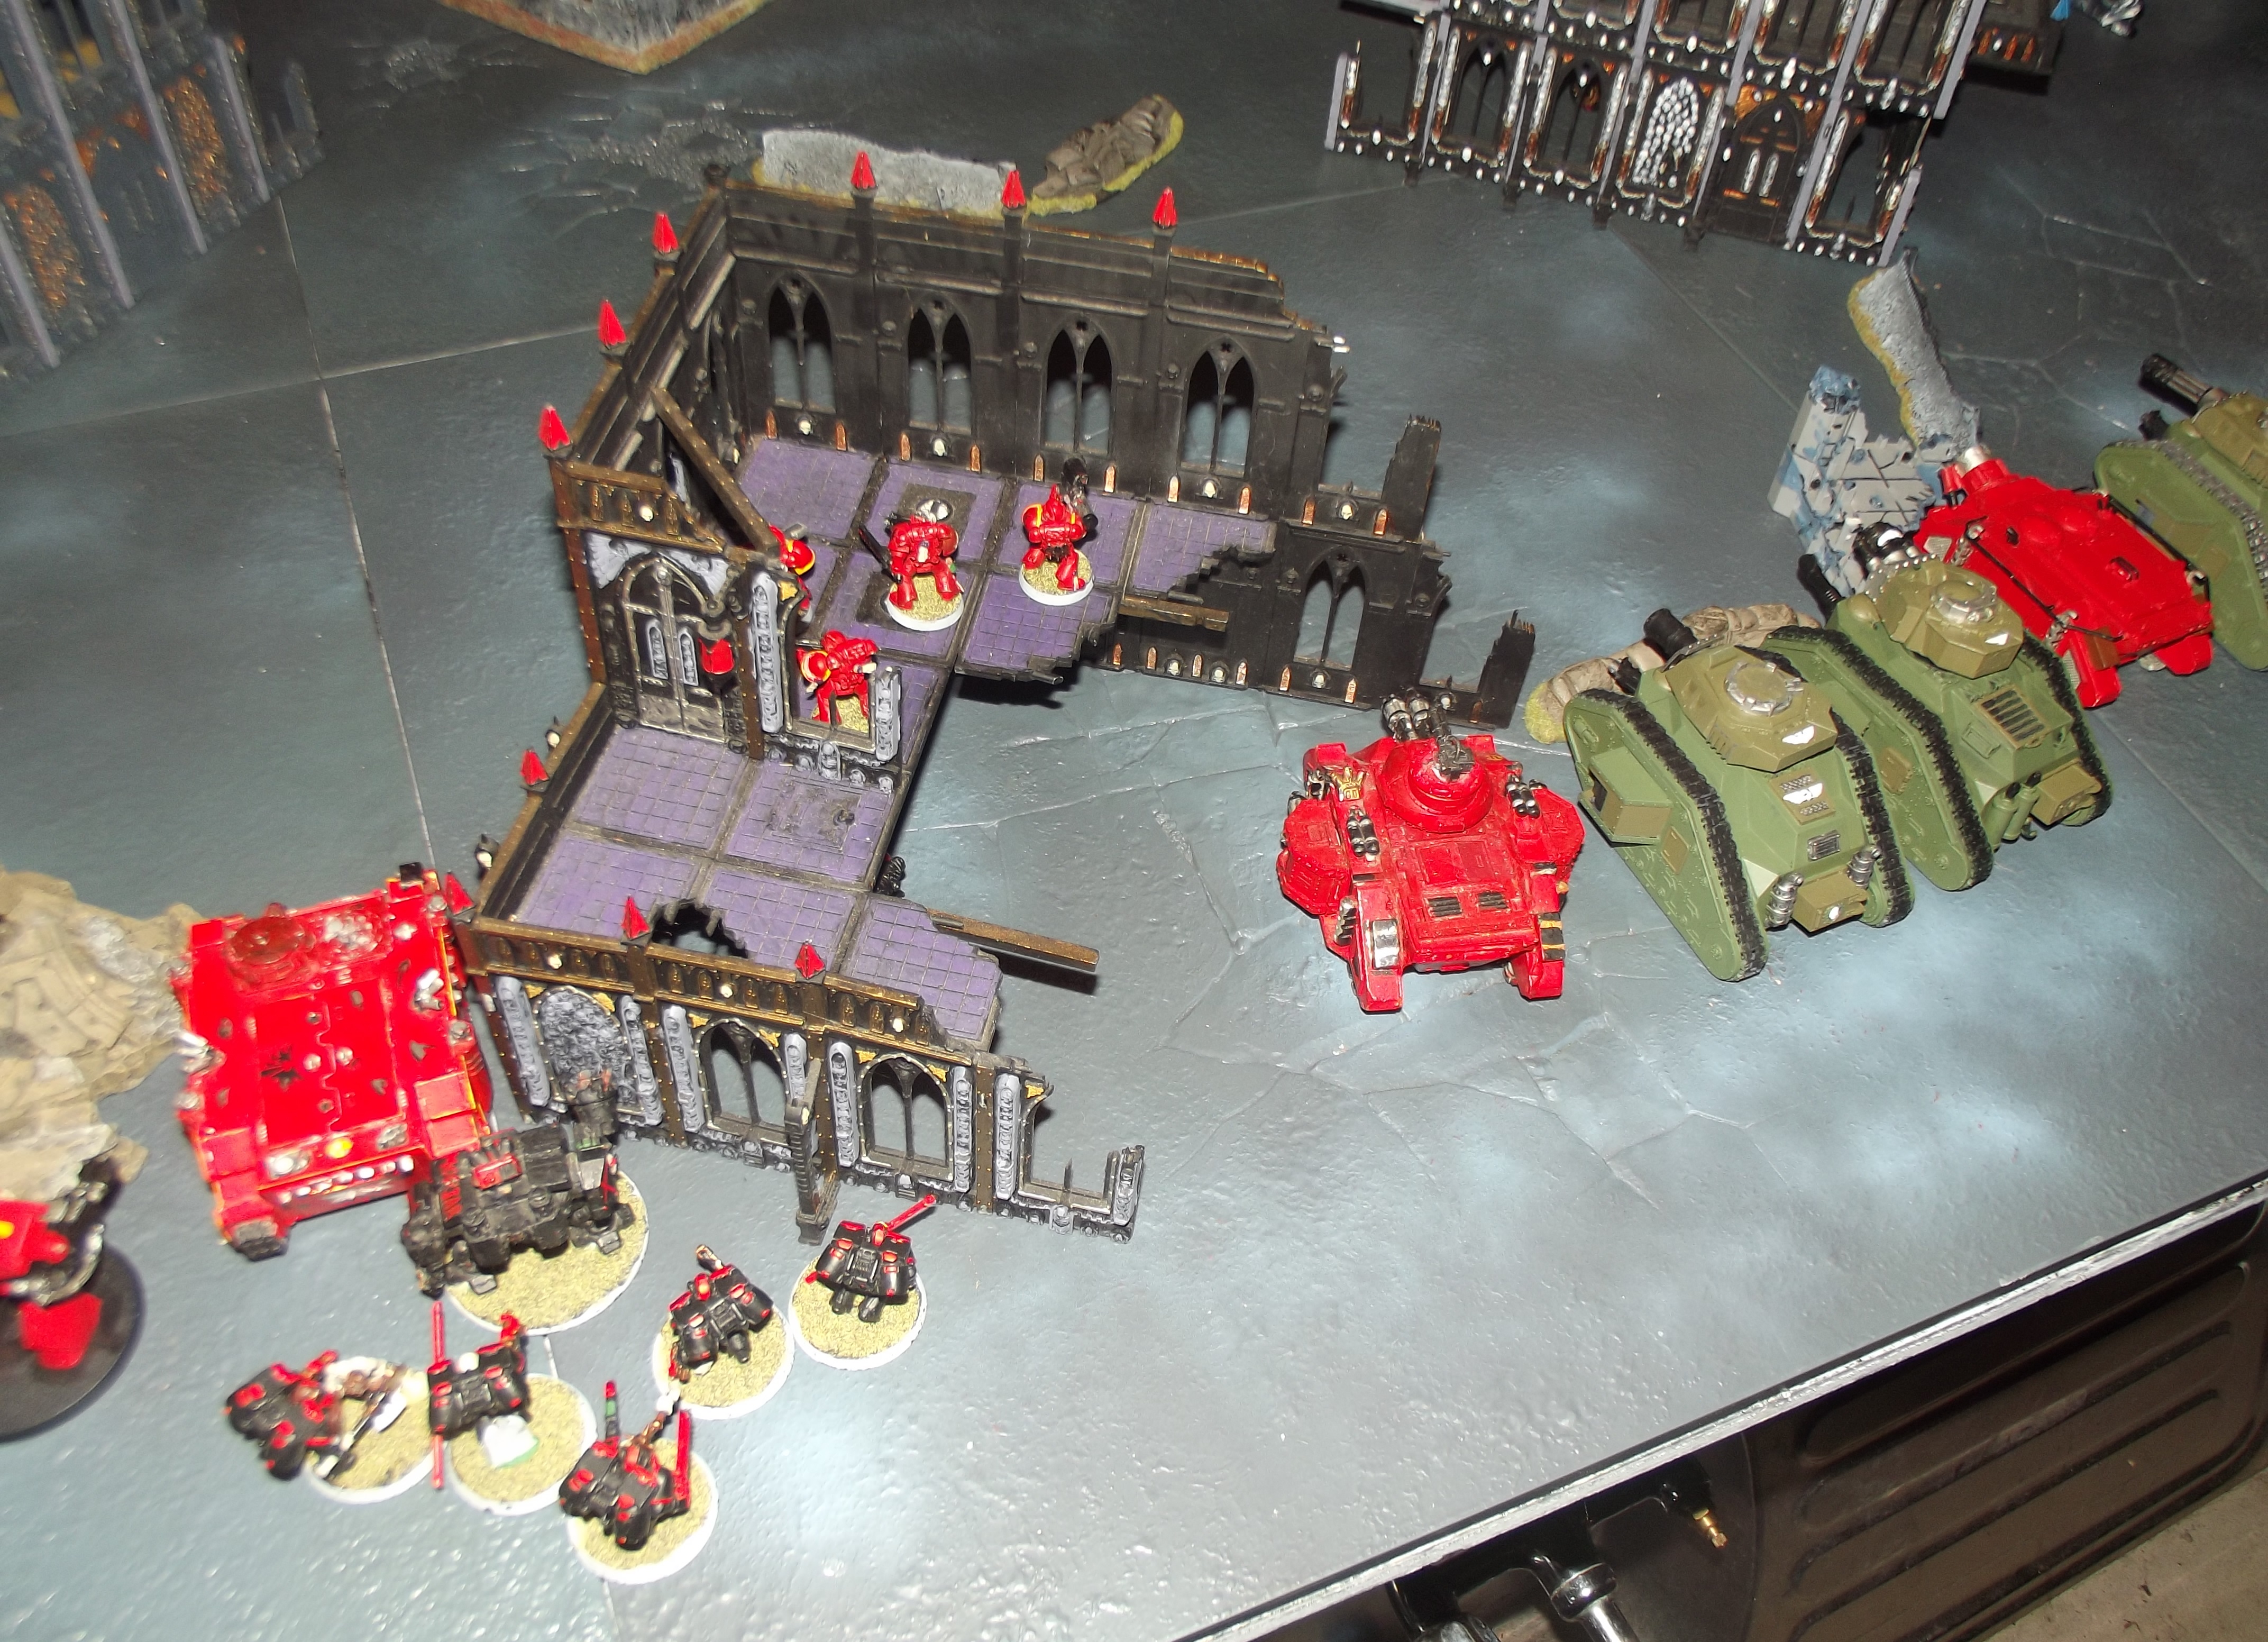

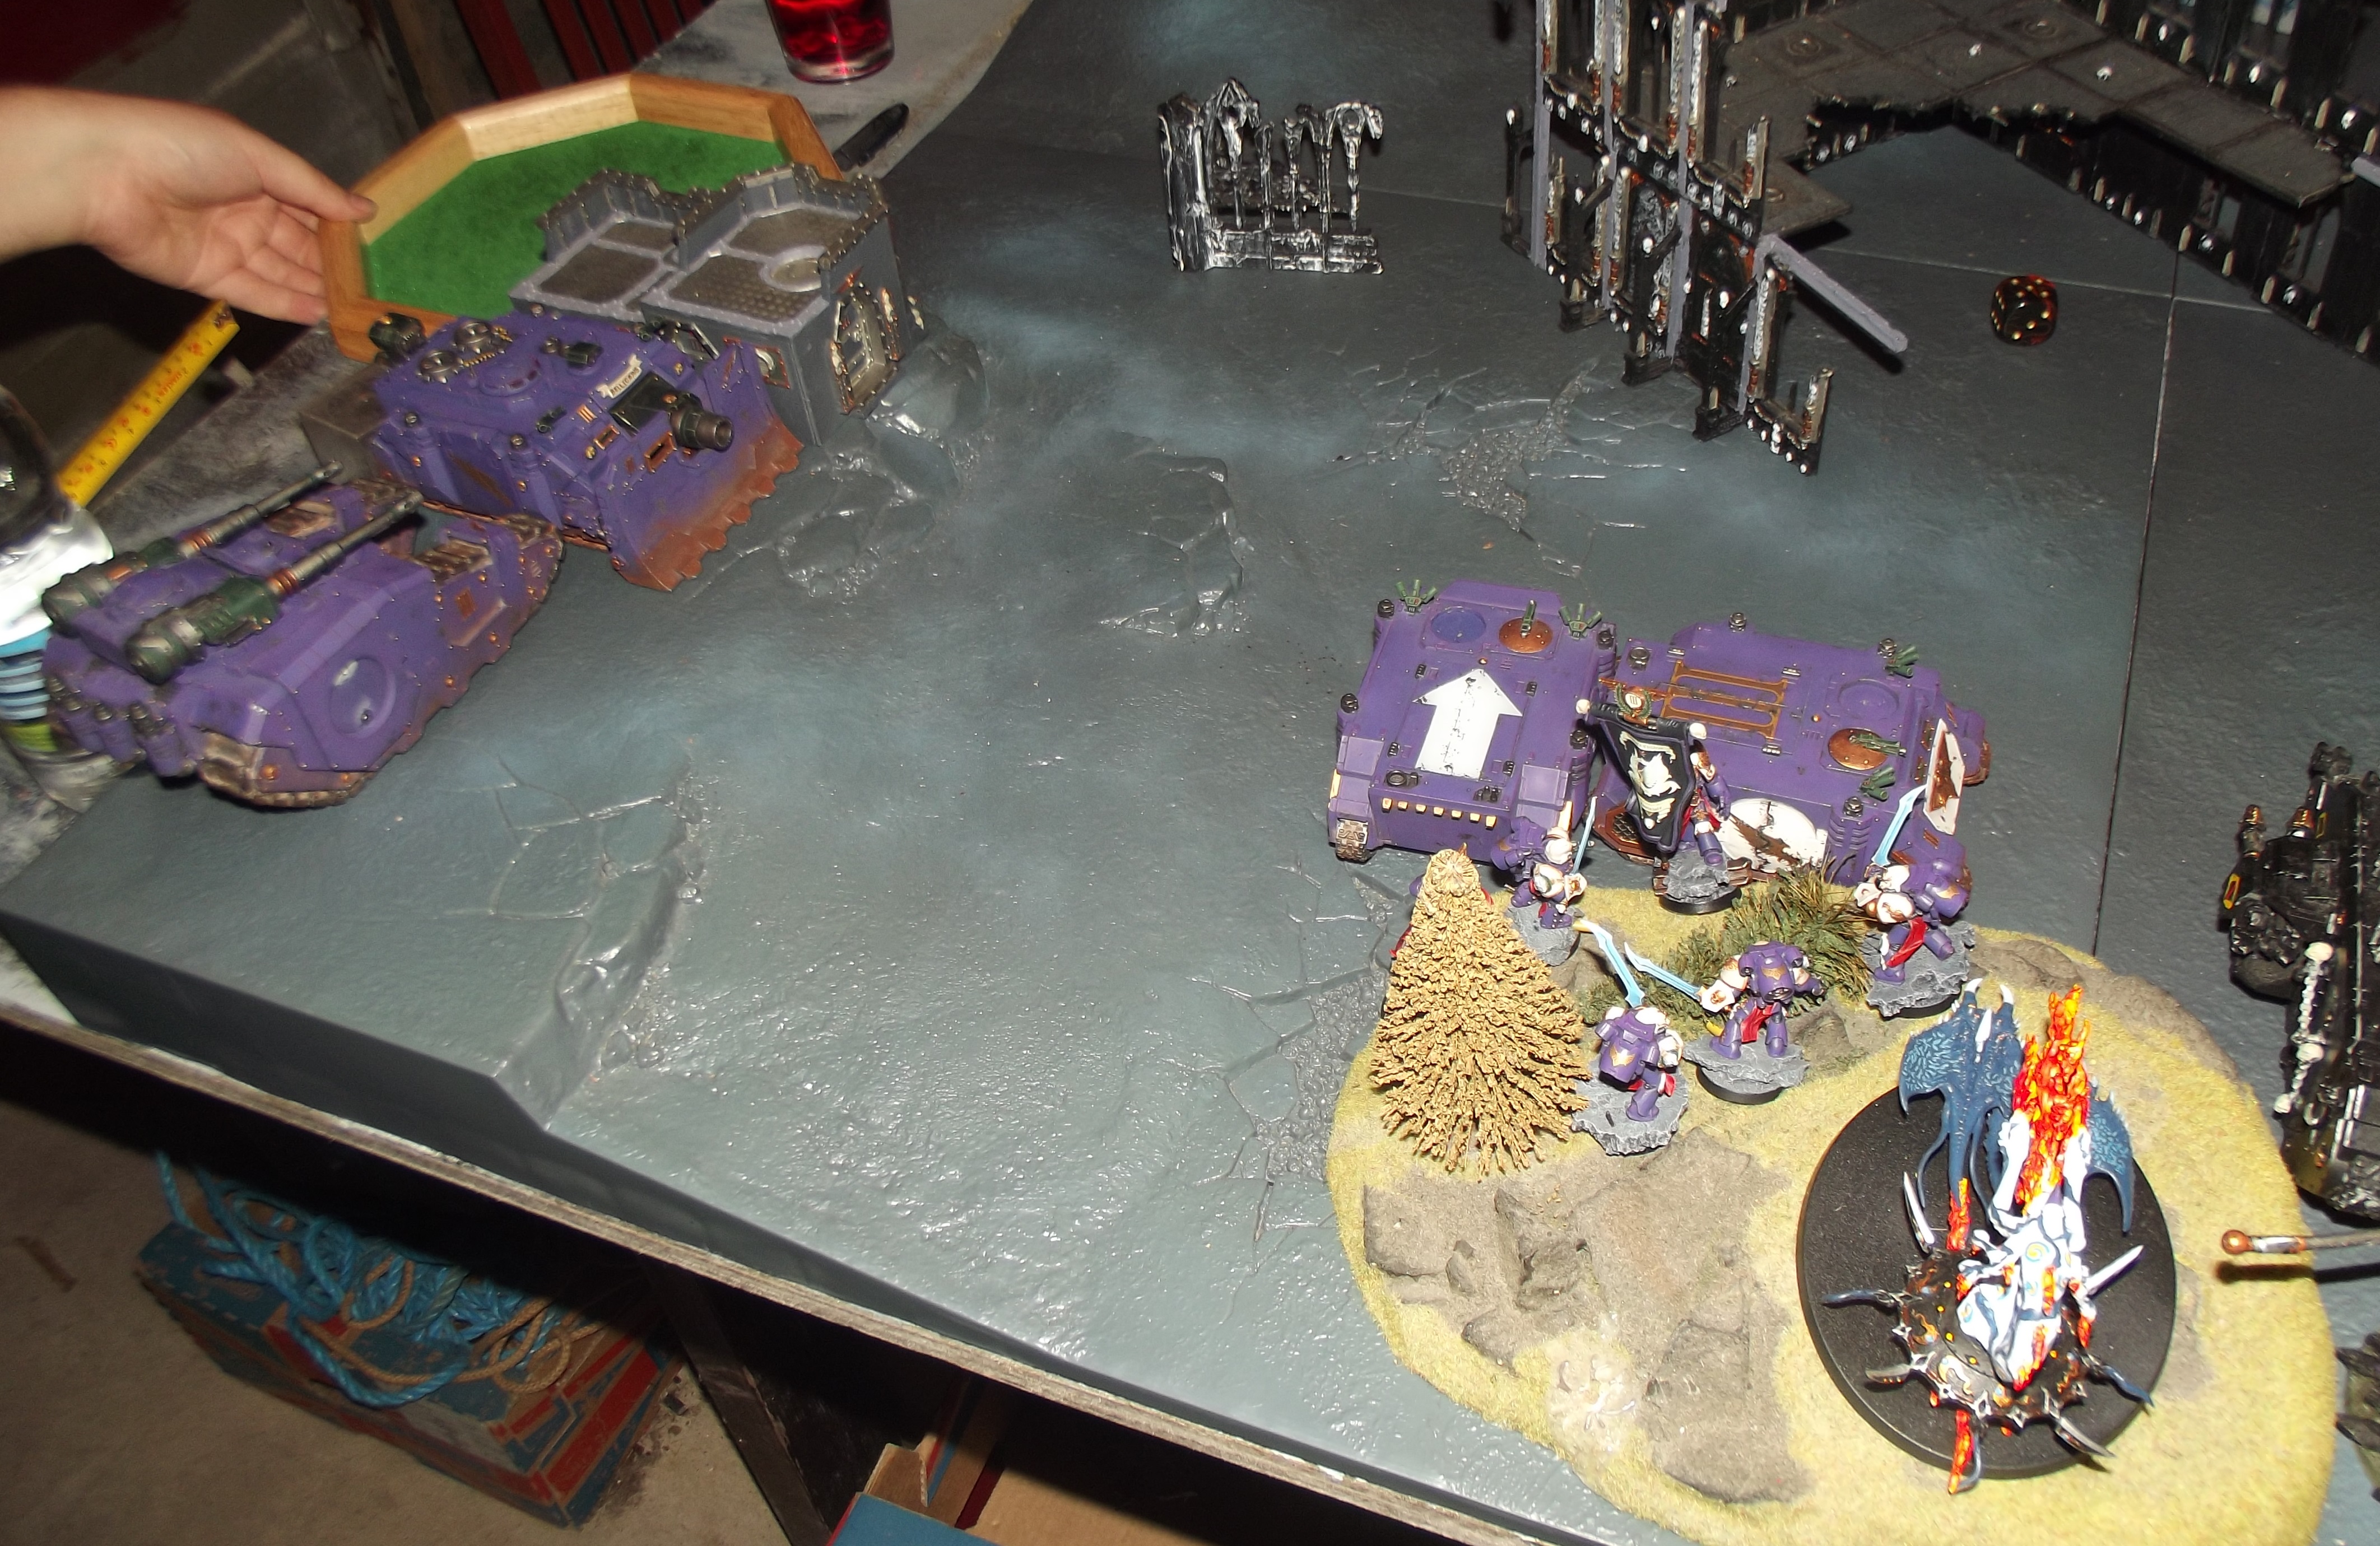
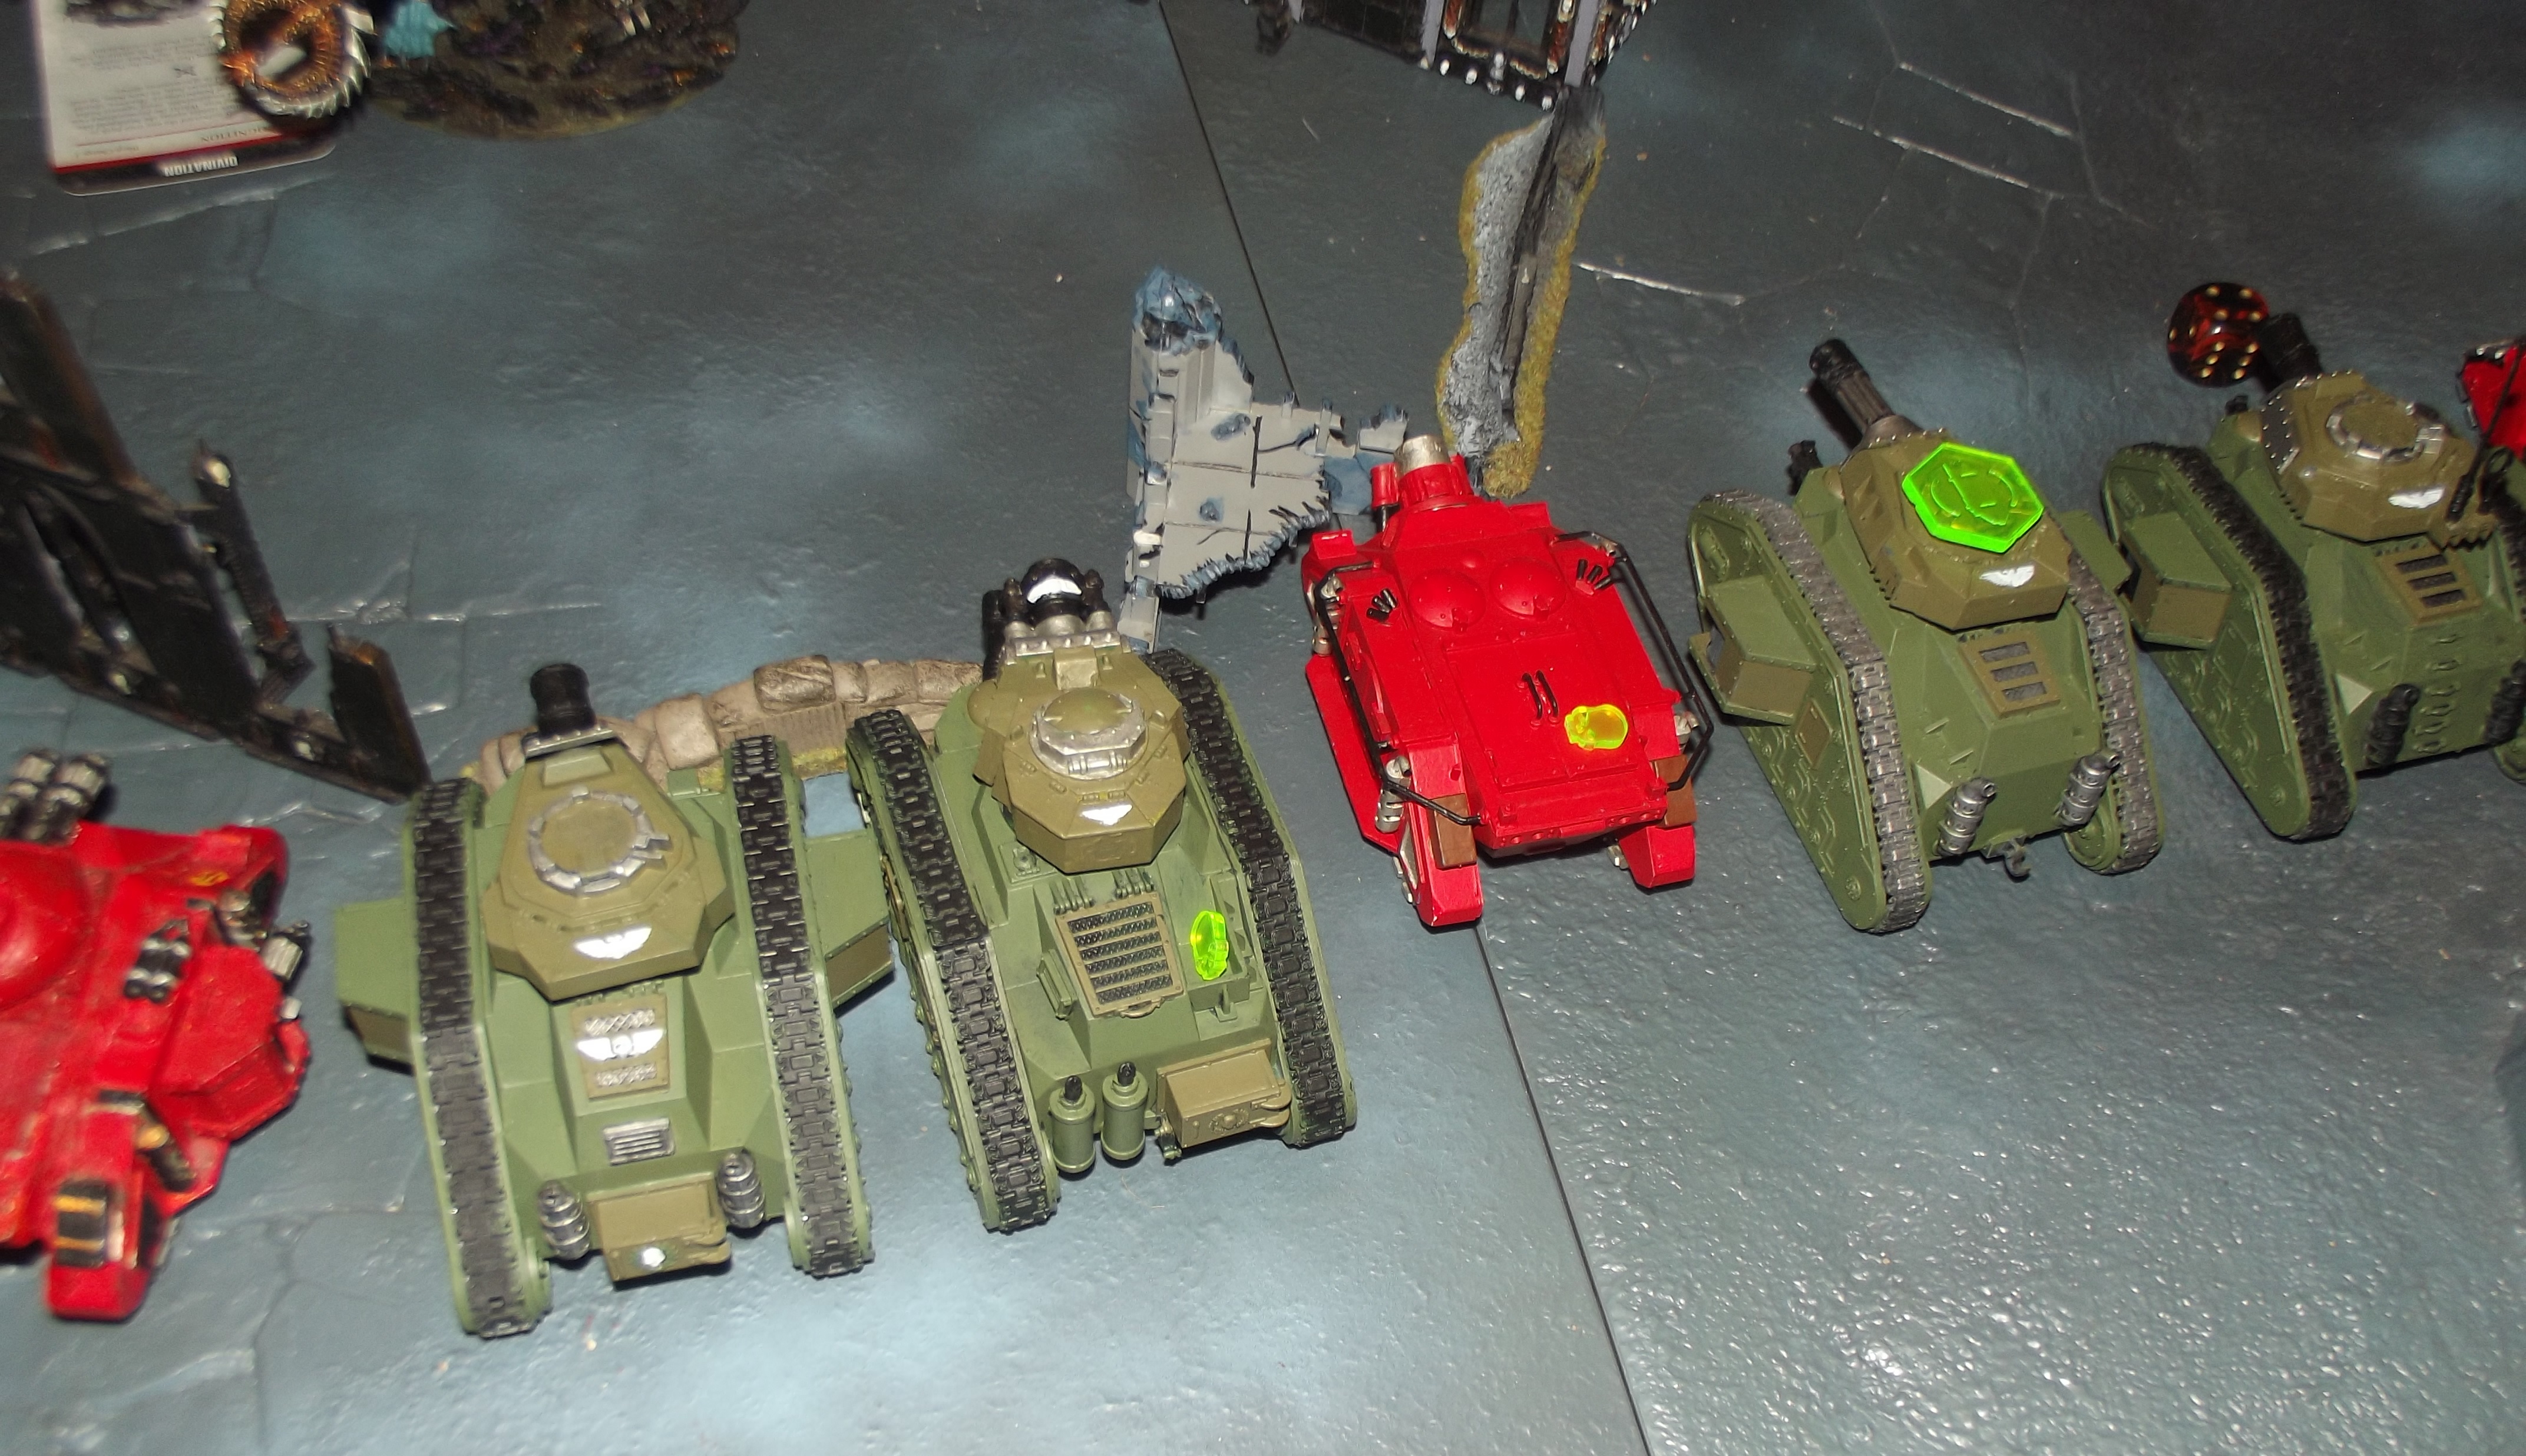
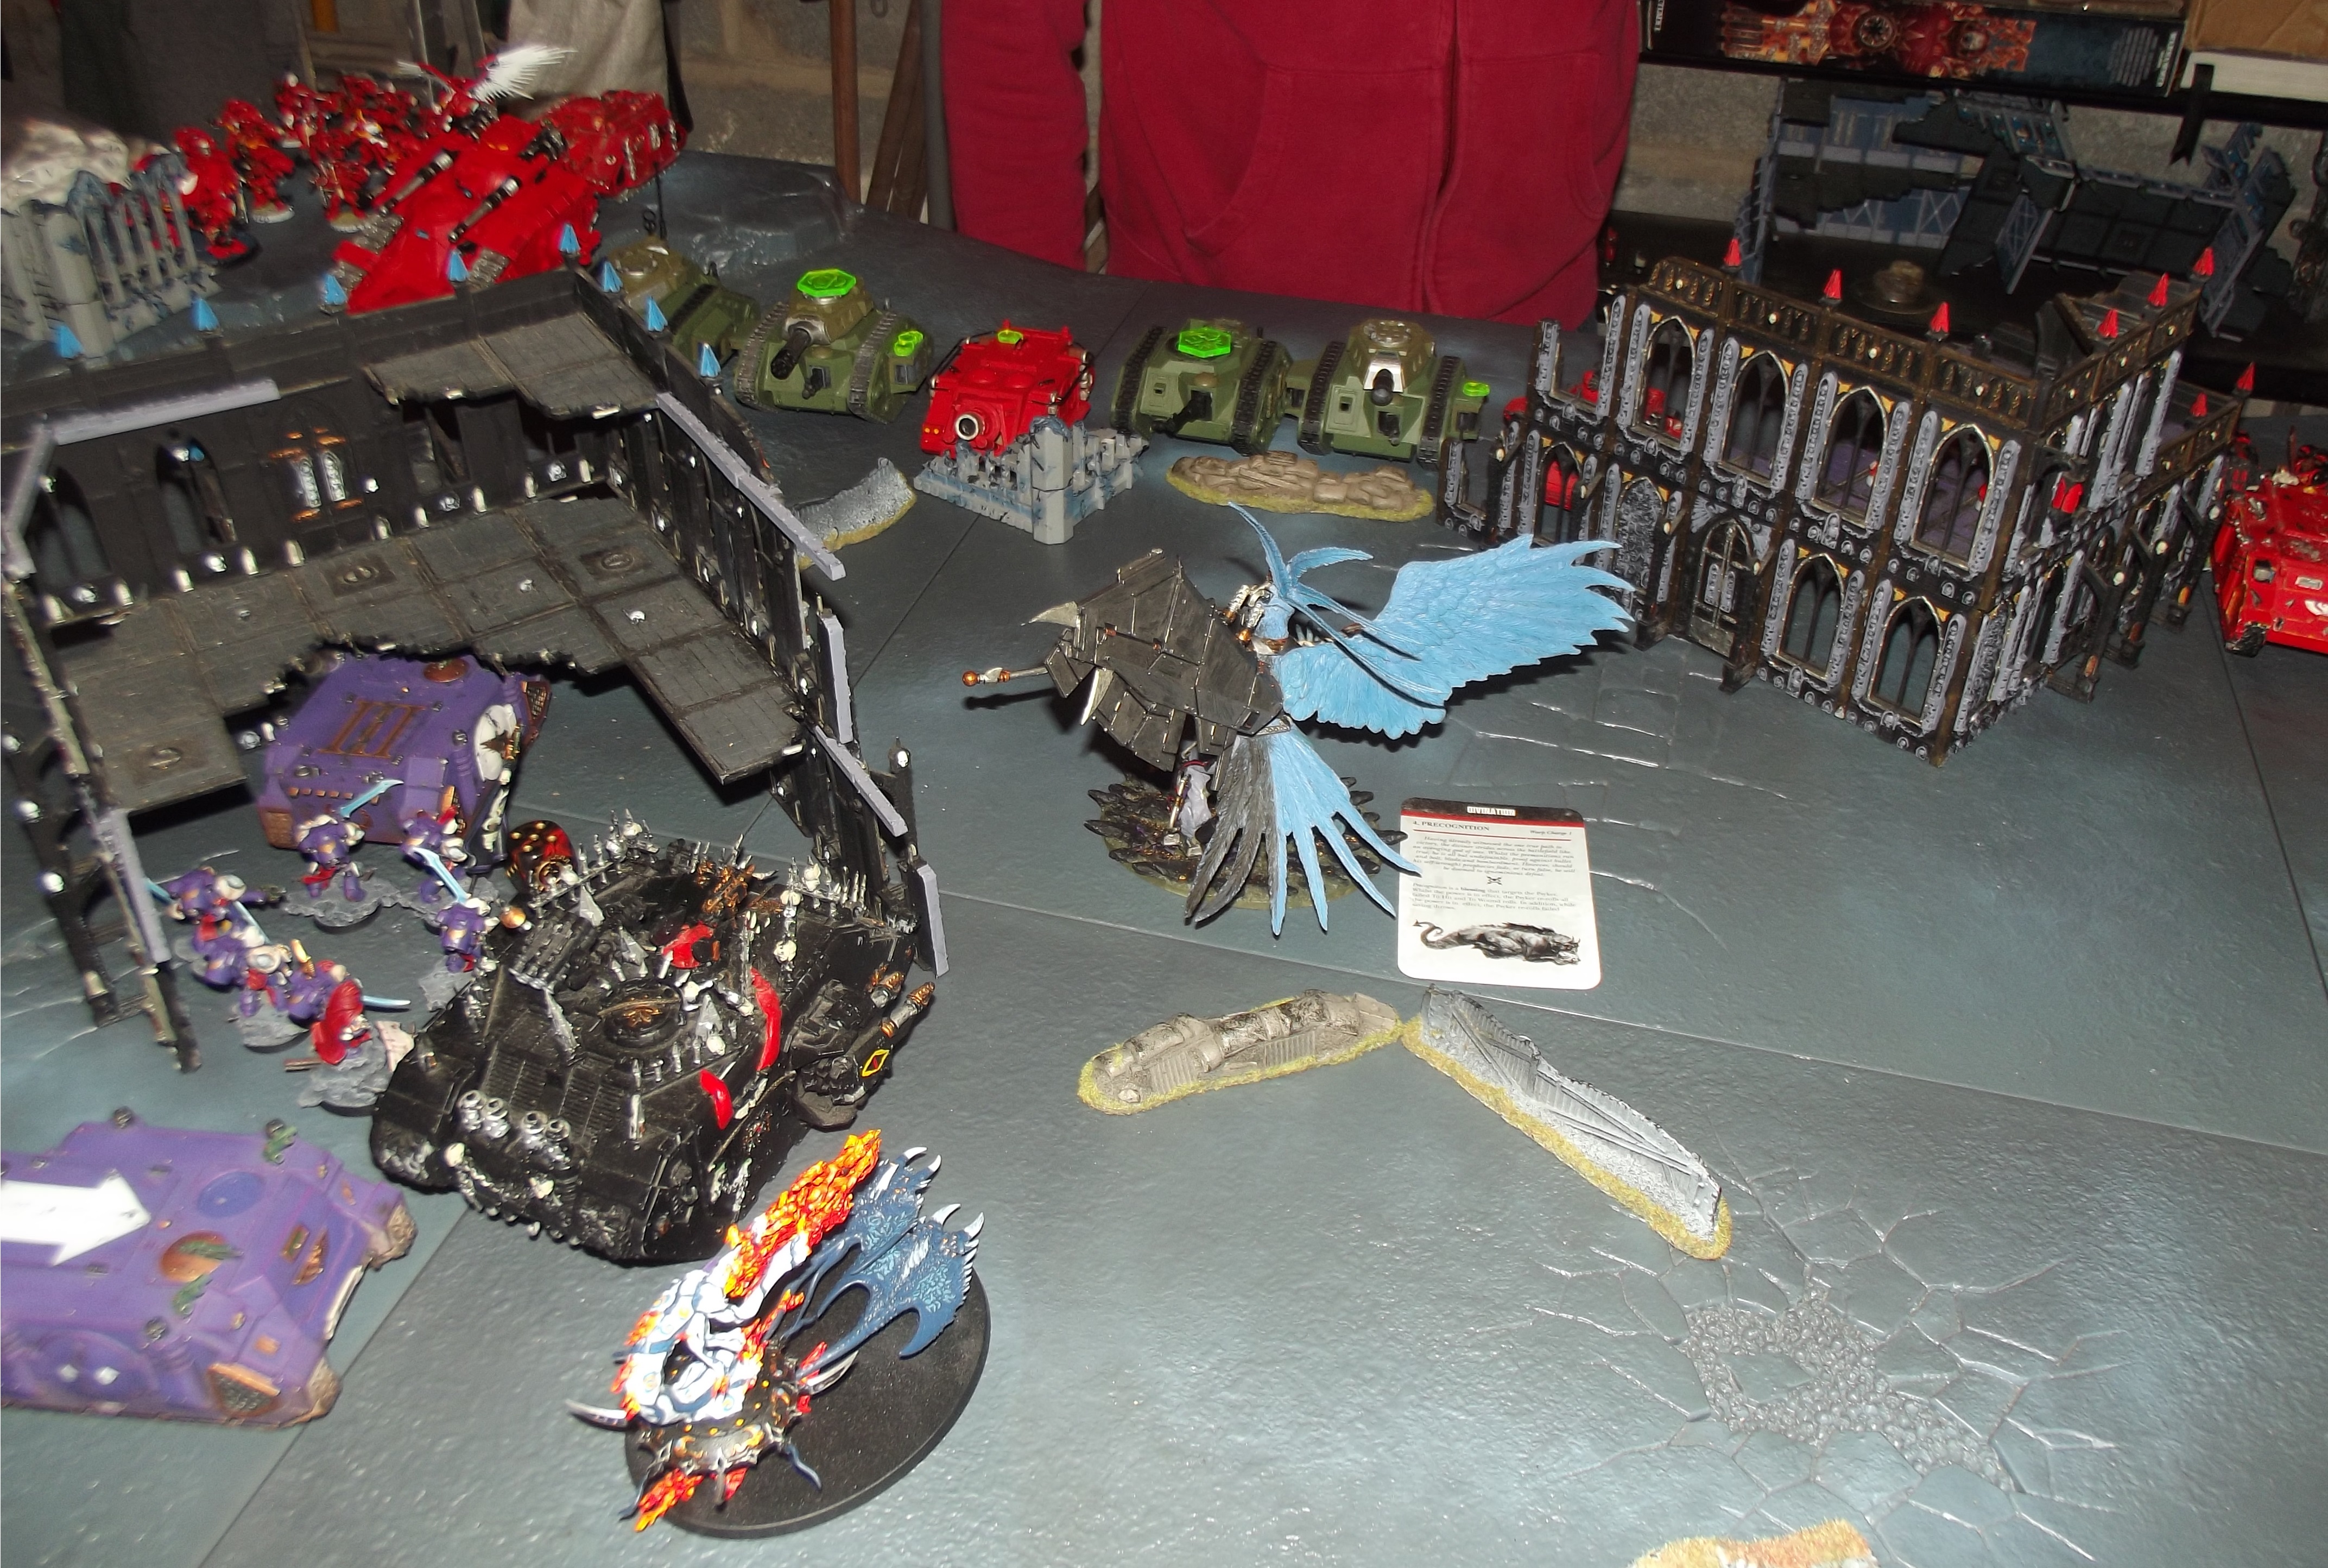
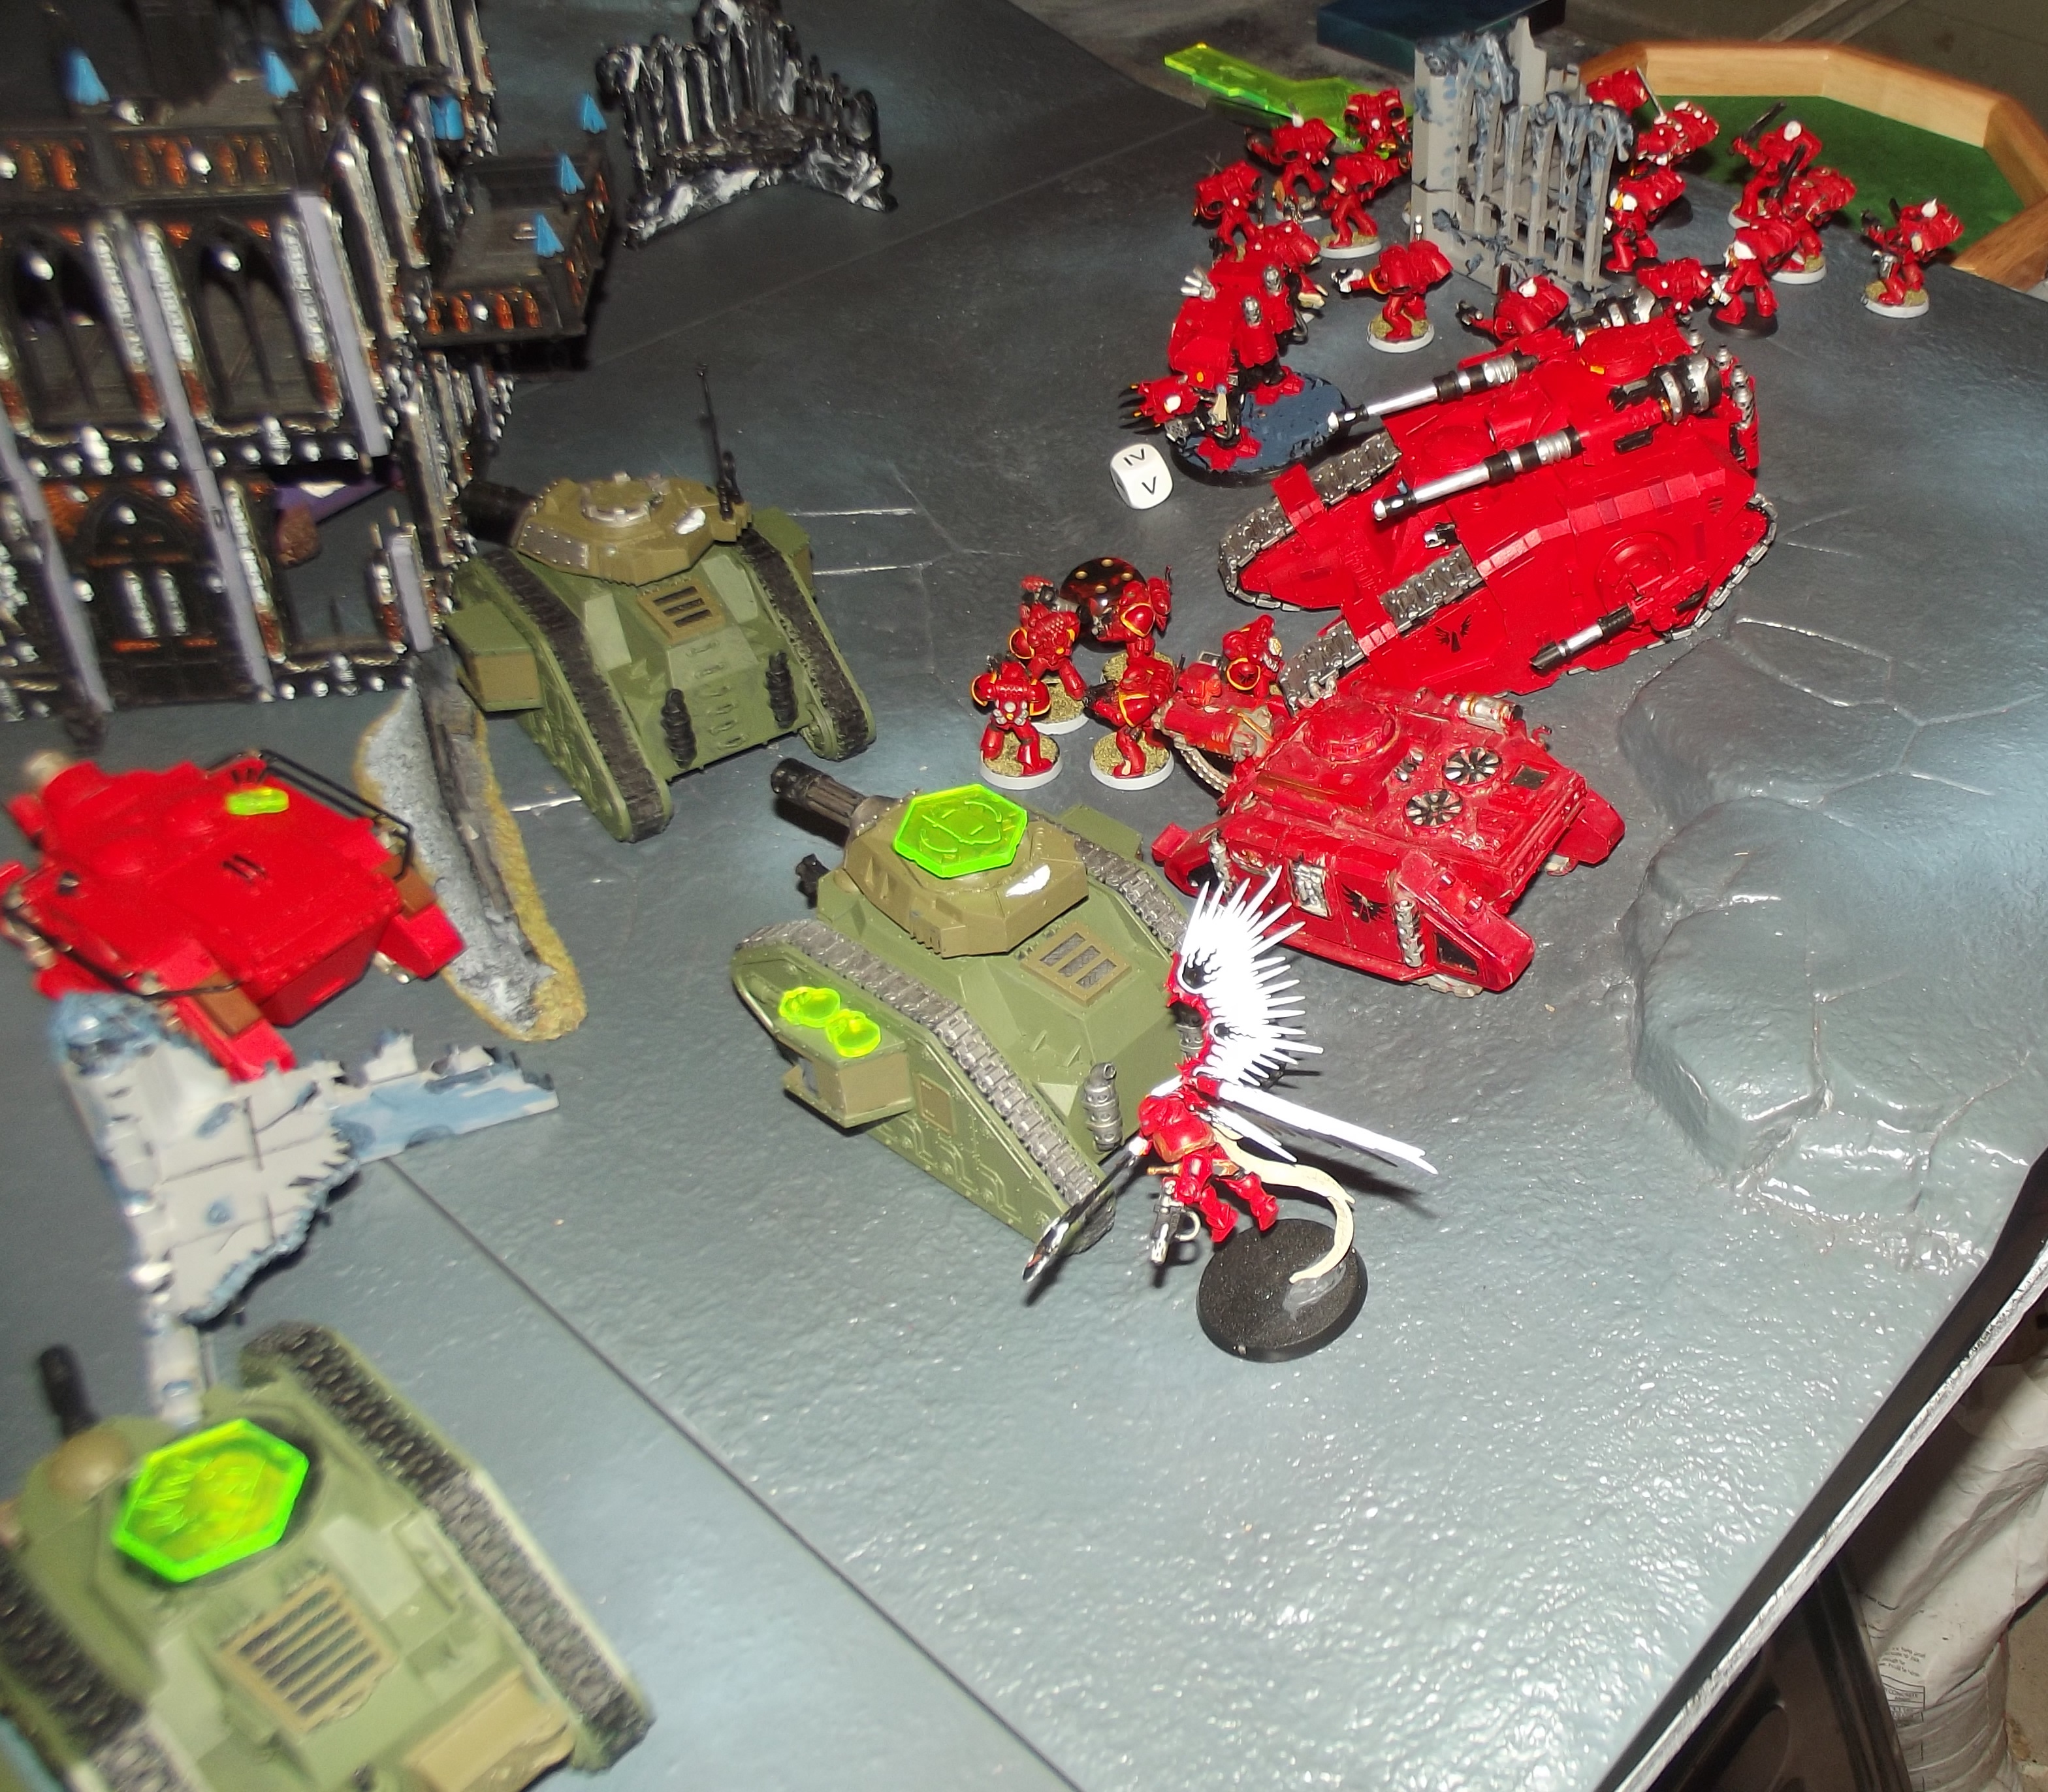
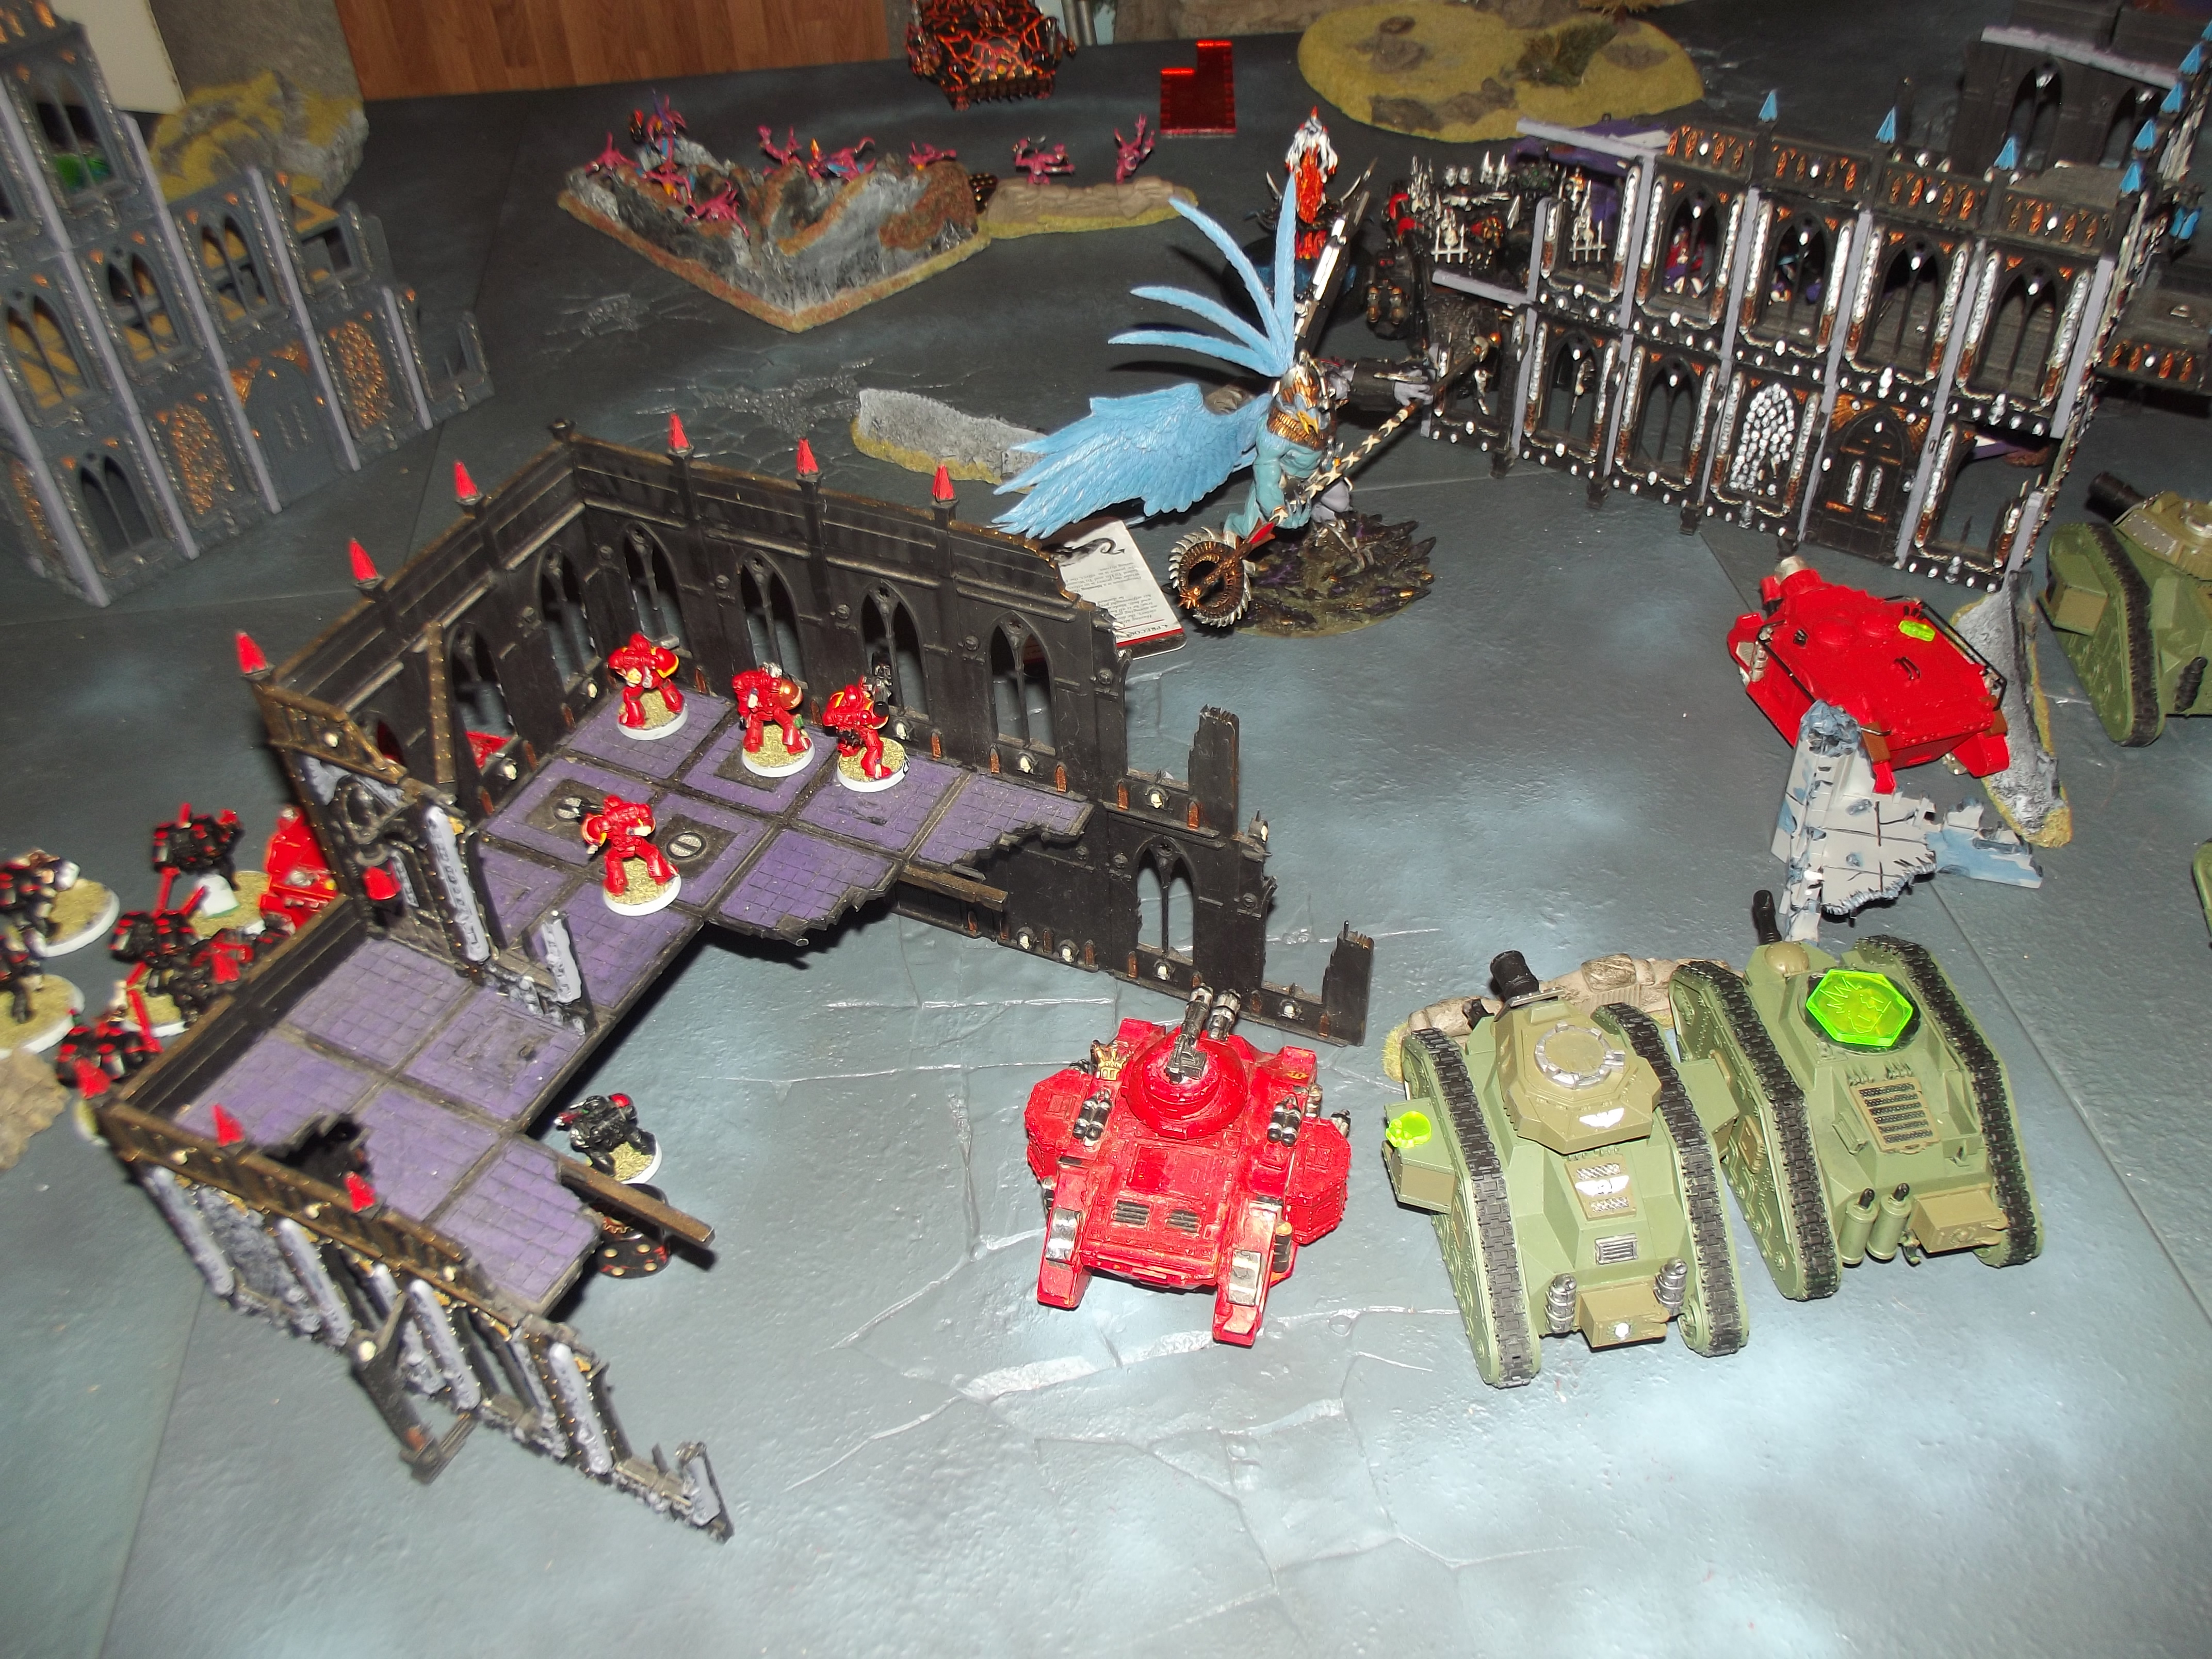
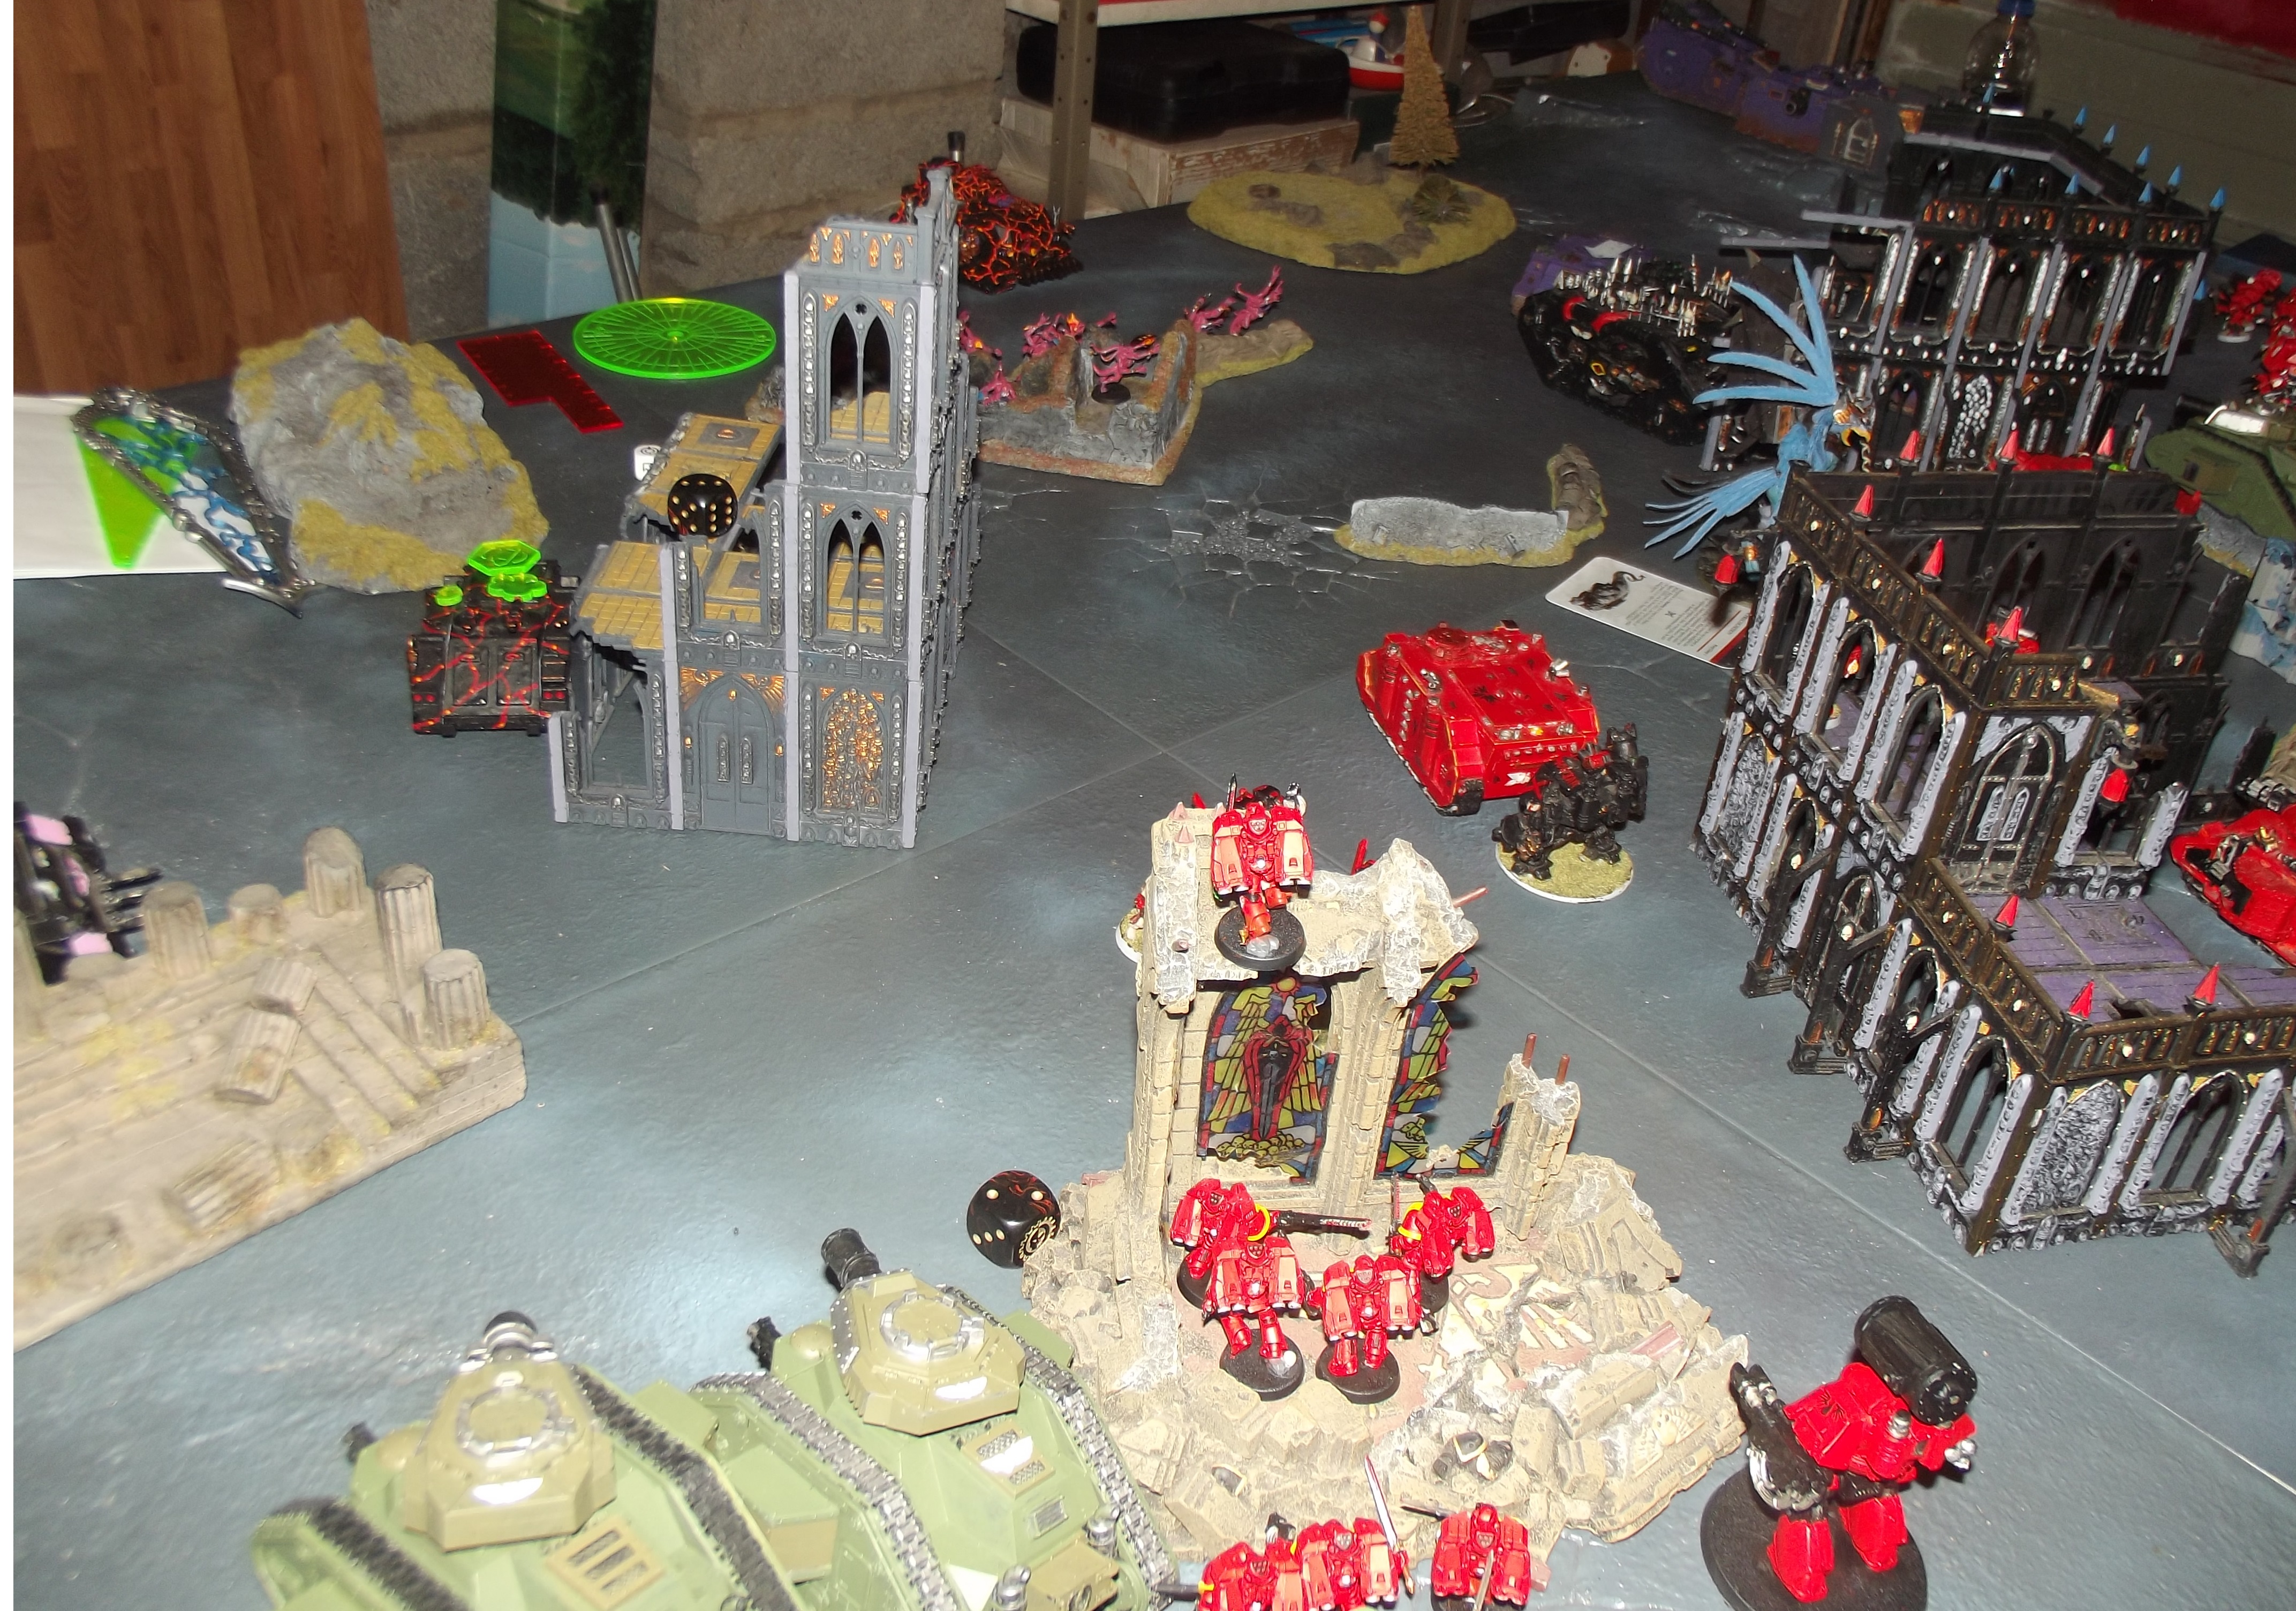
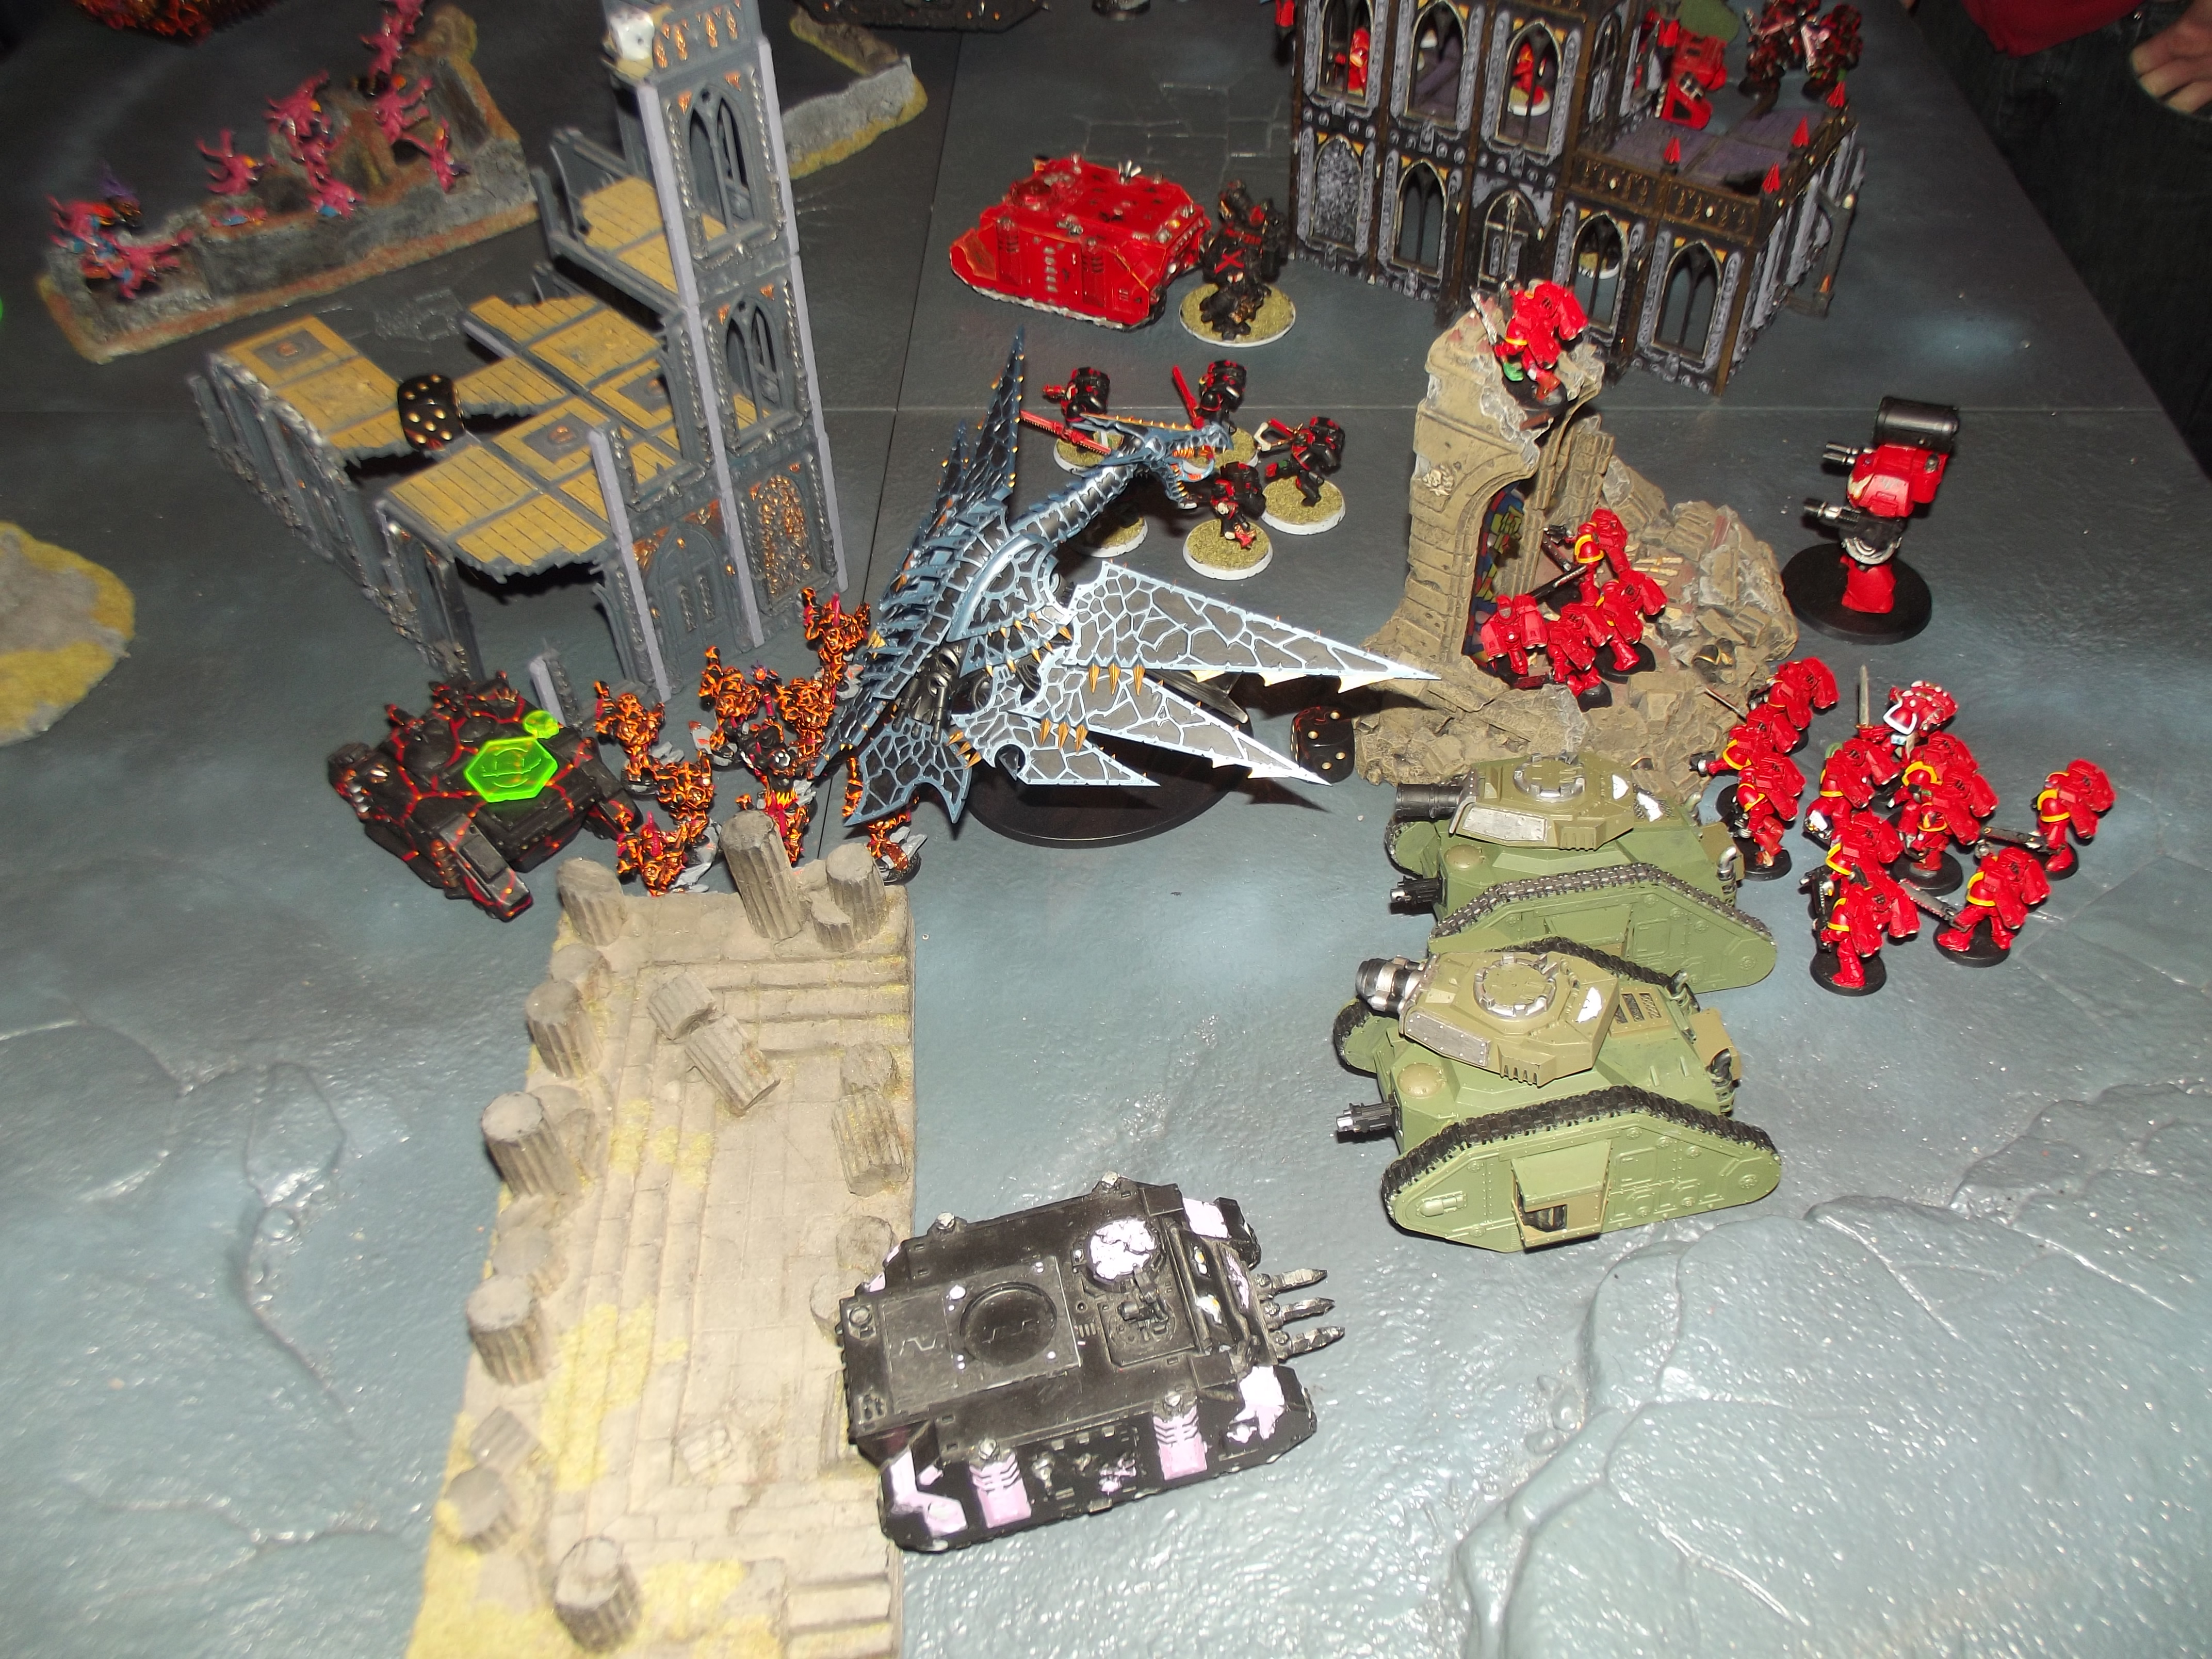
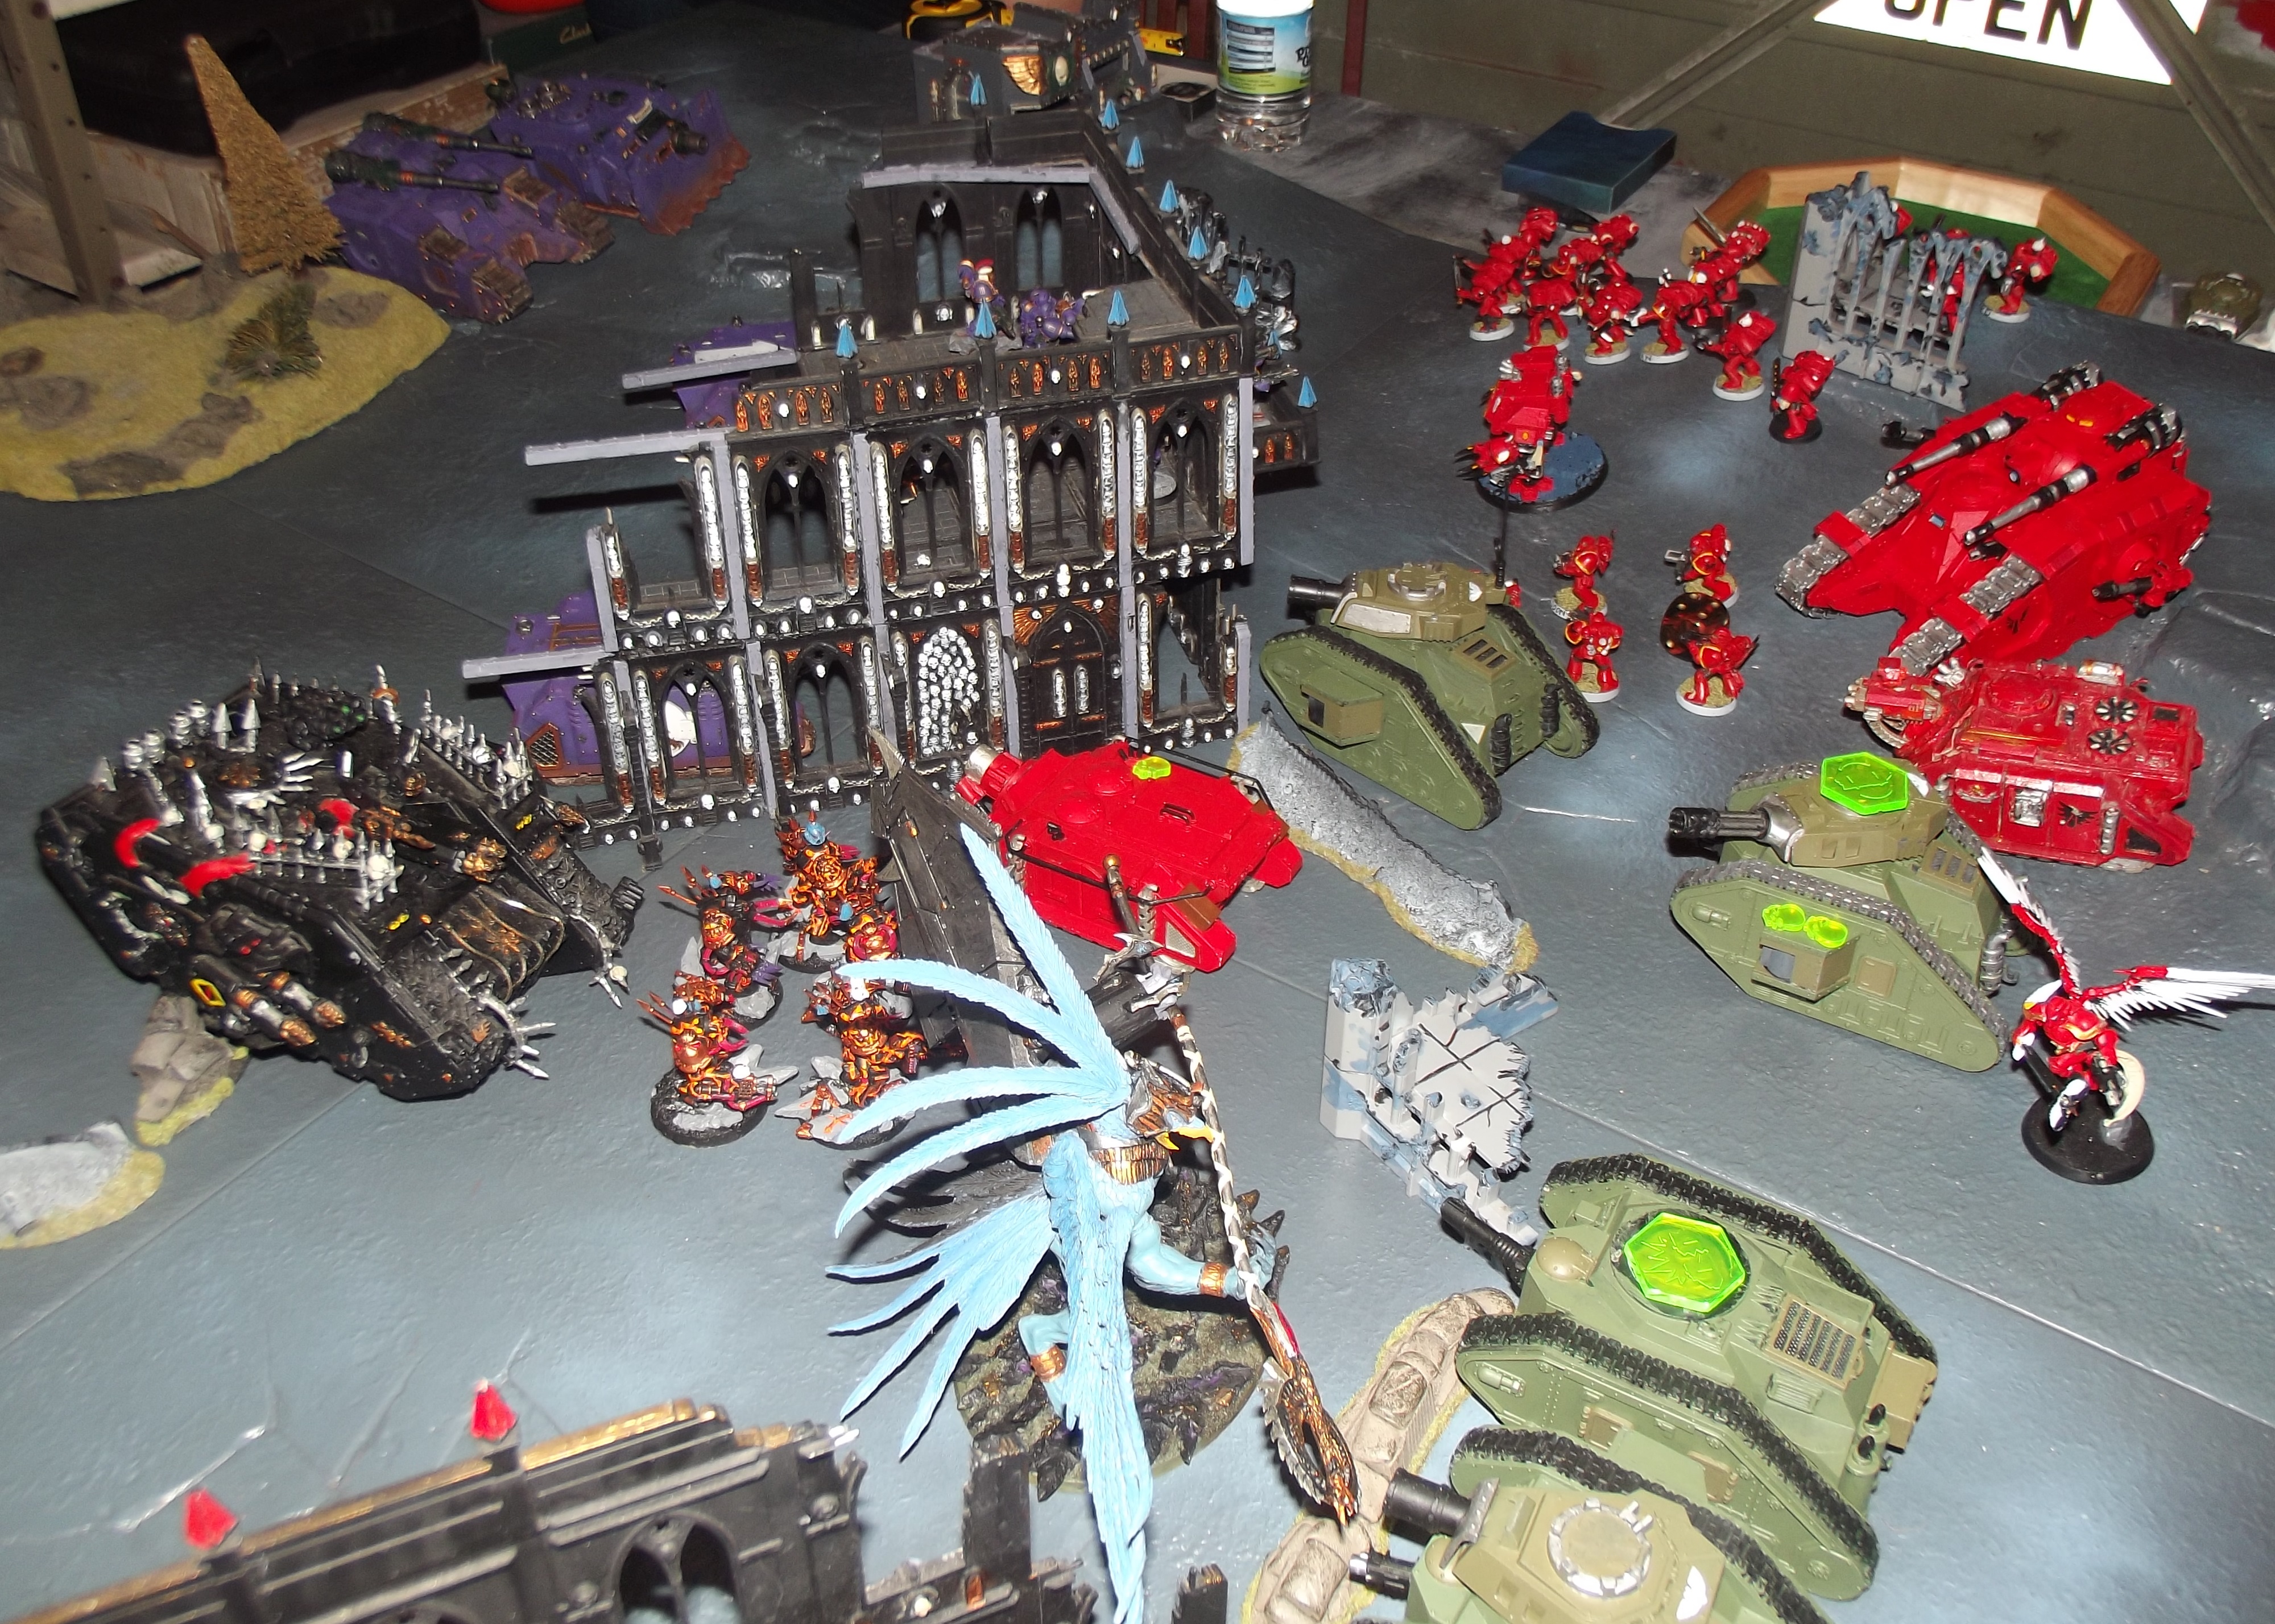
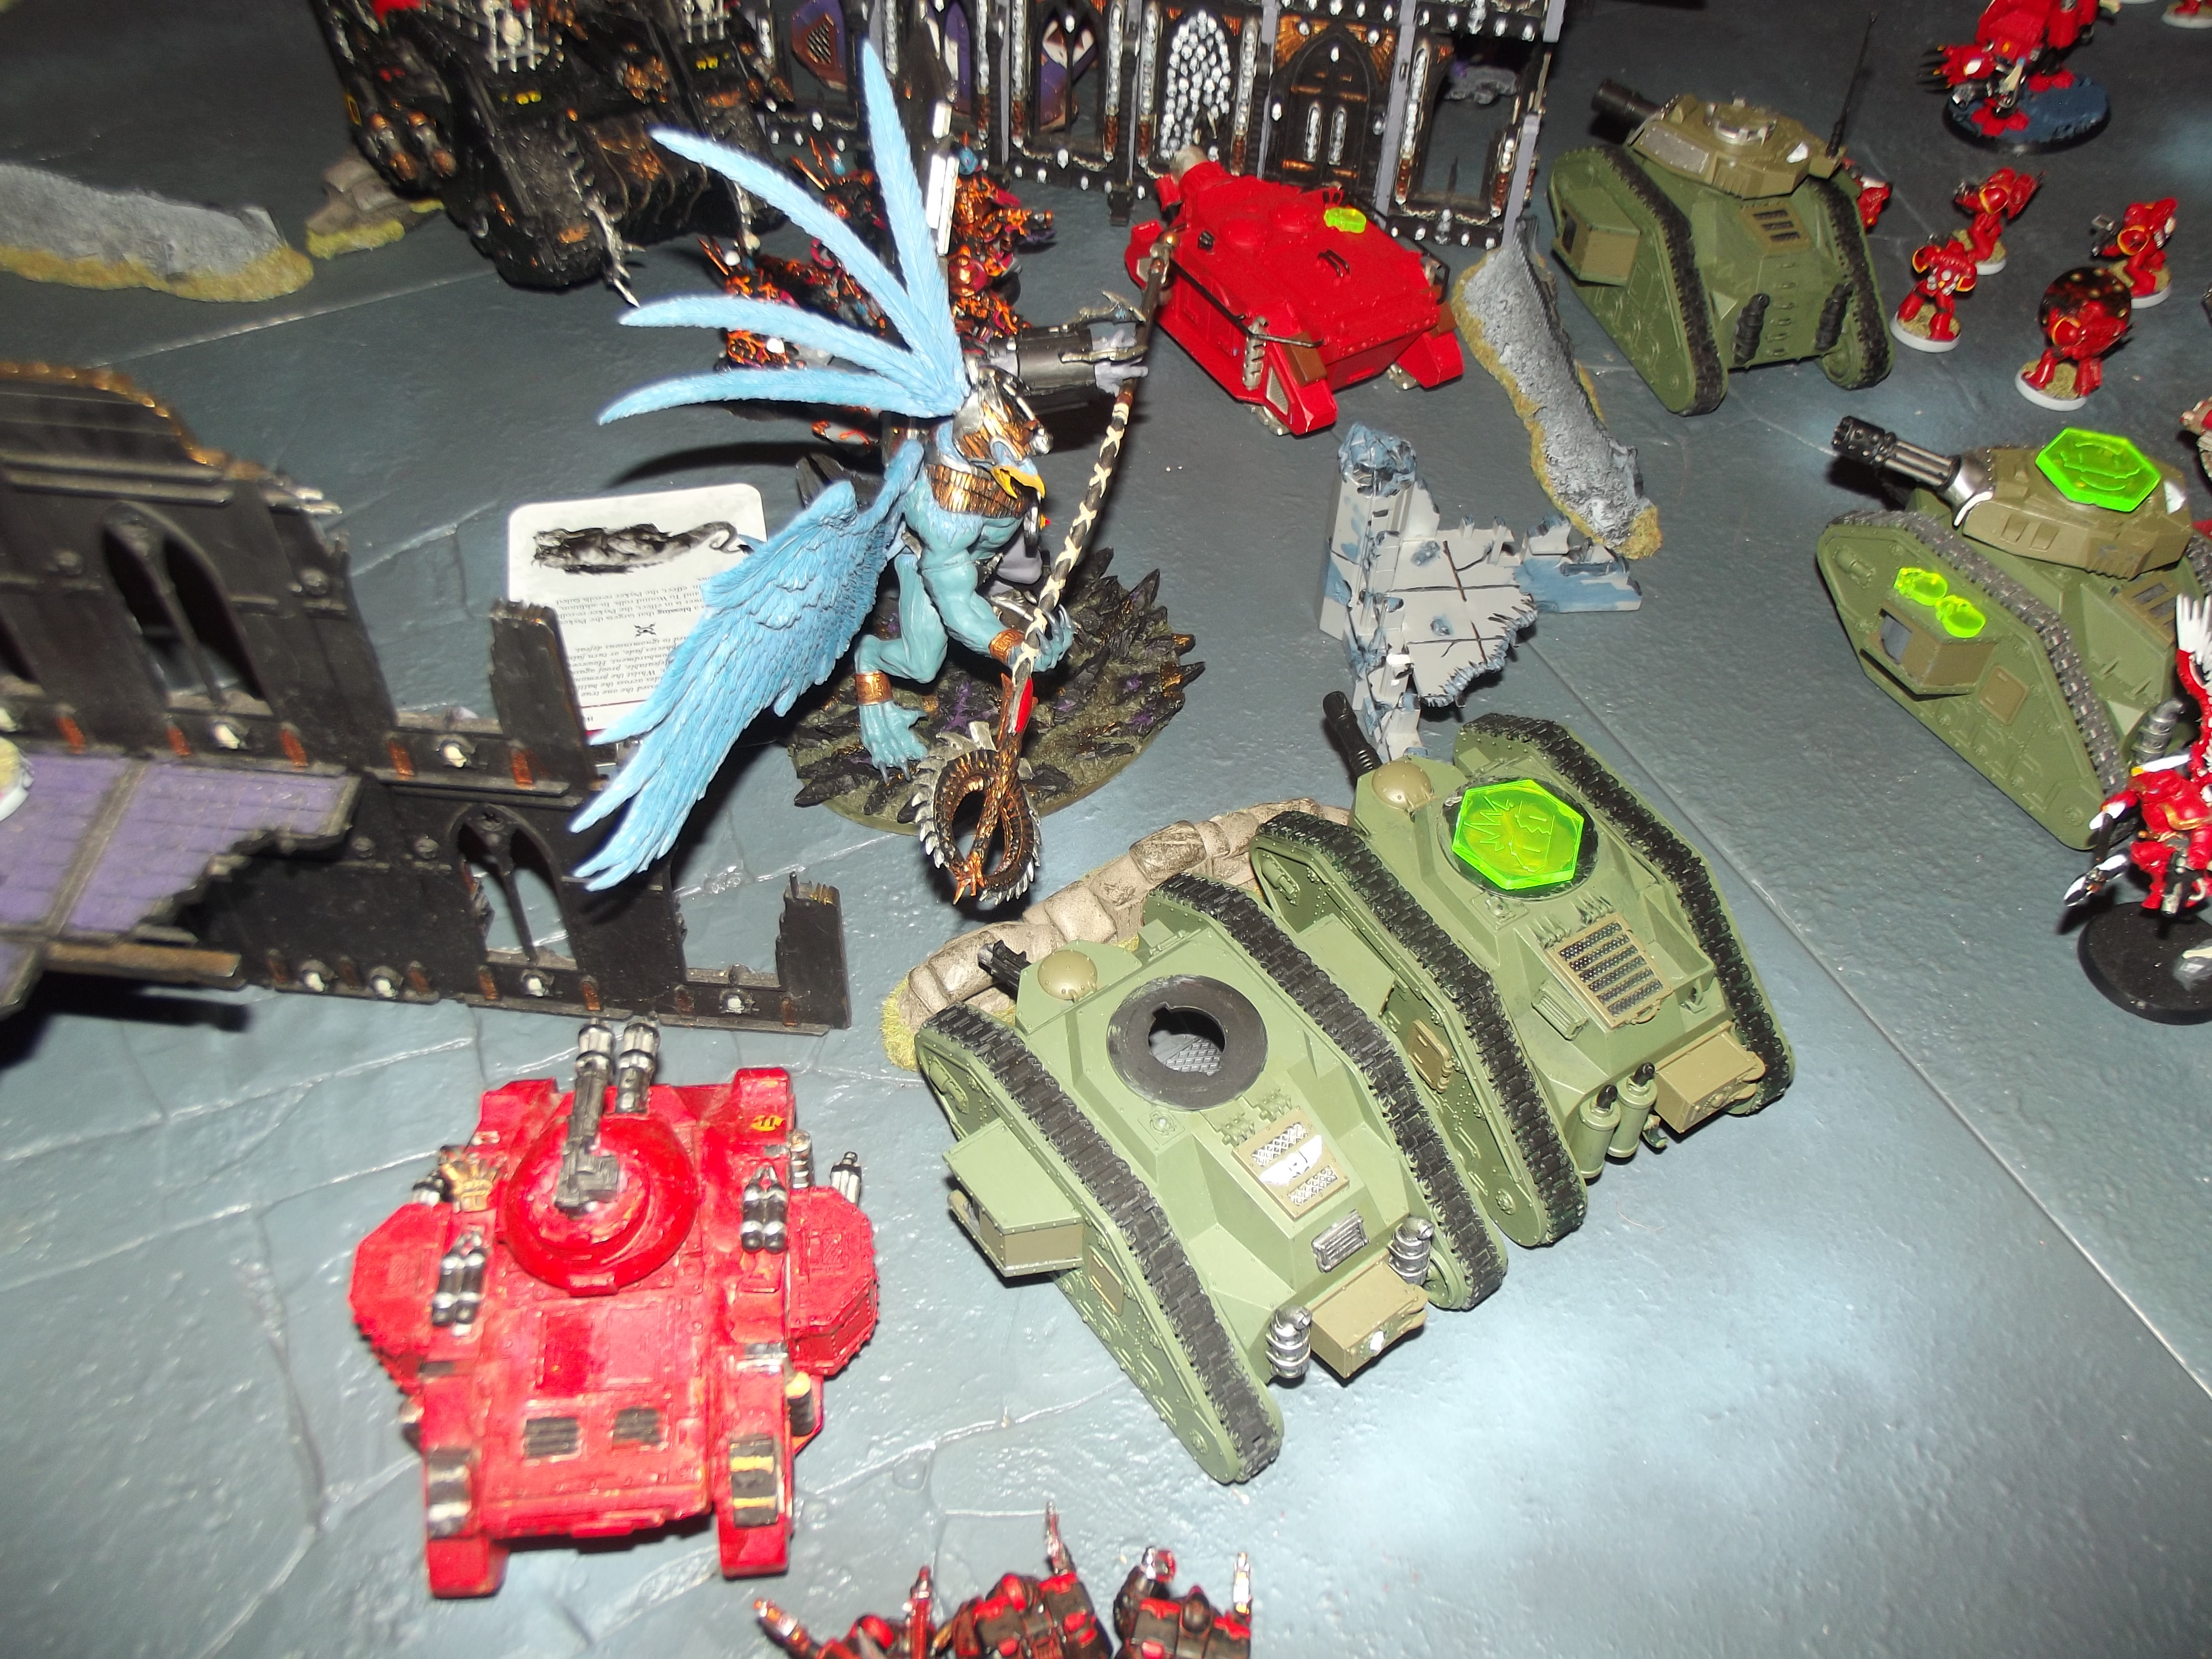
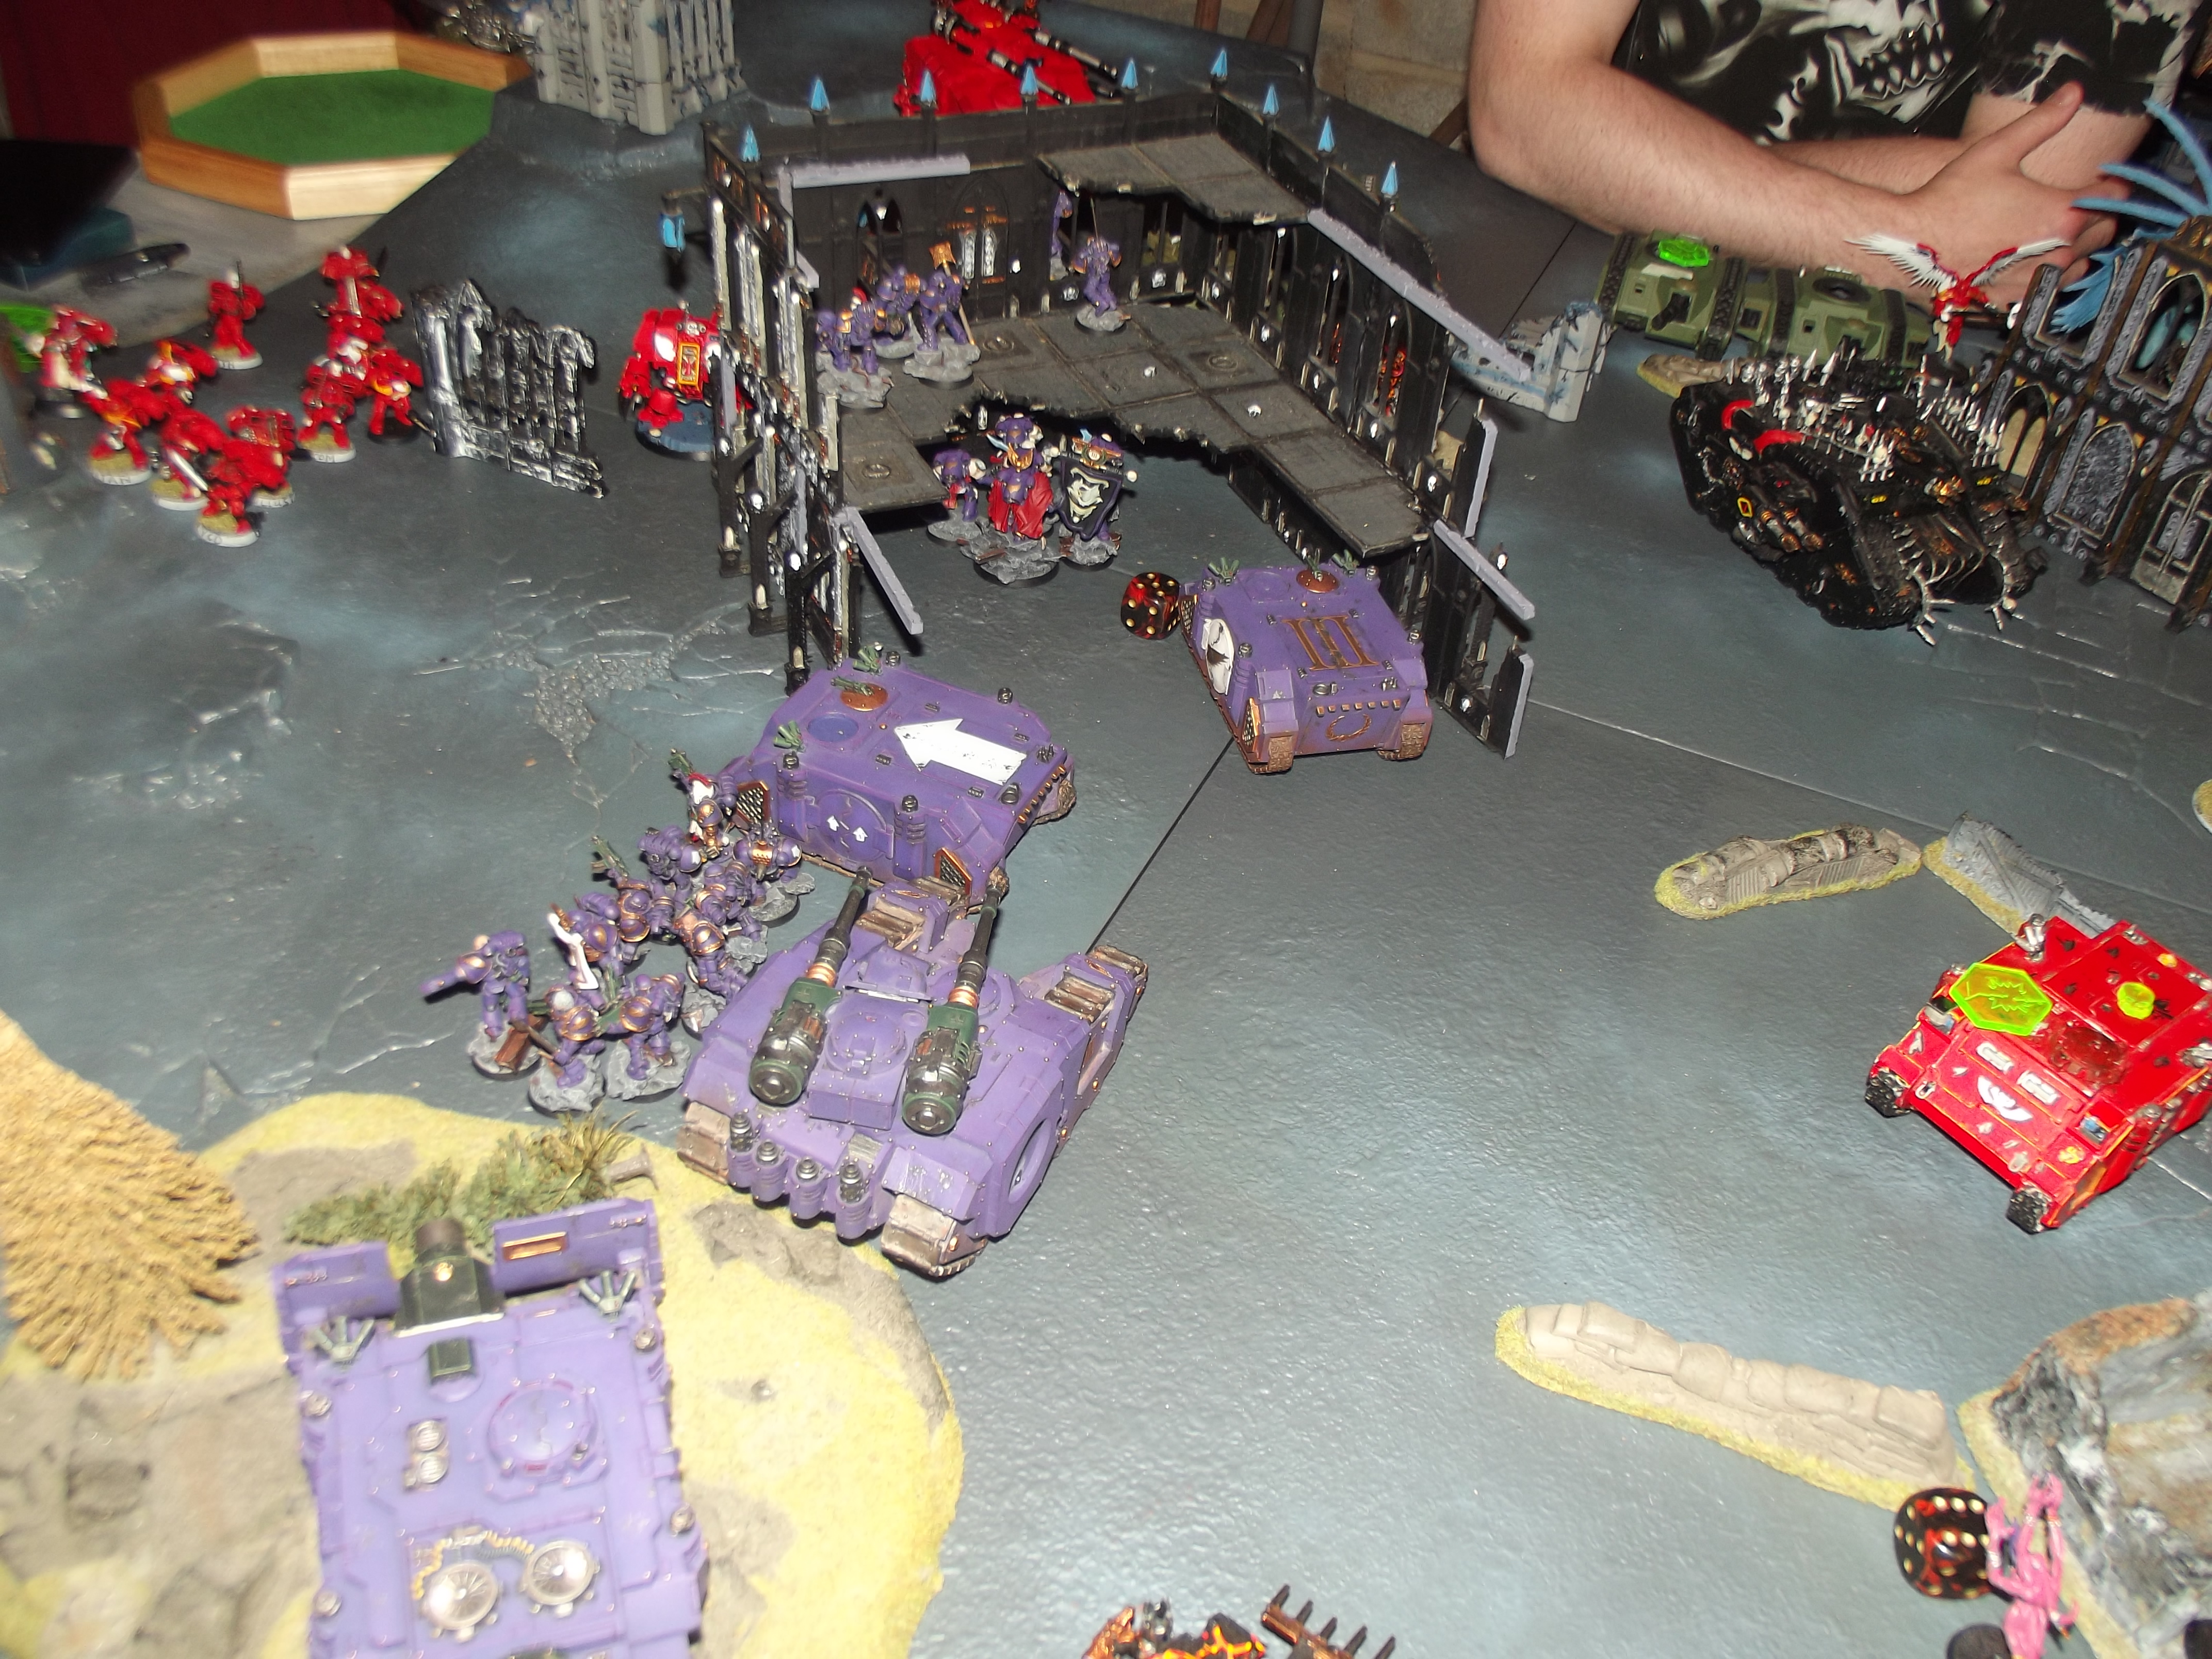
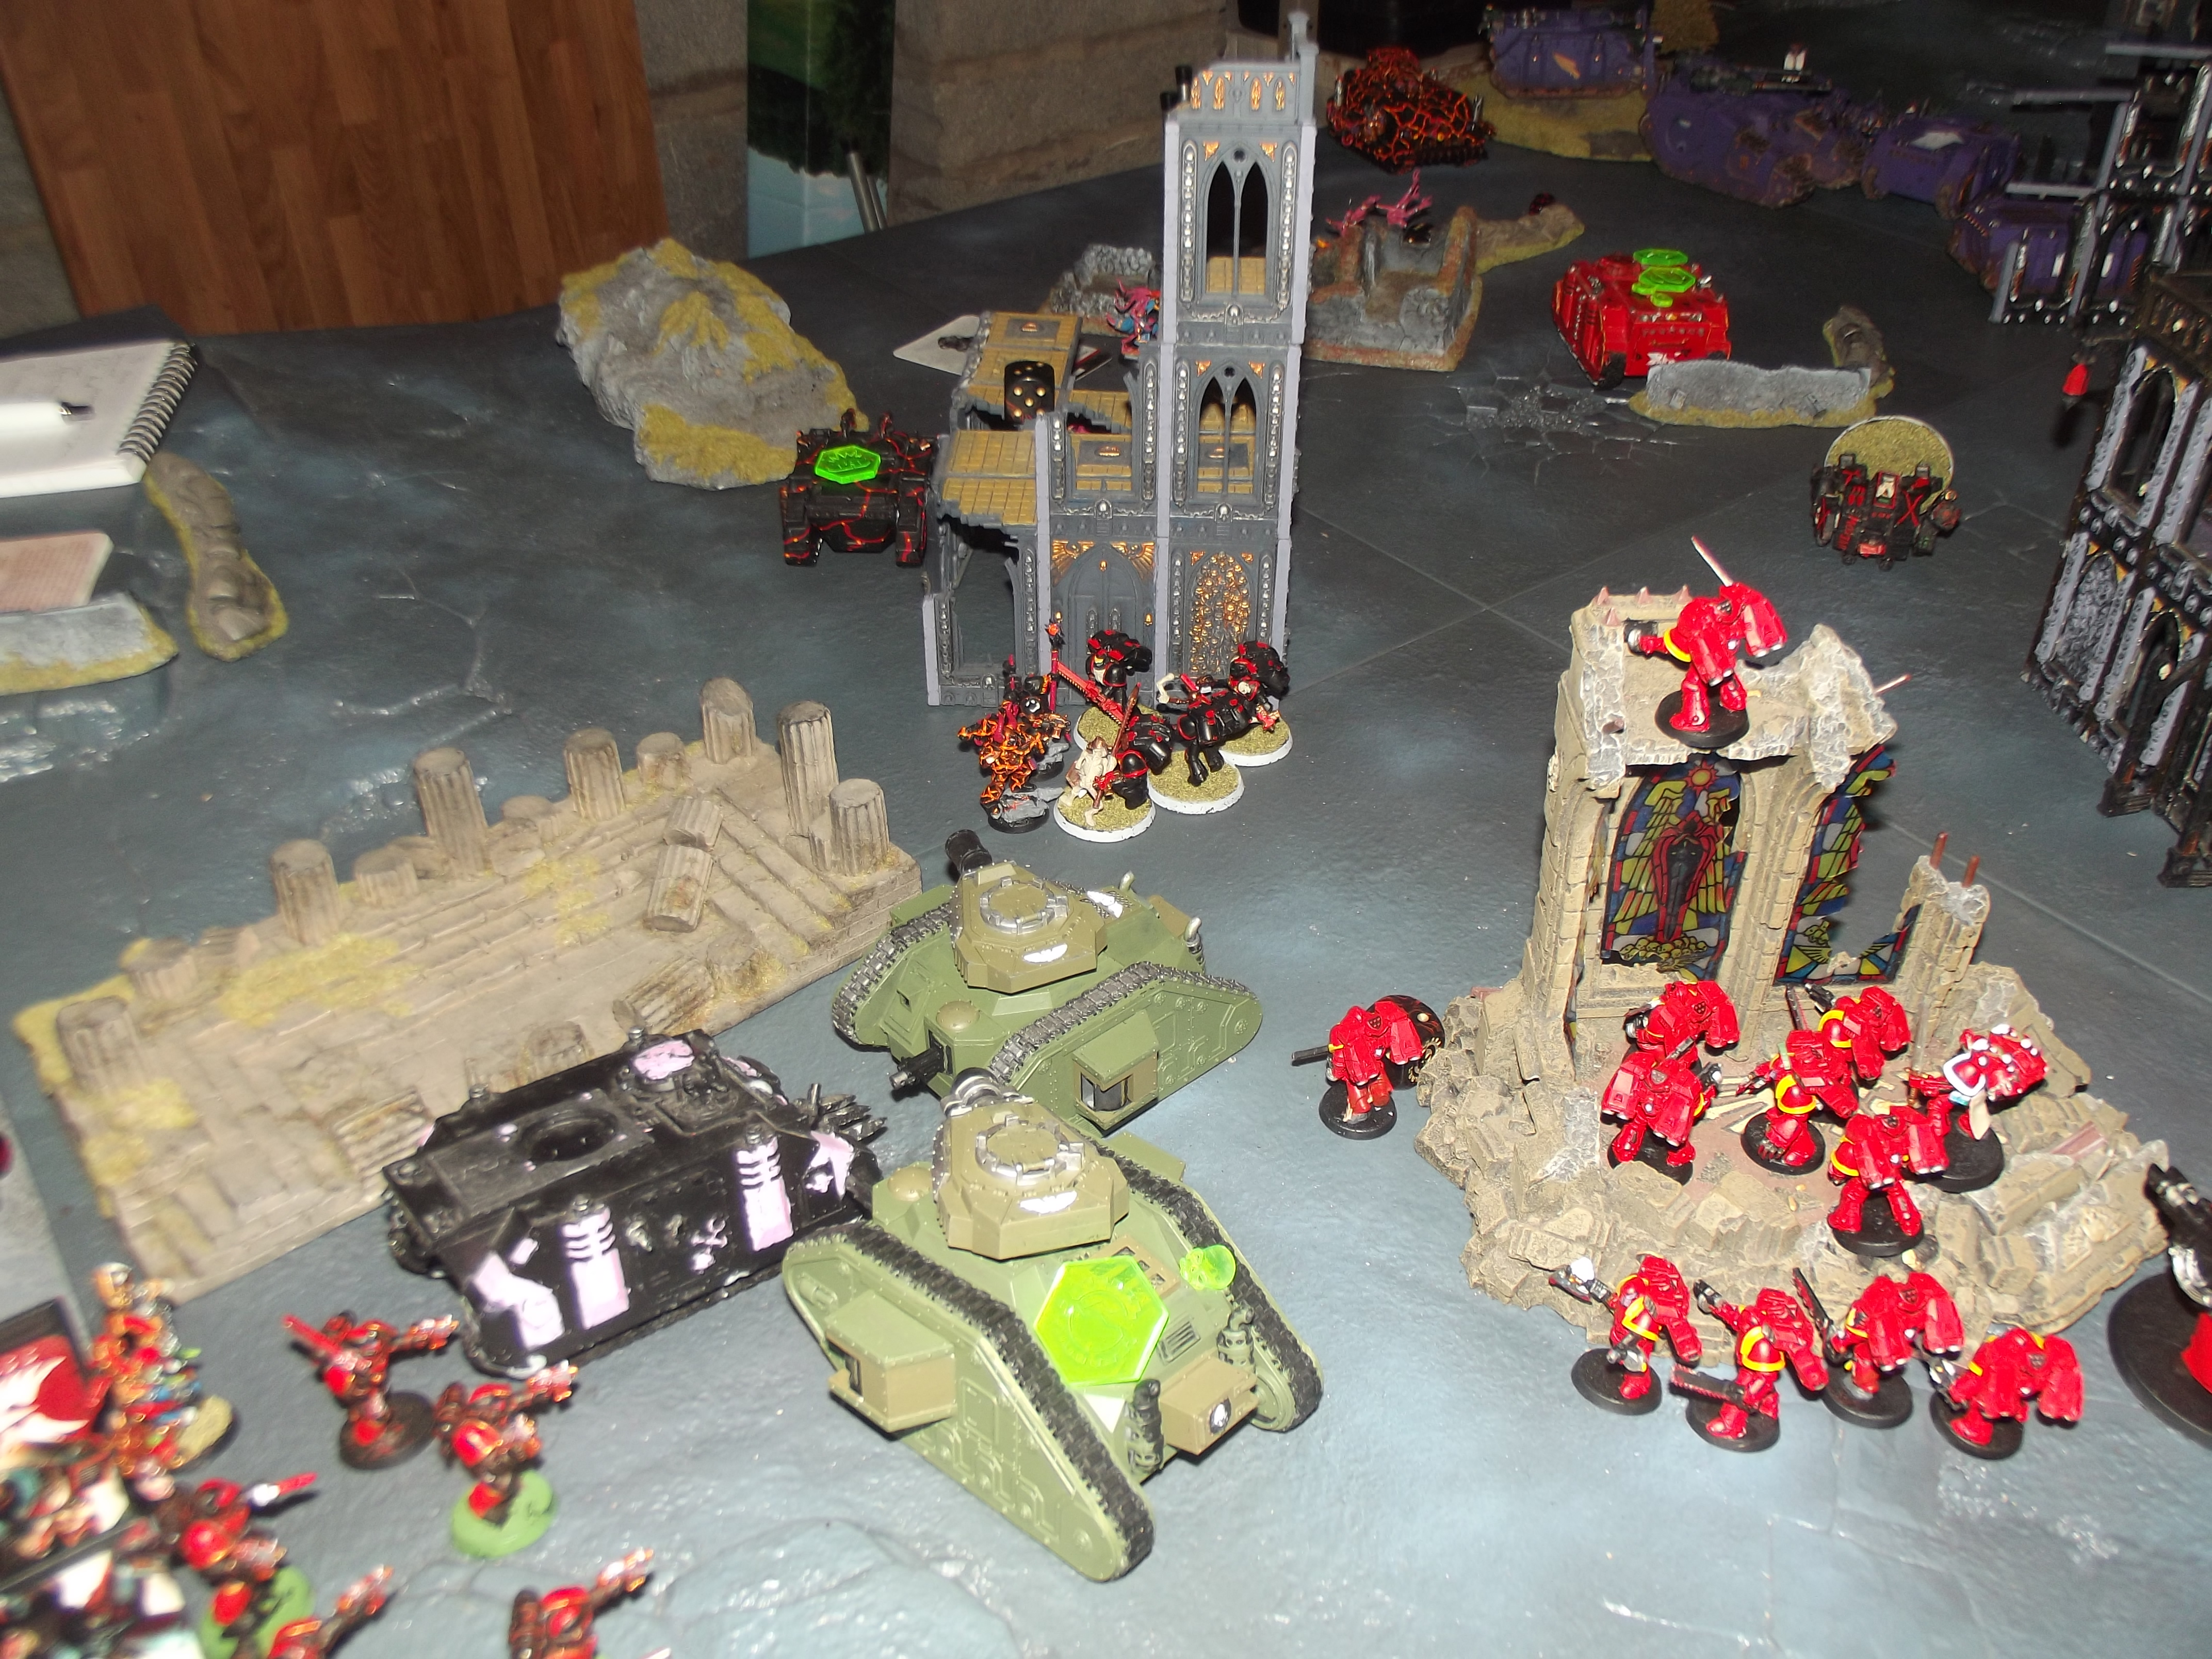
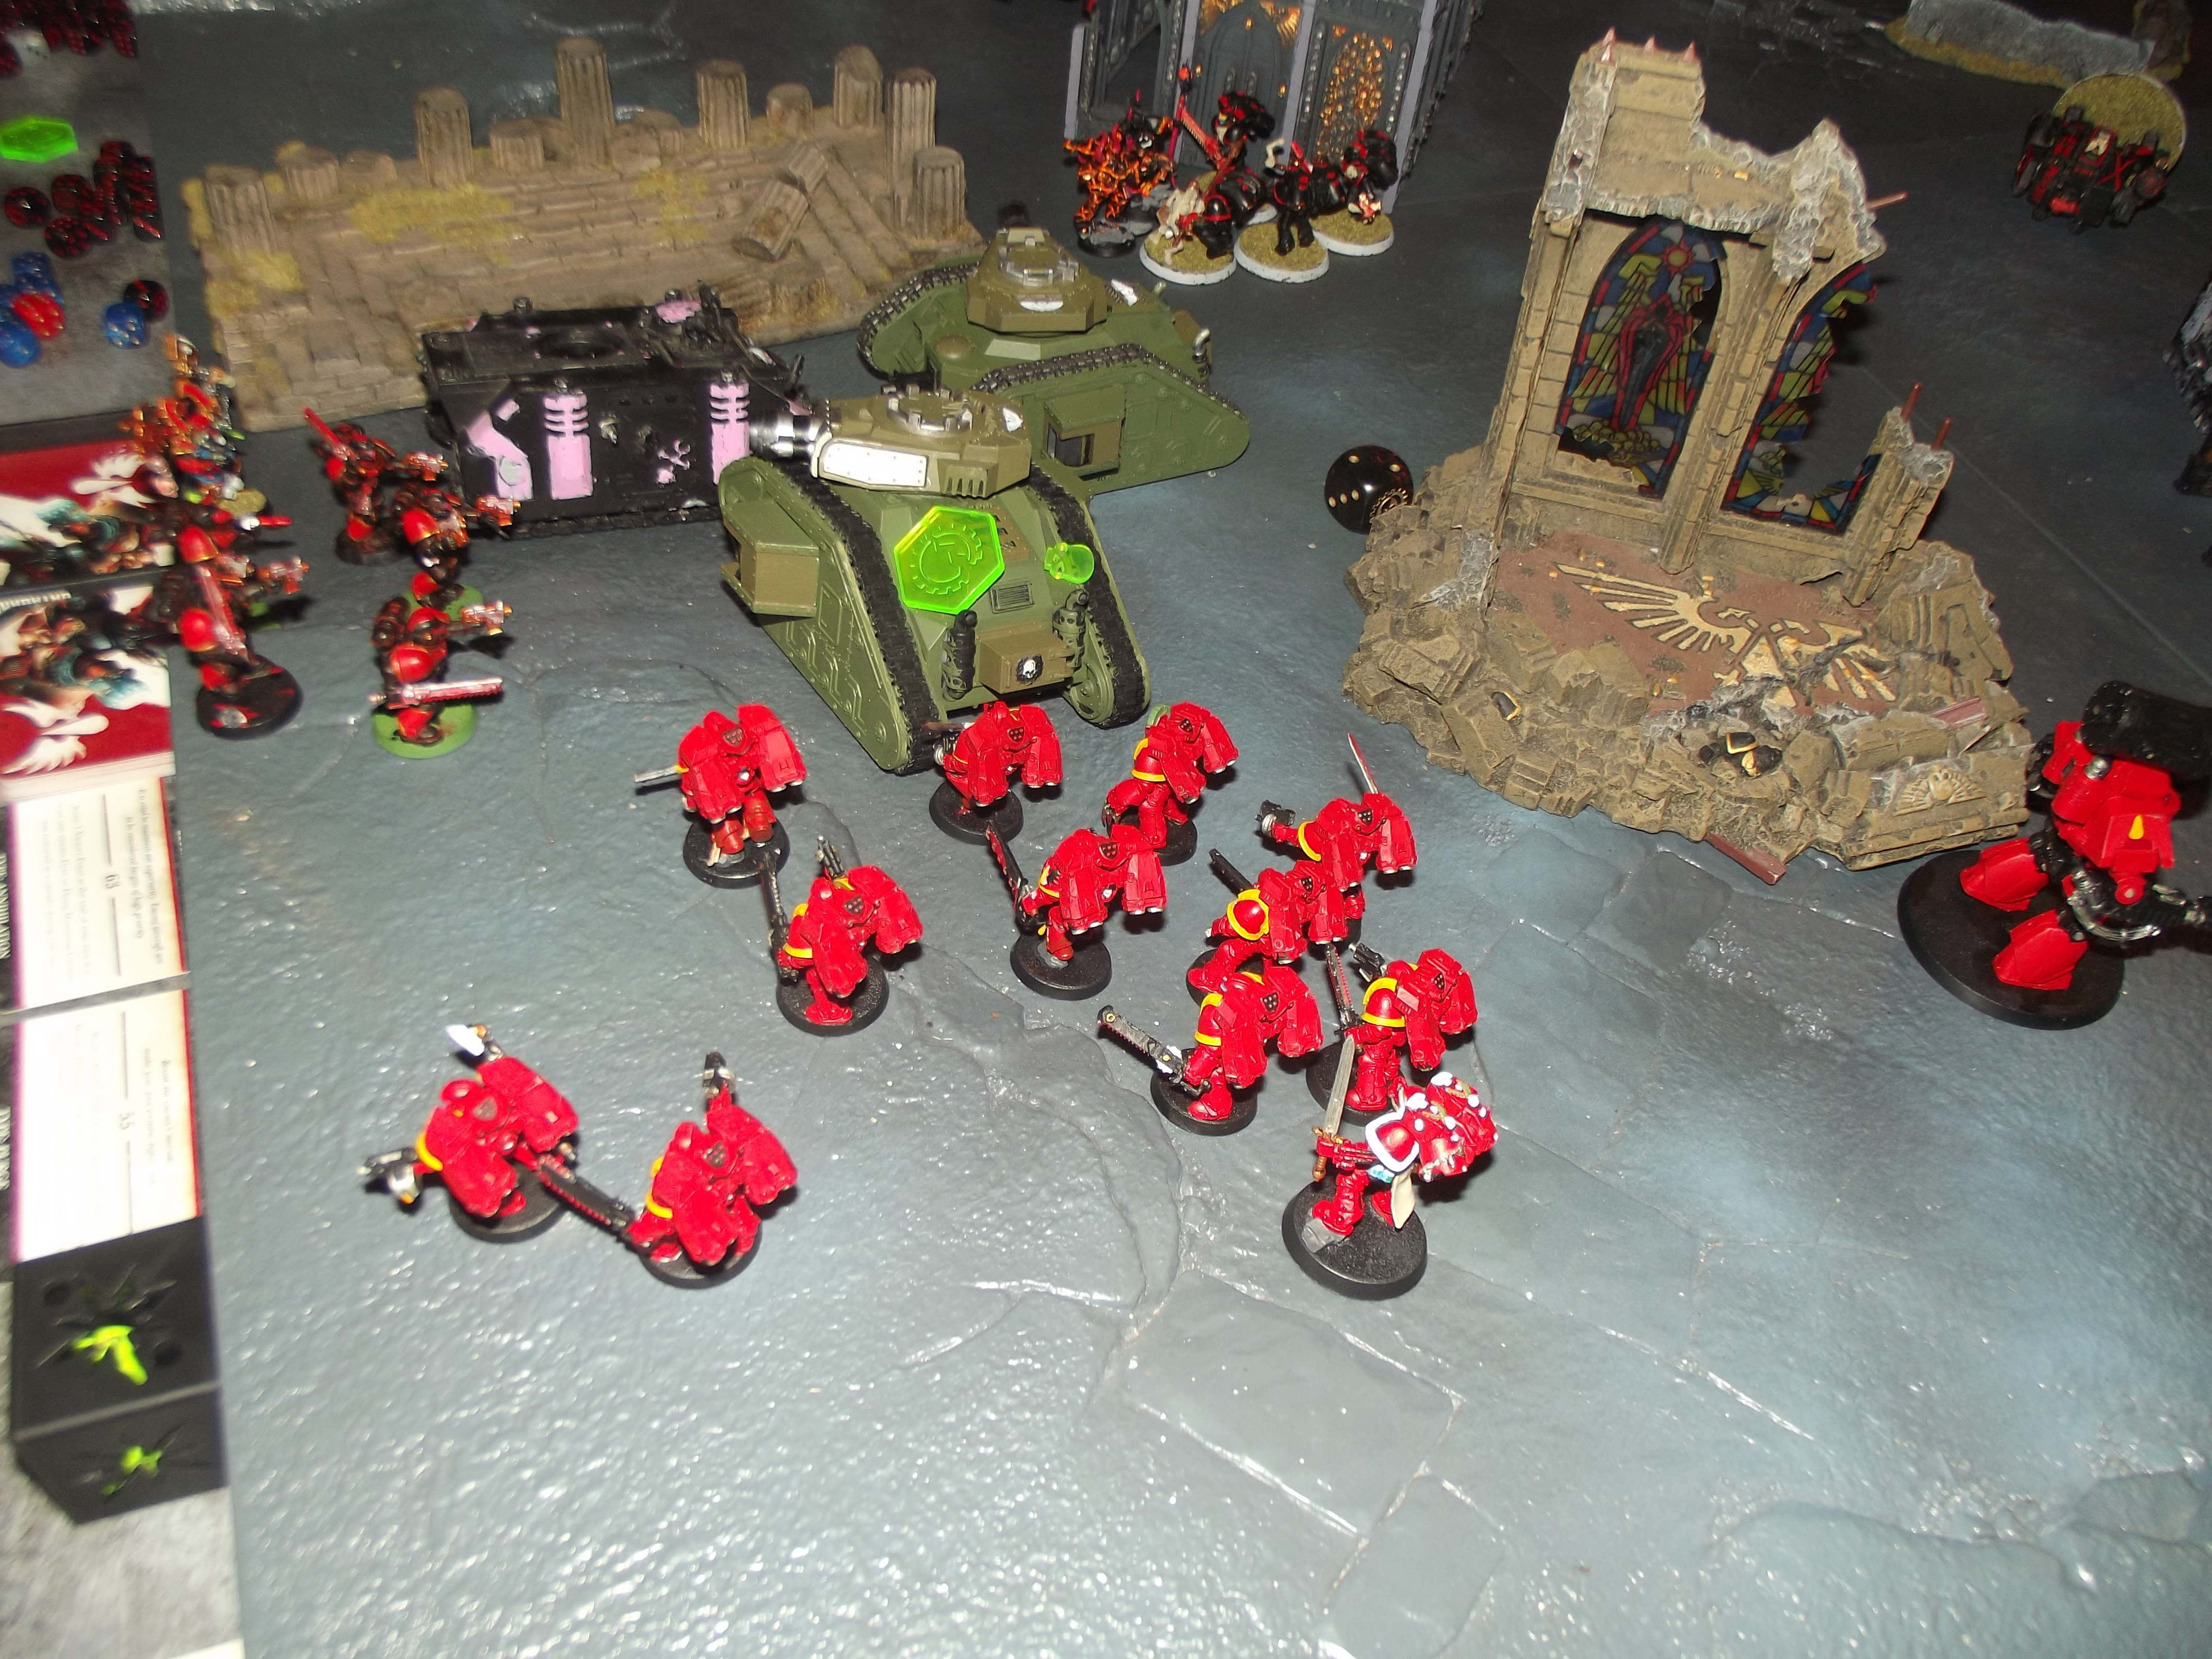
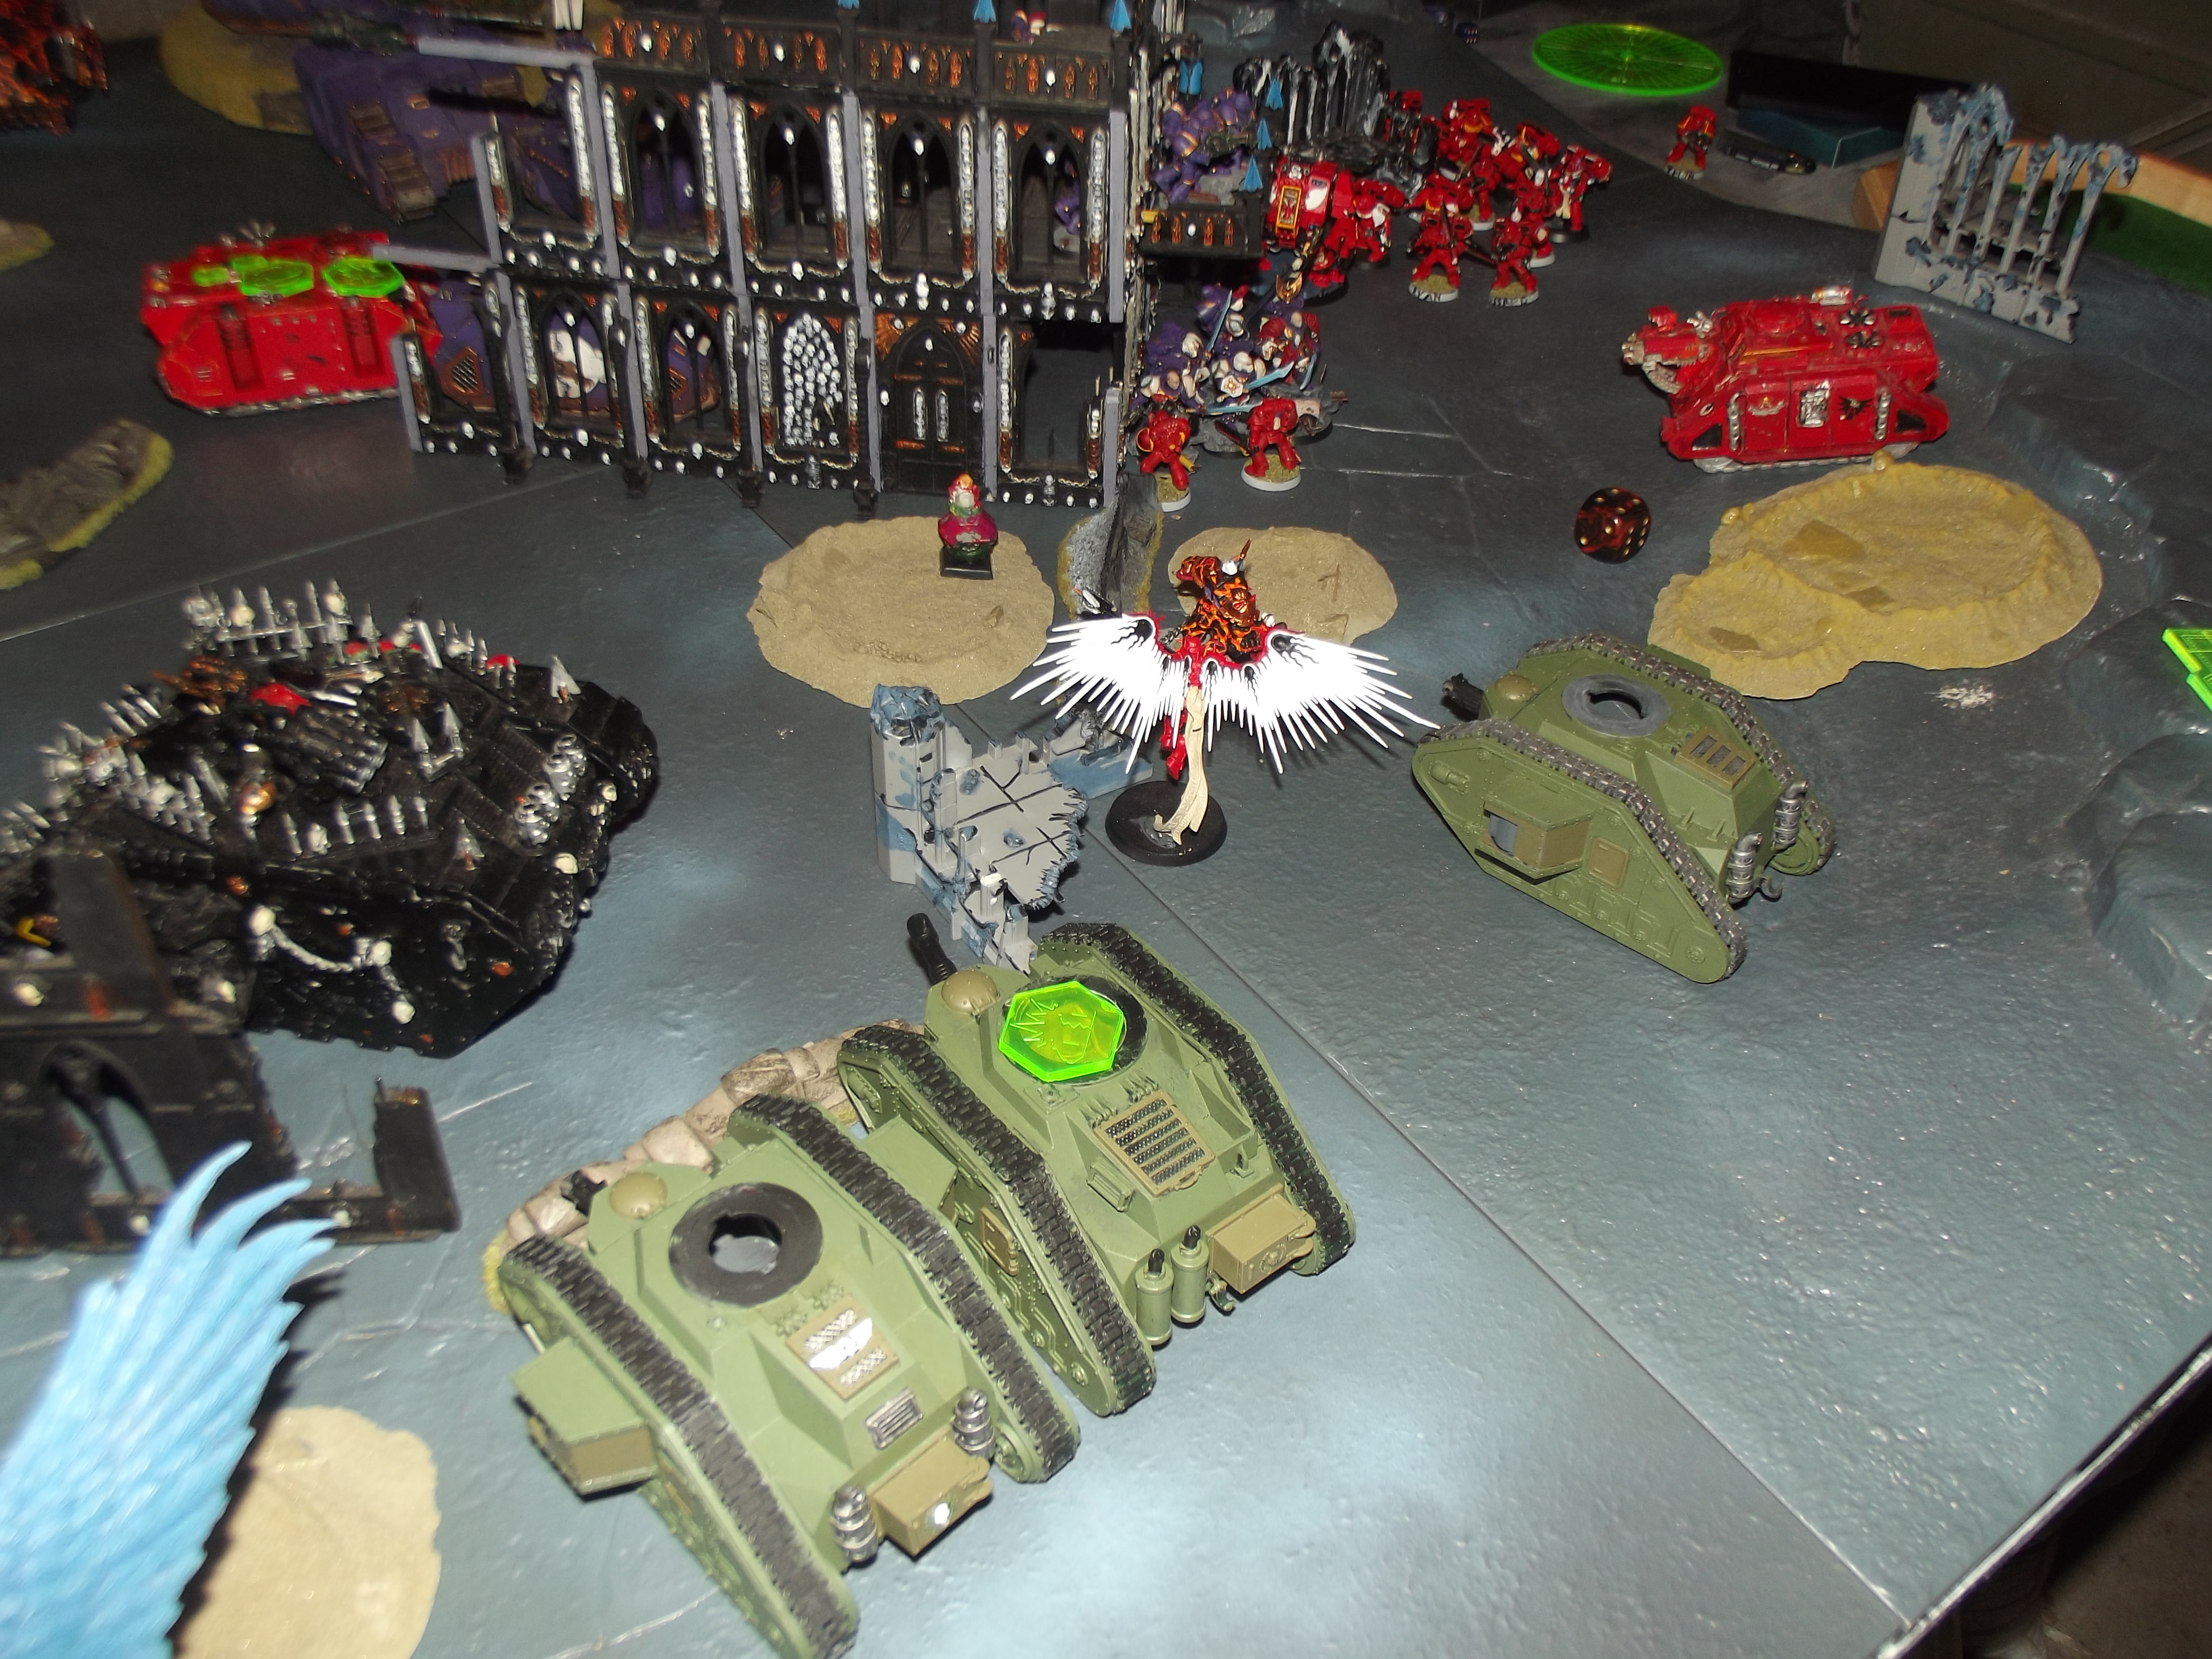
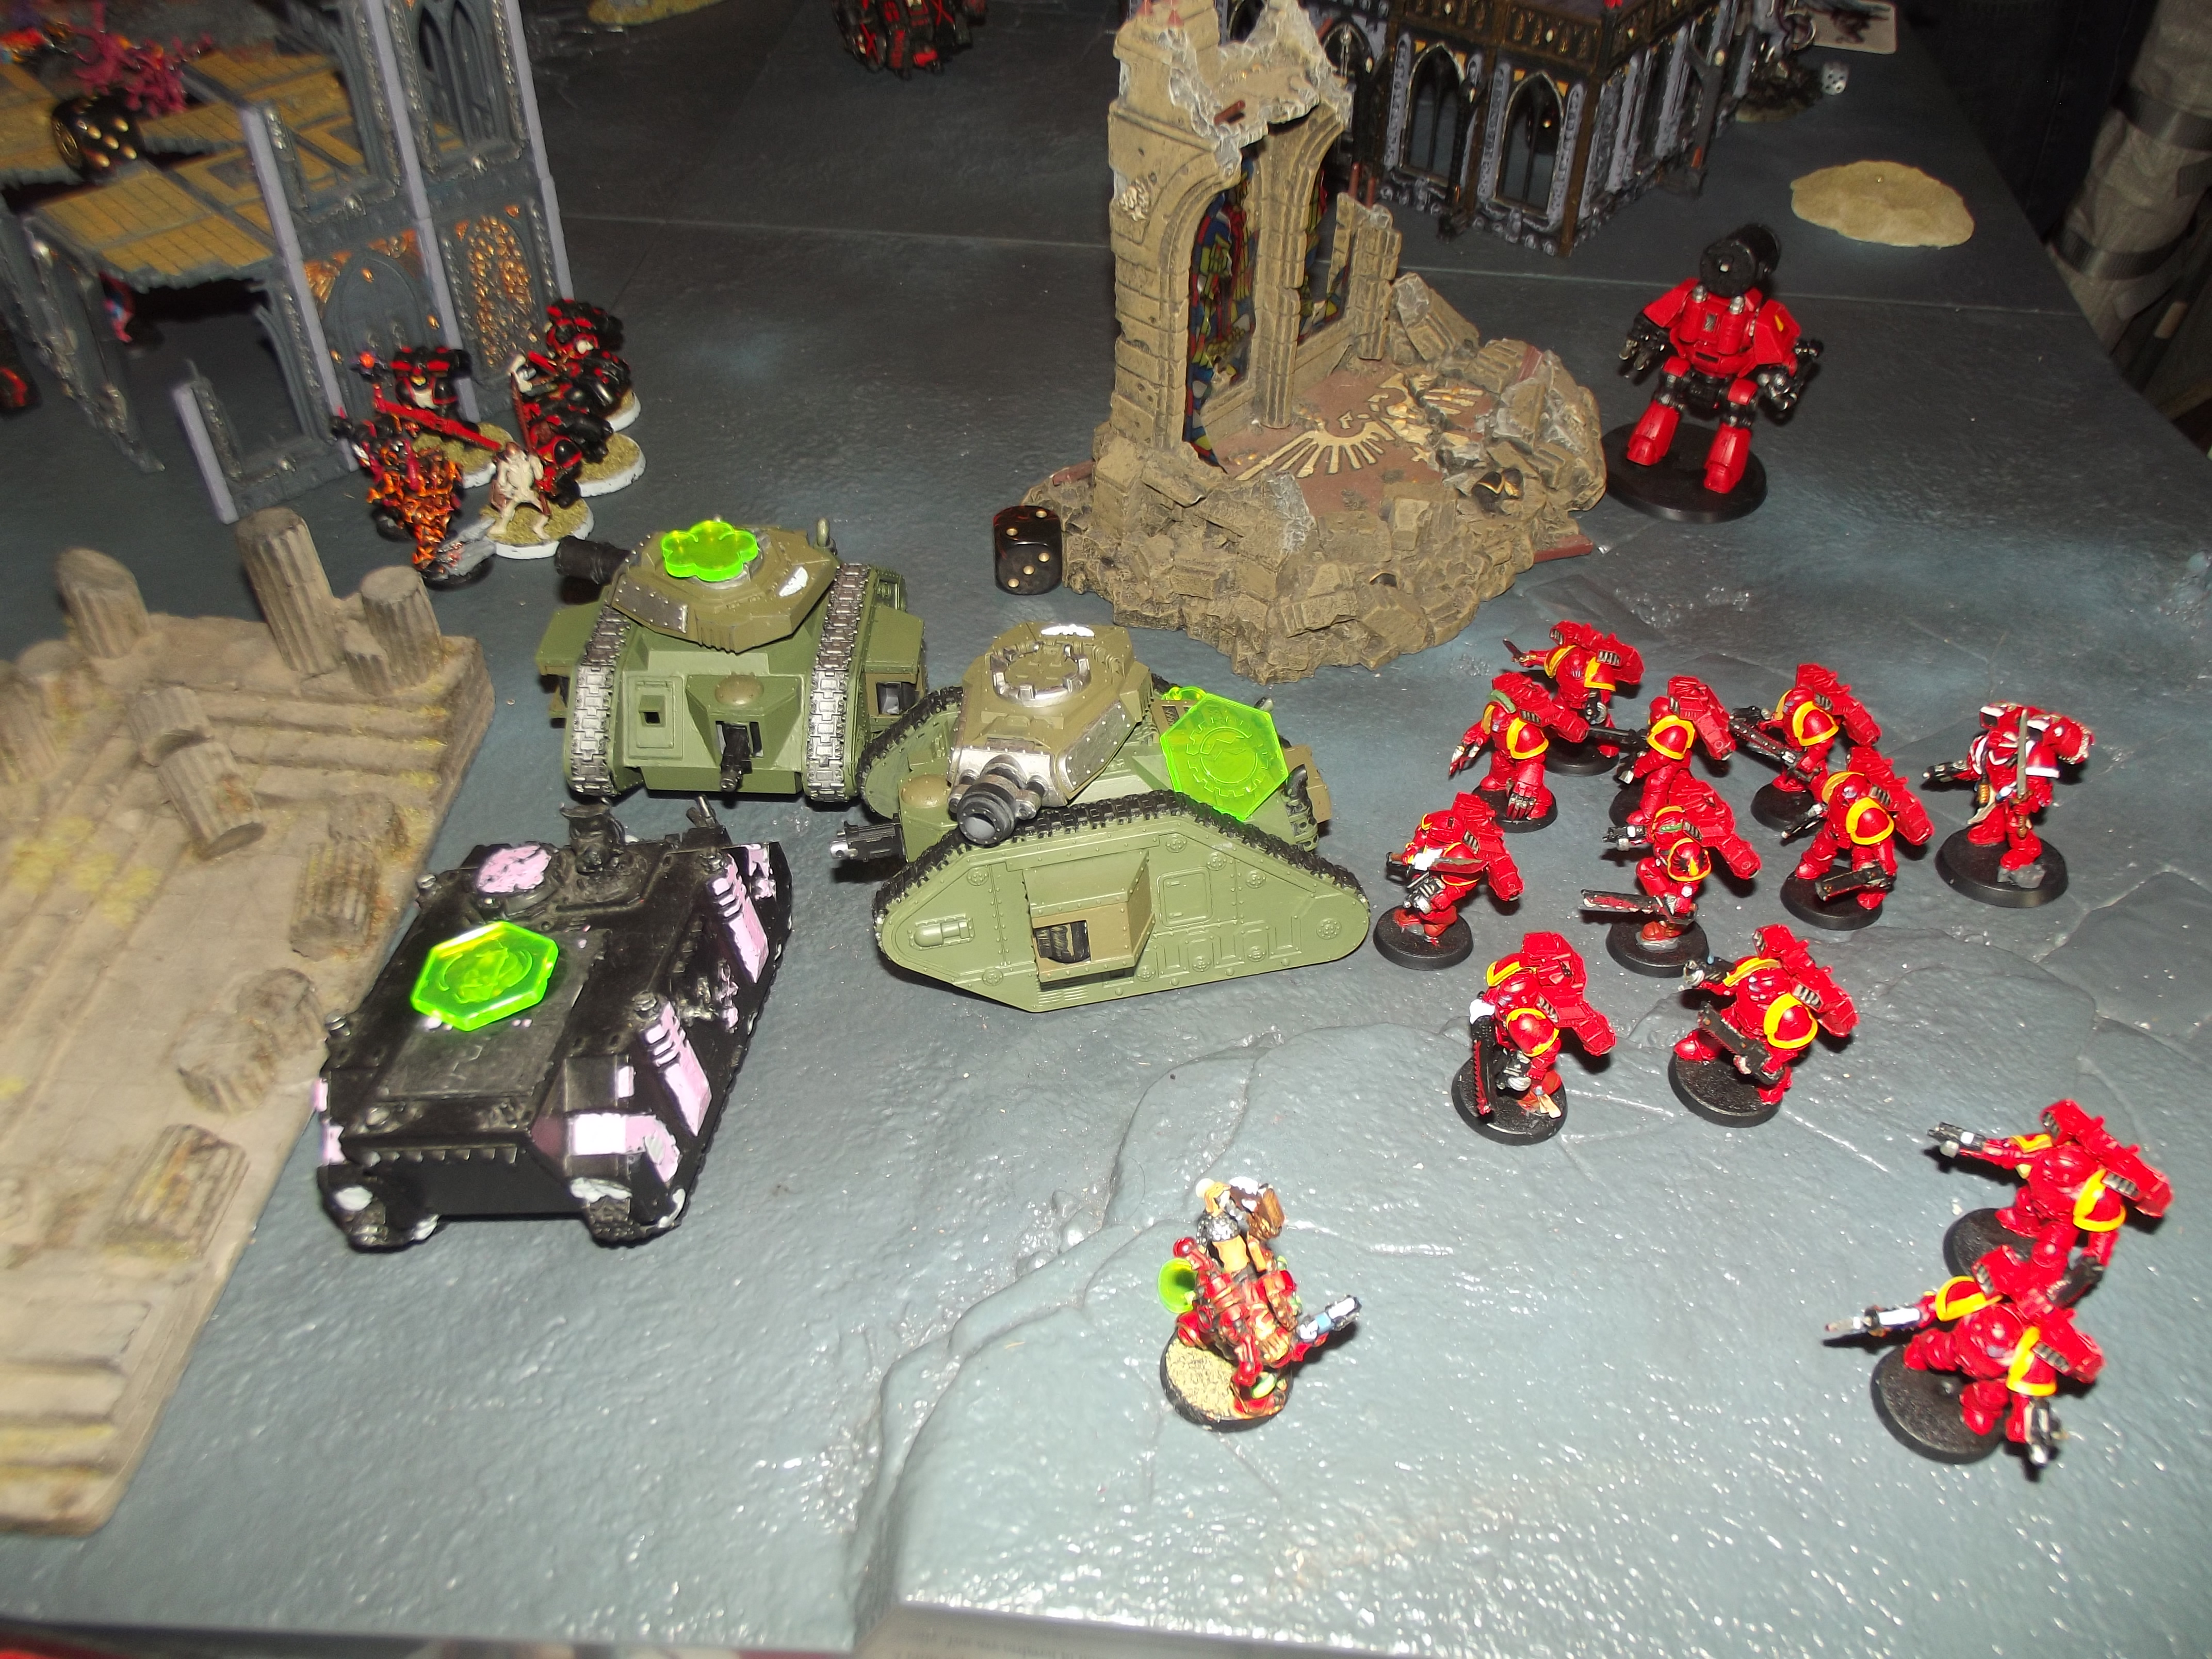
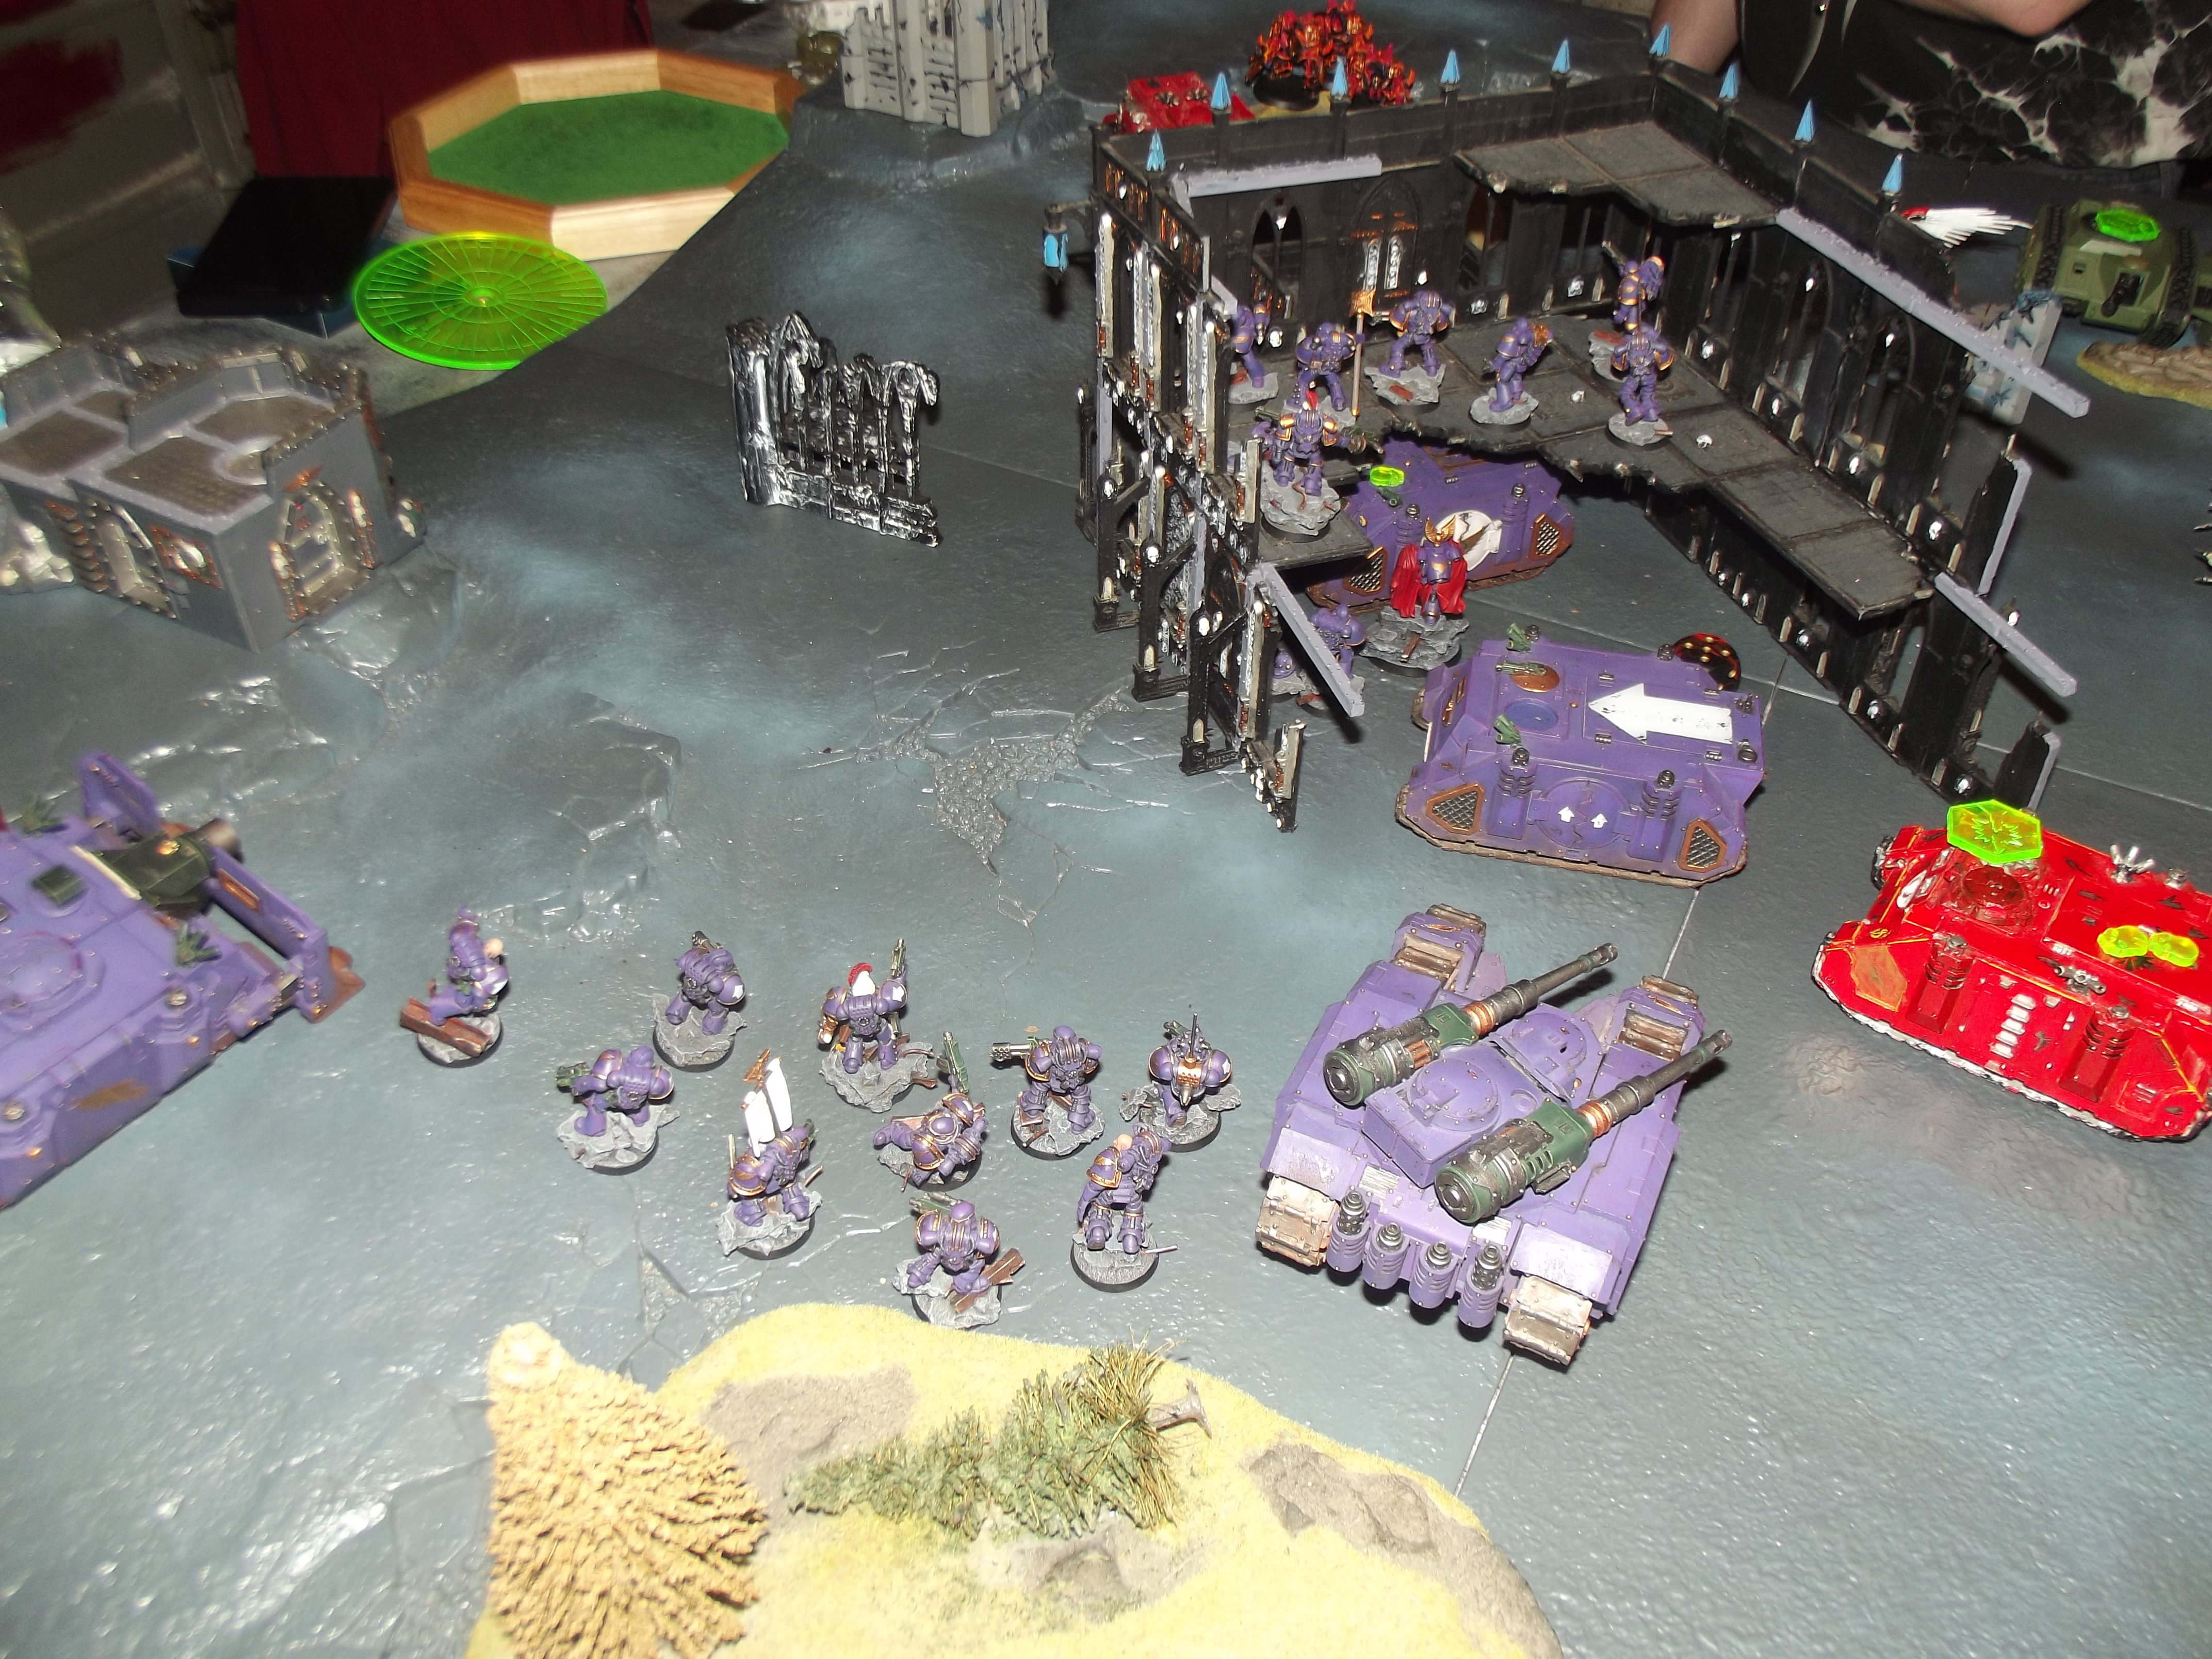
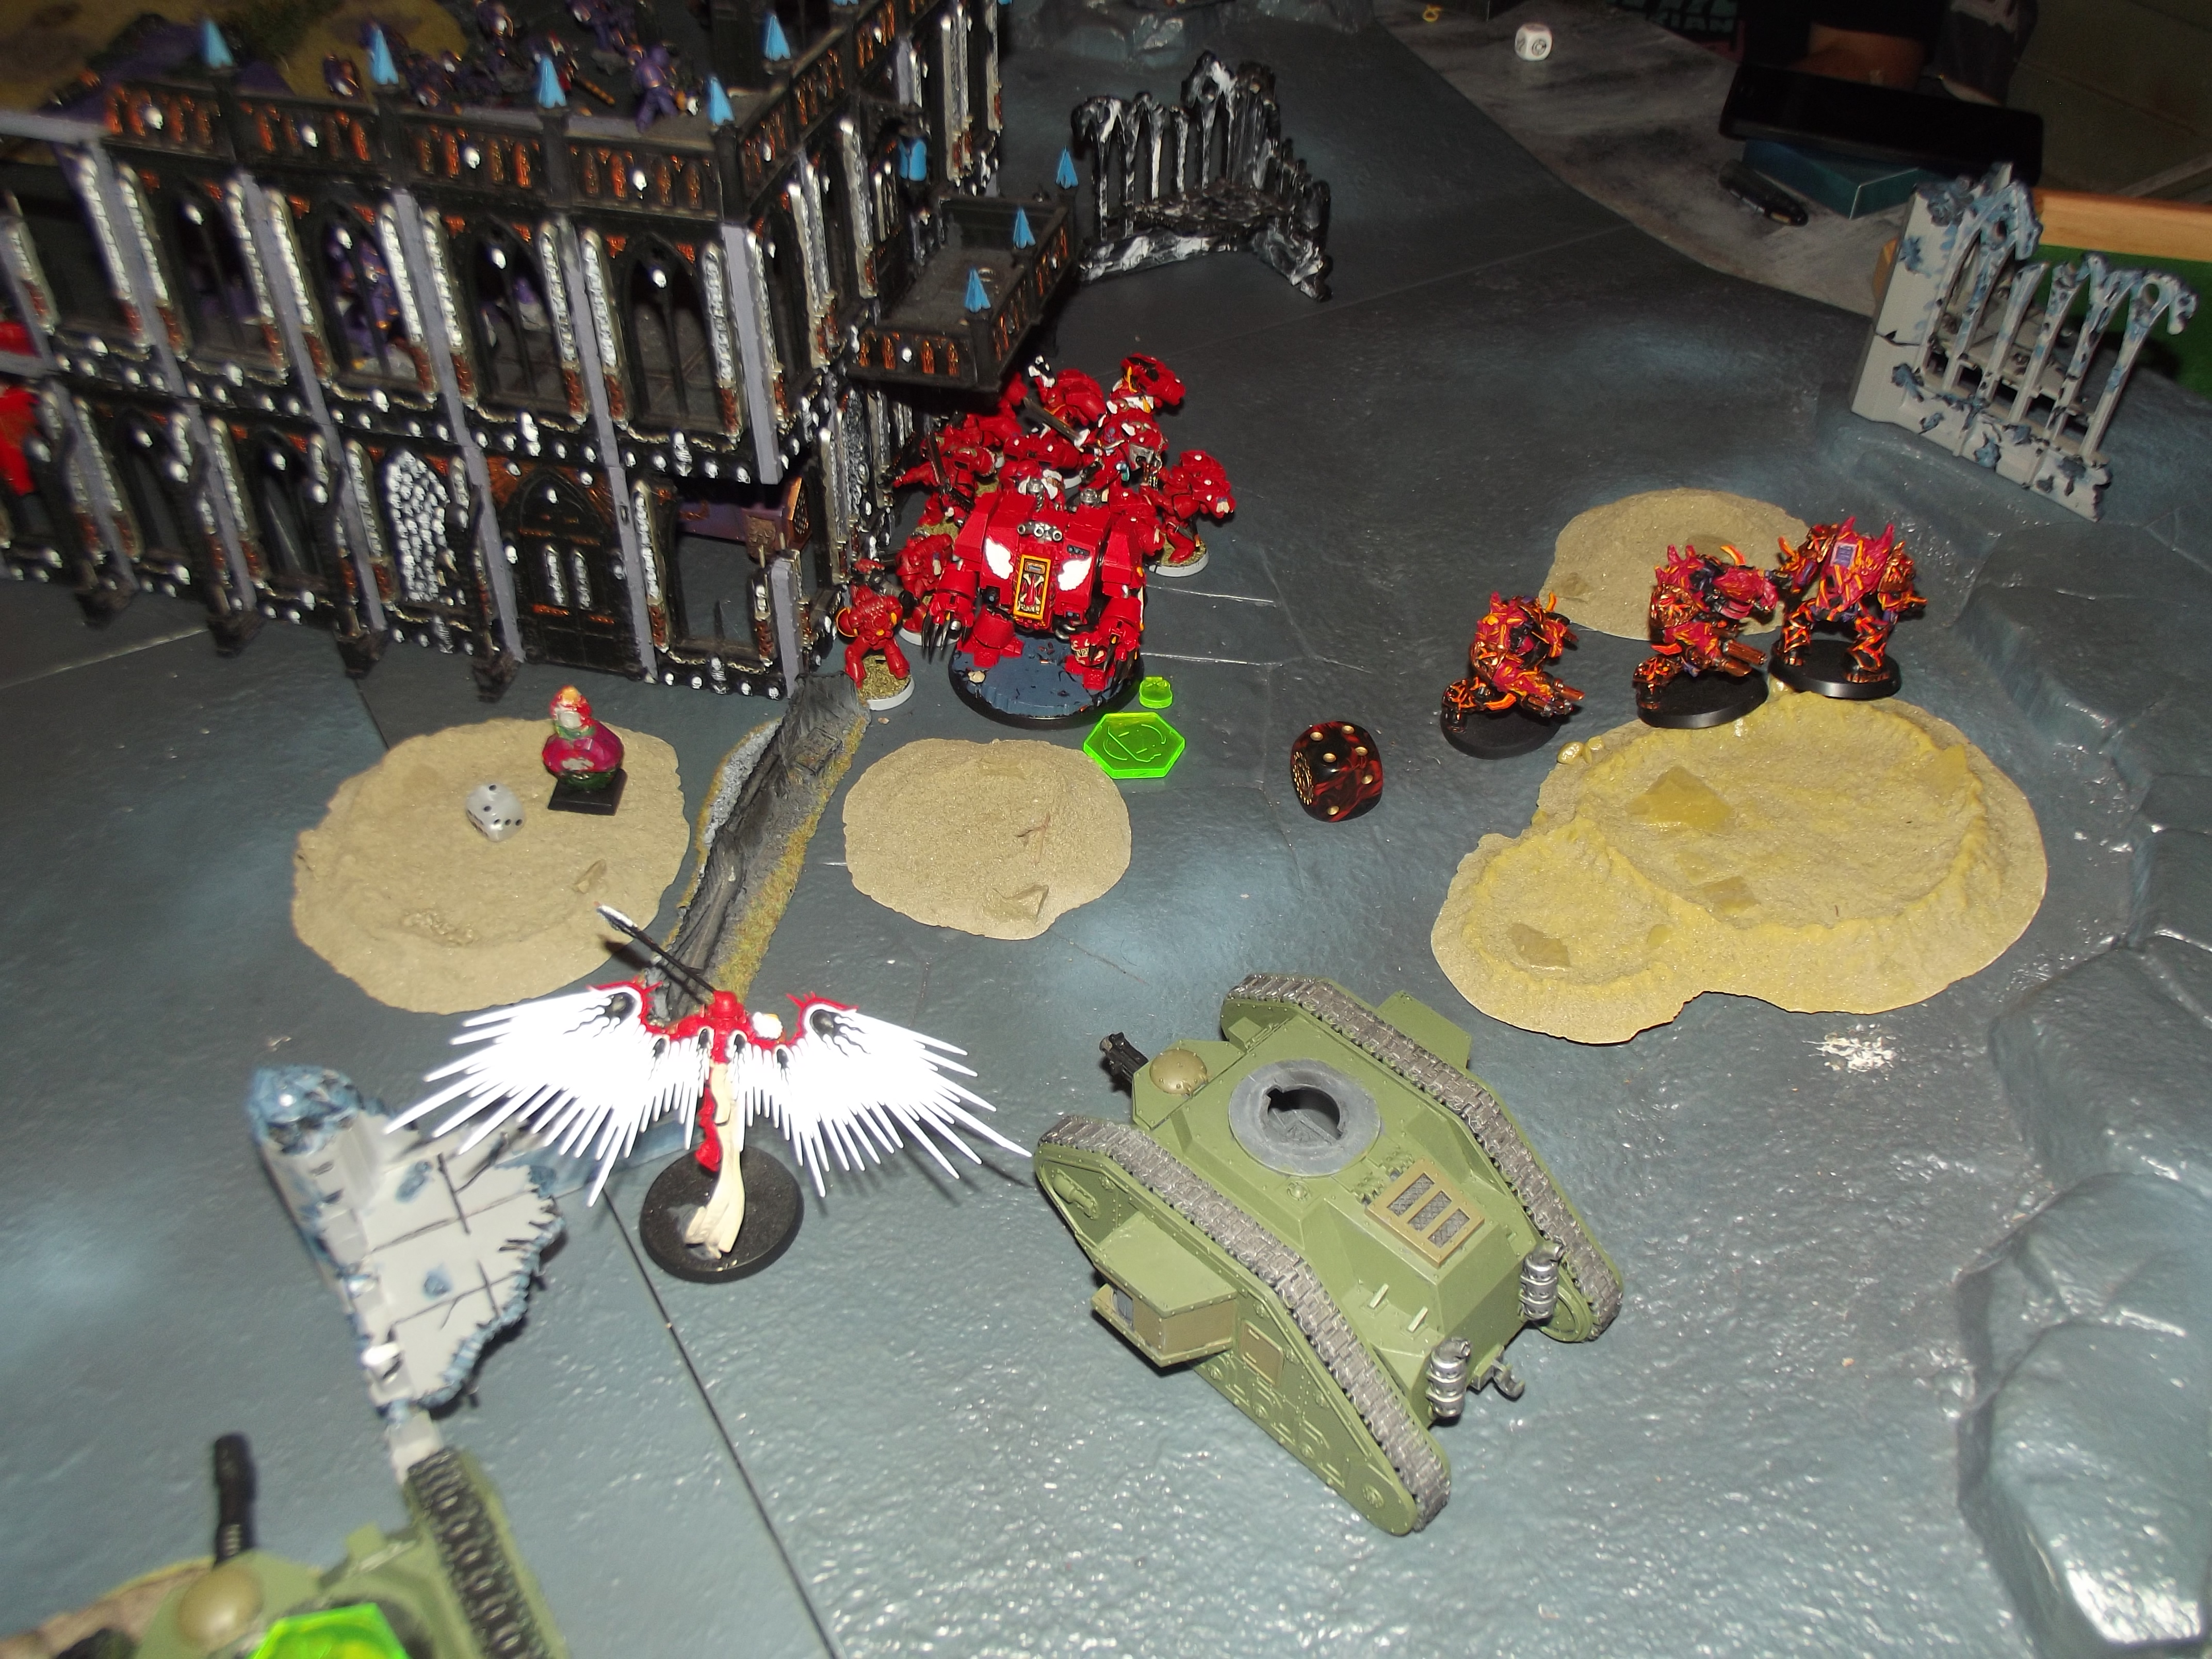
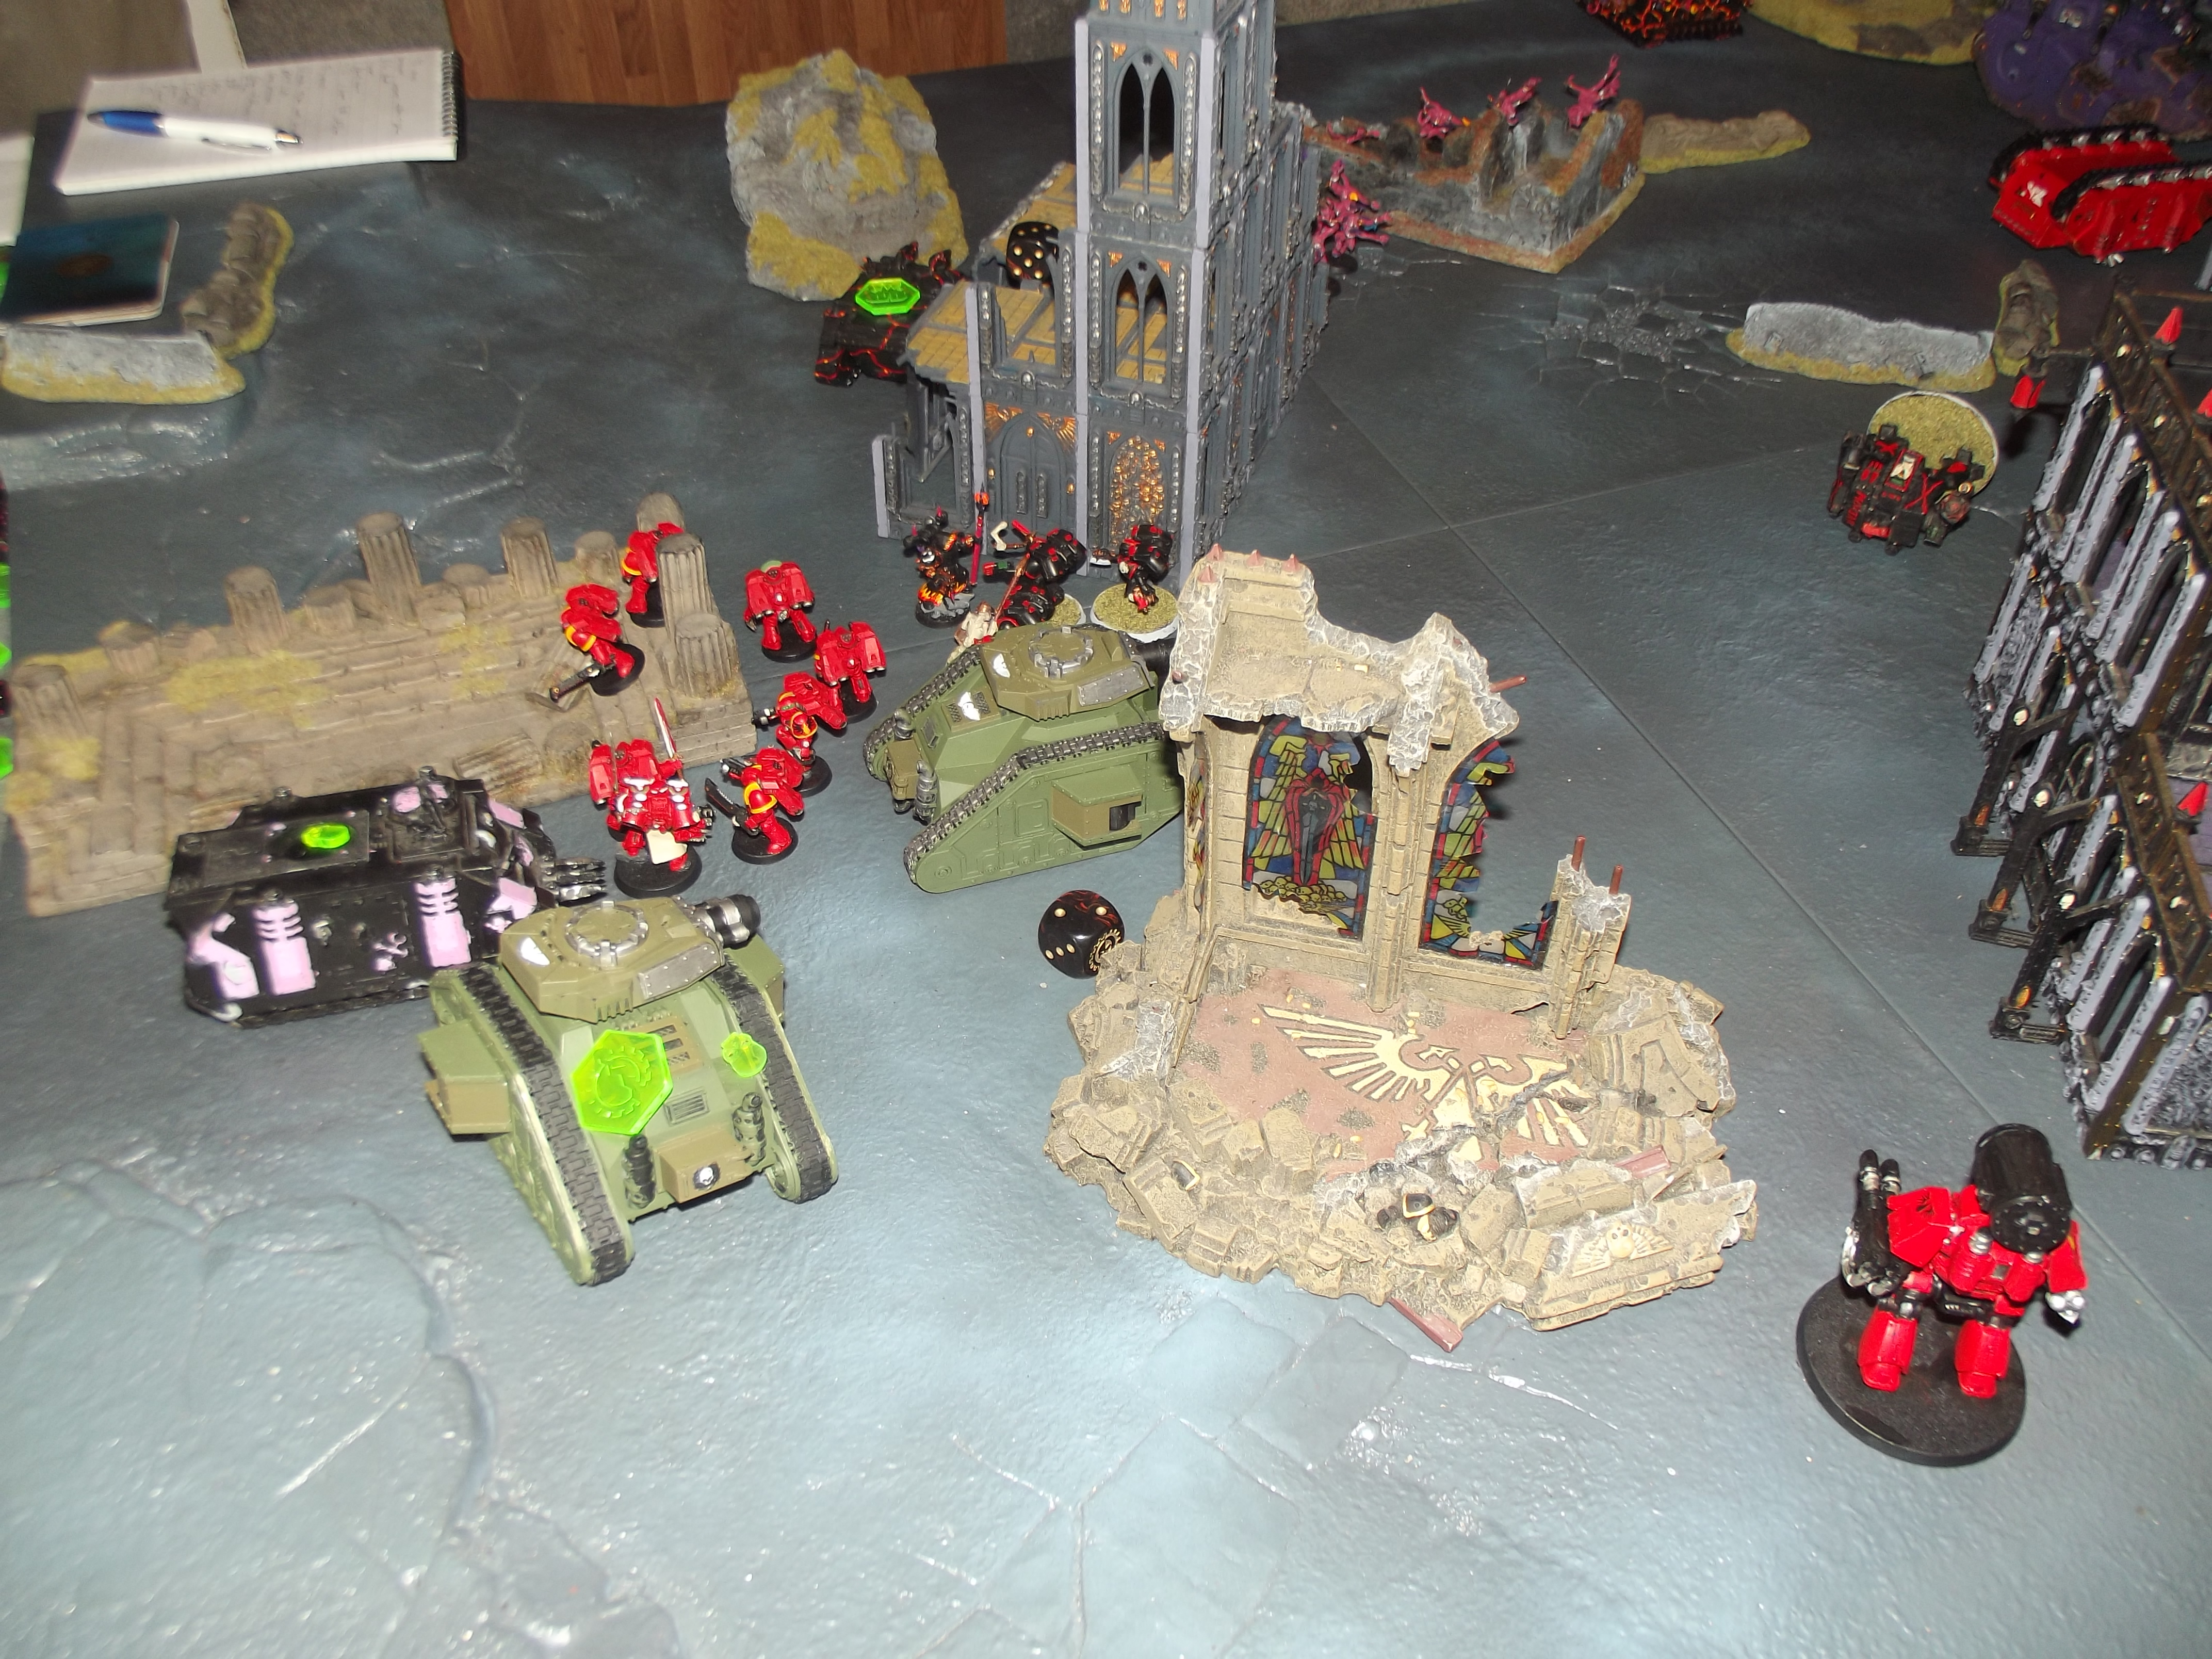
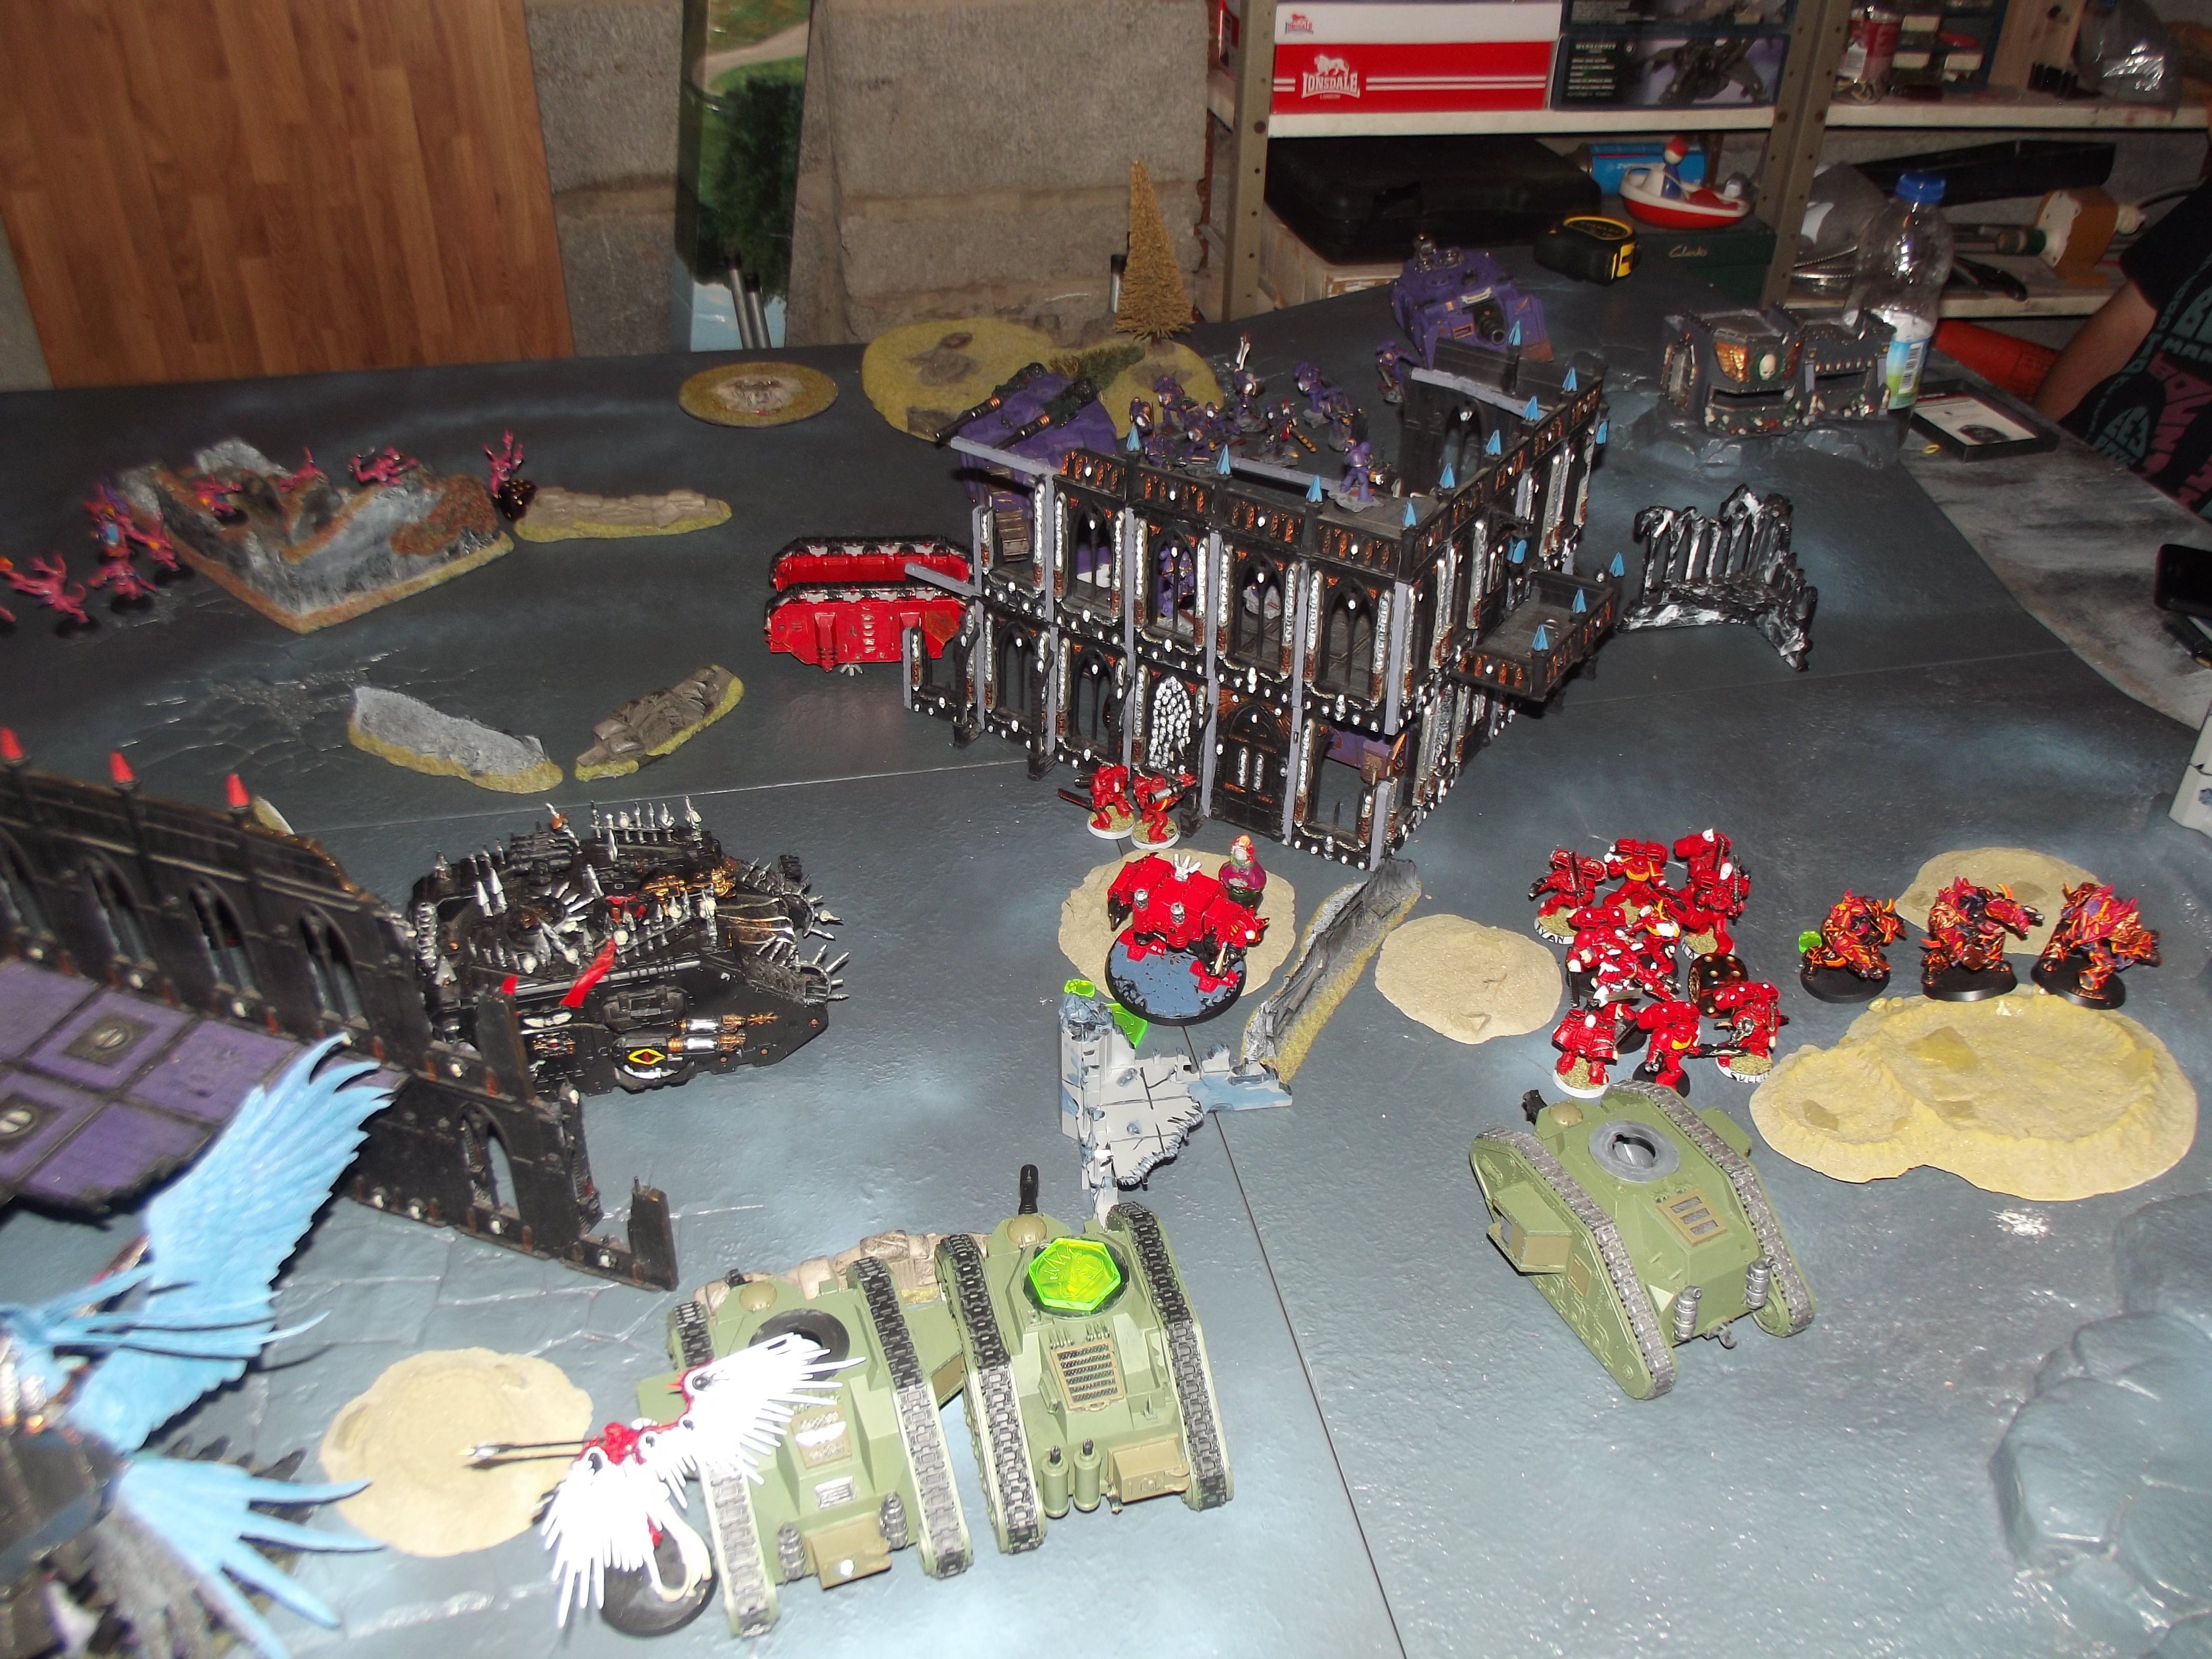
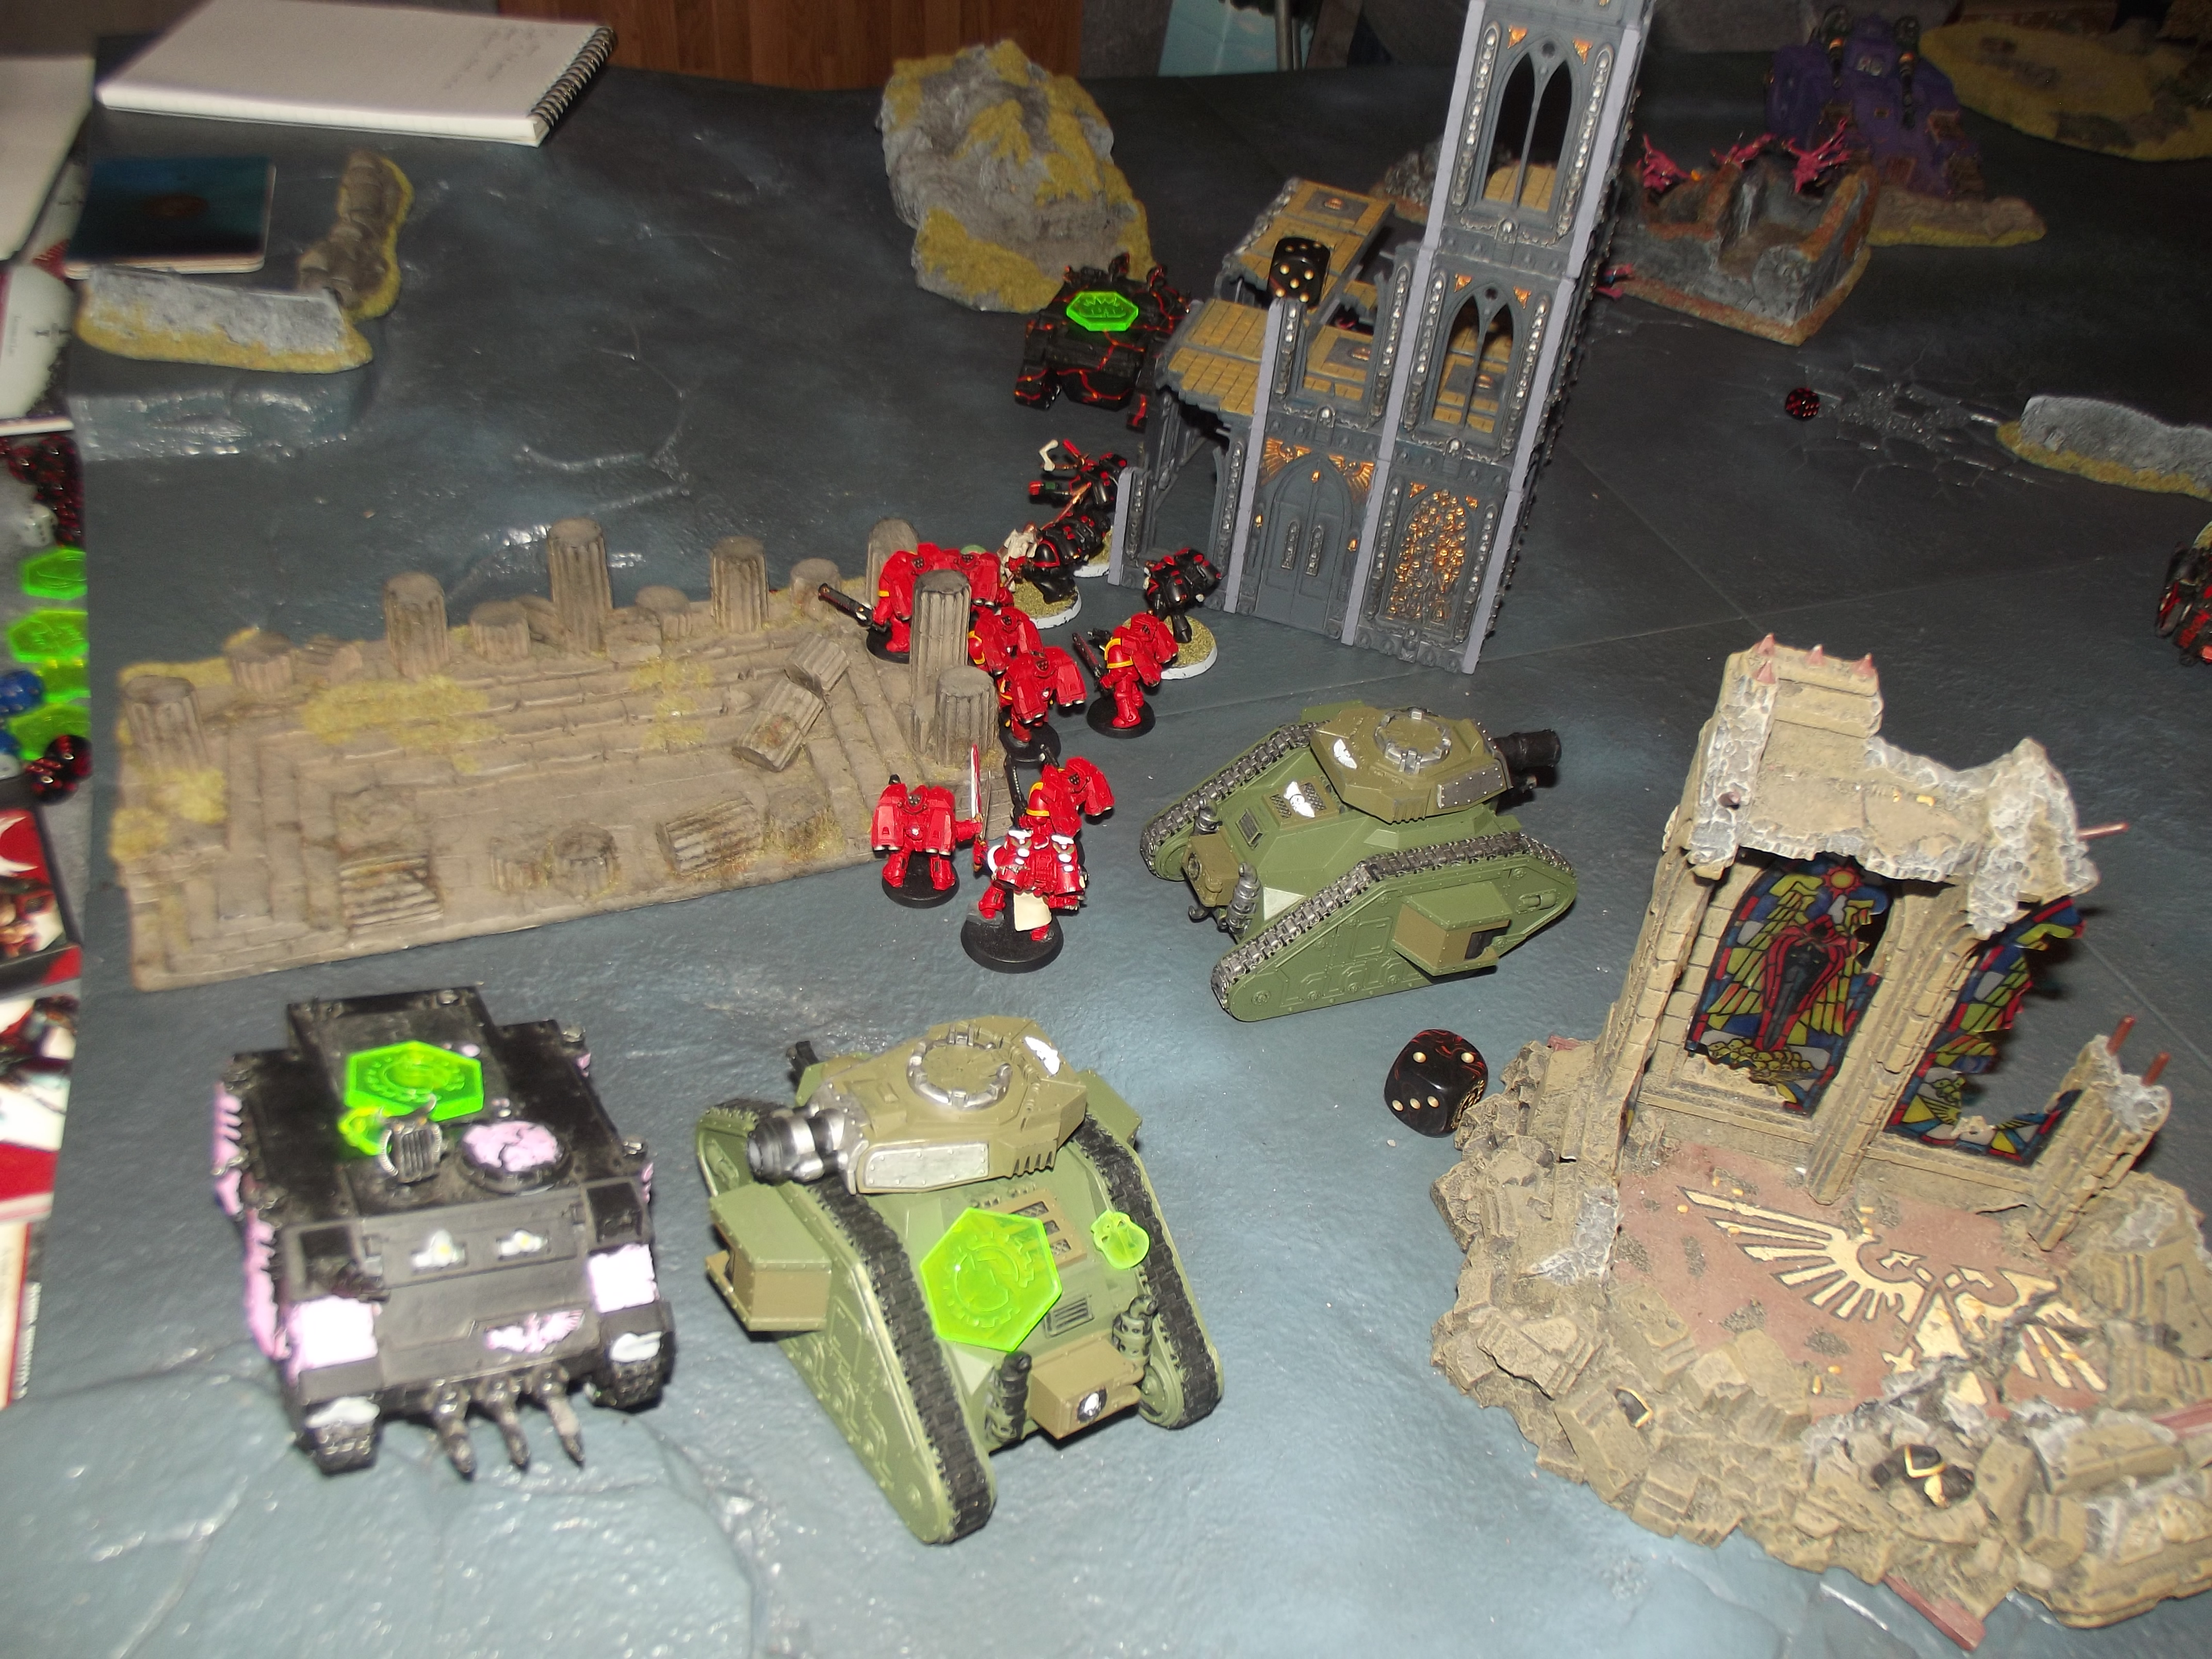
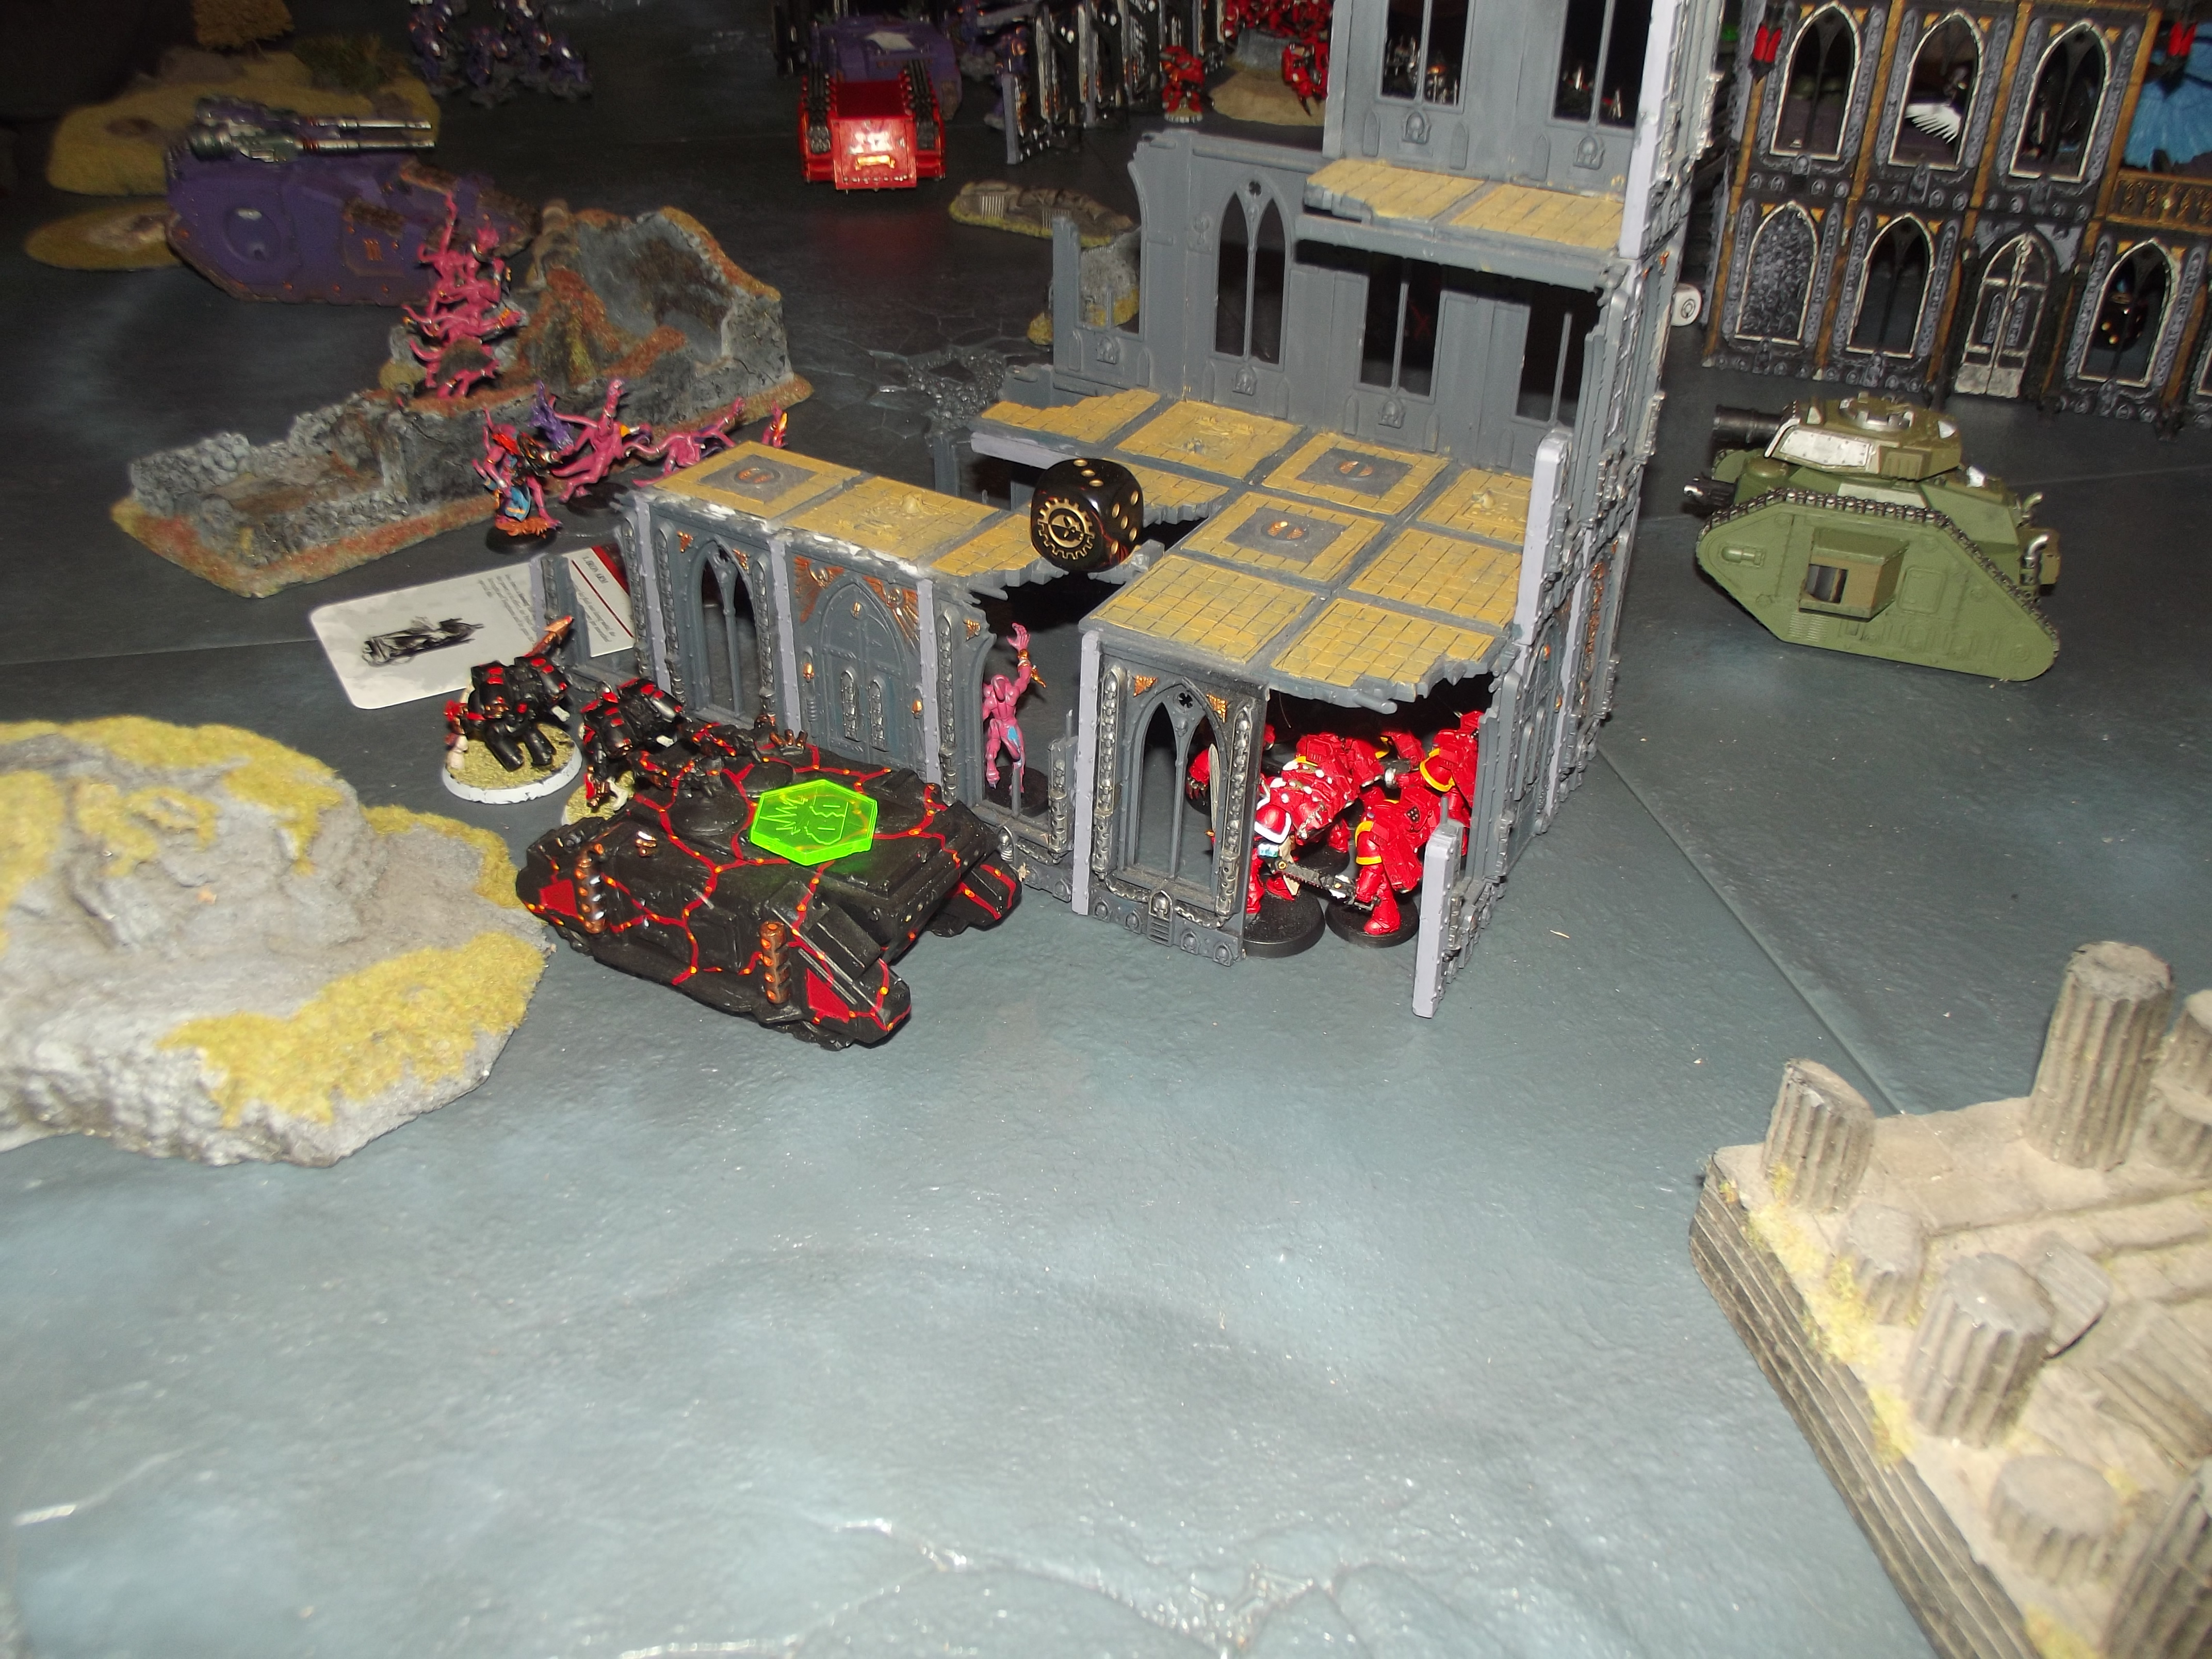
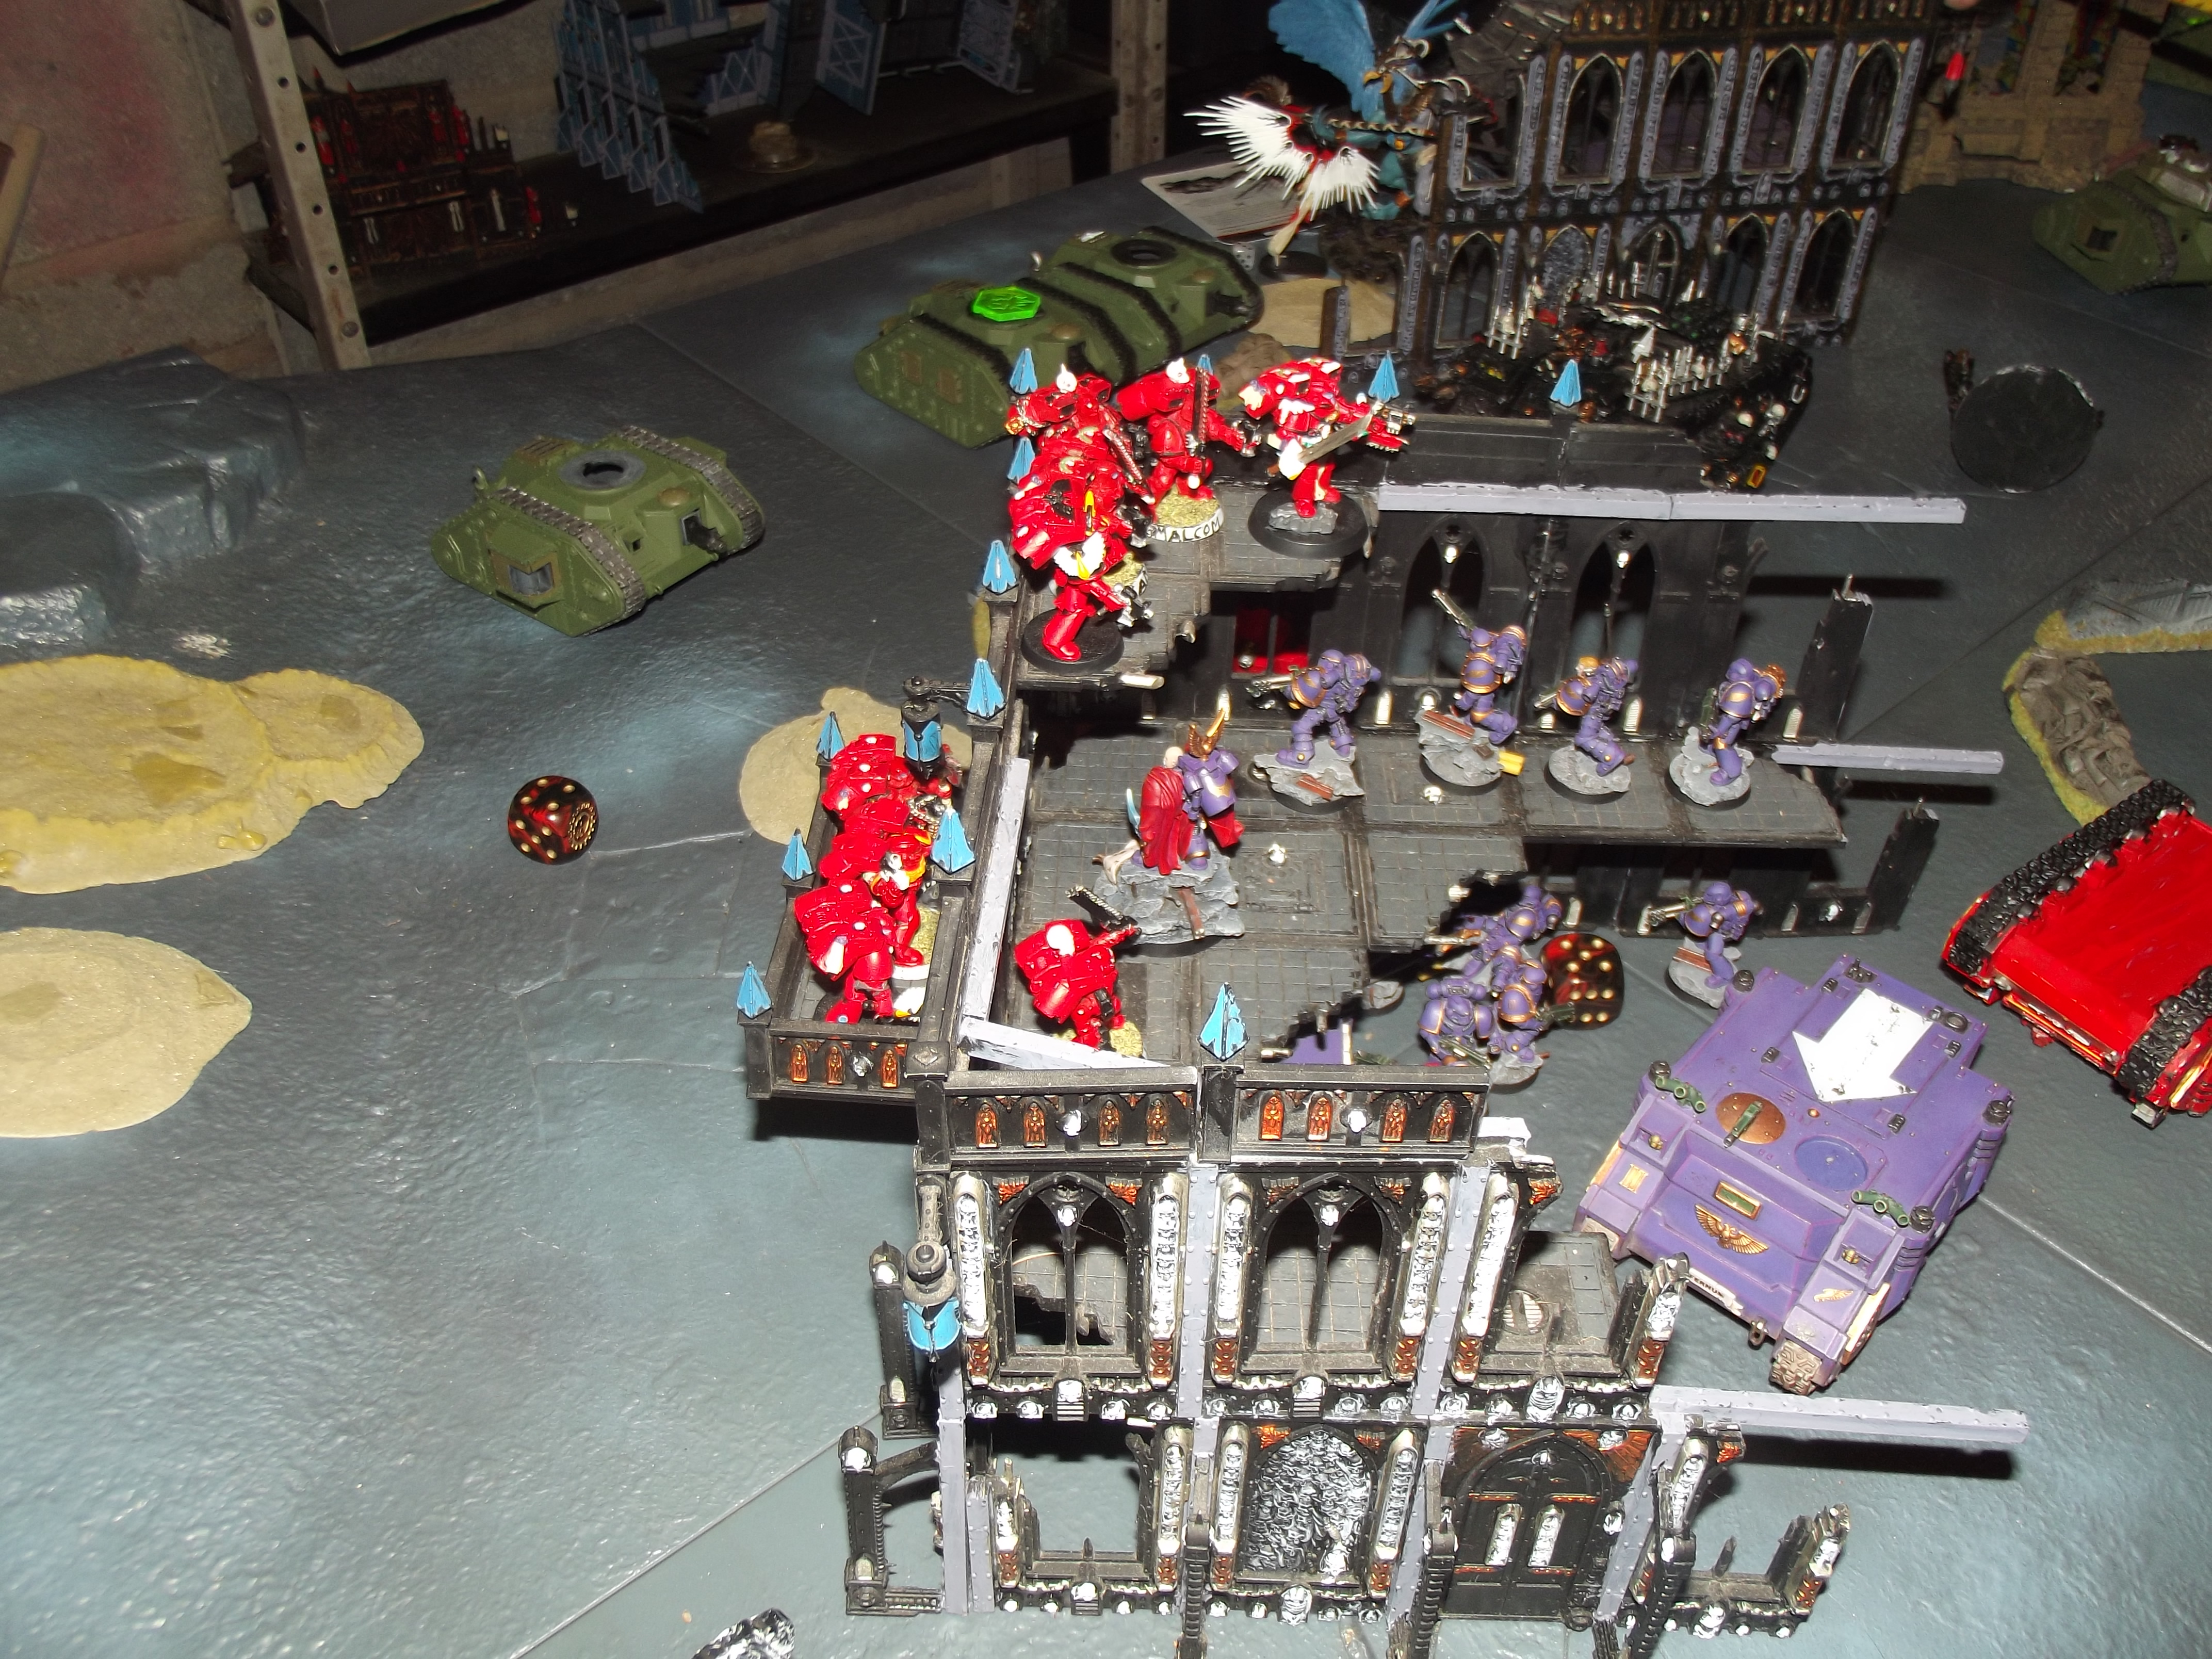
The blood angels and Leman russ tanks have been deployed to cover the whole table. (each assault squad has a sanguinary priest attached, the second tactical squad is in the razorback.)
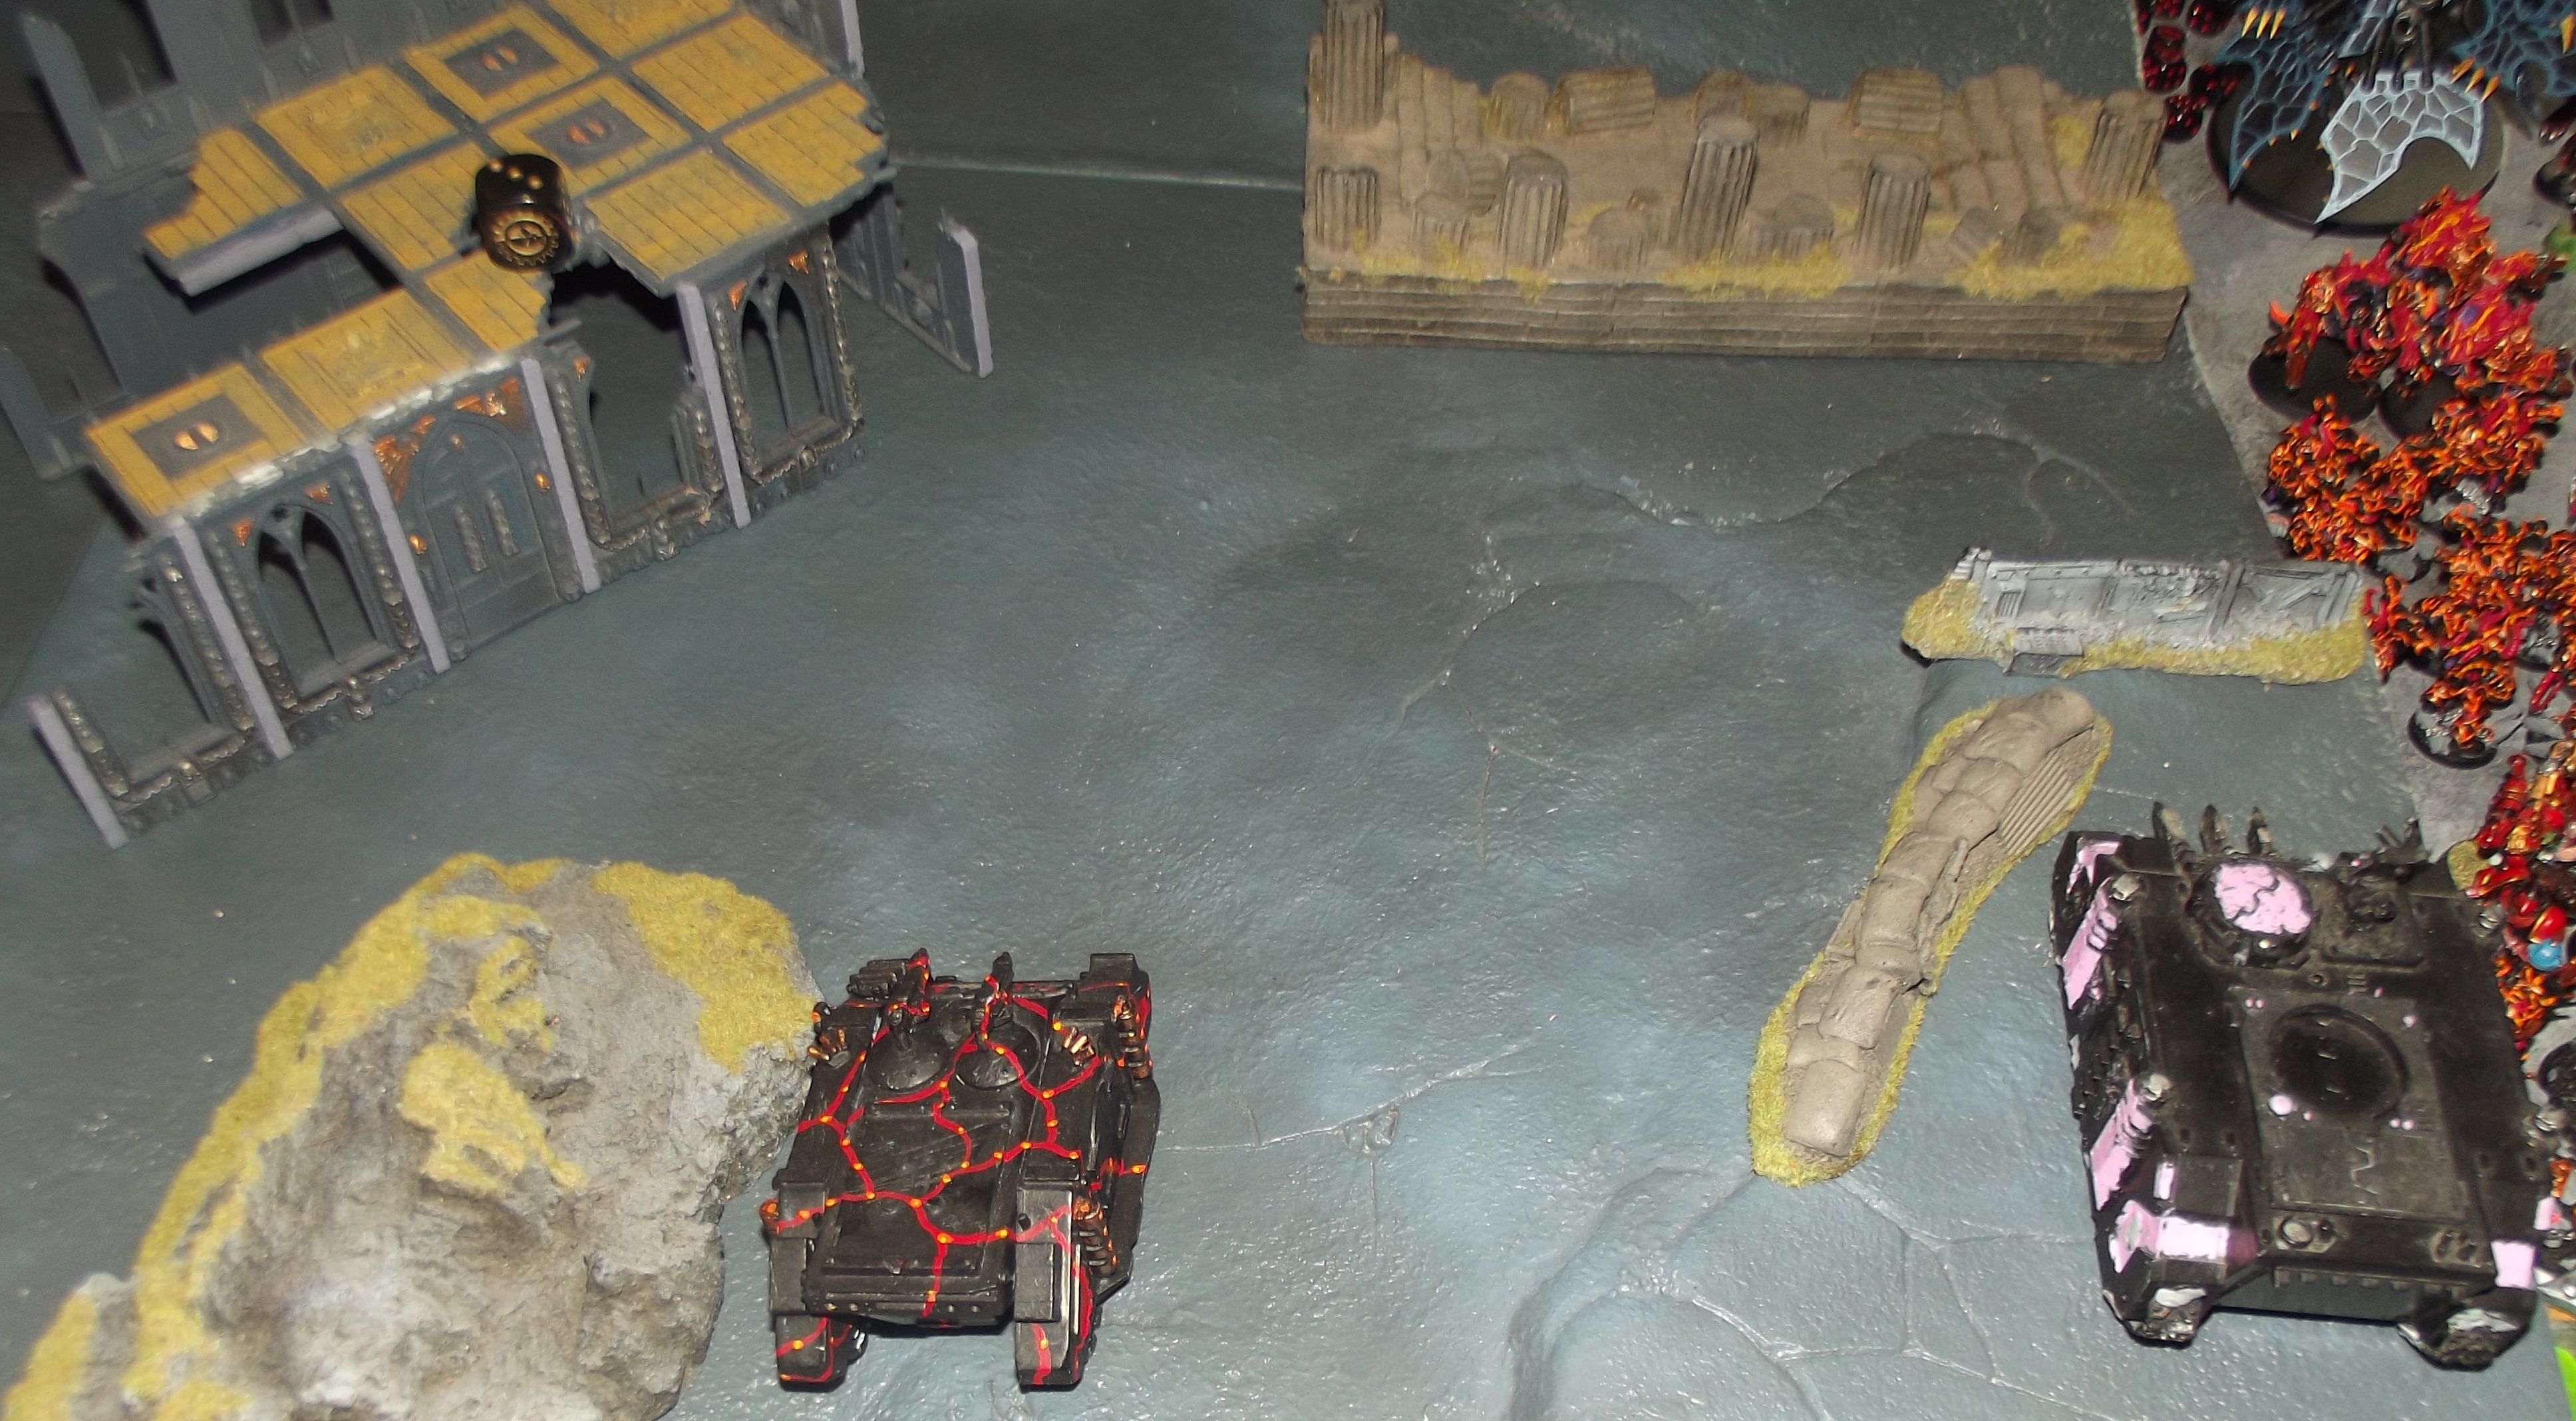
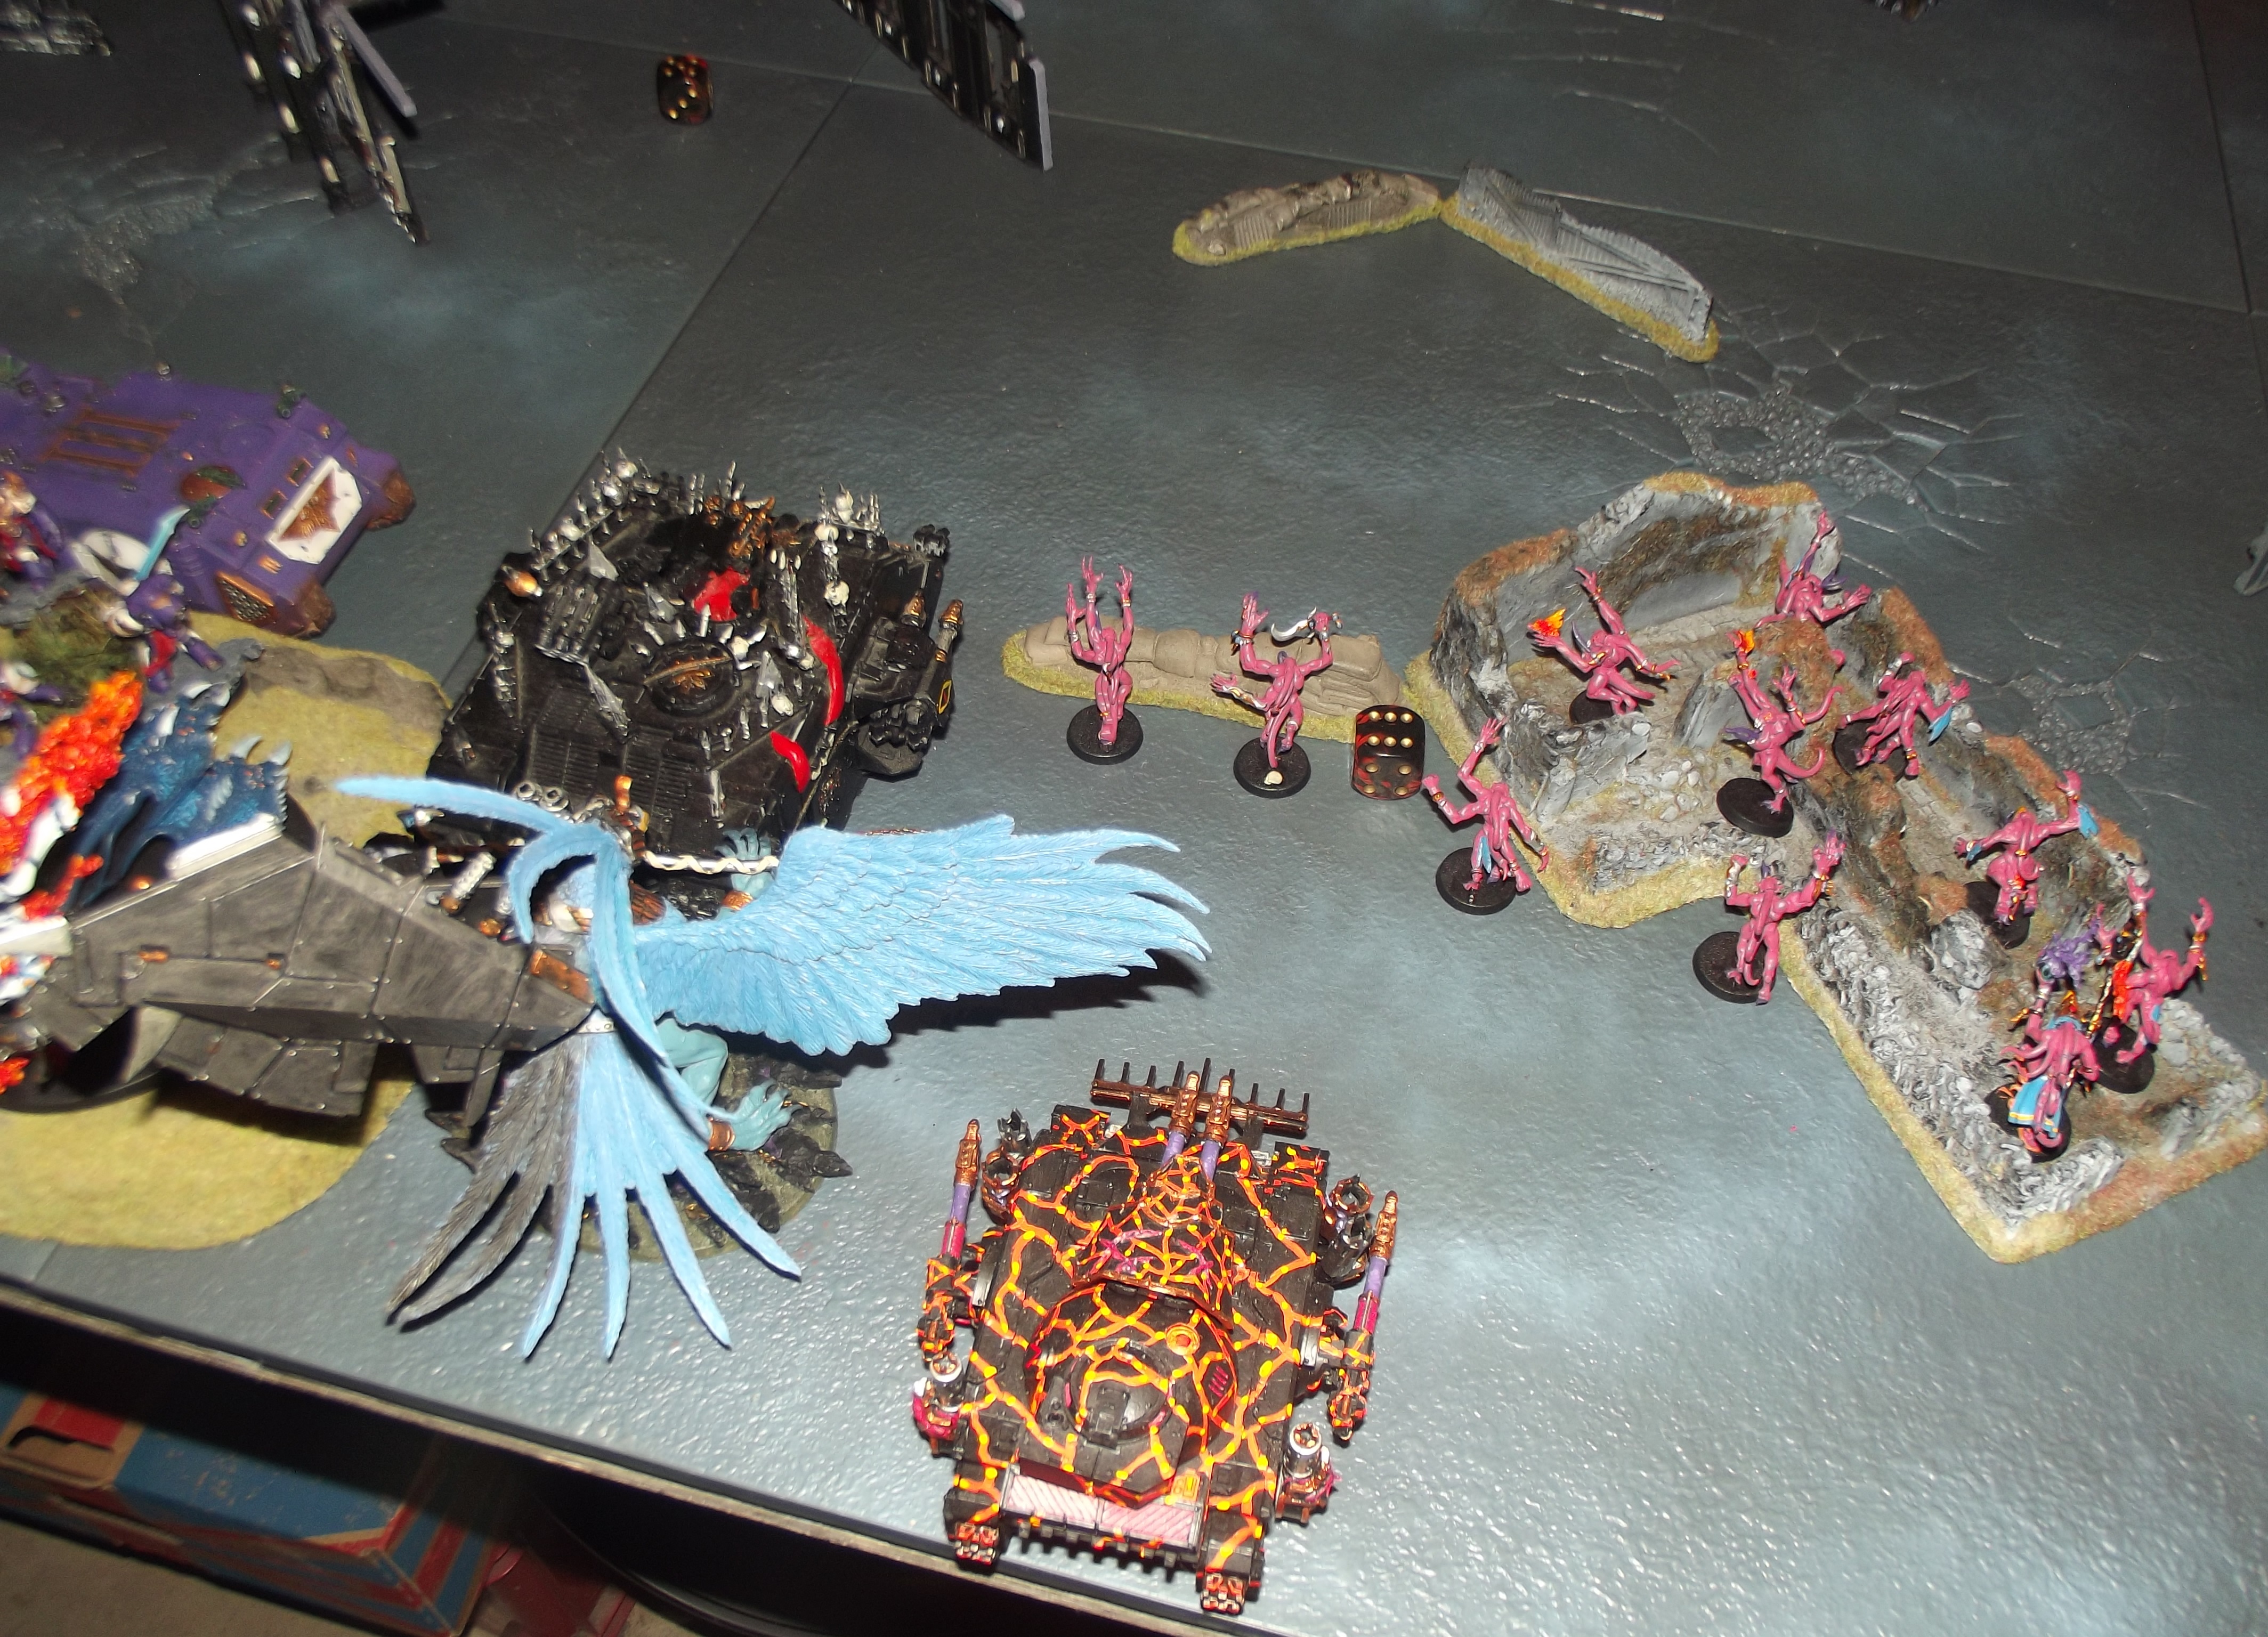
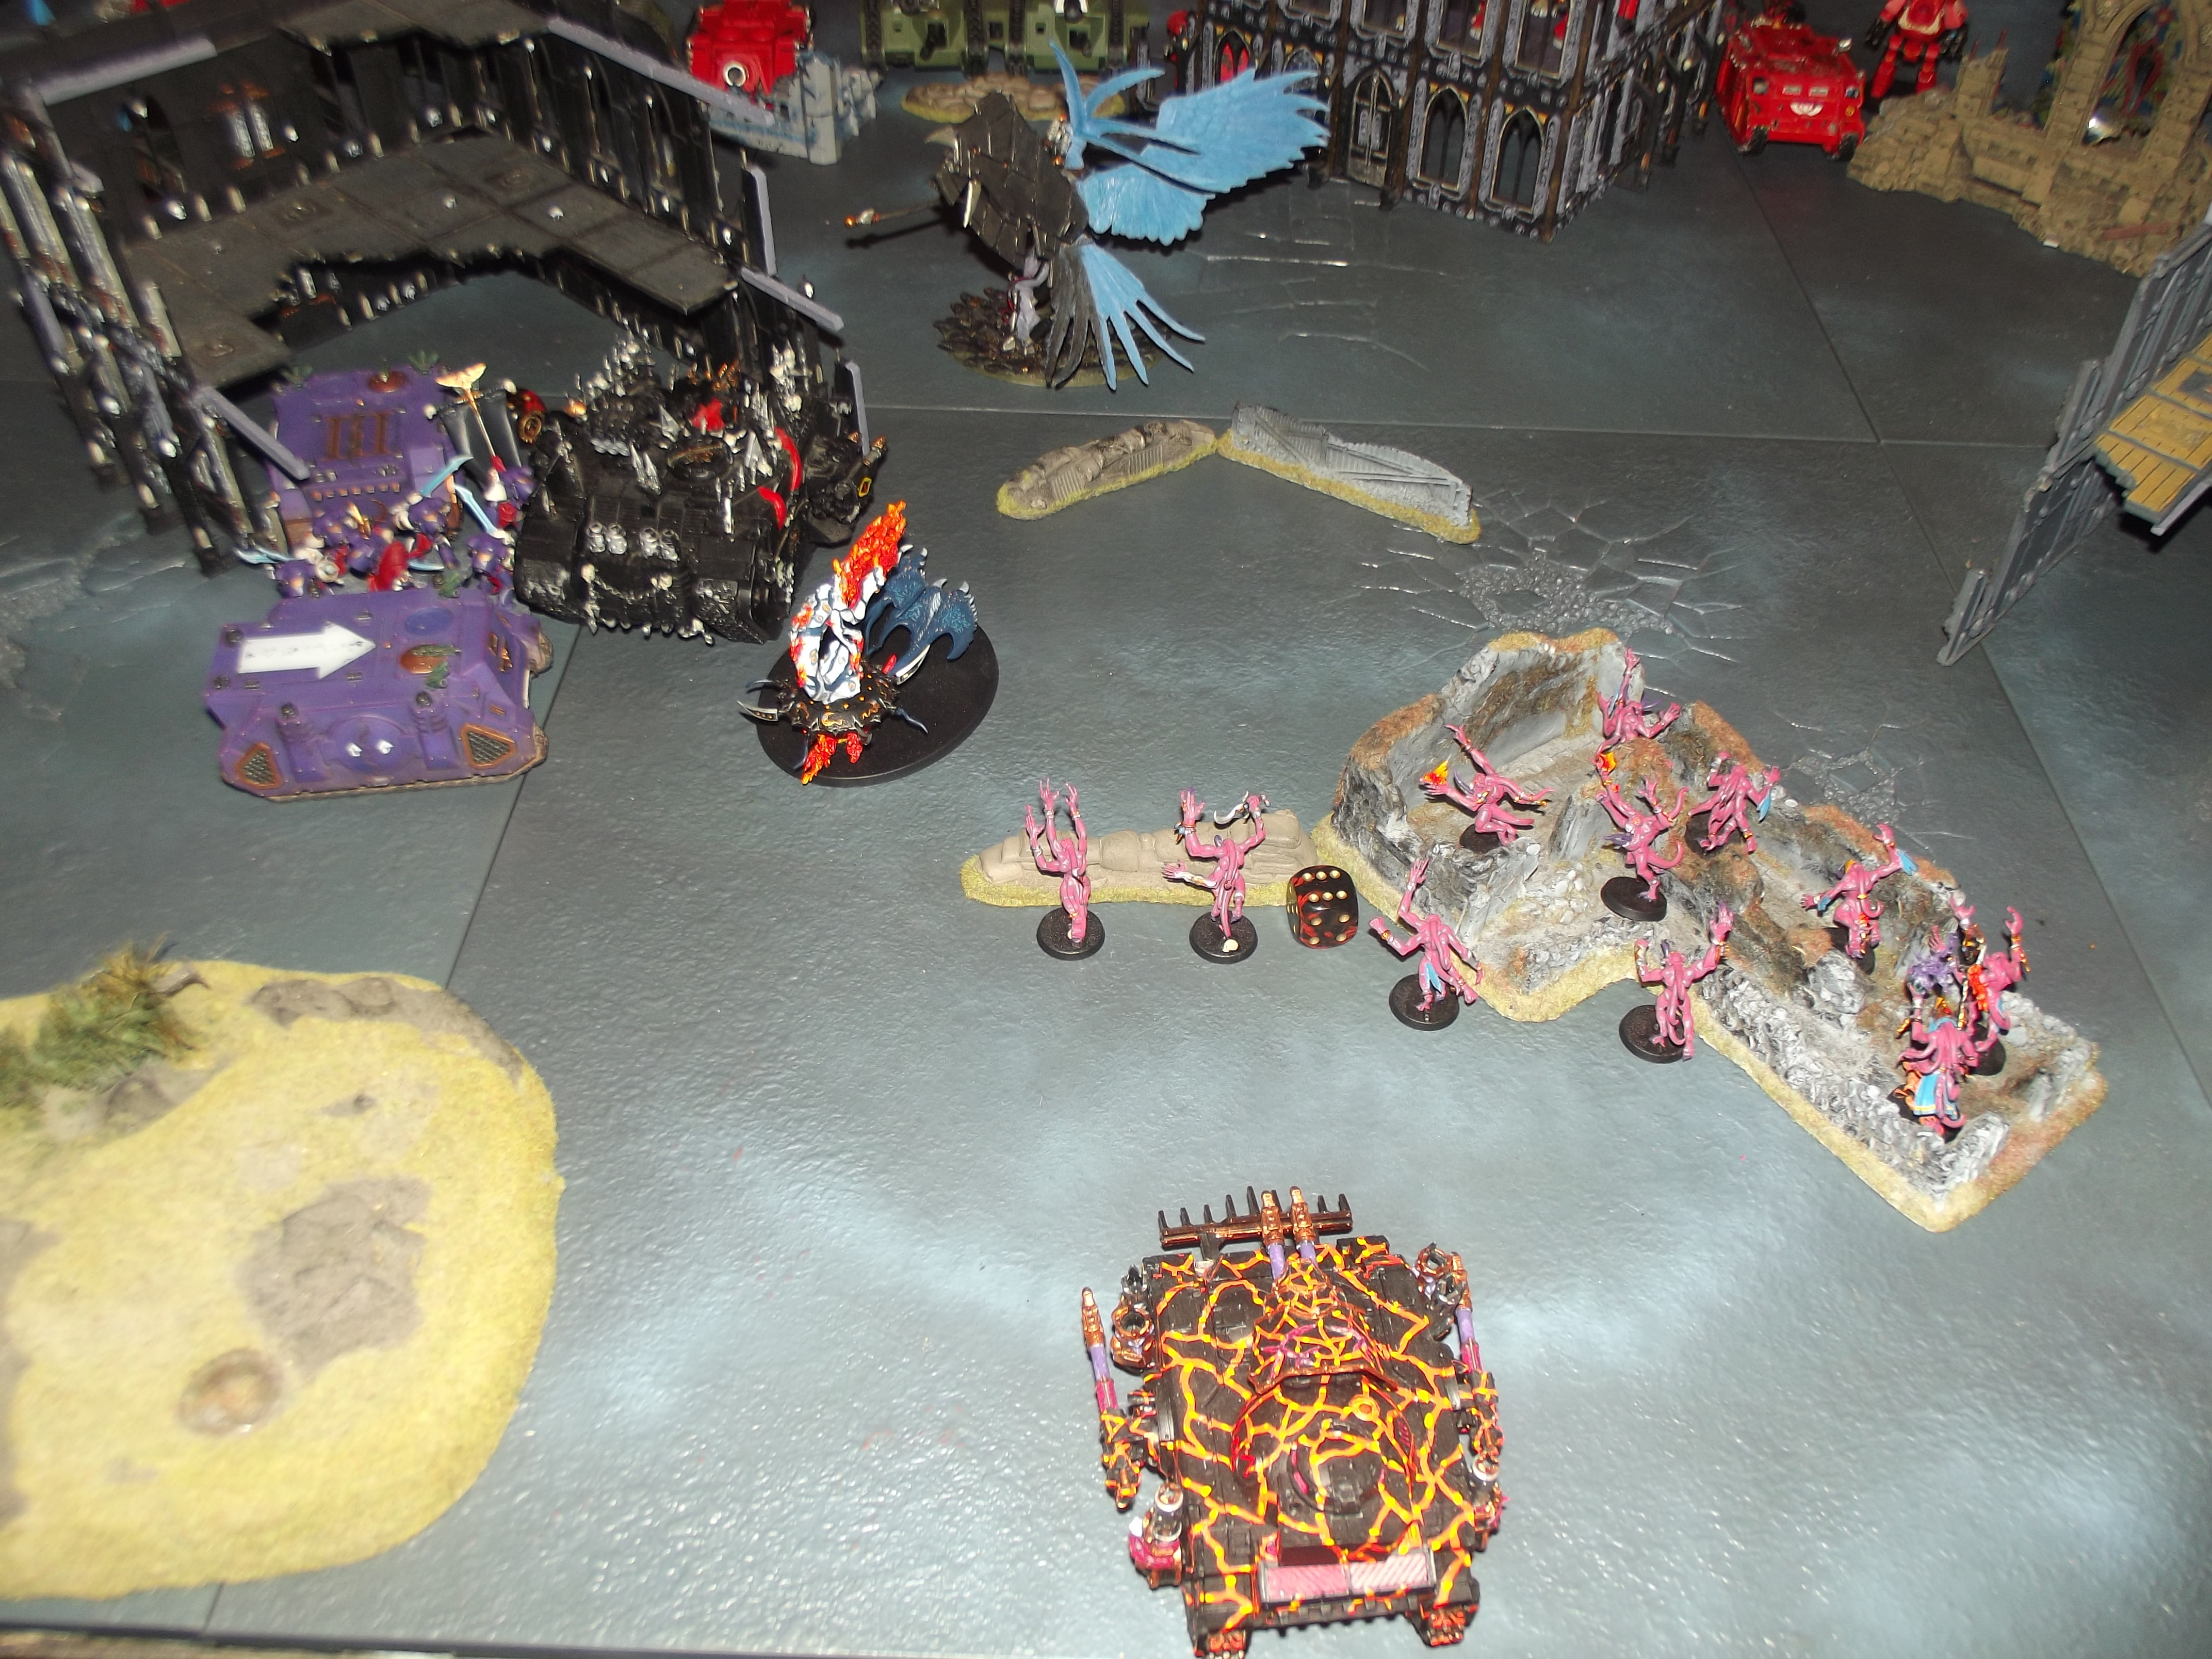
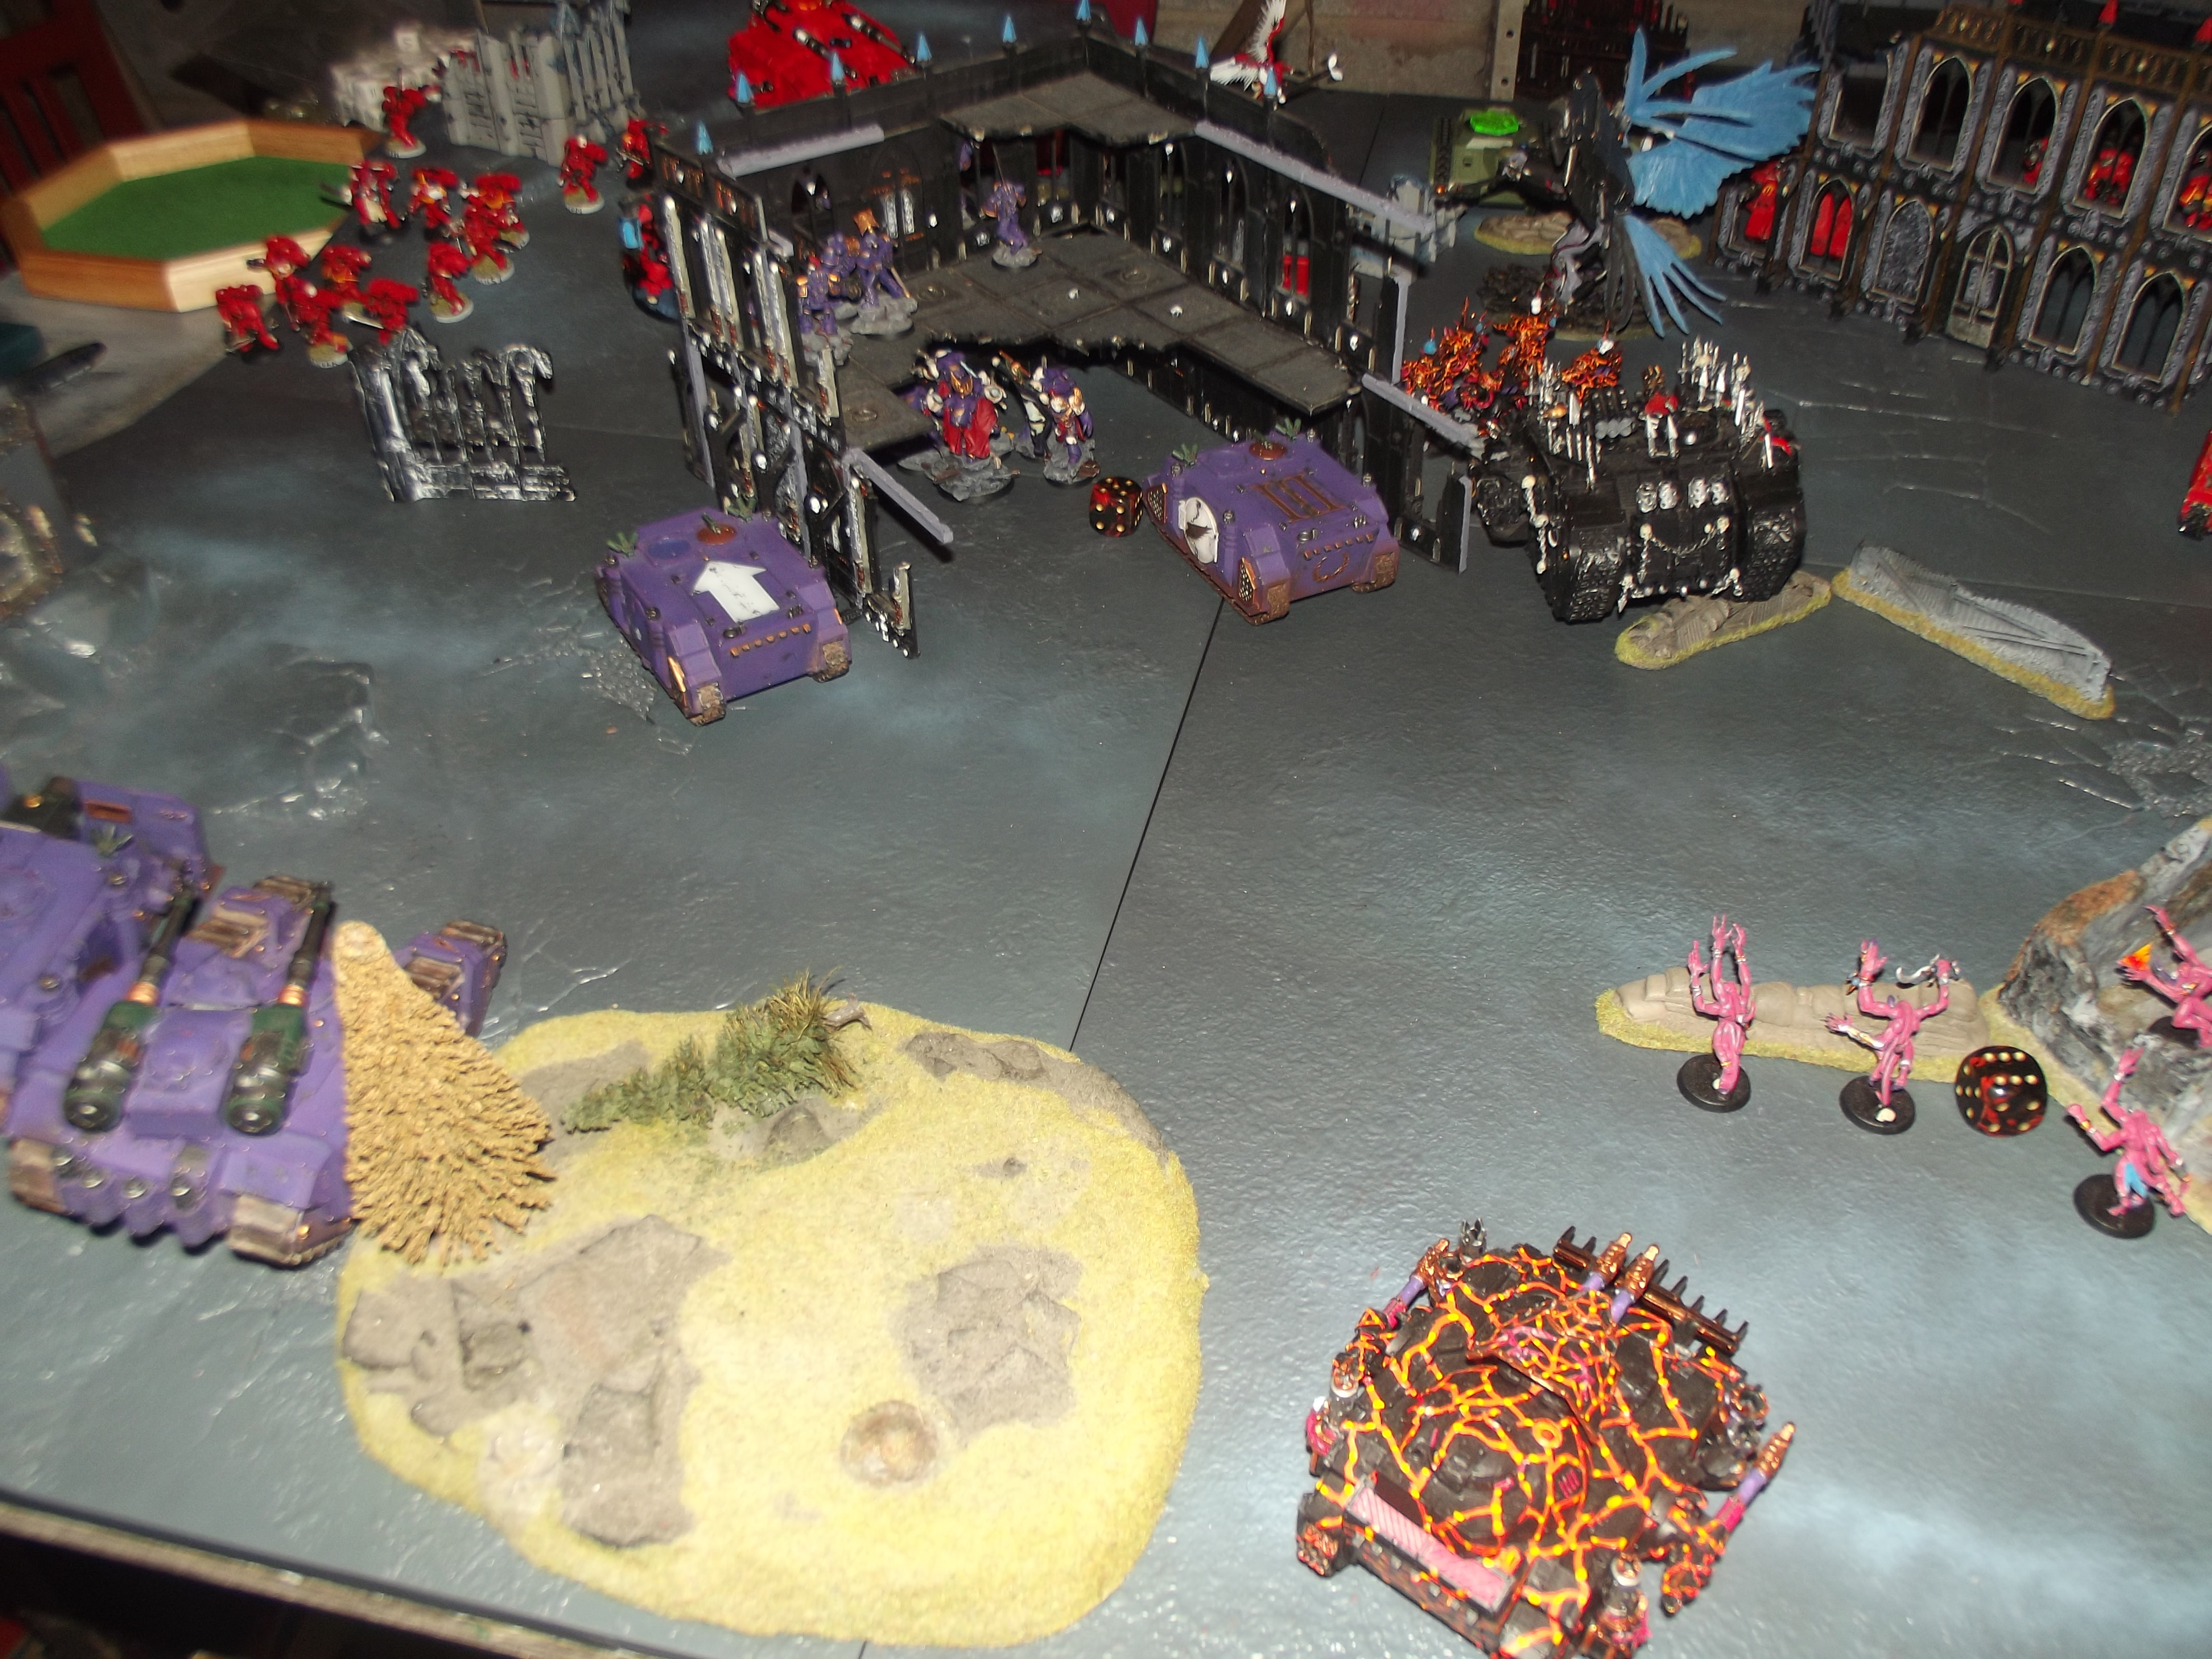
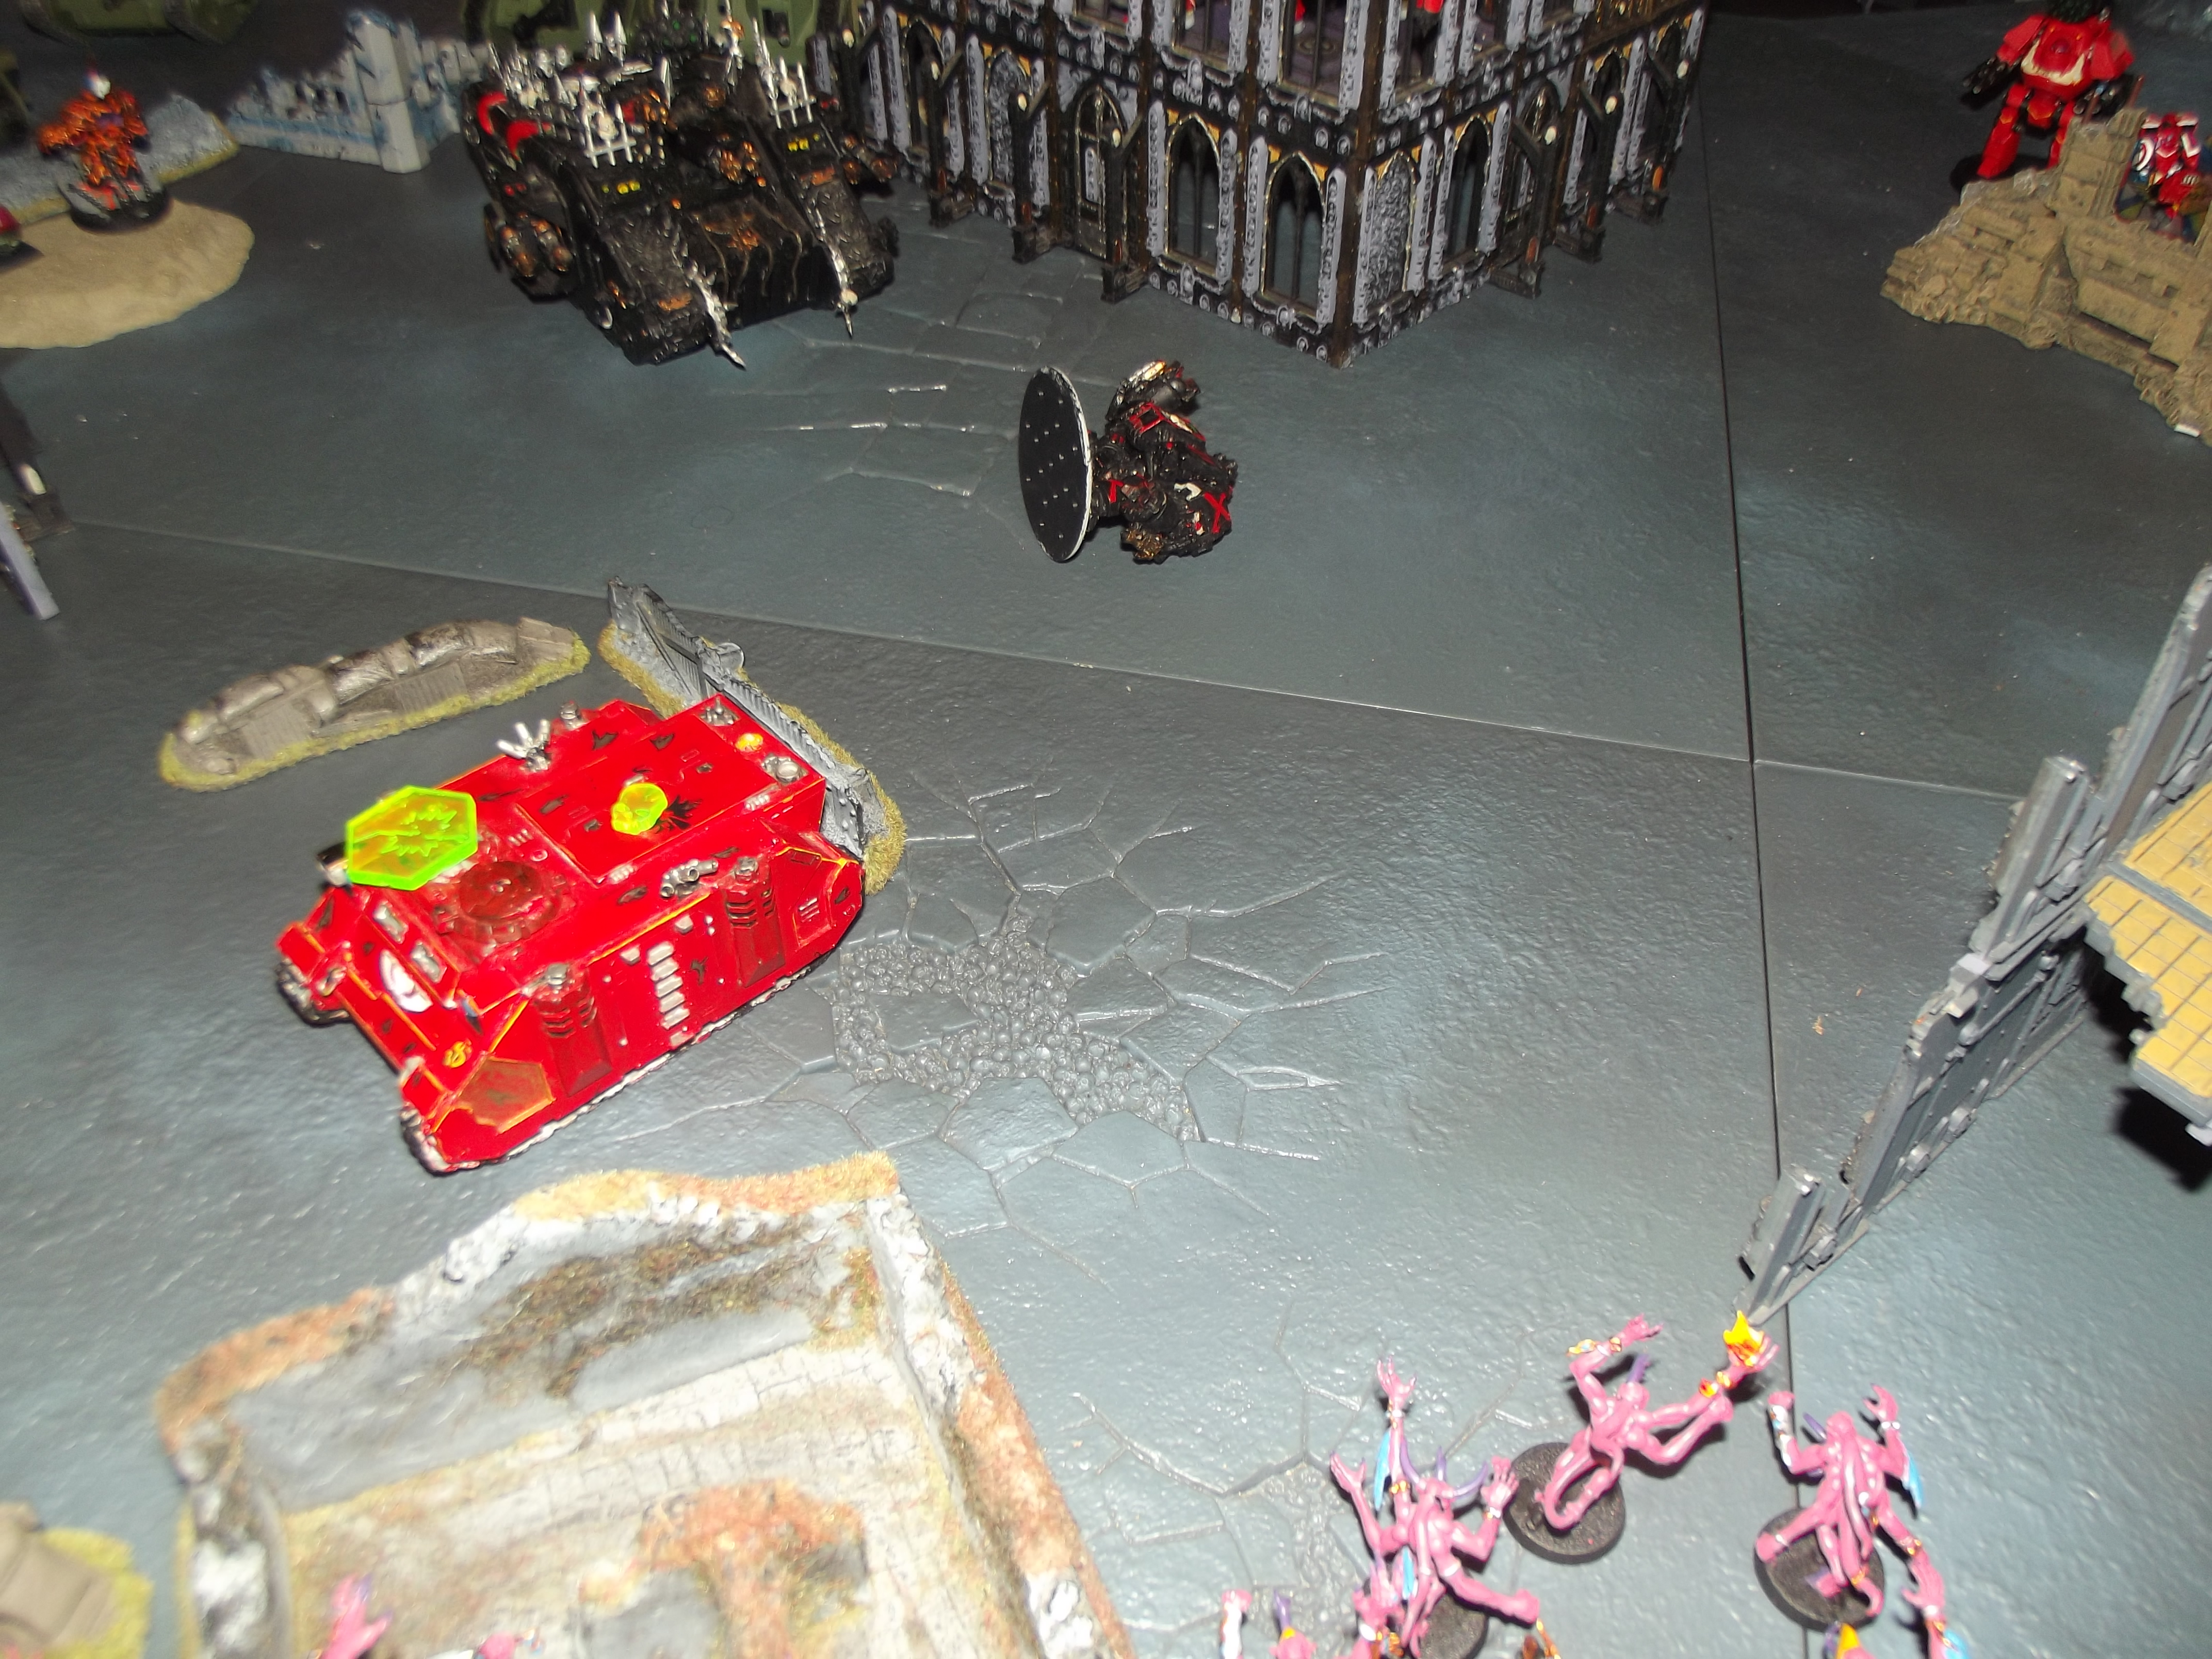
The chaos forces are more spread out. (Kharn and his cronies are in the pink rhino as they have displeased me, the terminators are in the land raider and the thousand sons are in the other rhino. 3 oblitorators, a squad of 5 raptors and the heldrake are in reserve.


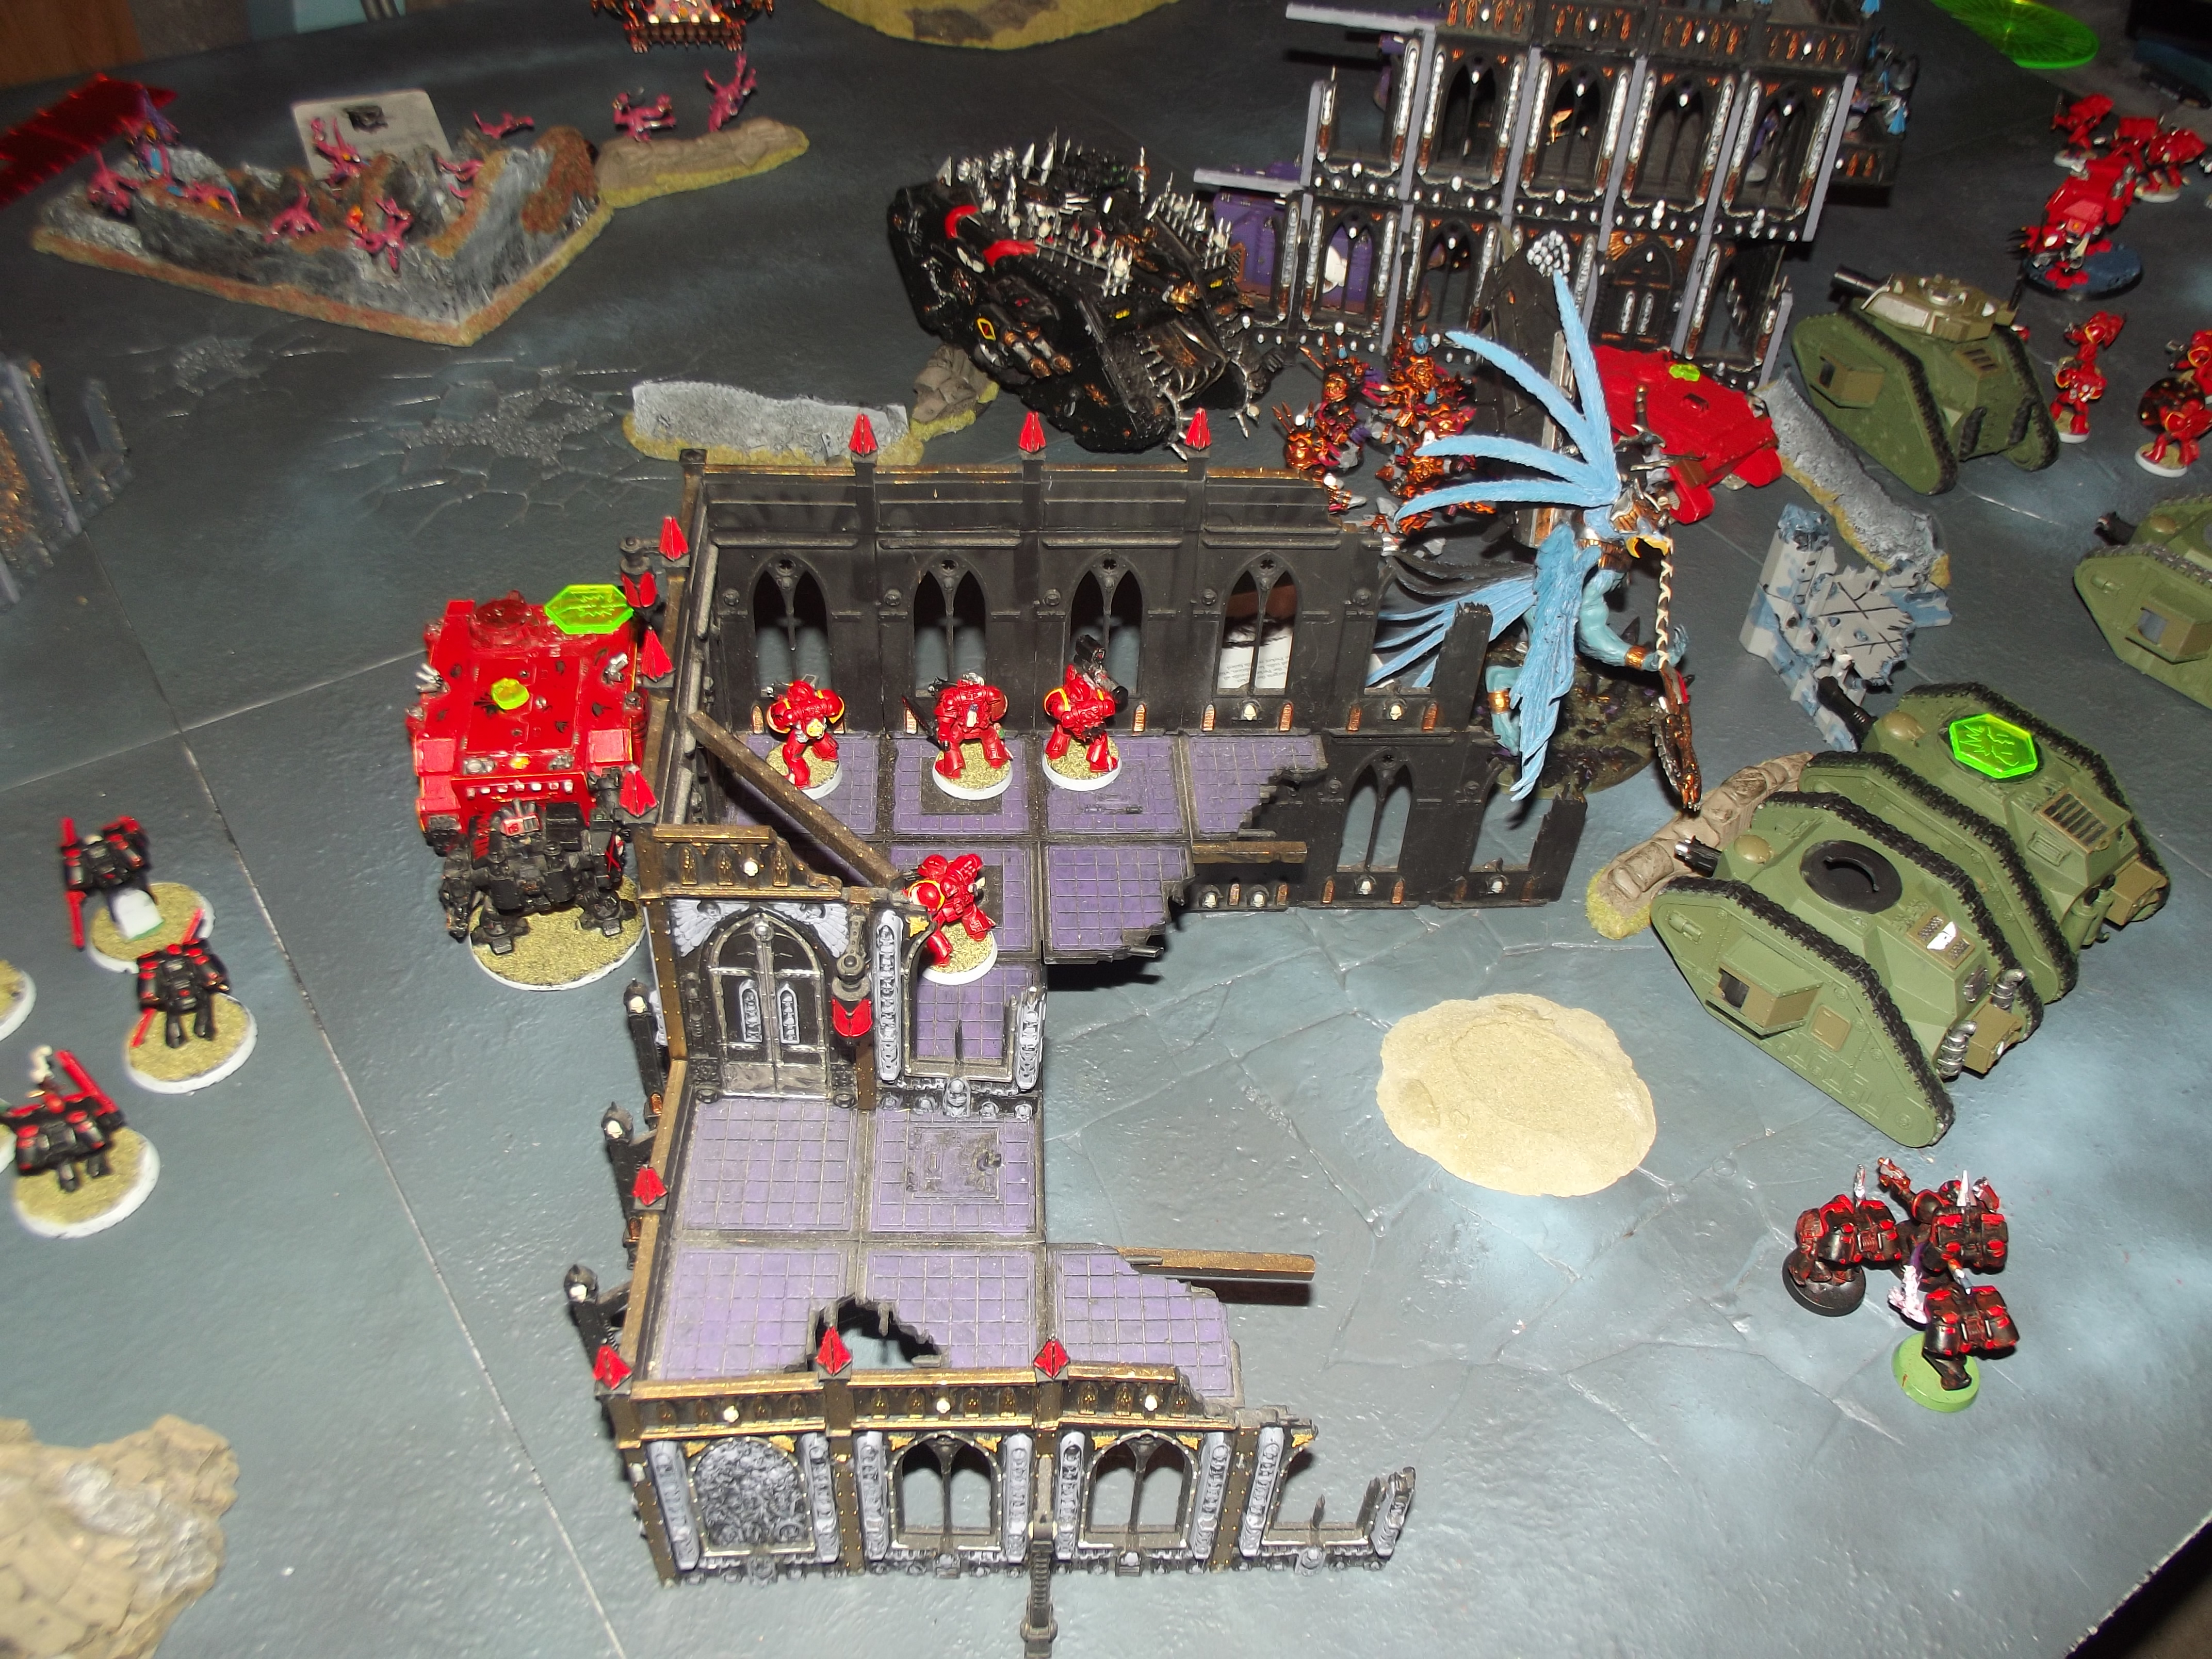


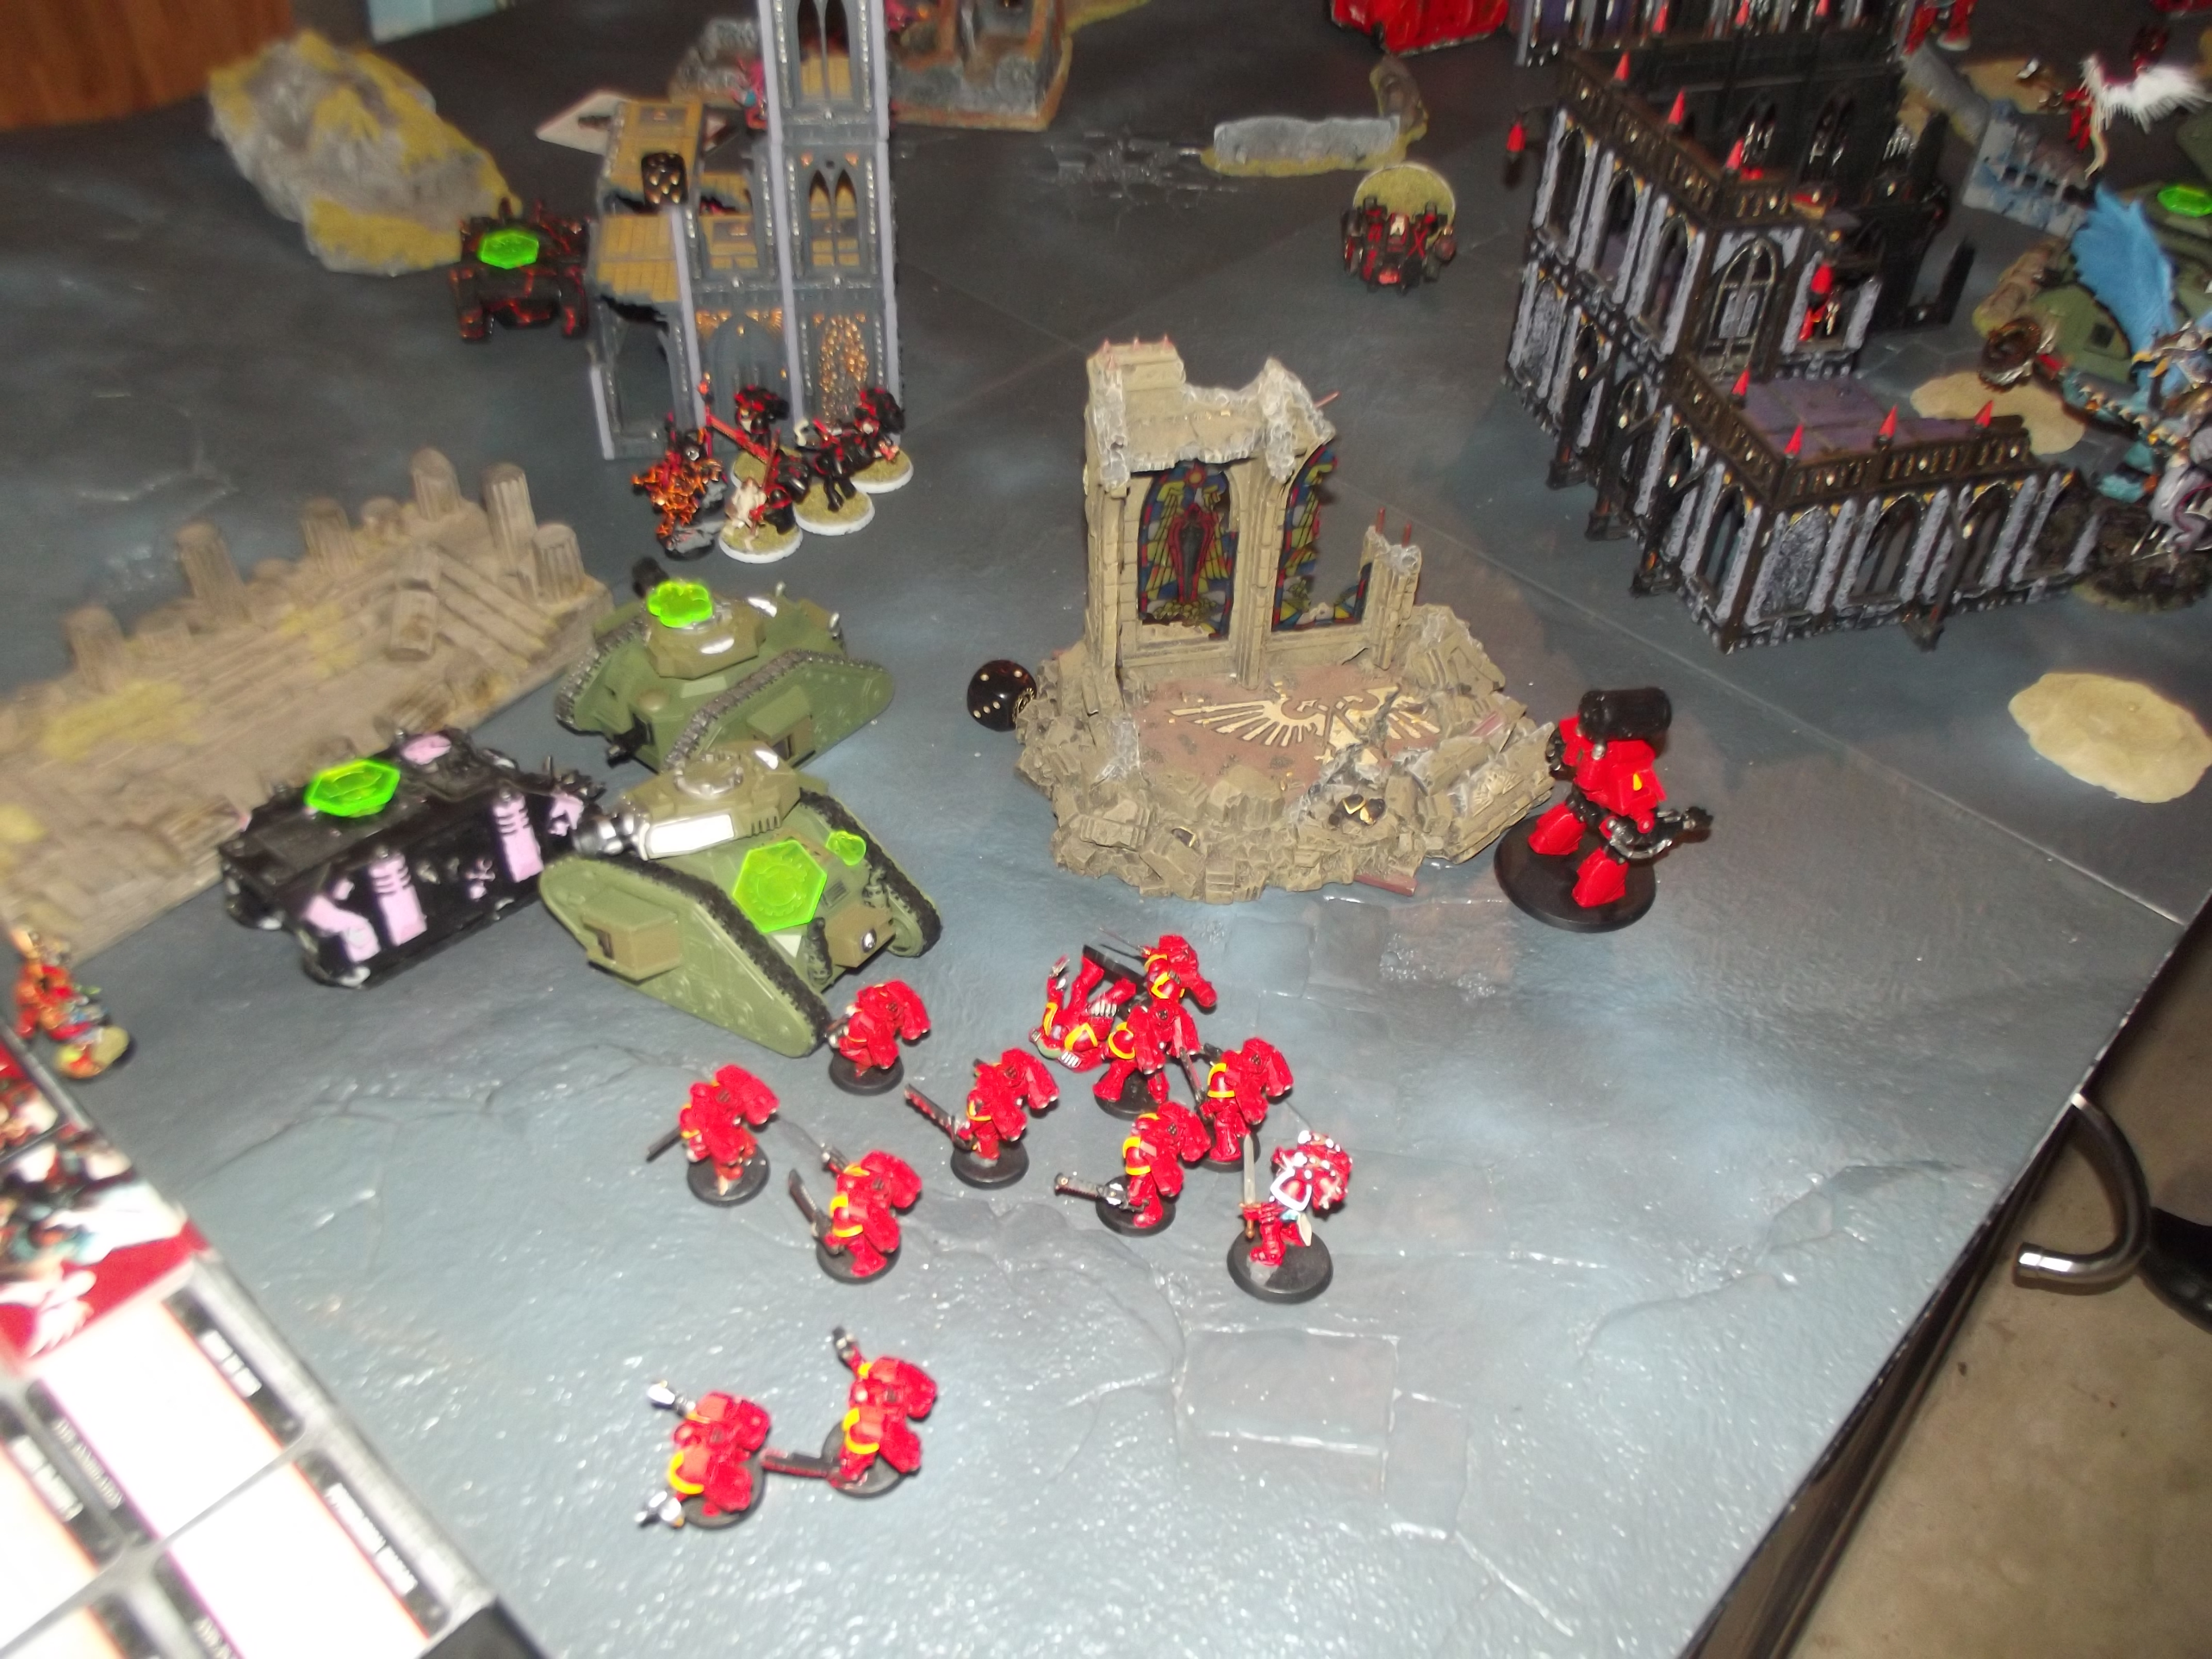


At the very end the imperial player had moved off objective 2 and did not gain a point for dominion. He did however have control of objective 1 with the tactical squad sergeant for a bonus 3VP. The game ended at the end of turn 5 with 30VP to Chaos and 29VP to the Imperials.
Story Excerpt
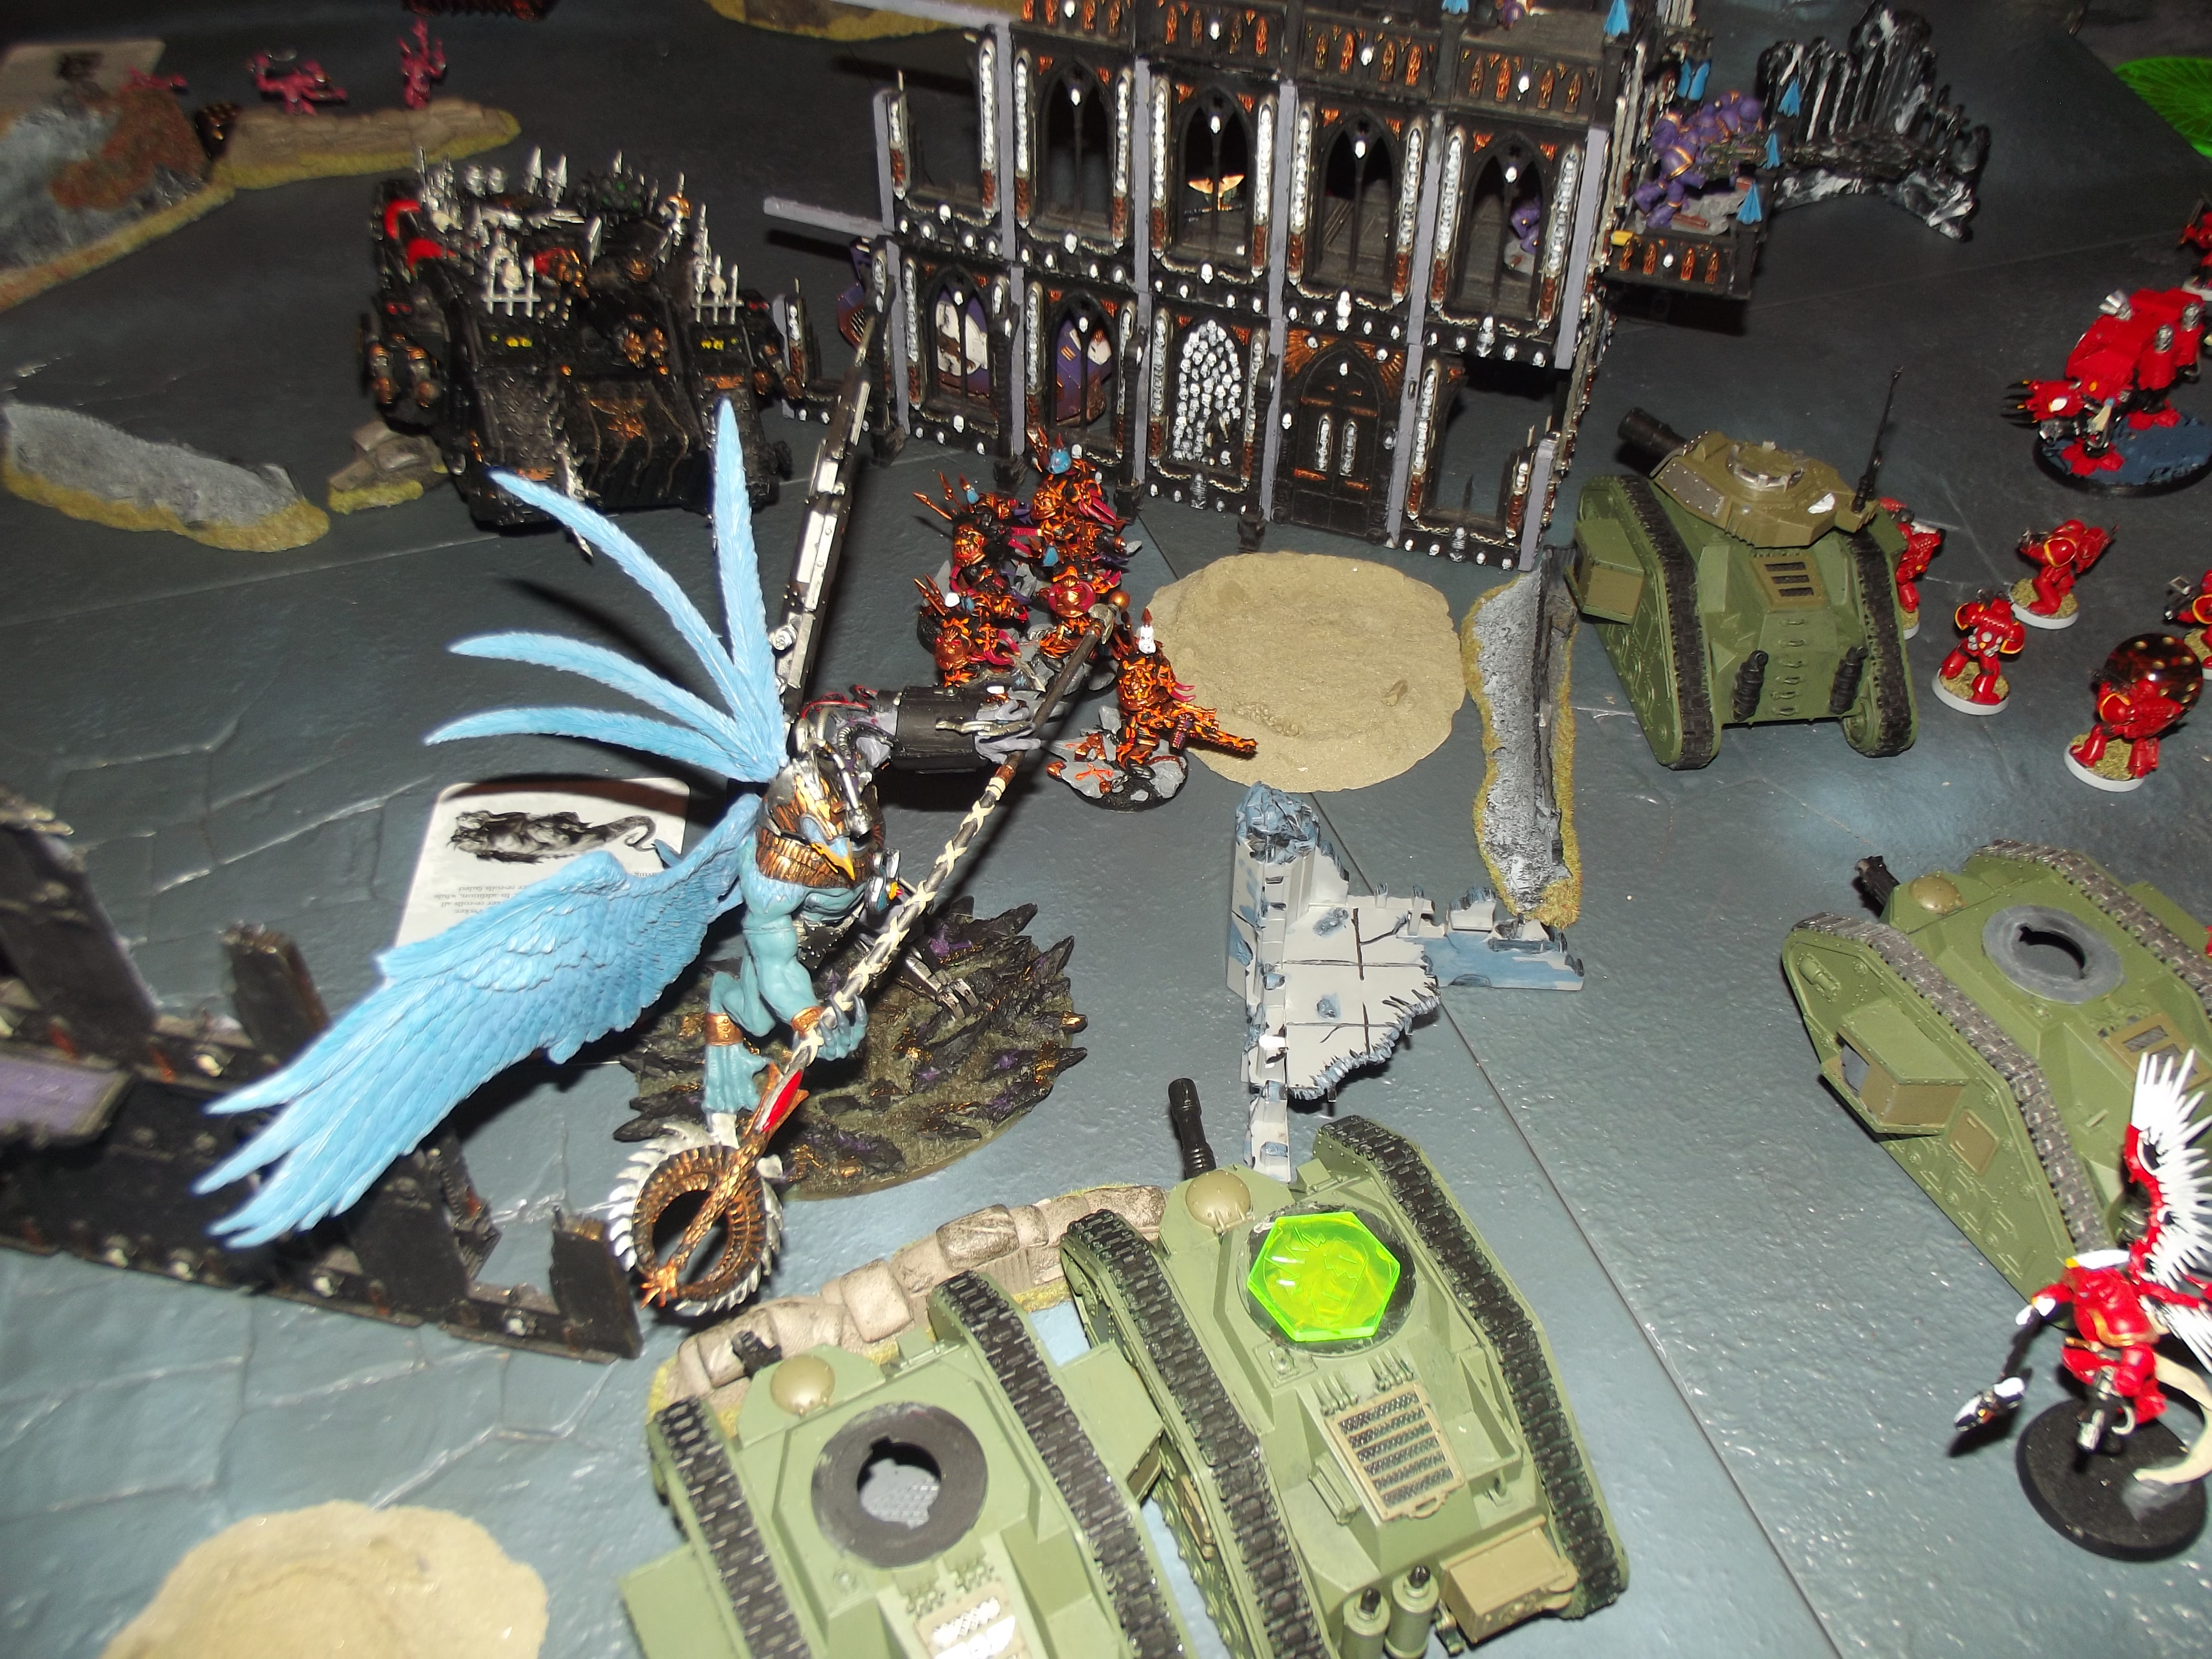
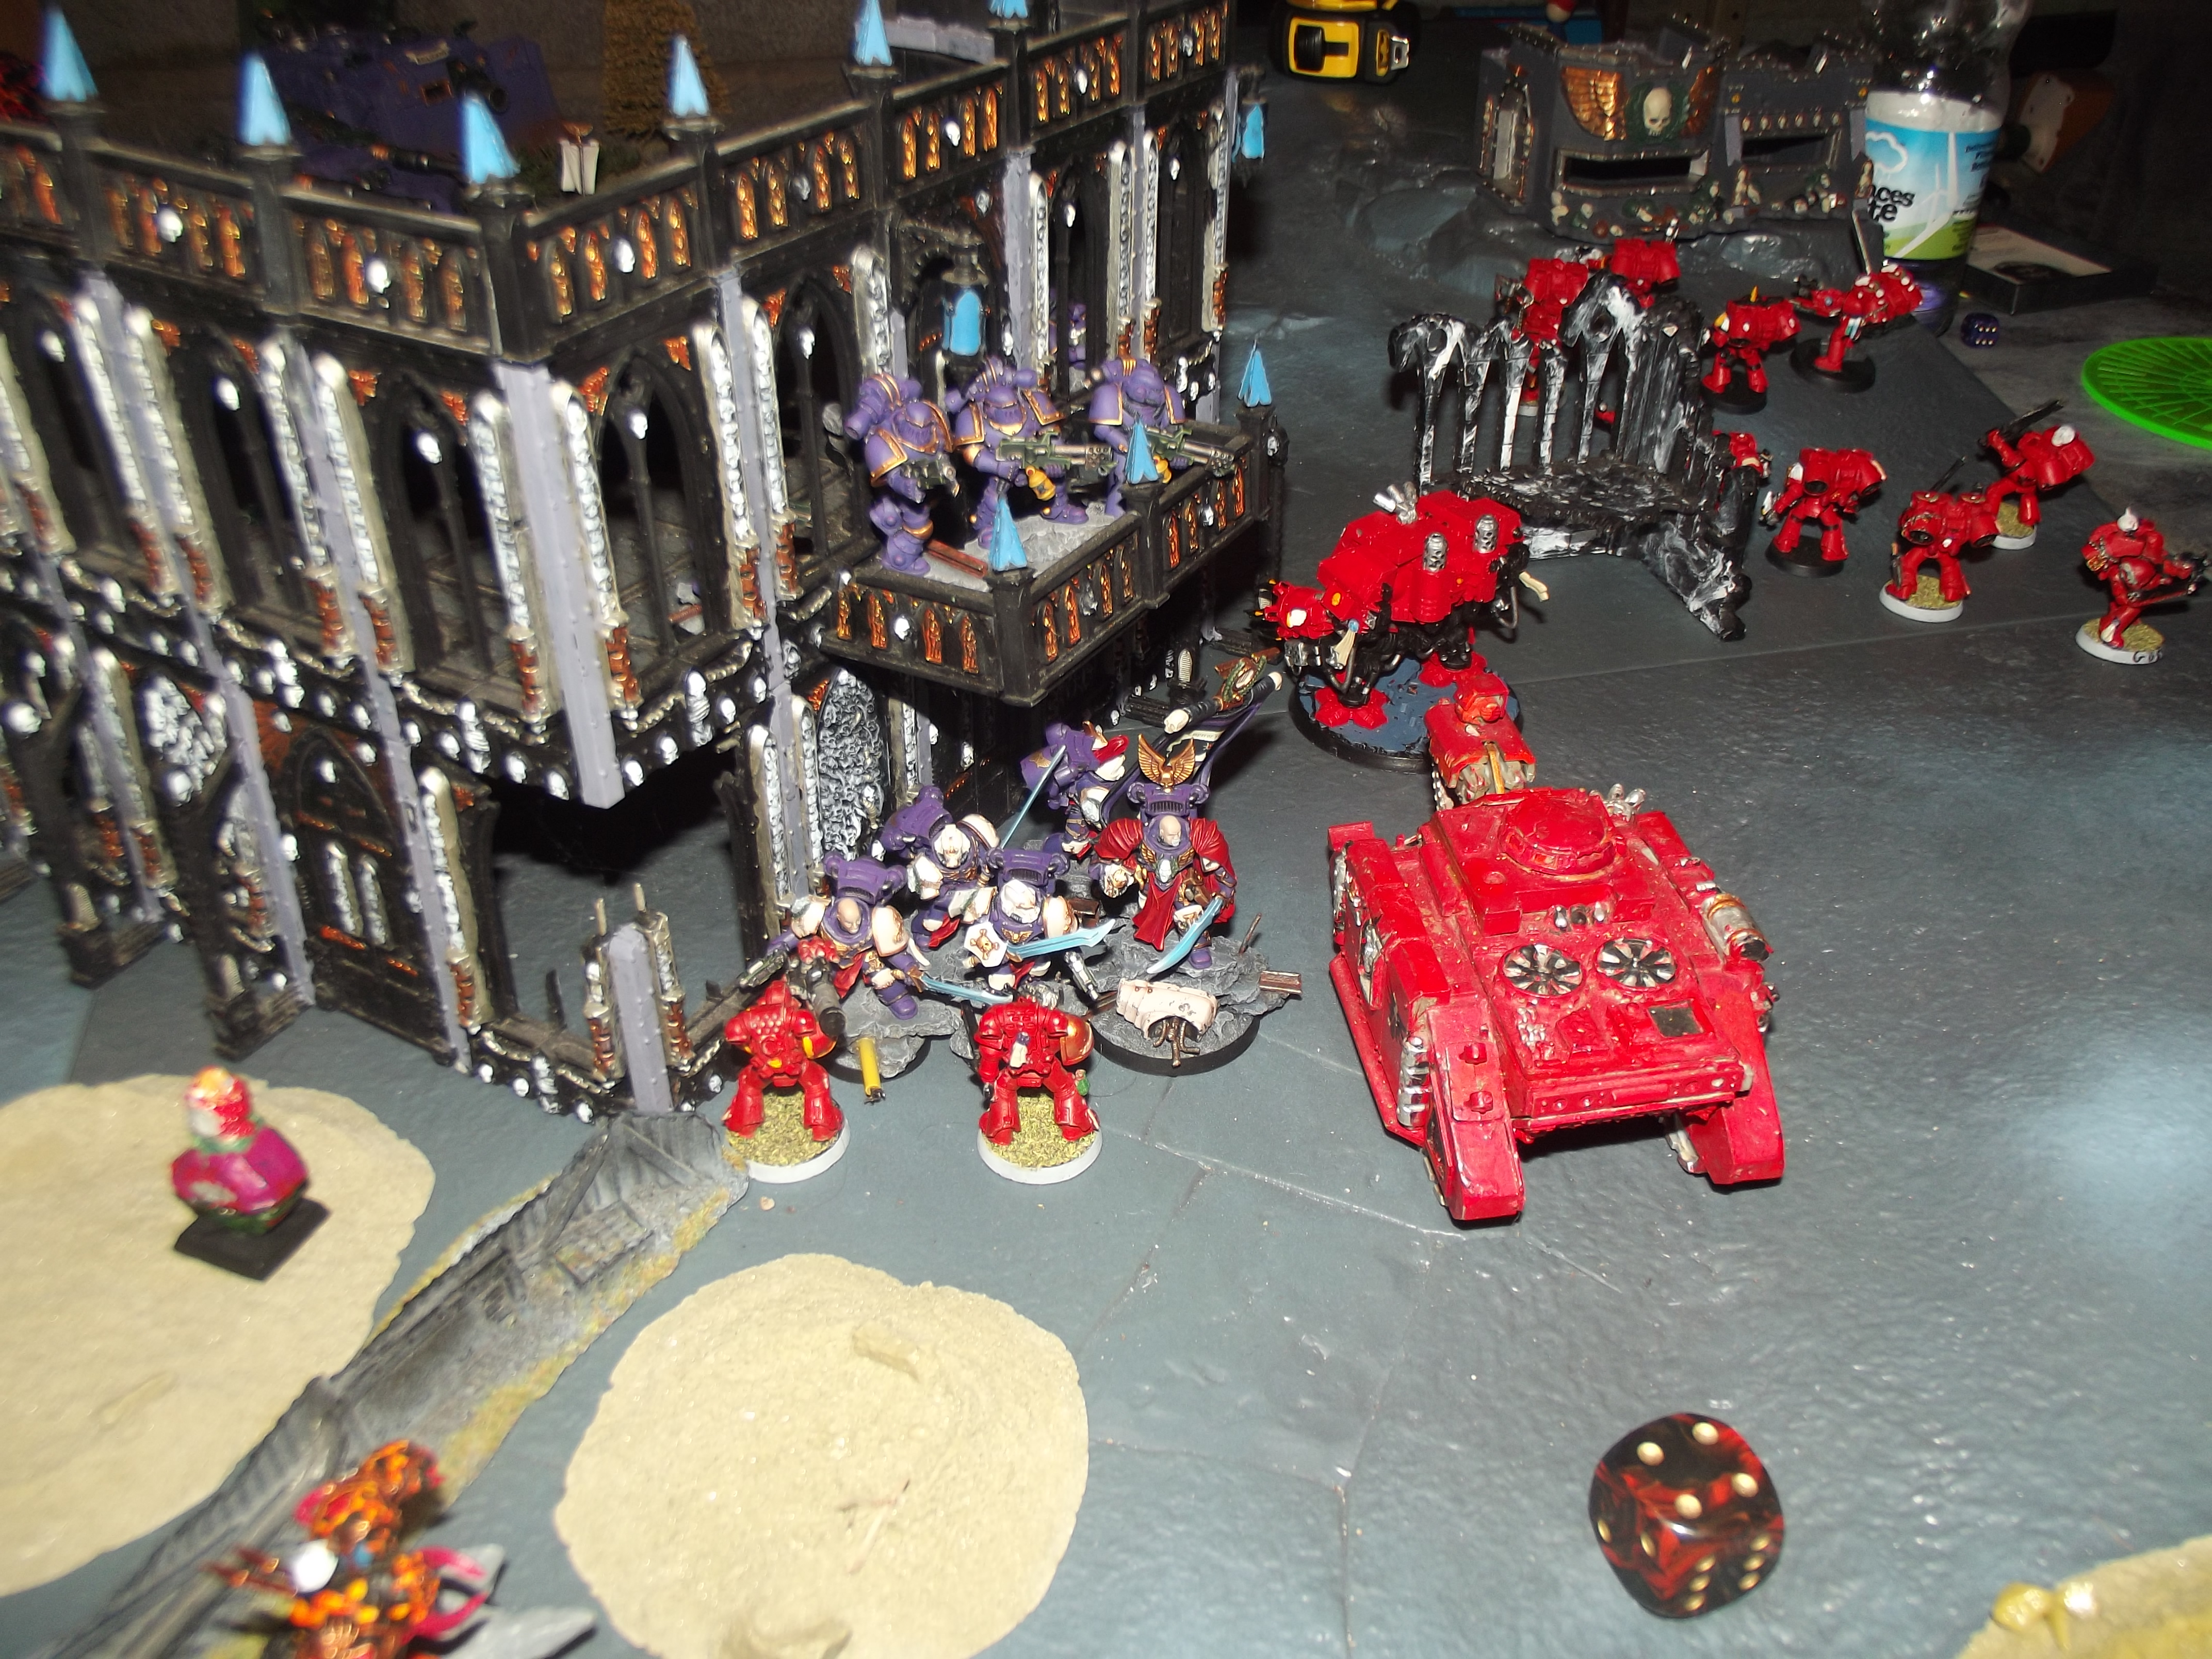
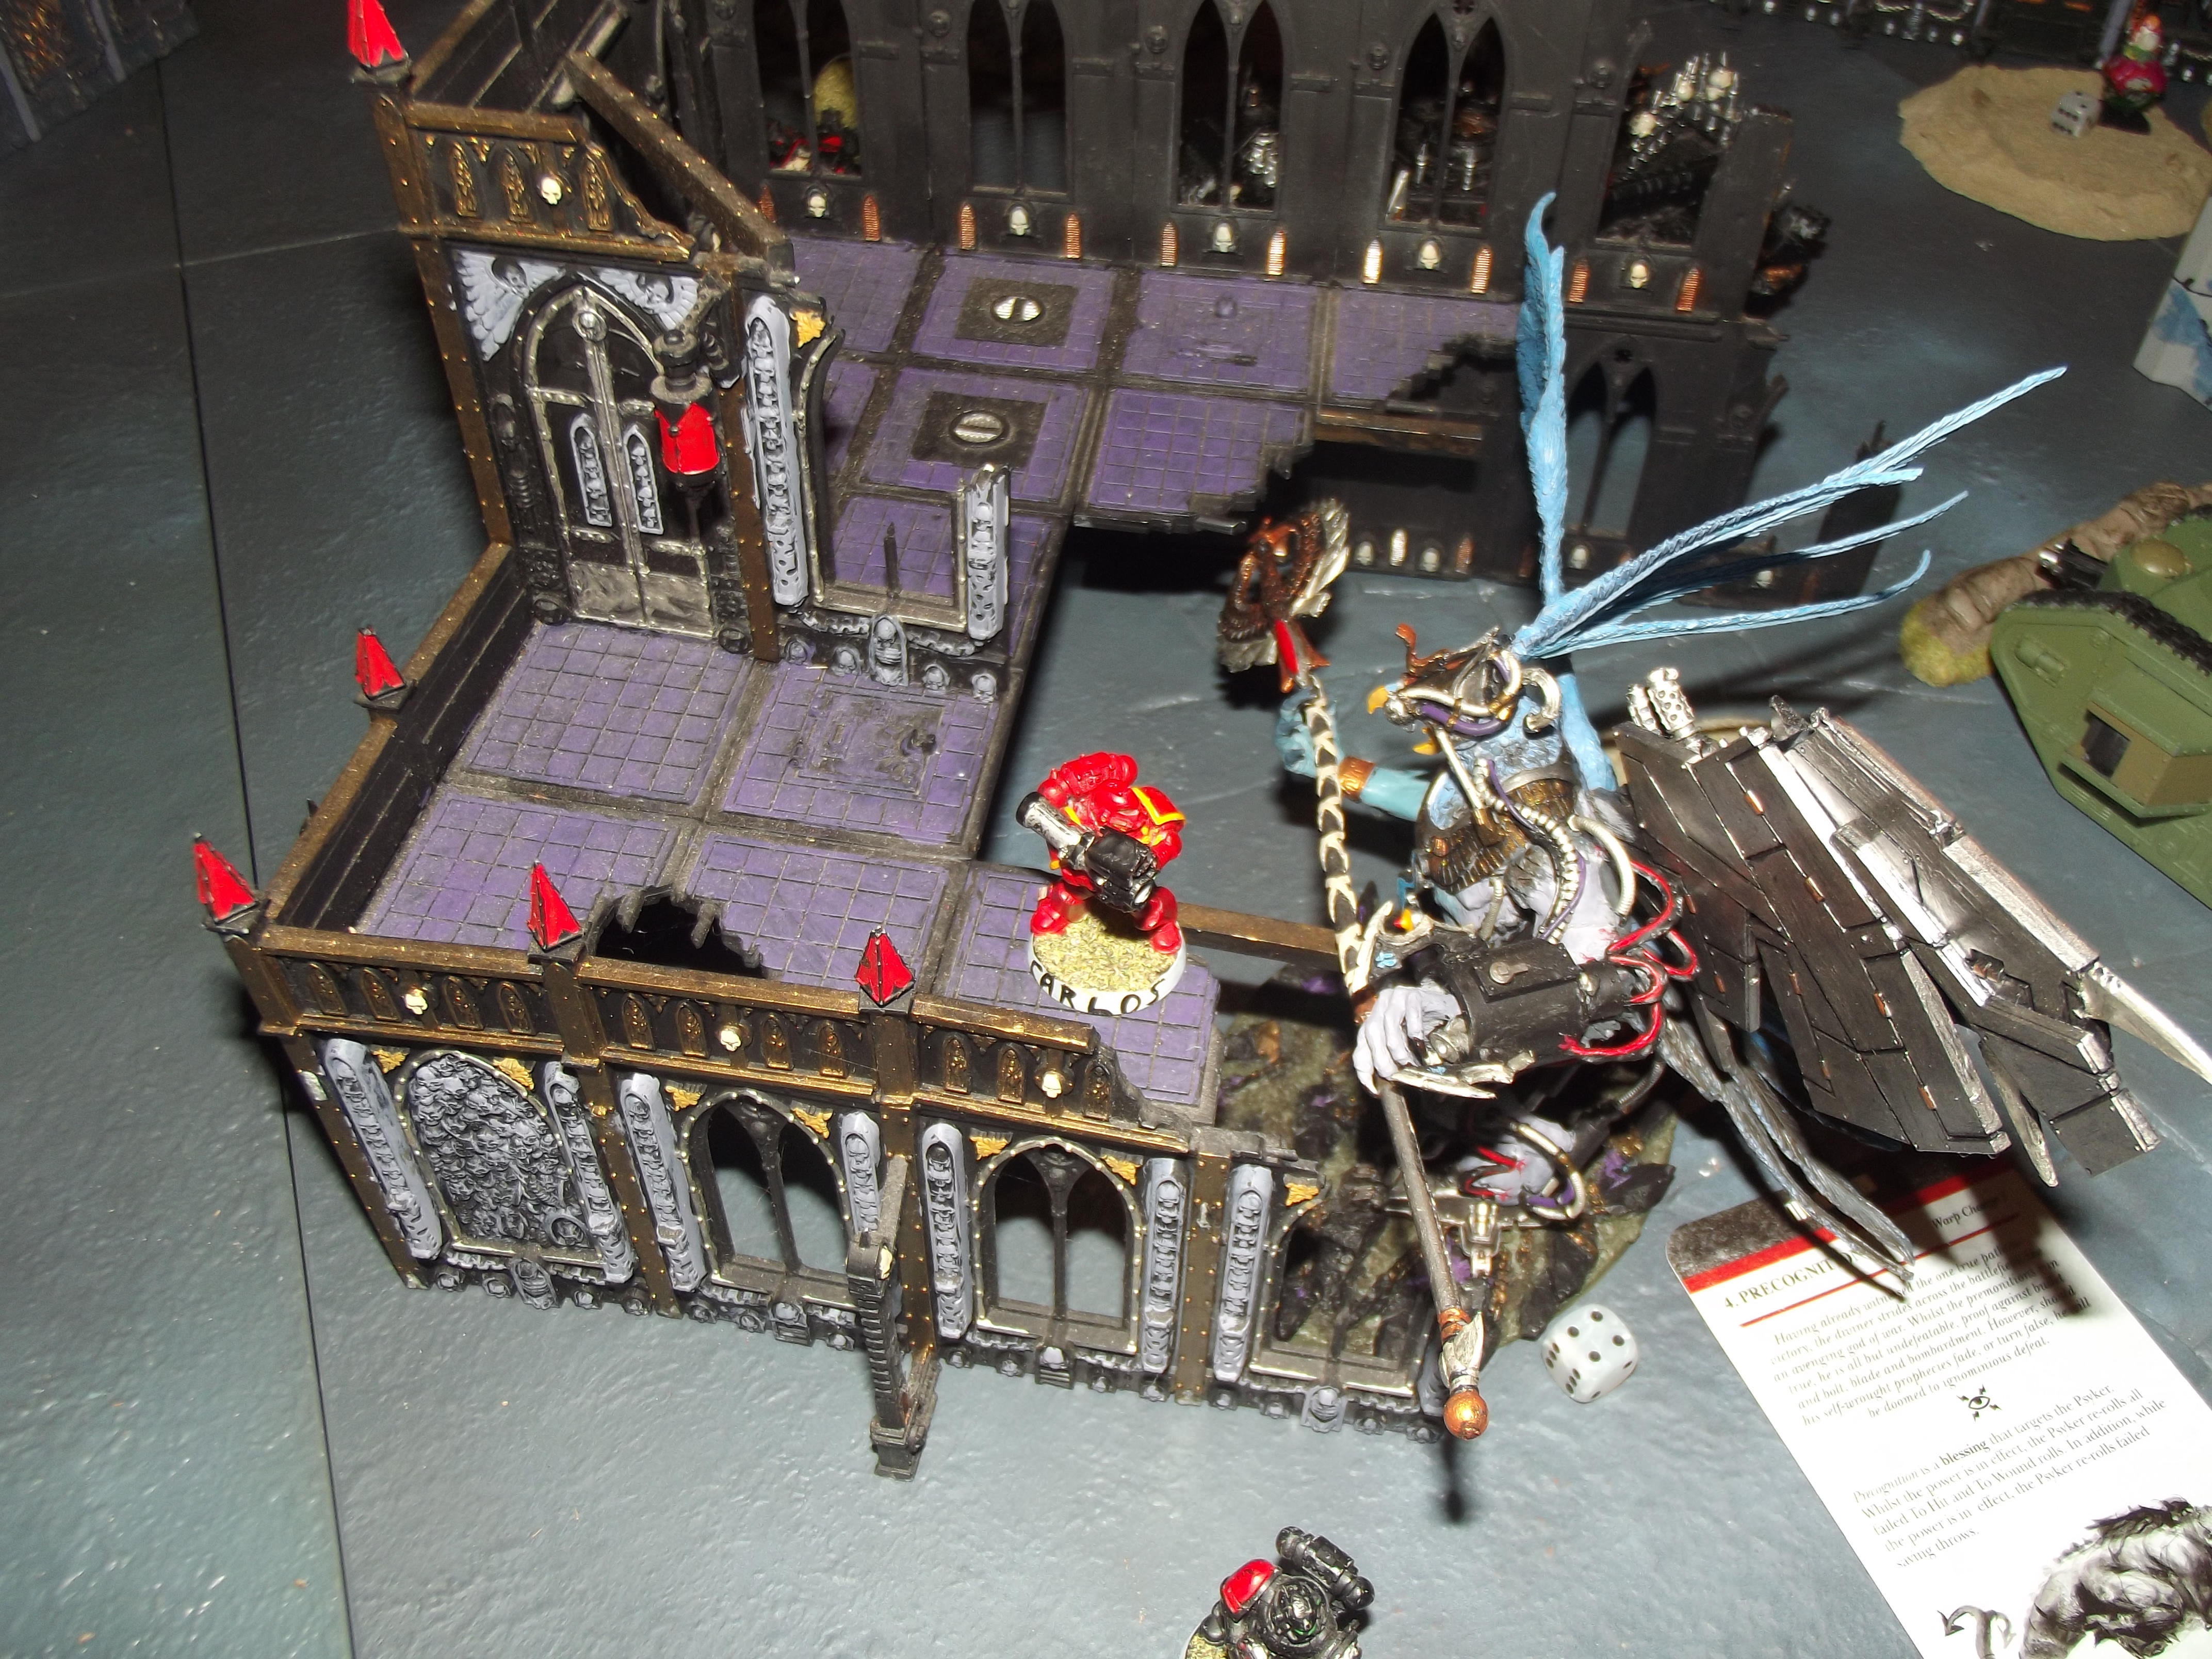
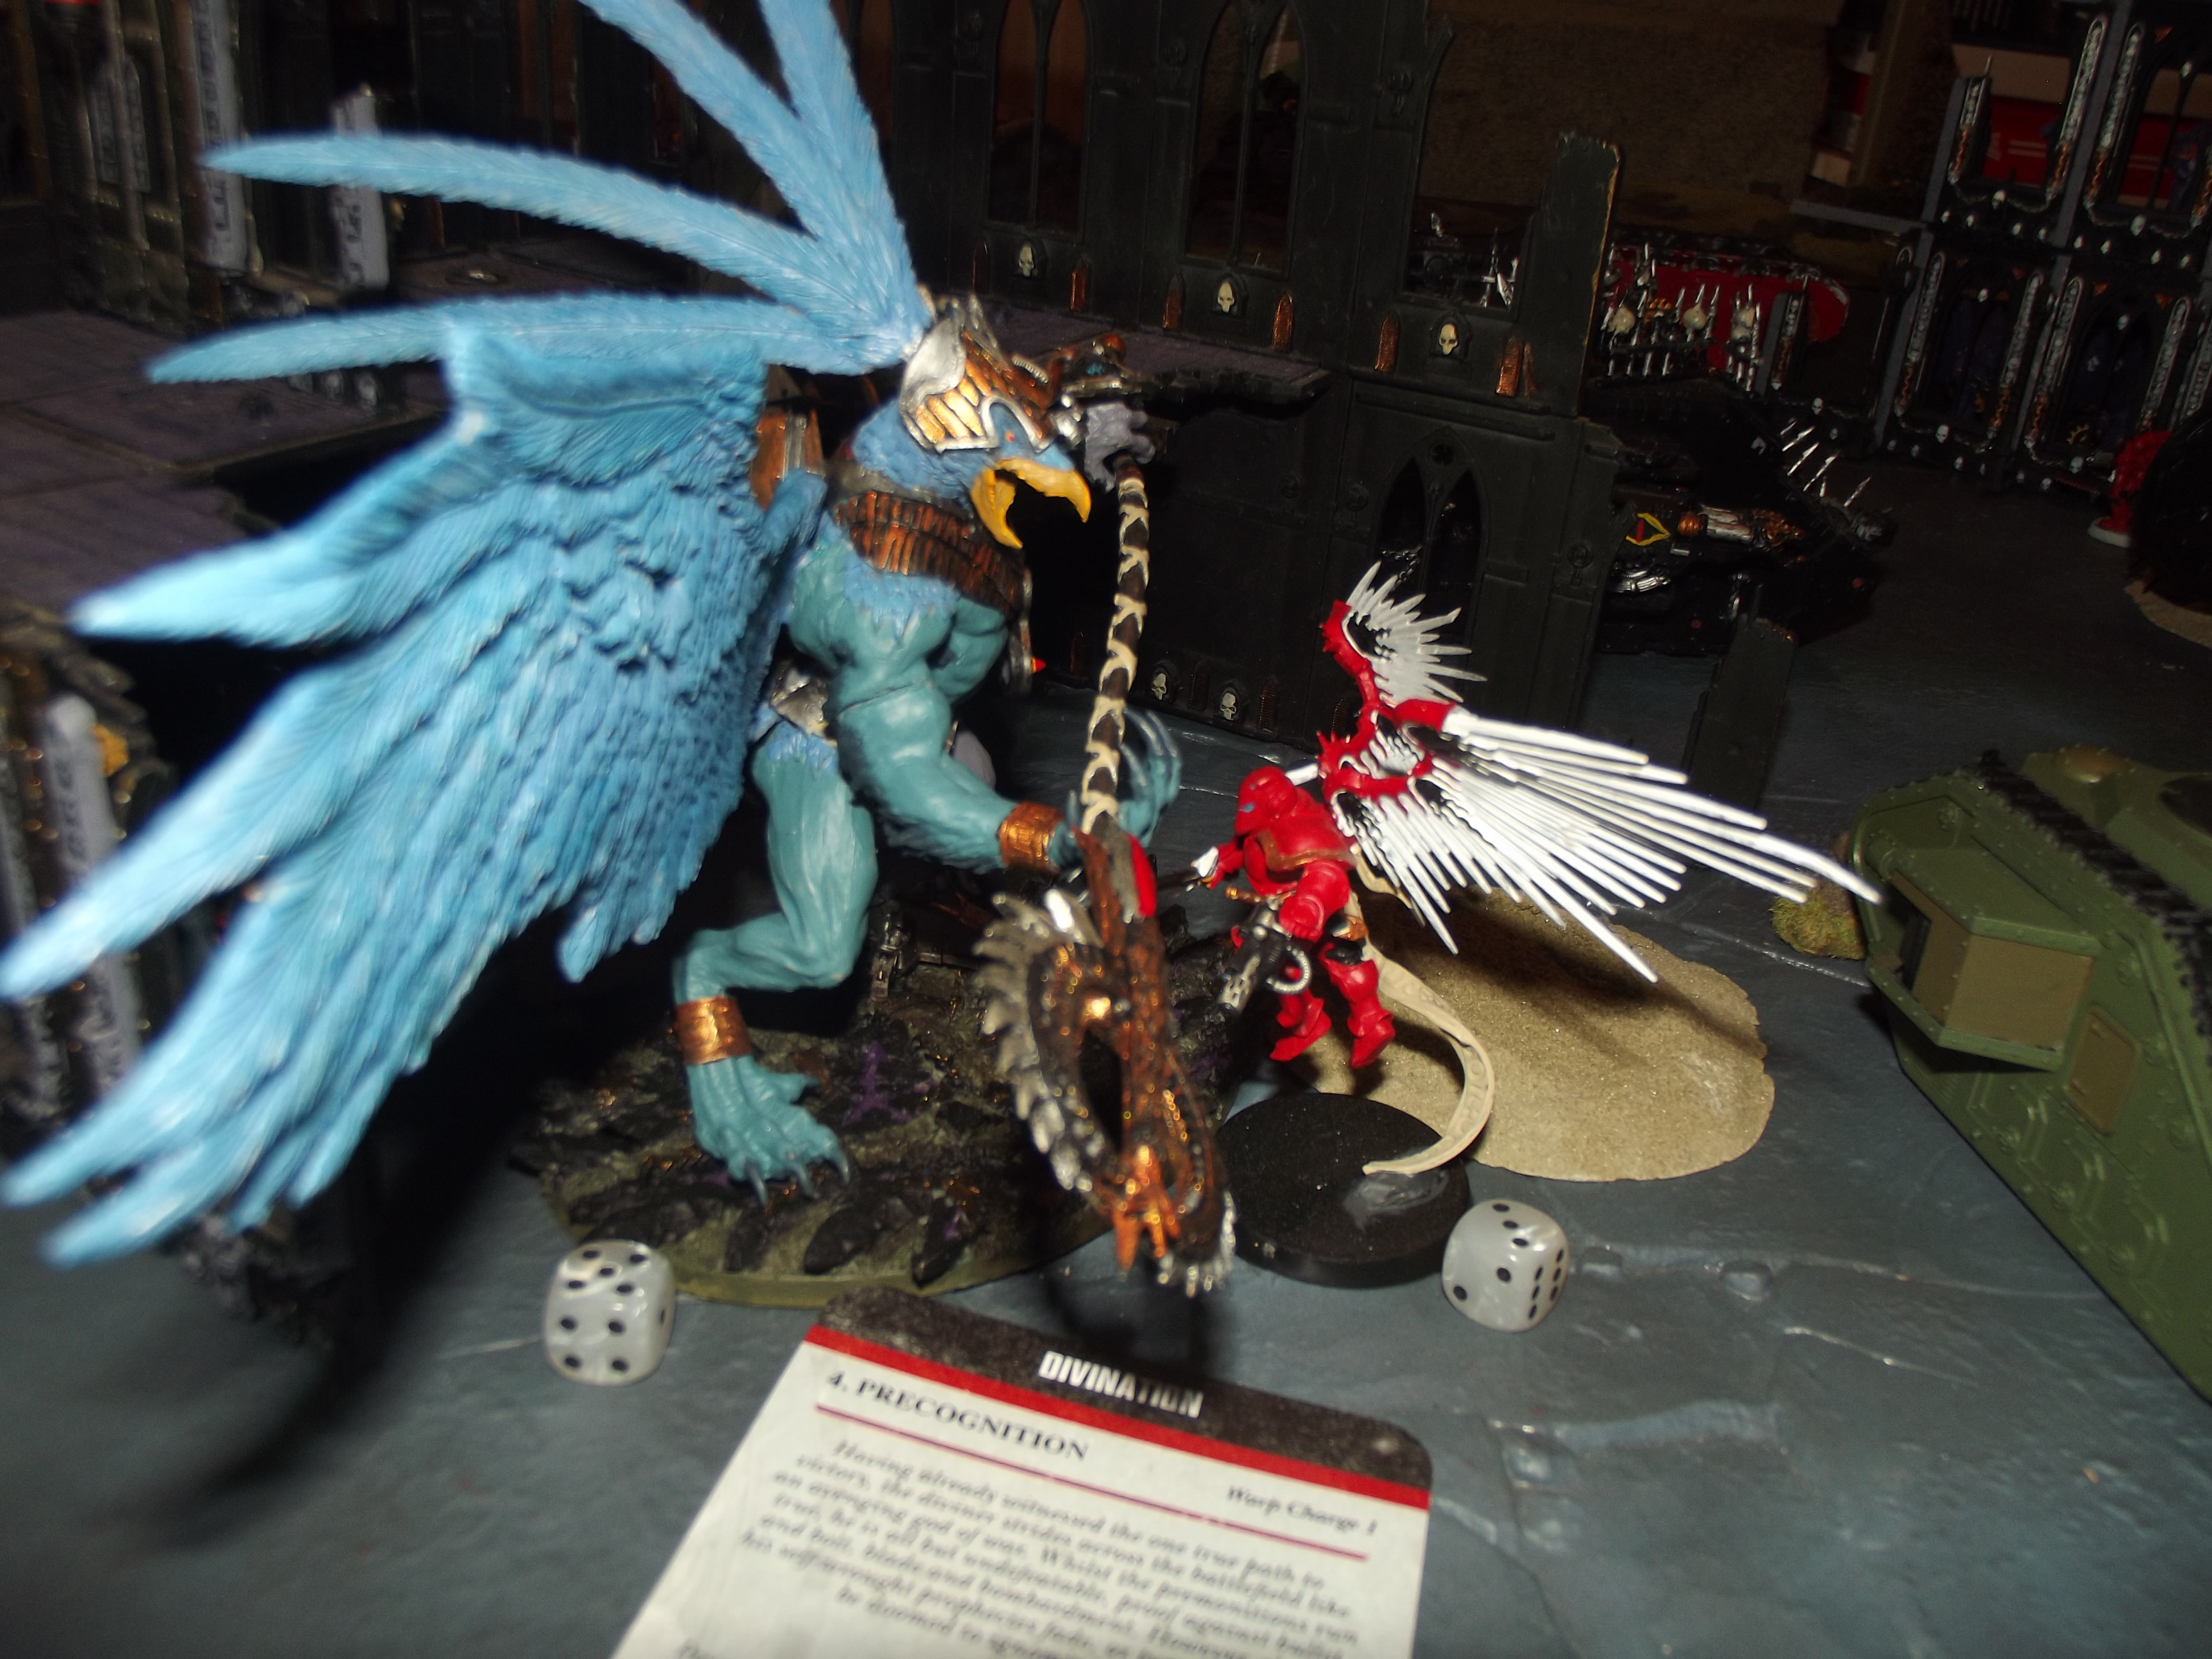
Blood Eagle could sense that the battle was turning against them. He switched to his internal vox. “Sergeant Kay, unload your boltgun into the objective, do it now” A glancing blow from Morrs knocked him back a step. “All imperial forces fall back. We have denied the enemy their prize”
“Farewell daemon.” Blood eagle snarls as he throws a melta bomb skywards before shooting it with his inferno pistol. The flash of its detonation providing the required distraction to allow him to retreat.
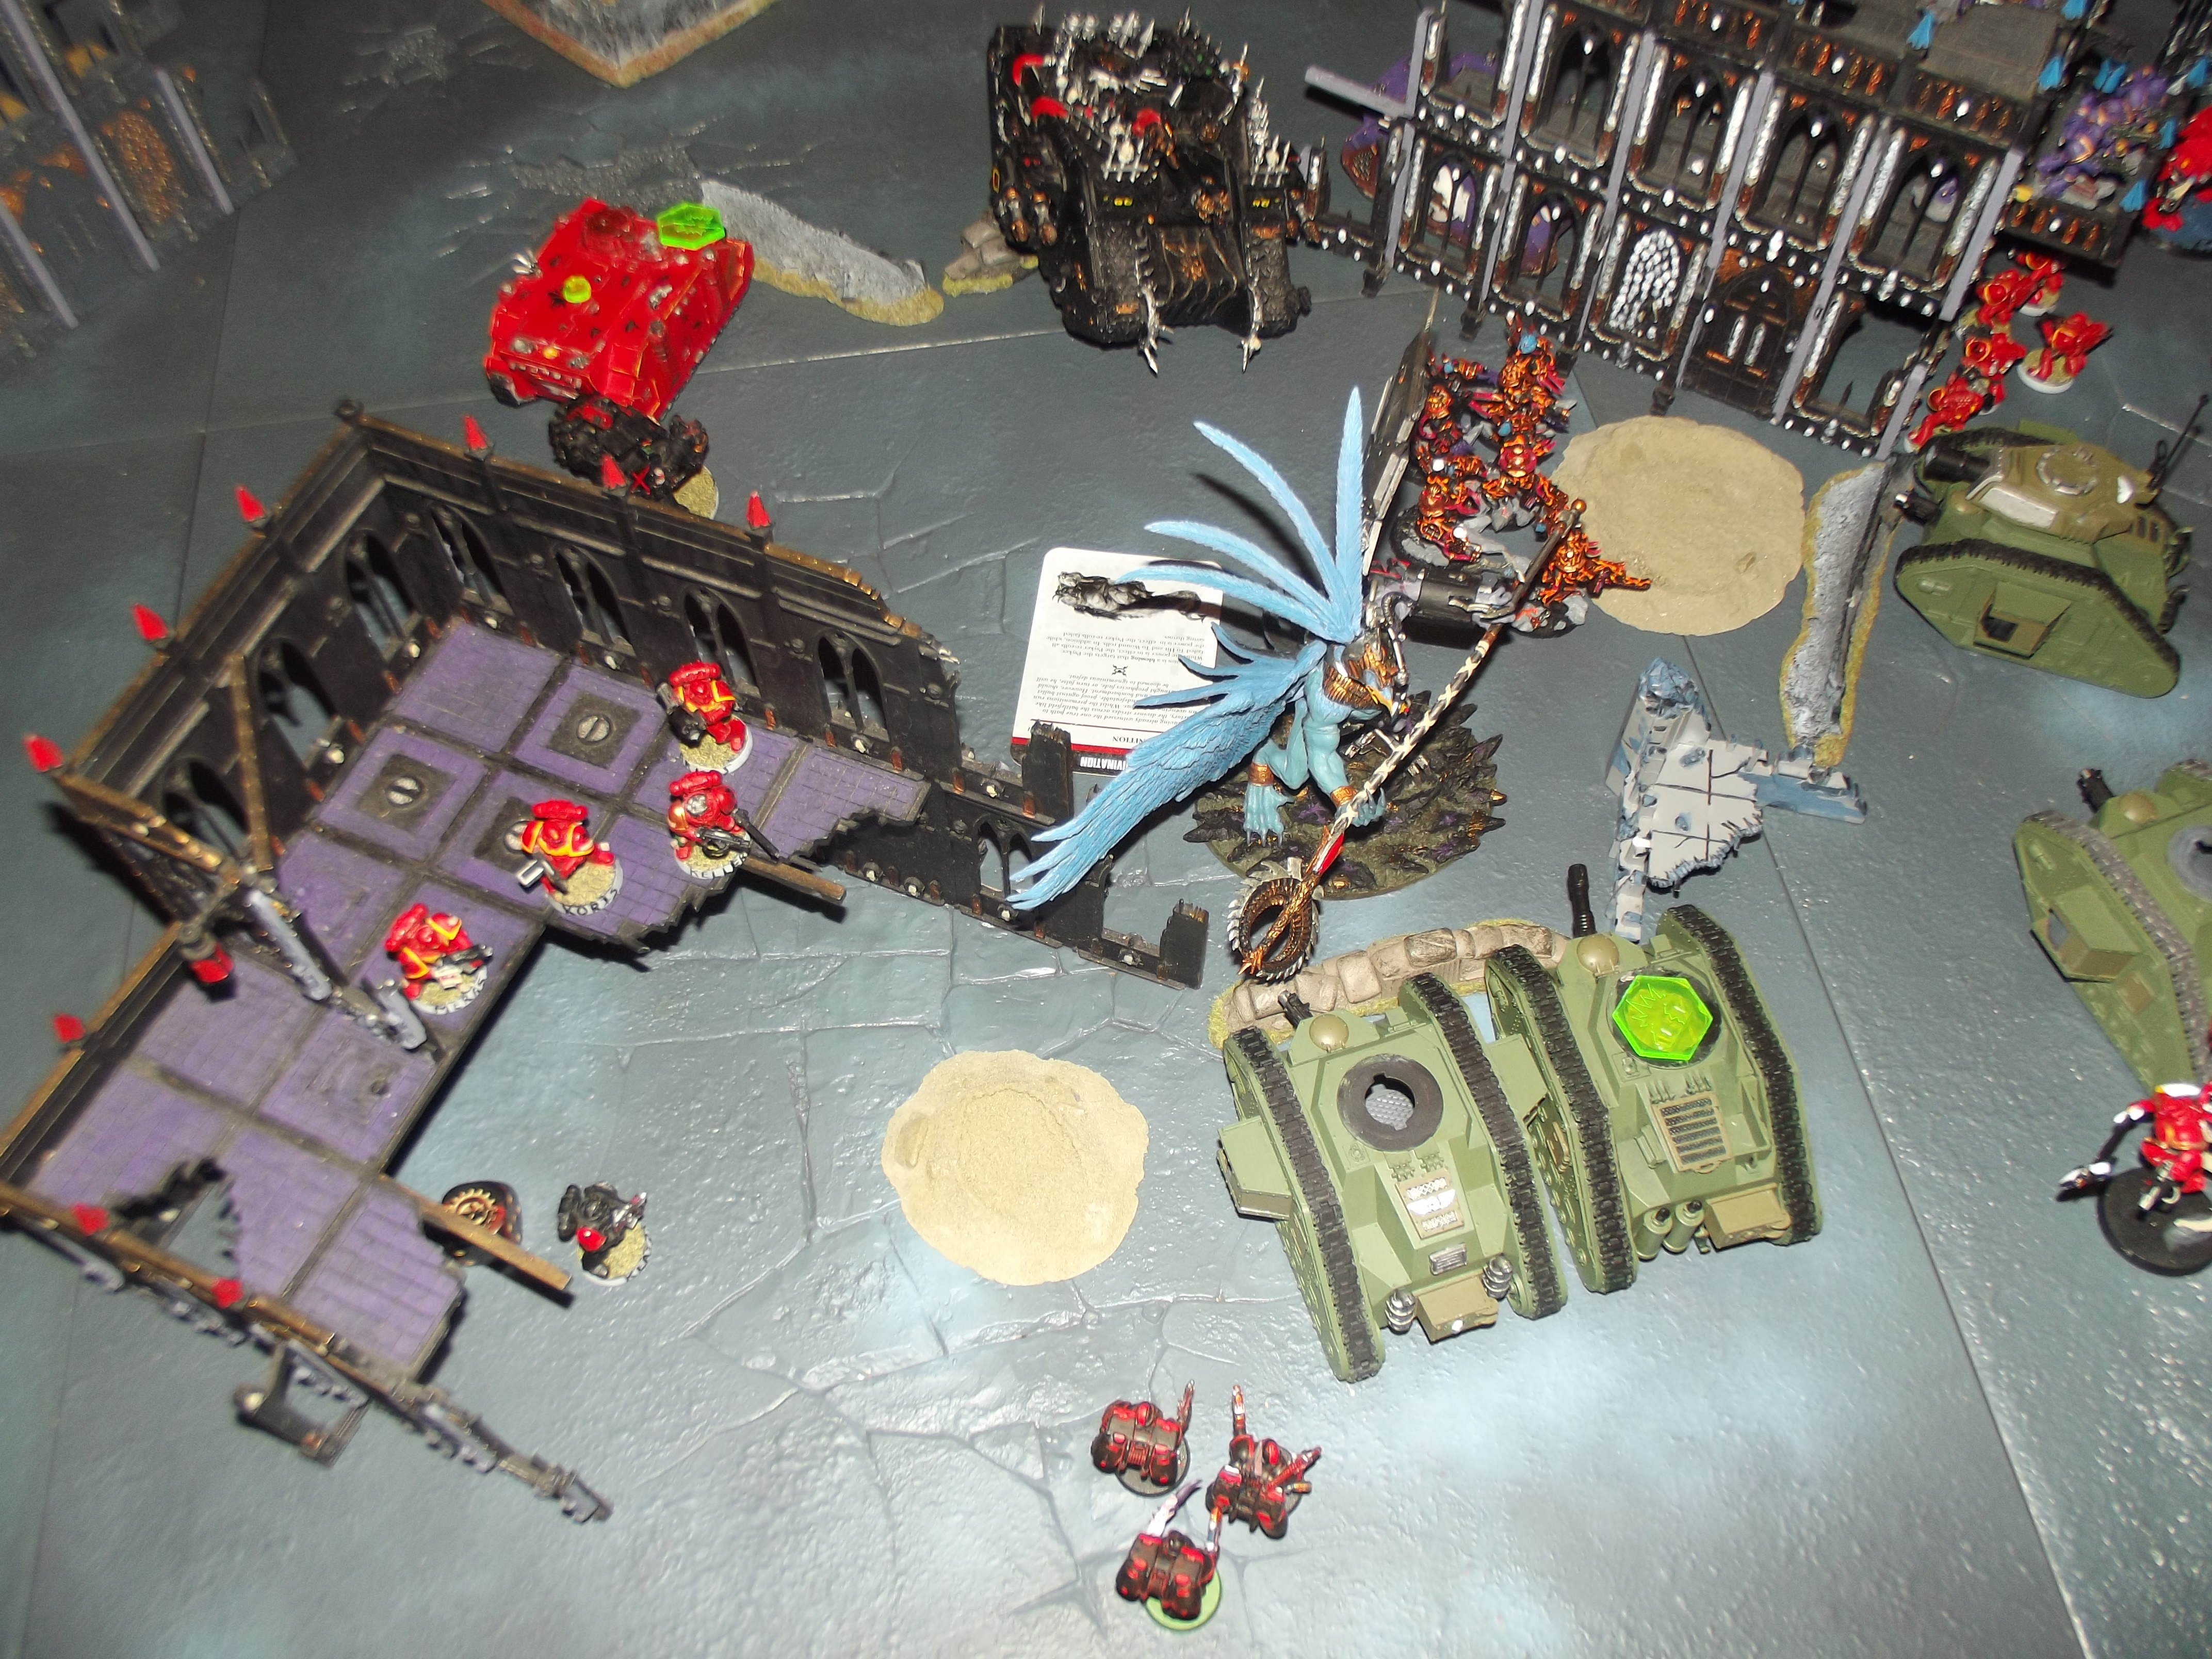
The ragged remains of his forces following as best they could, with one imperial tank crew having abandoned their immobilized vehicle.
—
Morrs stood and looked at the thing they had been sent to retrieve. The box had been riddled with a full boltgun clip. The outer armoured layer had taken most of the hits but a handful had penetrated and damaged the components within. Reaching down Morrs pulls the box free and digs up the remaining pieces. Gathering them up he takes to the sky as chaos reinforcements secure the location and begin to excavate the other buried relics from the location.
Conclusion
Yet again we have a very close game with a few minor inconsistencies. First off the score does not take into account the accidental movement of Objective 4 but as this does not affect the final result being a chaos victory it can be ignored.
If one additional pink horror had been felled and he had claimed a point for objective 3 we would have hit our tiebreaker condition where the highest % of force remaining would have been the winner, Let us see what that would have done to the end result: (units below half strength count as ½ strength for survival purposes)
Imperial
BA 5.5/13 units survived (42%) IG 2/6 units survived (33%) Combined 7.5/19 (39.5%)
Chaos
ToE 4/12 units survived (33%) EC 4.5/6 units survived (75%) combined 8.5/18 (47.2%)
Again due to this we do not need to worry about the two victory points chaos lost as the tiebreaker condition would have provided the same result. (This was our second time playing this mission as the first time I forgot to bring the Contemptor mortis dreadnought for the BA army. So we opted to replay the mission with the same forces. The first mission was 29VP to Chaos and 19VP to the Imperium.)
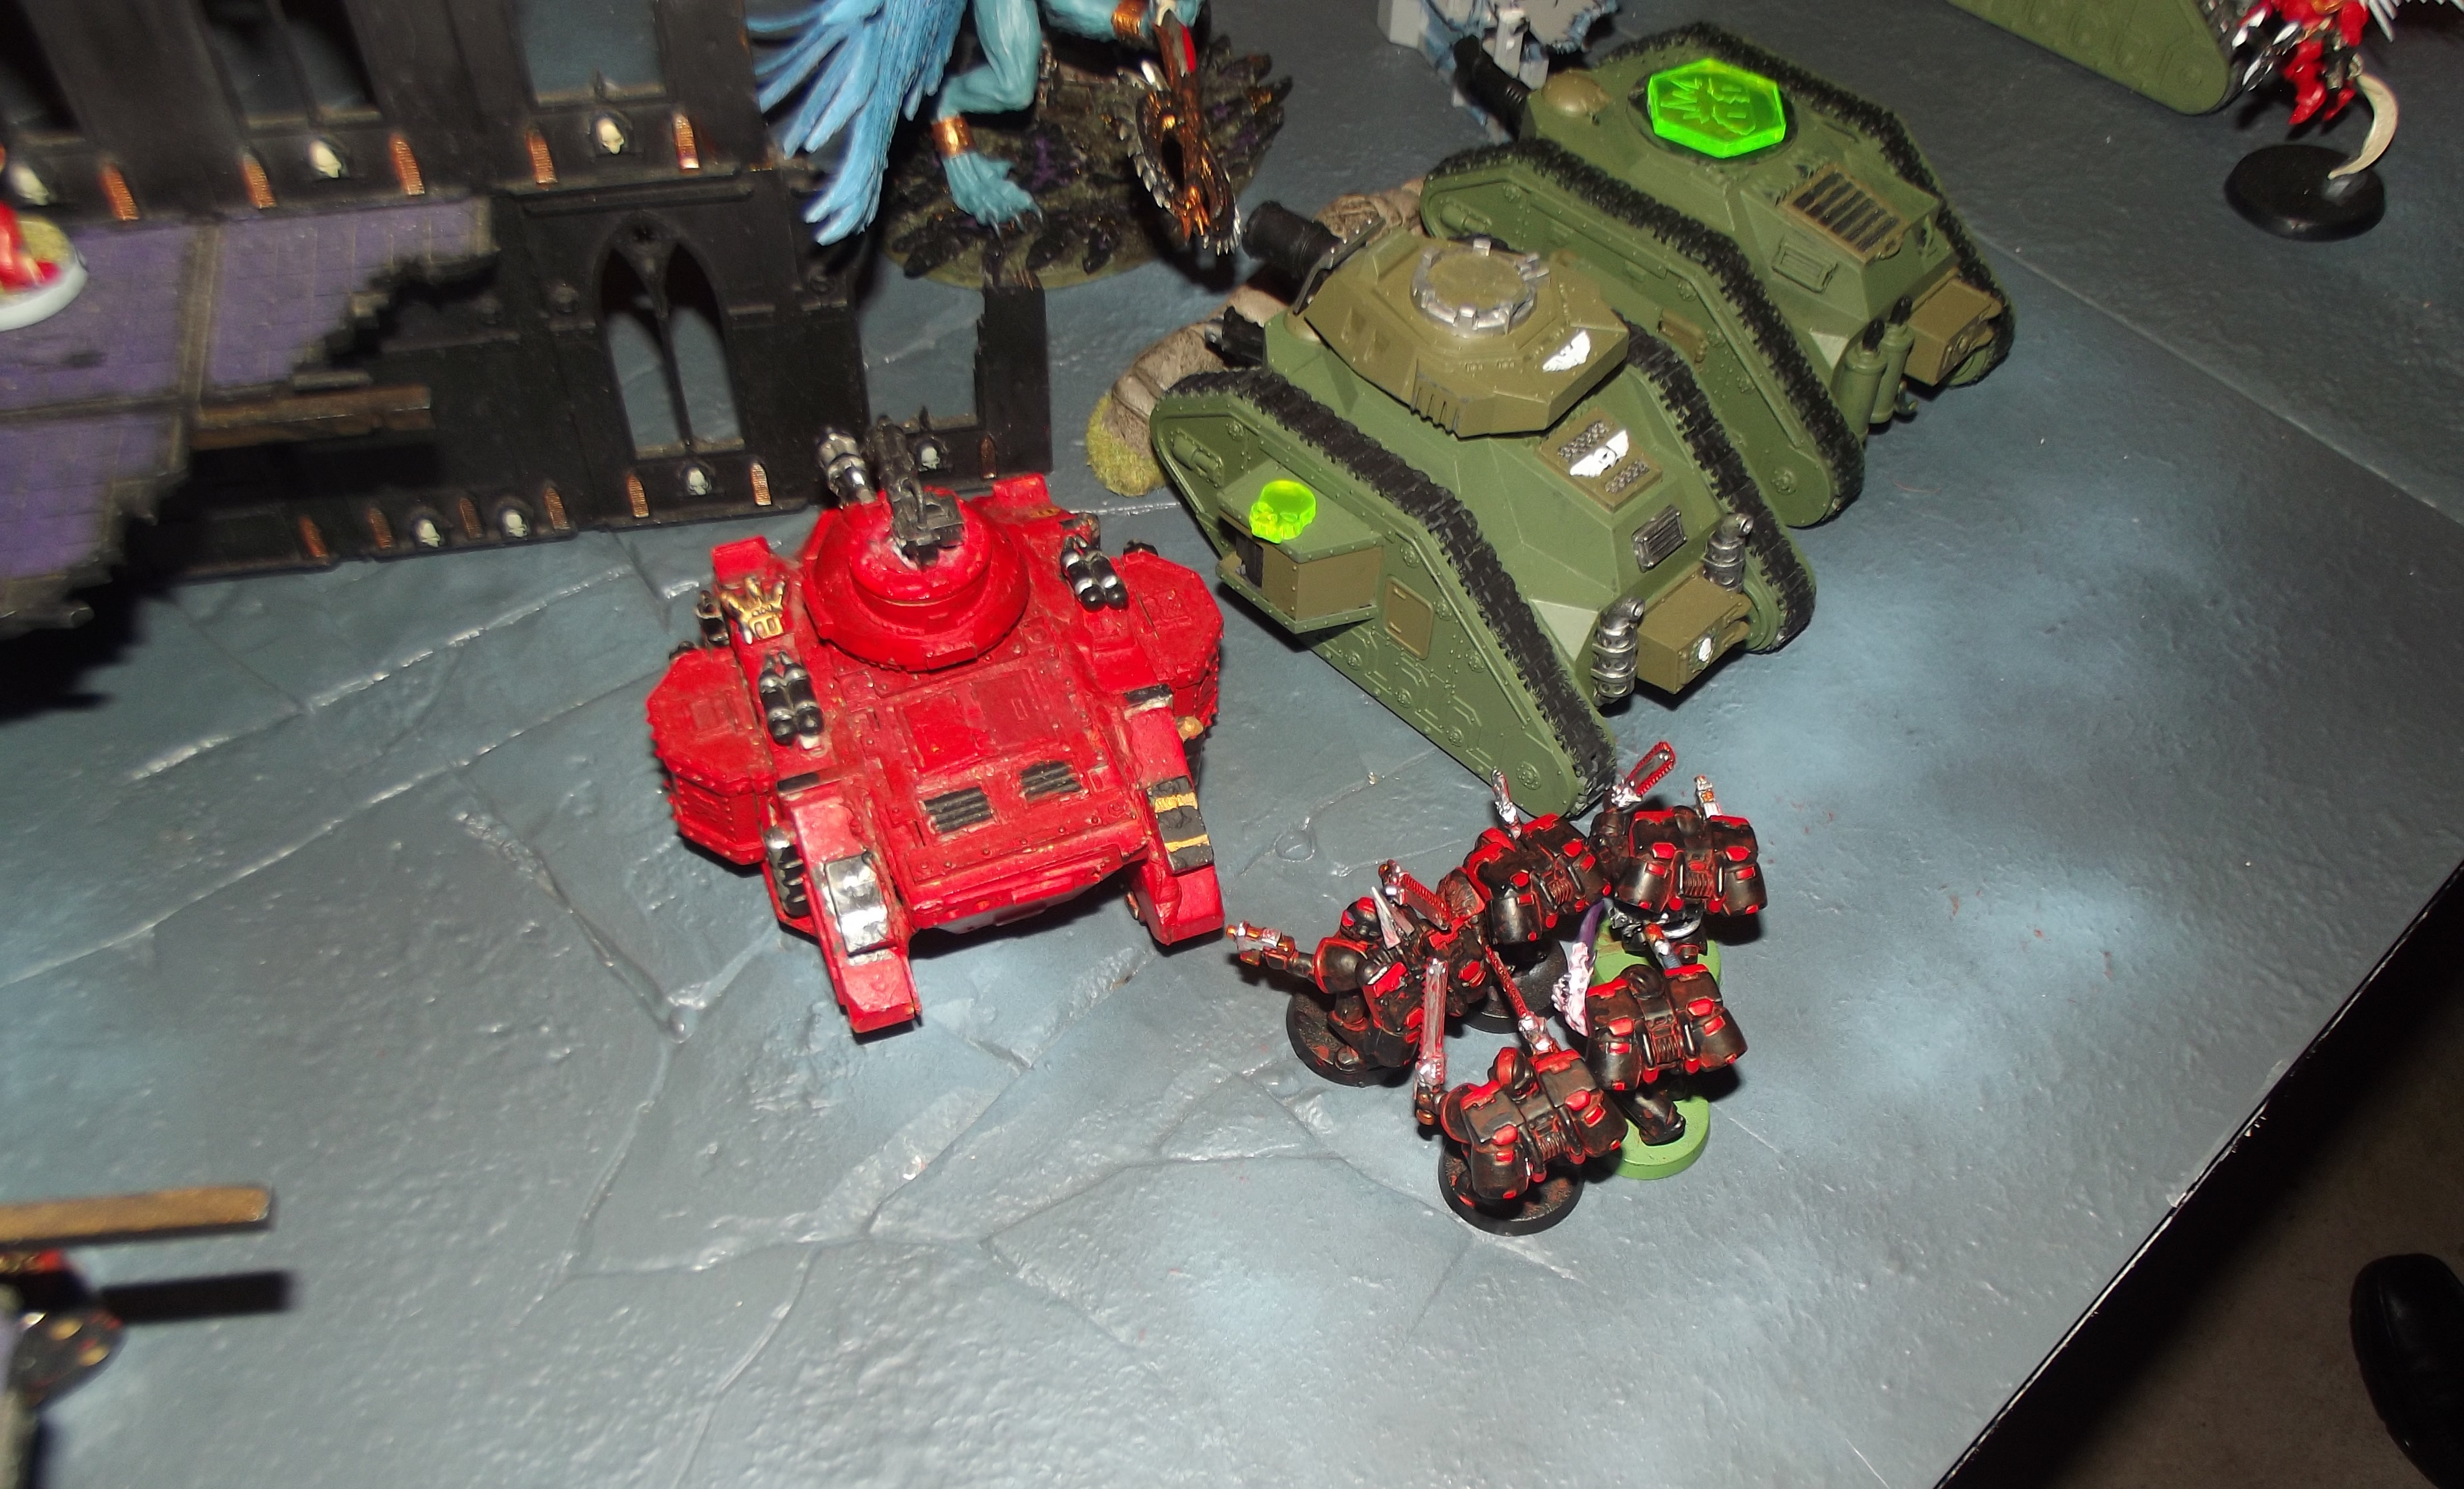
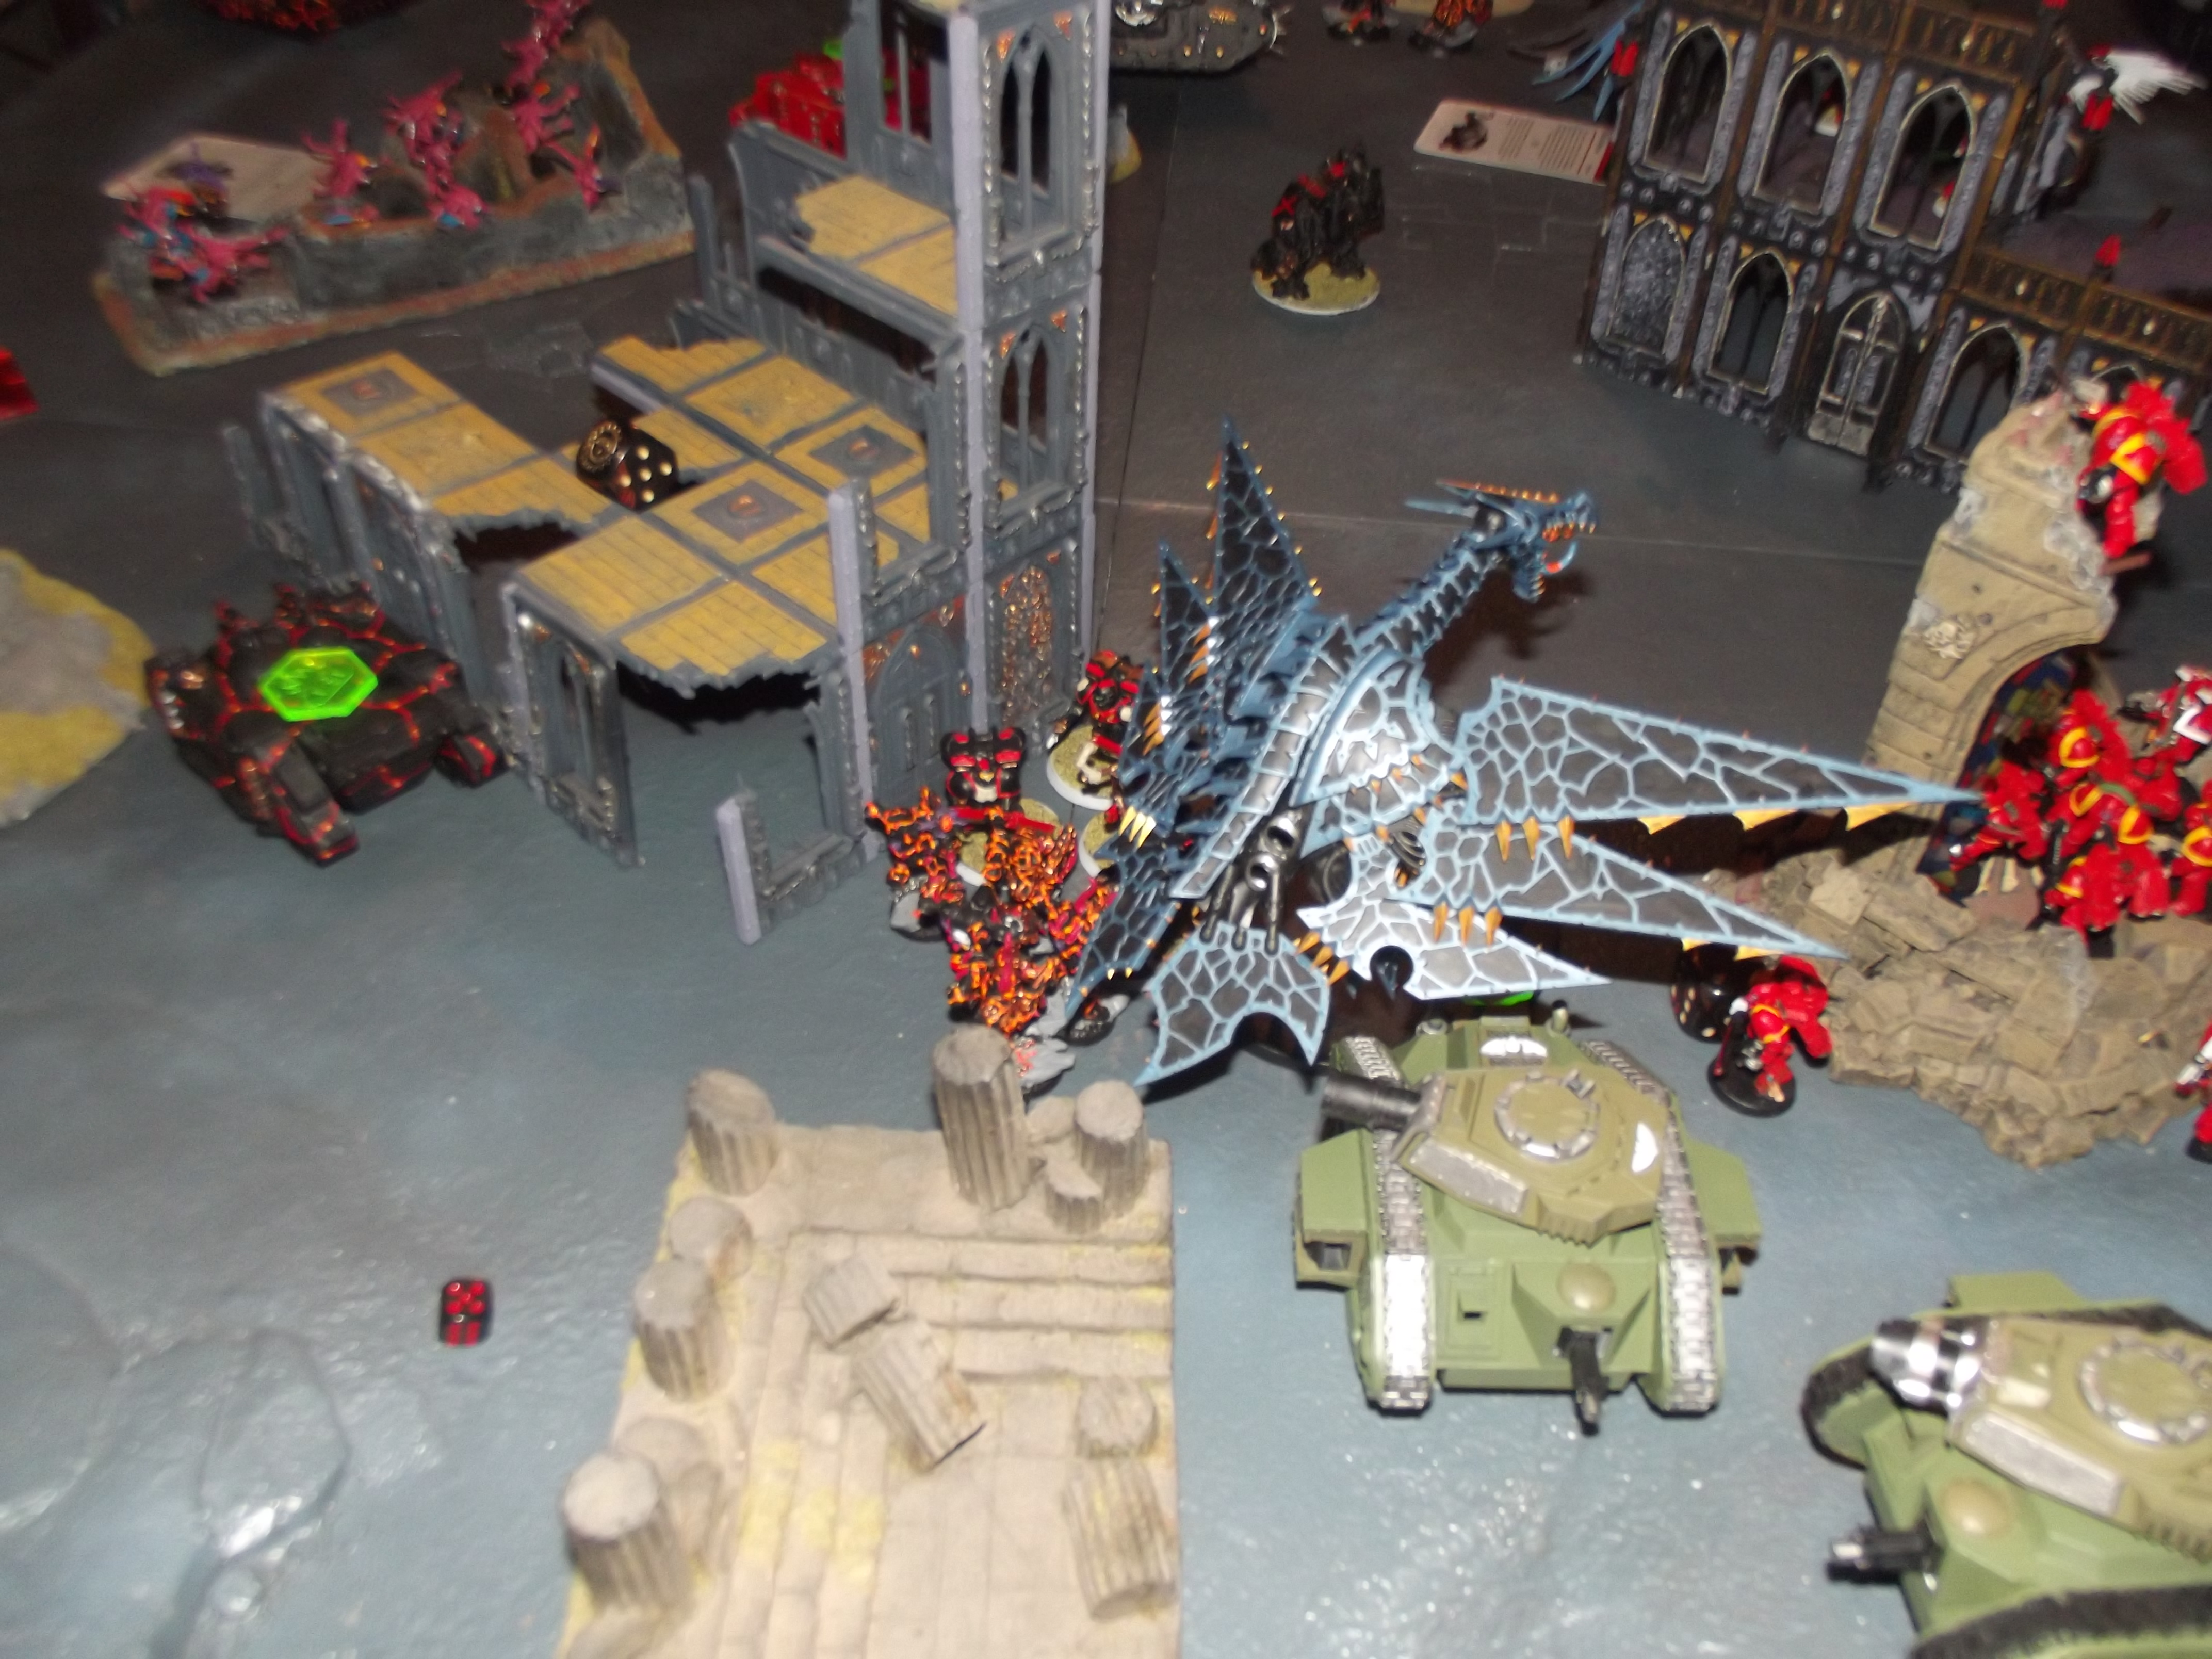
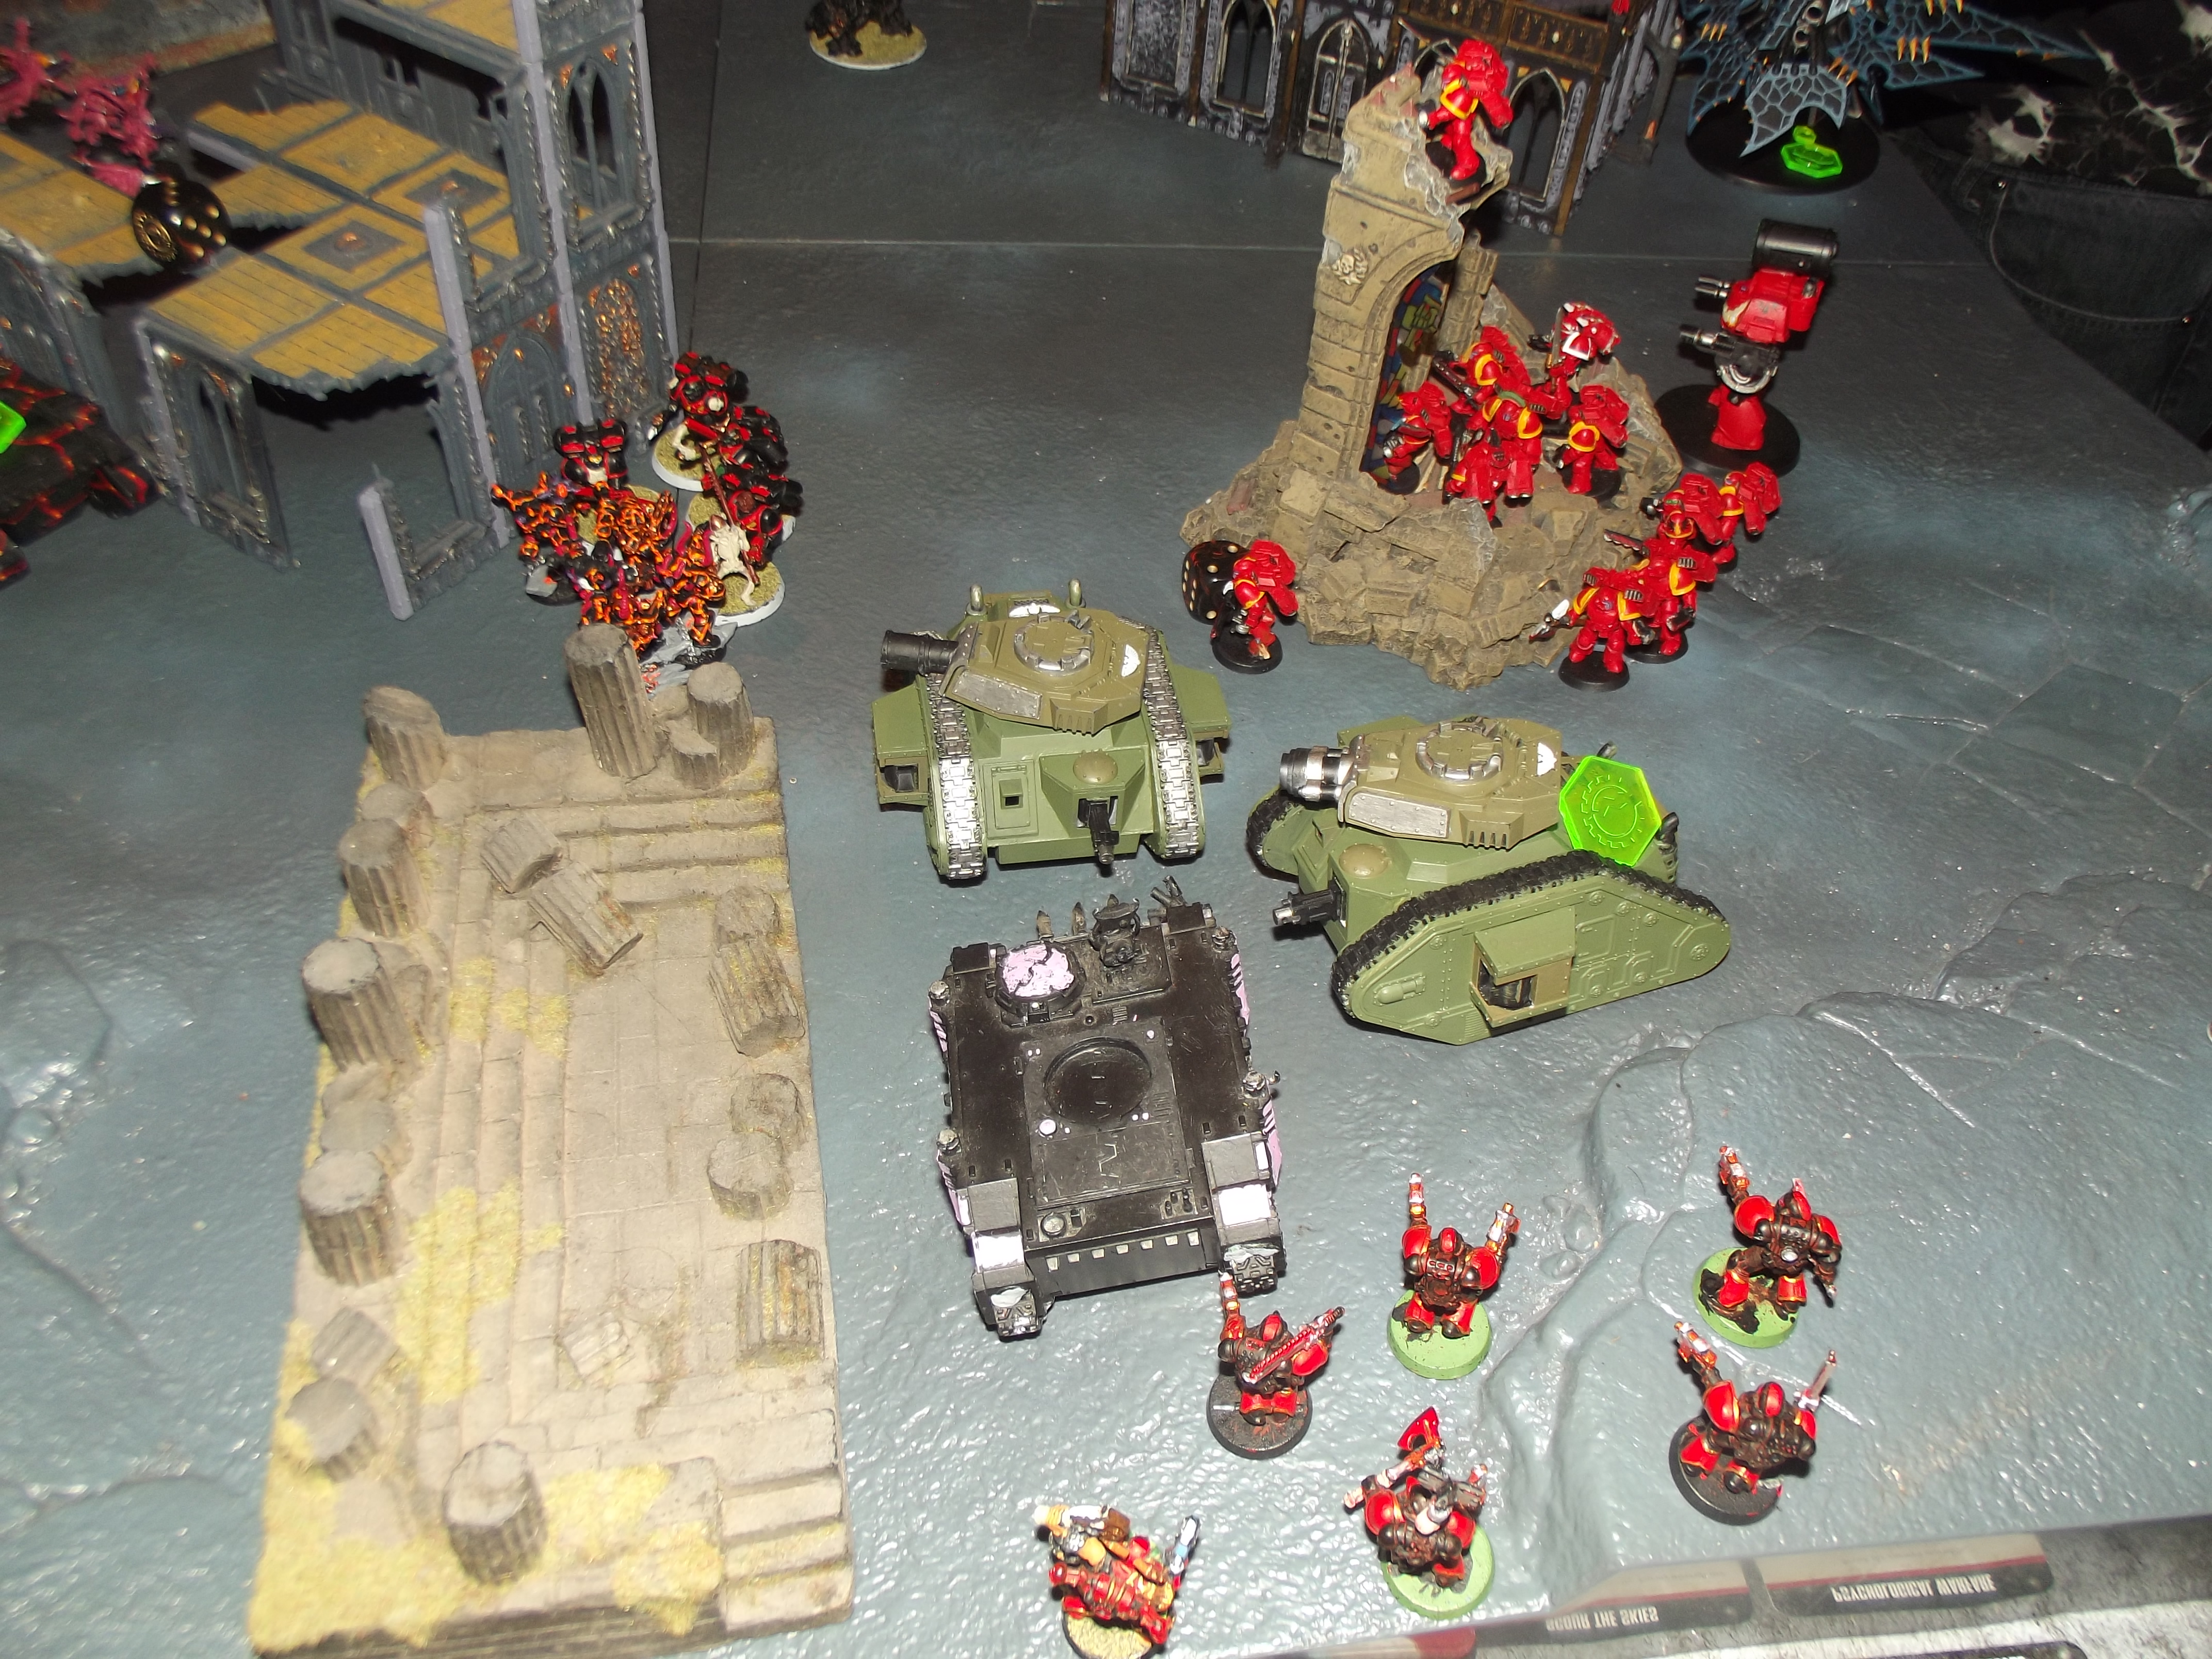
During this game we had a thousand sons squad hold against a death company charge and then remain alive for 6 combat phases while fighting them. After said thousand sons unit got 14 hits and then 0 wounds (roll needed to wound 4+ all the dice were 1-3’s) vs the death company with their bolters. (Something similar happened in game one where the death company and emperors children command squad got stuck in combat which took about the same amount of turns but resulted in the loss the command squad and Death company.)
It didn’t go right for the EC either, fifty-one bolter shots, a sicaran and a vindicator fired at the blood angel assault squad on the left flank and killed 1 model (during turn 3).
I made an error with the khorne CSM and Kharne. I tried to get a VP for demonstration of power by placing the marines to charge at the assault squad and declare a challenge which was denied so poor Kharn got mobbed. I should really have placed Kharn 1” away from the immobile LR demolisher and the CSM on the other side of the rhino spread out to menace the other one. (Then take to it with power axe and krak grenade) [This was not helped when the two closet CSM to the immobile LR demolisher were killed allowing it to fire at them. I had placed them so that the cannon blast would hit itself if it fired upon them.] The perfect example of hindsight in action.
Phase 3
Now we move to the chaos node of Phase 3

The main progression now continues as it has during phase 2. The final mission of phase 3 will be an apocalypse game featuring 93,000 points (46,000 imperial. 49,000 chaos. Currently {additional troops may be painted up by the respective players before we play apocalypse} and I hope our Black Templar player can attend as his forces will greatly aid the imperial side.)
Once phase 3 ends we move into the end phase. Which features a return to battlefleet gothic as the imperial forces try to either pull the chaos forces away to allow a Dark angels battlebarge (custom-built) to evacuate forces from the world (chaos victory) or to try to break the stranglehold they have on the world and force them to retreat (imperial victory).
The battlefleet gothic game will link to the final and smaller game of apocalypse. Where the survivors from the previous game attempt to extract their commanders and VIP’s from the besieged world. (A ship in low orbit is required for a chance to gather forces. Linking to the BFG game.)
- #MonsterMarch 3 (2019) – Part 5 Finale - March 29, 2019
- Creating a Rogue’s Gallery Diorama for Dark Heresy – Part #2 - January 26, 2019
- Creating a Rogue’s Gallery Diorama for Dark Heresy – Part #1 - November 18, 2018

Damn close game. Well done.
Thanks Thor, seems to be a pattern for the better with regards to this campaign.
The Missions we are using all seem to be well balanced despite varying wildly from the normal missions with concerns to victory conditions. Yet it still comes down to the final few dice rolls to decide the outcome.