I do a snow theme for the basing of my Chaos Space Marines. It can be difficult at times to make the basing interesting. Too much snow and you’ve got a white base. Too little snow and it can look odd and unrealistic.
Being able to add in other little snowy details, like ice and icicles, can really step the basing up a level. So, today I’ll show you how to make icicles for your miniature basing.
Previously I had only created icicles once for my Sorcerer in Terminator Armor. I was really happy with how they had come out, and I knew I’d want to try it again at some point.
Well, the Chaos Master of Crusade model I bought had a great base for adding icicles to. So, I set about trying to document the process and learn how to replicate my previous attempt.
Disclosure: Some of the links below are affiliate links, meaning, at no additional cost to you, I will earn a commission if you click through and make a purchase. The commission earned helps maintain this site.
The Tools You’ll Need
You only need a few things: hot glue gun, toothpick, and parchment paper.
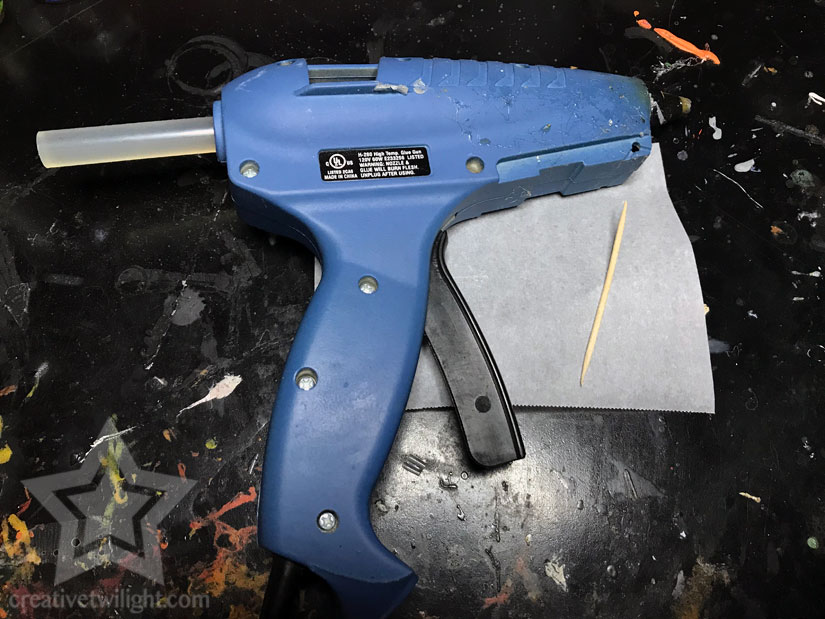
Regarding the parchment paper – this is a must. I know in other countries it’s called by other names, but in the U.S. we have two similar types of baking paper: wax paper and parchment paper.
Wax paper does not work for this process, as I learned the hard way.
You will be putting hot glue on the paper, and the wax paper melts a bit into the hot glue, thus making it impossible to peel off after. However, with the parchment paper you can peel the dried hot glue off the paper with ease.
Creating the Icicles for My Miniature
Time needed: 2 minutes
This is so simple.
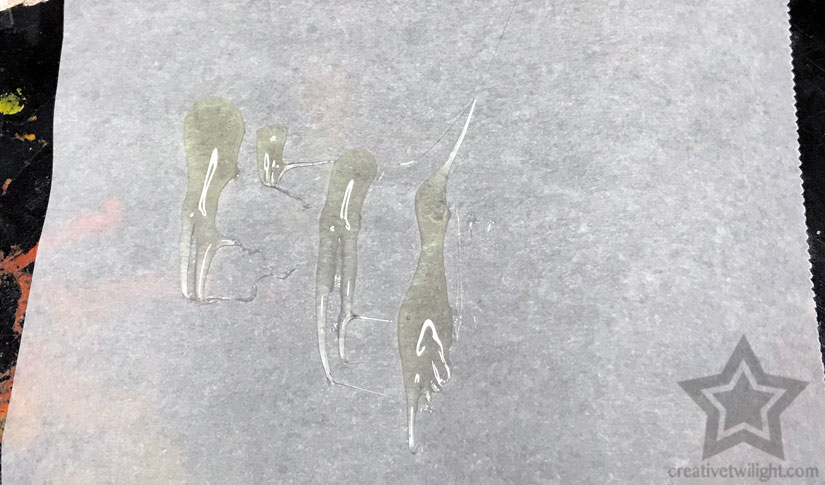
- Squeeze Hot Glue onto Parchment Paper
Take your hot glue gun and squirt out a spot on the parchment paper.
Then take a toothpick, or some other pointed object, place it in the hot glue and pull outwards. This should create a fork, two pointed parts in the hot glue.
You have to do this quick and only once. The hot glue will dry pretty quick, so the toothpick will start sticking to the hot glue after 5-6 seconds.
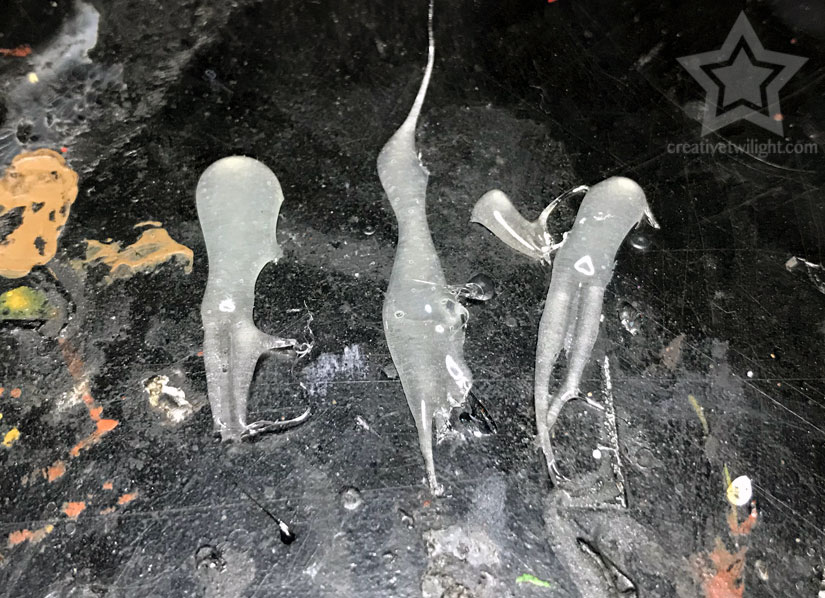
You can see the icicles already – the pointed parts of the glue. - Peel the Glue Up
I let the glue dry for a good 5 minutes and then peeled it off the parchment paper.

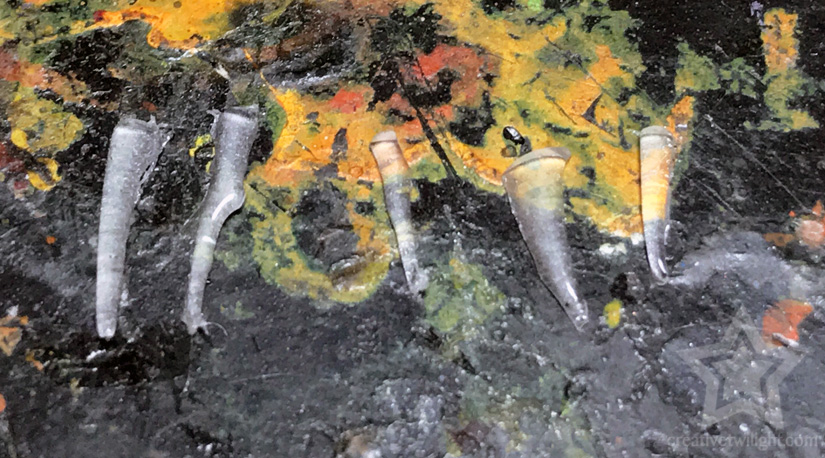
- Trim Icicle Shape as Needed
I looked for any oddities in the icicles and trimmed those away. Basically, I’m trying to make sure the point is sharp with no stray pieces of glue. Then I cut away the icicles from the rest of the glue.

- Glue the Icicles to the Base, Miniature, etc.
Next, I glued them to the base. I recommend using tweezers for this part.
Also, worth noting is that the backside of the icicles will be flat, the side that was on the parchment paper. So, as you glue these on just make sure the flat side is facing inwards, leaving the rounded side out.
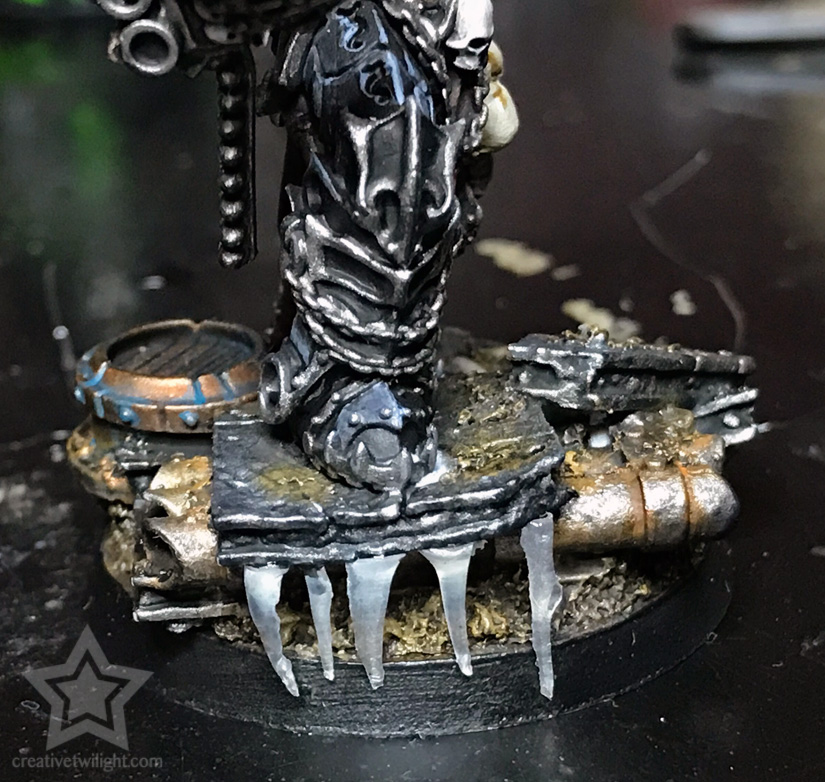
Sealing the Model
I put the icicles on before I seal the model. The reason being that I have to glue them to an already painted surface, which isn’t ideal. When you do that then the icicles are more likely to pull away since they’re attached to paint, not the model itself.
So, by sealing the icicles with the model I help create another bonding layer.
Ideally I would glue the icicles to an unpainted surface. Then I could paint around them and in turn have a stronger bond.
However, often times I don’t think about it until later, basically once I’ve got paint on there.
One of these days I’ll do it the proper way. That being said, I haven’t had any issues yet with the icicles on the previous model I’ve done, so it holds up pretty well.
Gloss Sealer
Once everything is sealed, I came in with a brush on gloss sealer for the icicles. Not only does this make them shiny and look like ice, it’s another bonding layer for them to the glue point on the model.
I applied two layers of gloss sealer.
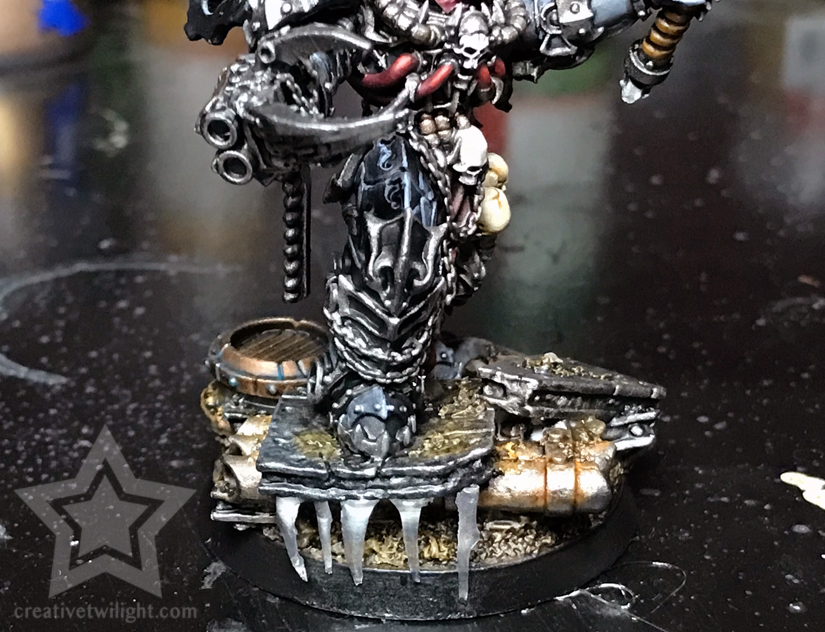
The Finishing Touches
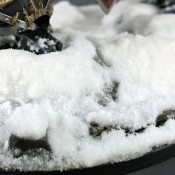
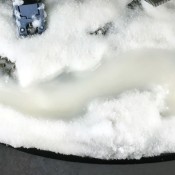
The final step I did was to add the snow to the base of the model.
I made sure to get it over where the icicles hang. Icicles are created by melting snow that freezes, so the snow is the source of them.
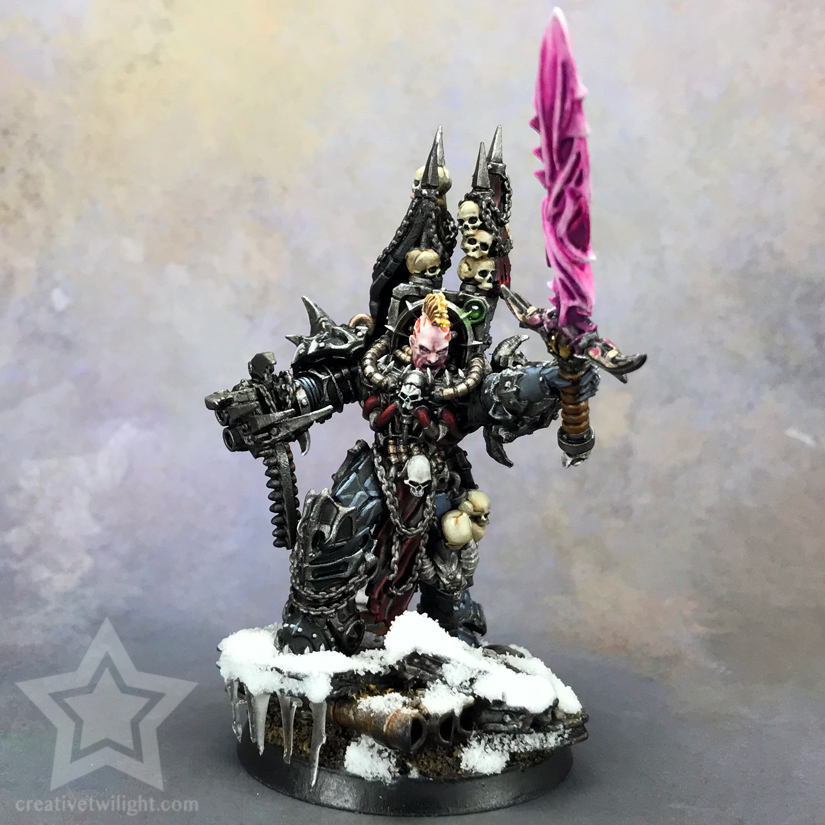

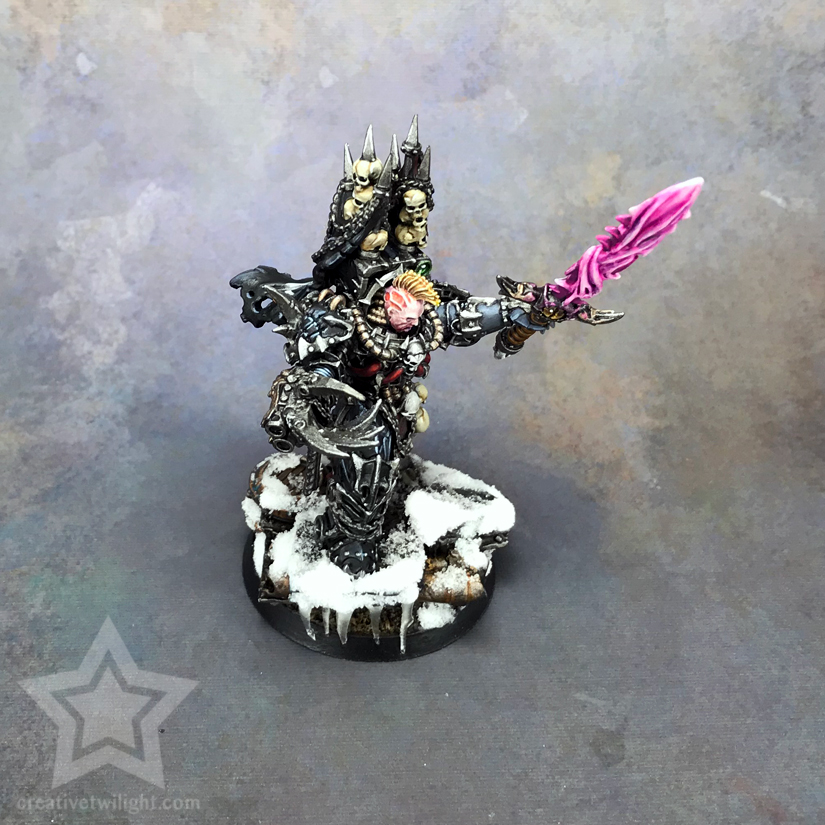
If you’d like to see some more shots of the model then check out the Abaddon the Despoiler painting showcase.
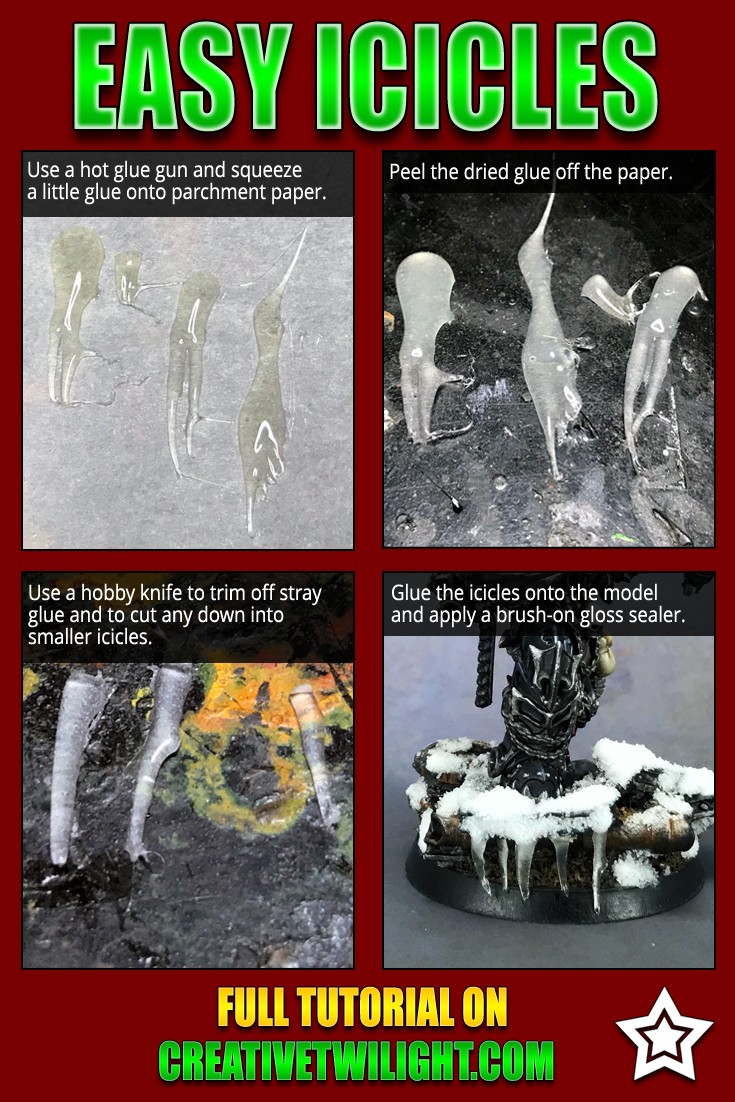
Icicles for Miniatures Reference
Here’s a quick reference image if you’d like to save it.
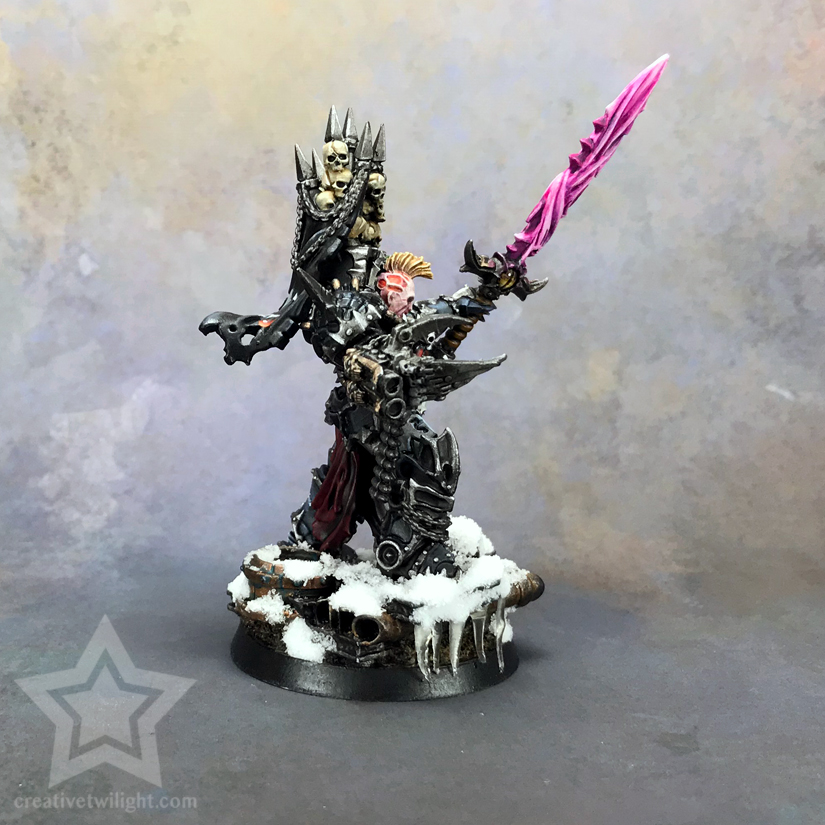
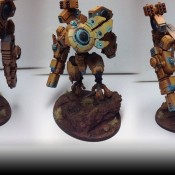
Another Miniature Icicle Example
Here’s another model I did the same technique on. This was actually the first model I did it for.
I thought I would show it so you can see the variances in the icicles. That’s the cool part with the technique, they’re unique every single time.
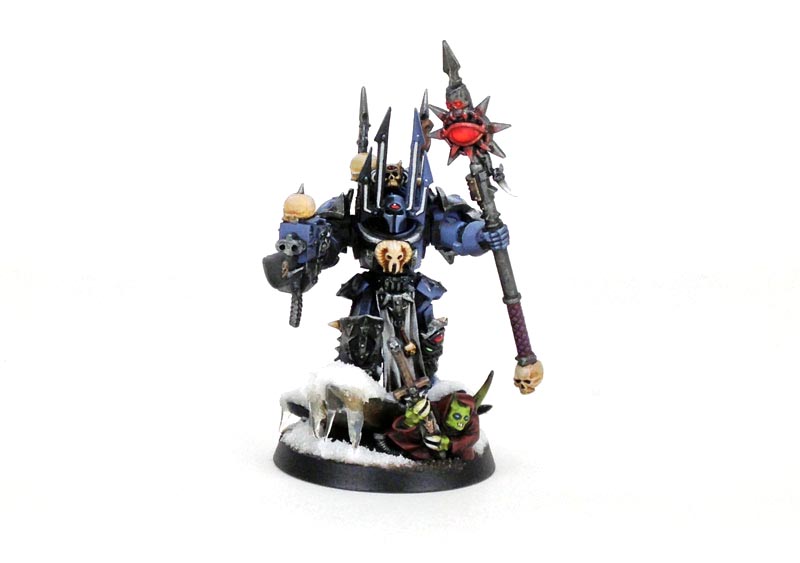
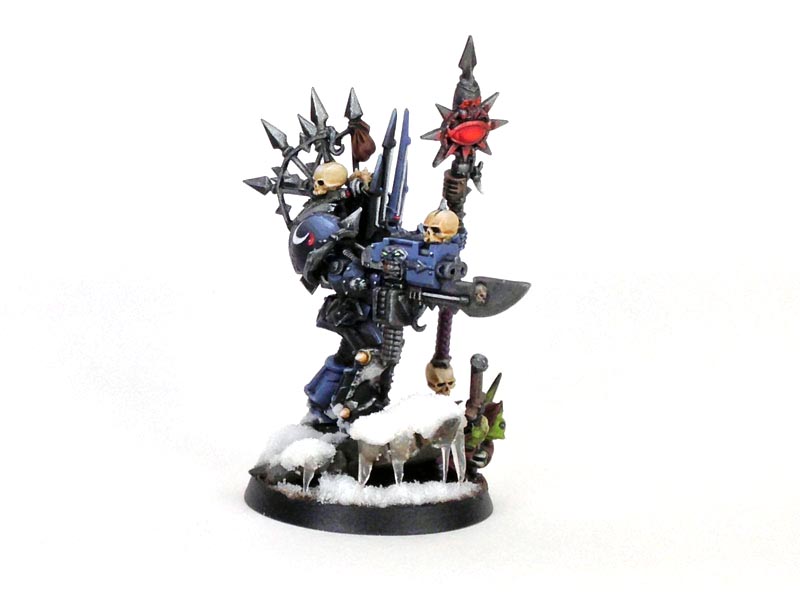
You can view the full gallery of shots for the Sorcerer in Terminator Armor if you’d like.
Other Icicle Ideas
You could use this same technique to make larger icicles for terrain easily. Also, with paint you could turn the icicles into stalactites or stalagmites.
Conclusion
That’s it! A very simple tutorial with, what I think, is a very convincing result for making icicles for your miniatures.
Also, if you’re new to the hobby then you should check out my list of must-have miniature hobby supplies you need.
If you have any other tutorials you’d like me to do then please let me know in the comments.
Miniature Basing Tutorials
More ways to create unique and interesting basing for your miniatures.
I love painting miniatures and teaching people how to paint. I also really love blogging, so I've combined those two passions here.
- Creative Twilight’s Future and My Thoughts (Feedback Welcomed!) - December 4, 2021
- My Top Gift Ideas for Miniature Painters & Hobbyists + Gifts to Avoid - December 2, 2021
- The Year That Was 2020 and Where I’ve Been - January 17, 2021

I really do need to get around to picking up a hot glue gun one of these days. Those look great, and it really is a super simple technique.
I think the icicles are the only thing I’ve used a hot glue gun for. They’re great for terrain as well, but I haven’t built terrain in years. My point, it’s not a crucial tool, but handy to have for when you need it.
The first time I made the icicles I couldn’t believe how easy it was. I had the idea in my head, tried it, and surprisingly it worked as planned. It’s a rare day when anything I dream up actually works right the first time.
I’m pretty sure I can also pick one up cheaply enough these days that it’s worth it even for just a single purpose. It would probably come in handy for some of my larger and more involved basing ideas, too, since some of those are essentially terrain building projects.
That really is a wonderful feeling. I got a hit of that when I did my first test-fitting of the ForgeFiend heads on the Tomb Sphinx body. I was amazed at how well they went together.
Around here you can get a cheap glue gun for around $5. They are pretty versatile for basing stuff.
For every concept that works right the first time there’s at least 10 failed attempts ;)
Truth. Getting the arms to work on that same Model was a nightmare. And other projects, like my MaulerFiends and Keeper of Secrets, ended up stalling out for ages (I think those Fiends took me almost two years just to build) because I was stuck on an aspect that just wasn’t working.
The best tutorial are the ones that explains smart ideas to reach great results, and this is one of them, well done! I think that the “goldest” hint you give is that it is necessary to think well where to put the icycles according to the snow.
I knew that someone used to melt the transparent sticks of the flying miniature to make 3d icycles, but it was messy, dangerous (toxic exhalations) and difficult (keep the flame too much close to the stick could make it burnt). Any idea for a 3d result? Maybe mixing thin fishing wire, to create a transparent skeleton -also extremely useful for blood drops-, and your glue technique!
EDIT: I mean 3d icycles the ones without the flat part given by the parchment paper.
Thank you.
Yeah, melting things doesn’t sound like a fun idea. Too much could go wrong and ruin a perfectly good model.
I think if you had something thin and horizontal, like a wire between two things (like a clothesline), then start the glue on the wire, and guide it down with a toothpick or something, then it might work. Maybe even just putting hot glue on the bottom of a table and pulling it down with a toothpick might work. Let it dry and then cut it.
That’s my idea (more or less), with the transparent fishing wire.
It seems we need a second part of this tutorial after some experiments! Just joking of course.
To melt stuff, use a heat gun, not a flame. If you need careful application of heat, a common smoldering Iron is MADE for that.
Don’t ever try to melt metal models, the diffusion of heat will make your model look like a single ball of pewter.
Thanks! However I’m not going to melt anything, it was just a comparaison of techniques.
Great work, a nice clear tutorial. It is tempting now.
Regarding other tutorials I would love to match your level on faces.
Thanks.
Faces, eh? What faces have I done that you like? I honestly feel like I fuck up faces, so it’s interesting to hear.
The master of crusade?
He may be the first model I liked the face I did for. Next time I do a face I’ll try to document it.