Like most people I have used a variety of different sealers over the years. Honestly, I find the process a chore having to brush on a thin layer of polyurethane without brush marks or bubbles, then sanding it and re-coating it. It’s downright difficult at times. I’ve seen Minwax’s Wipe-On Poly quite a few times in researching finishes and decided it was time to give it a shot!
Below I’ll go over the basics of using Minwax’s Wipe-On Poly and give my review of the product.
The Projects
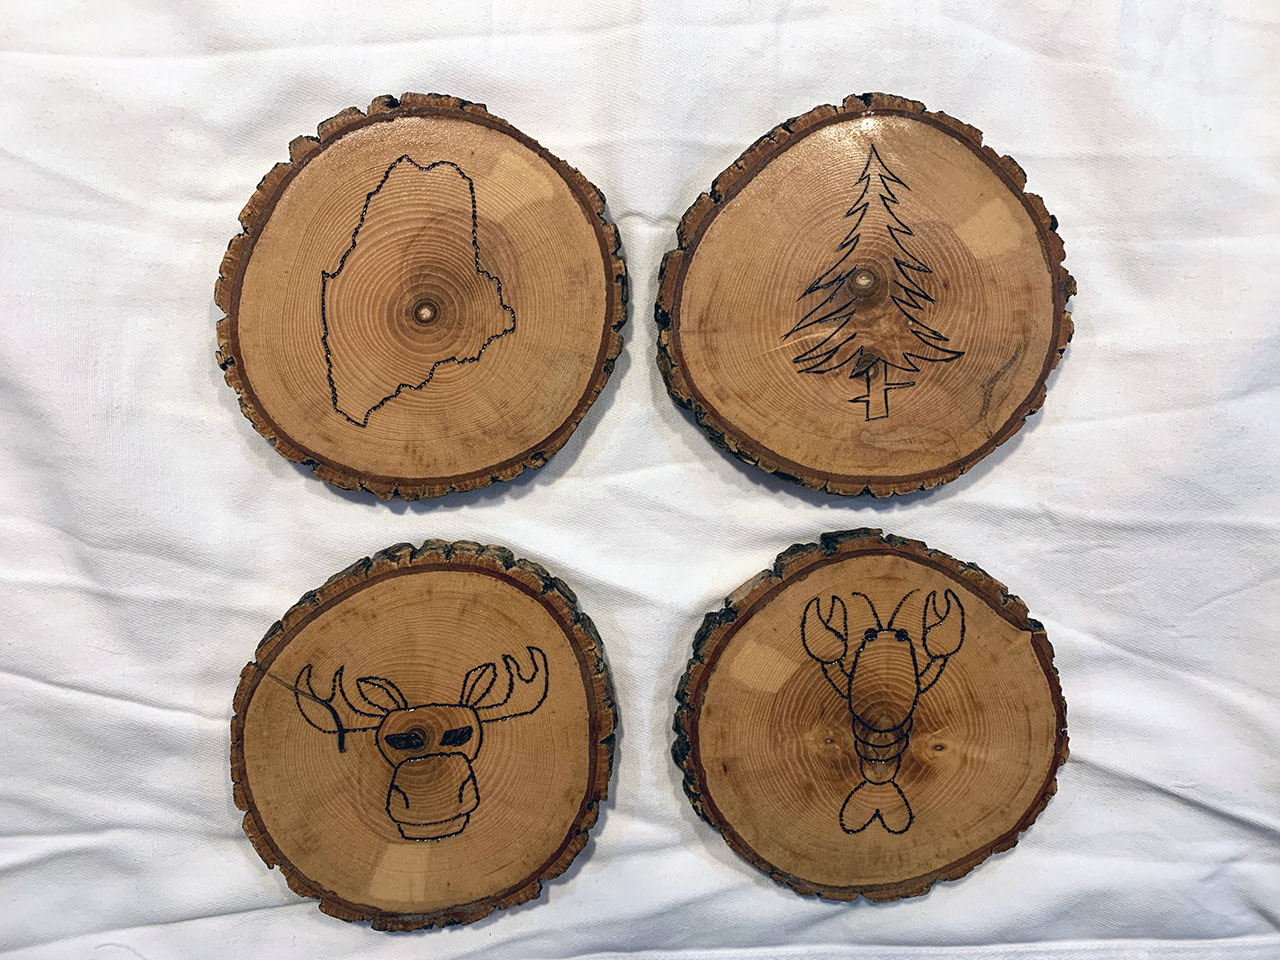
I wanted to make some Christmas presents for family. For one person I went with coasters. There’s a lot of downed trees around my house so I figured I’d make use of them. It’s nothing fancy but I think they look cool and it gave me a chance to play with my recent wood burner purchase.
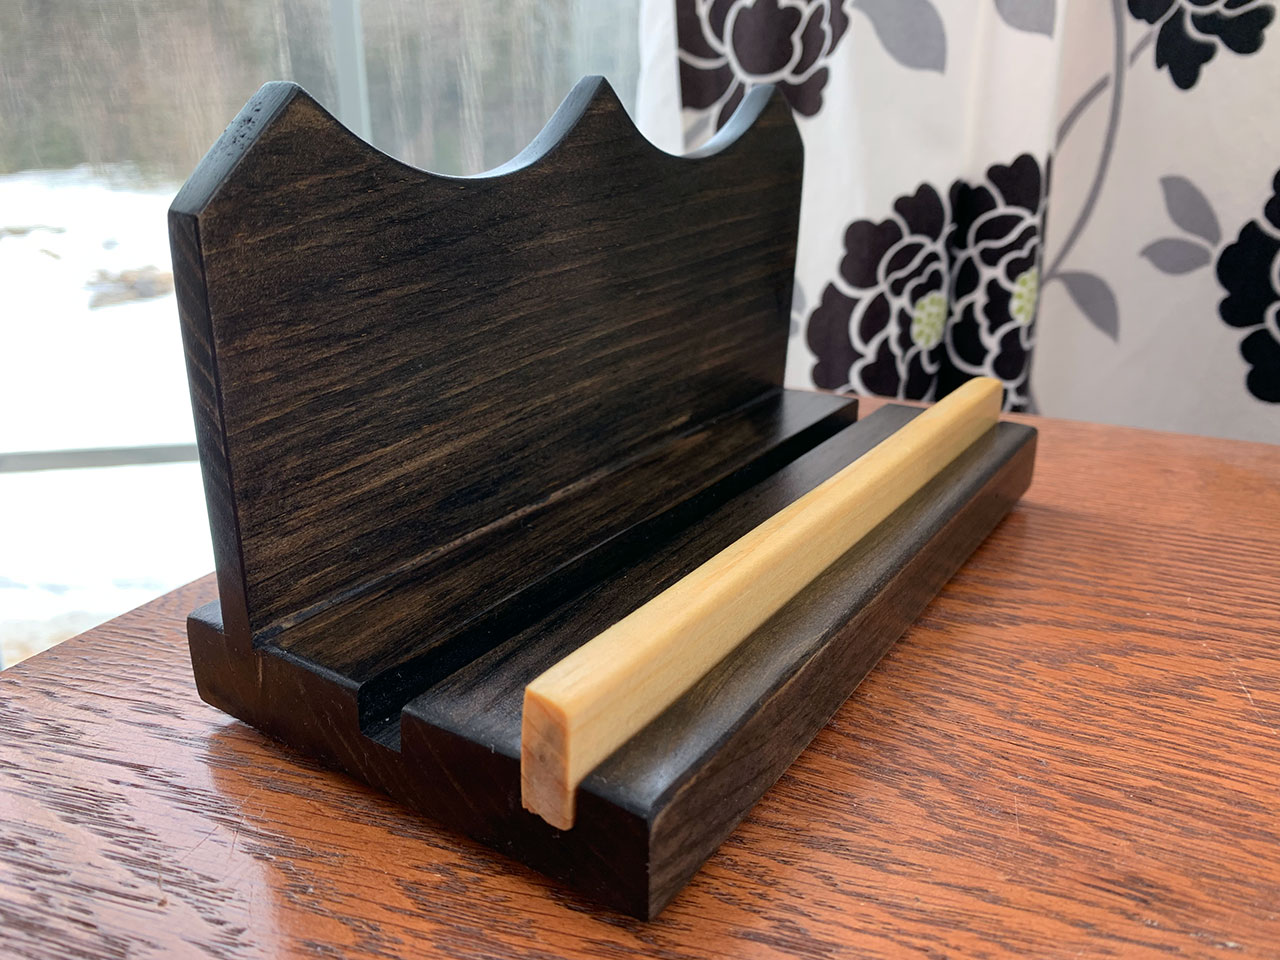
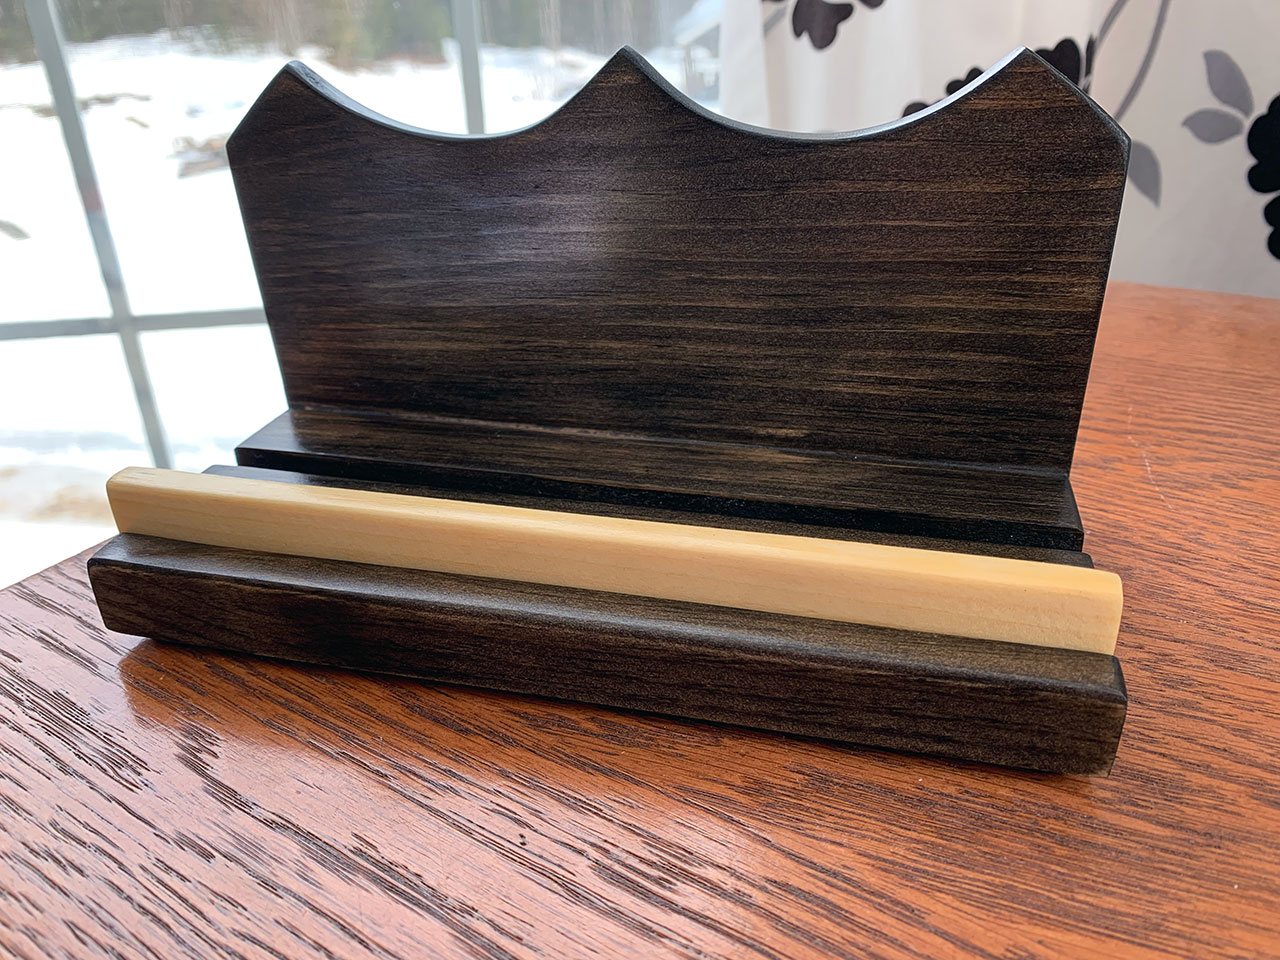
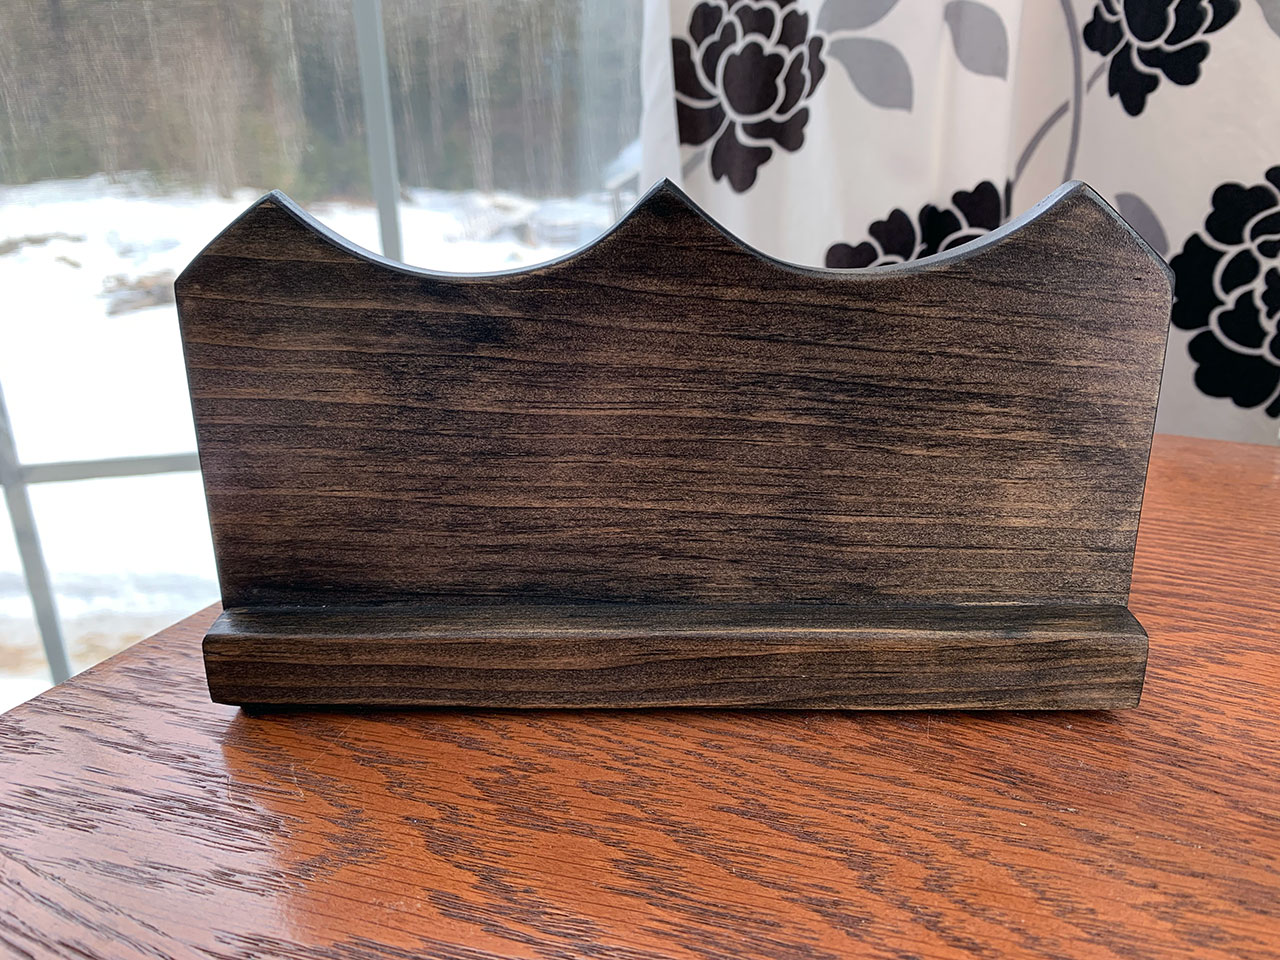
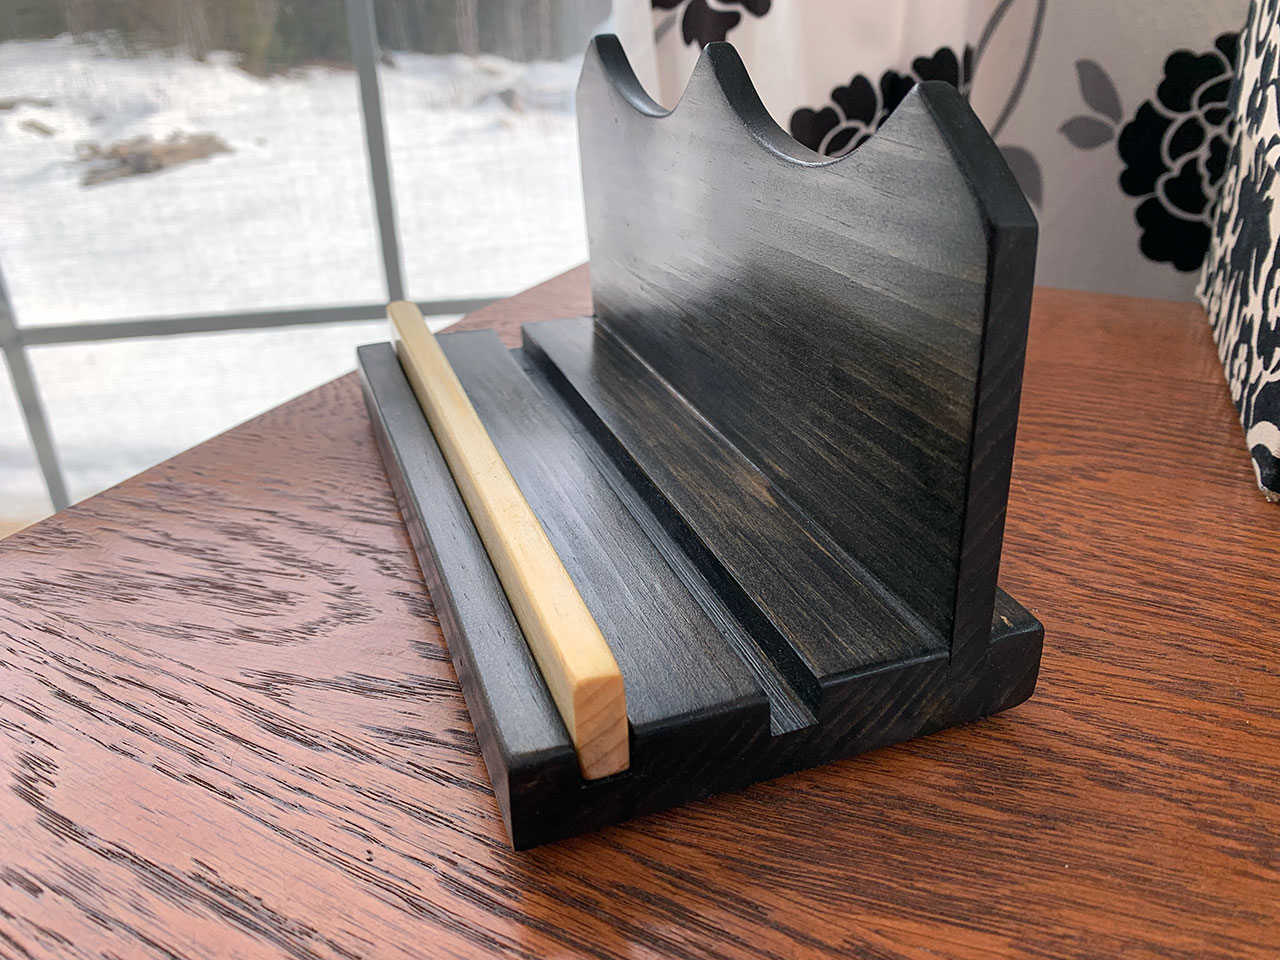
Another project is a cell phone stand. I had some scrap wood to use and it’s something I know my wife can use. It has 2 slots to move the holder part for a more vertical position or closer to 45 degrees.
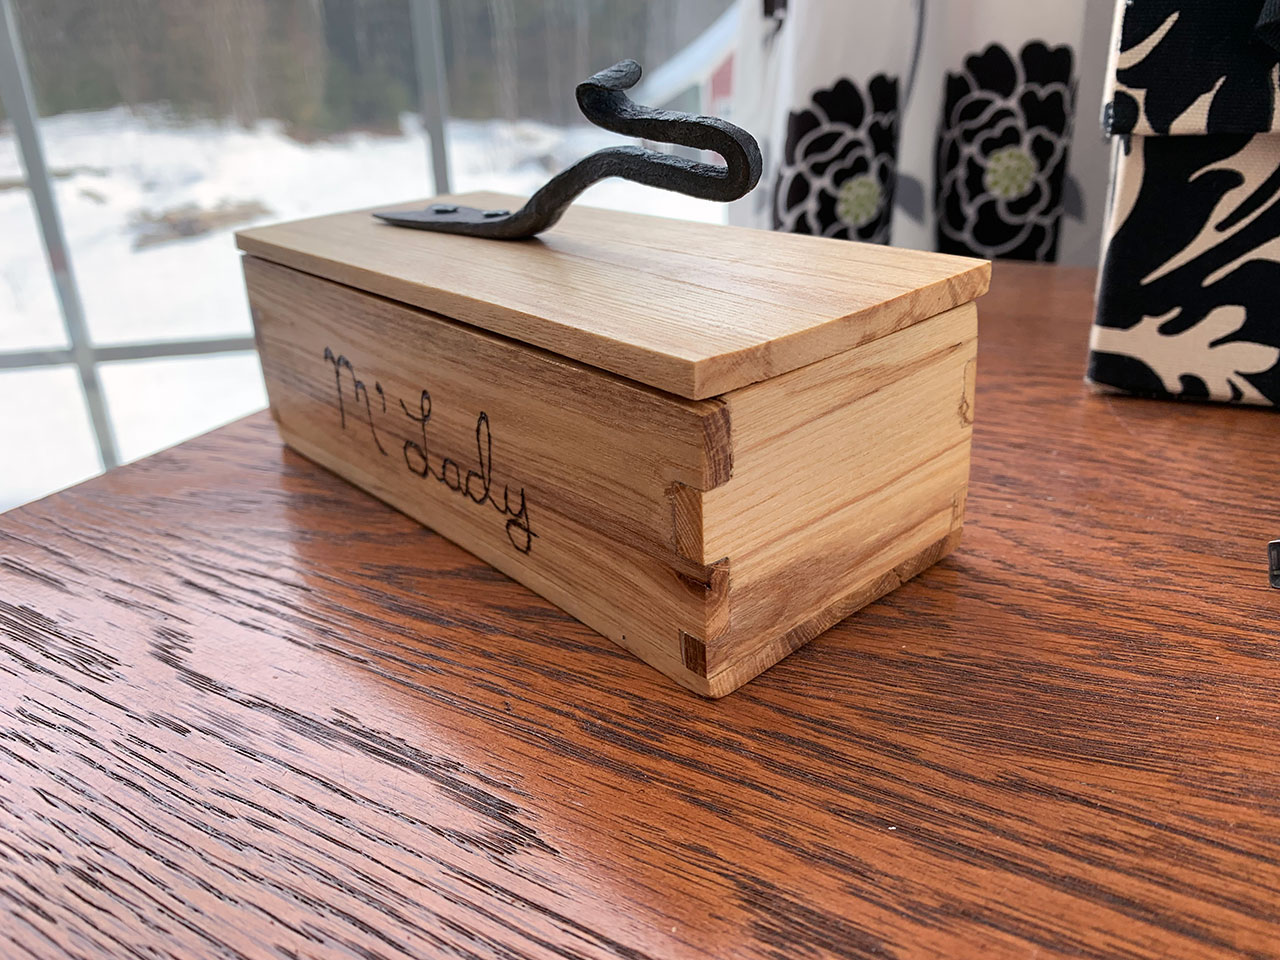
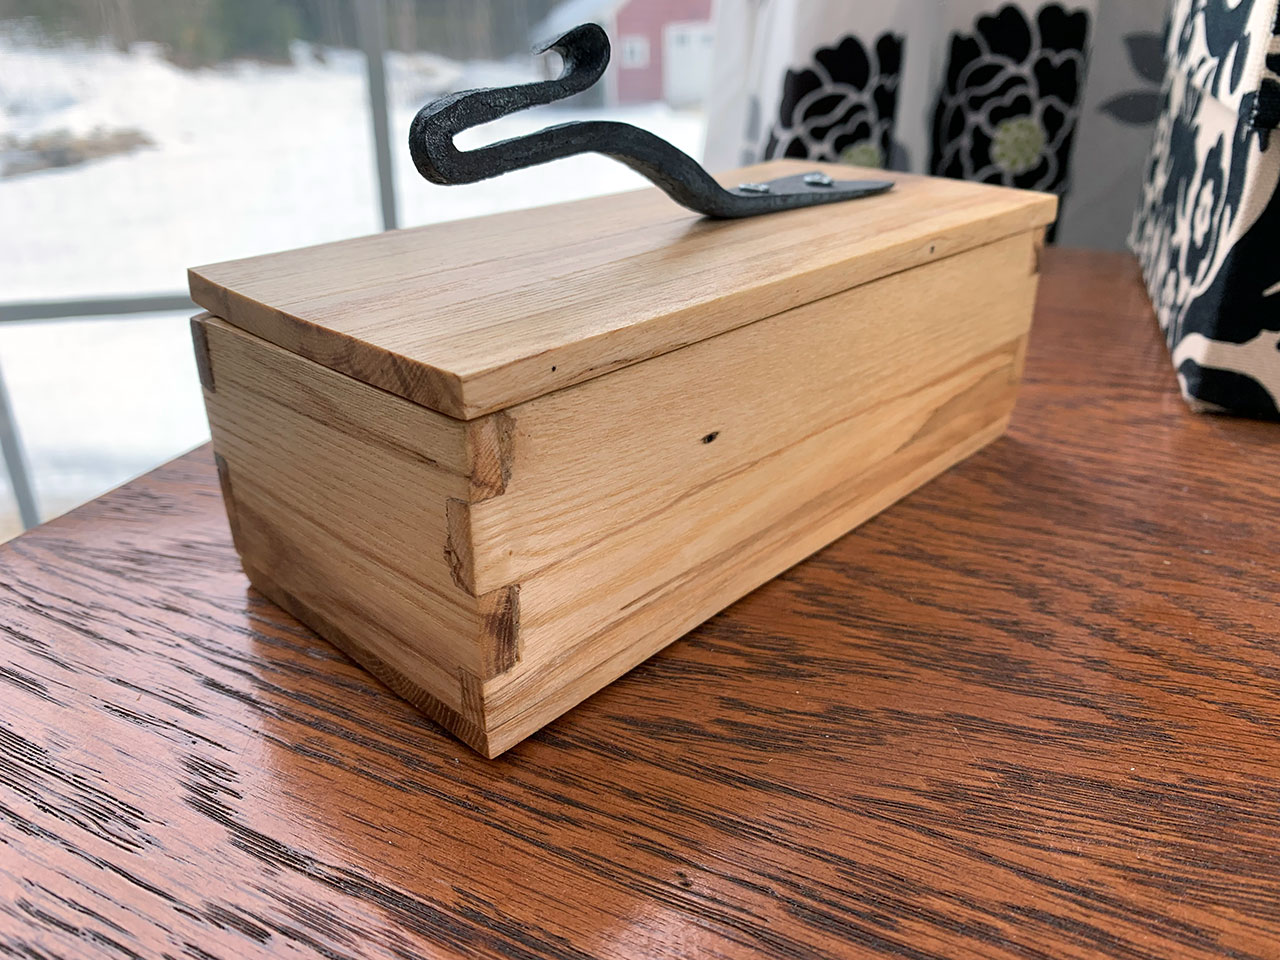
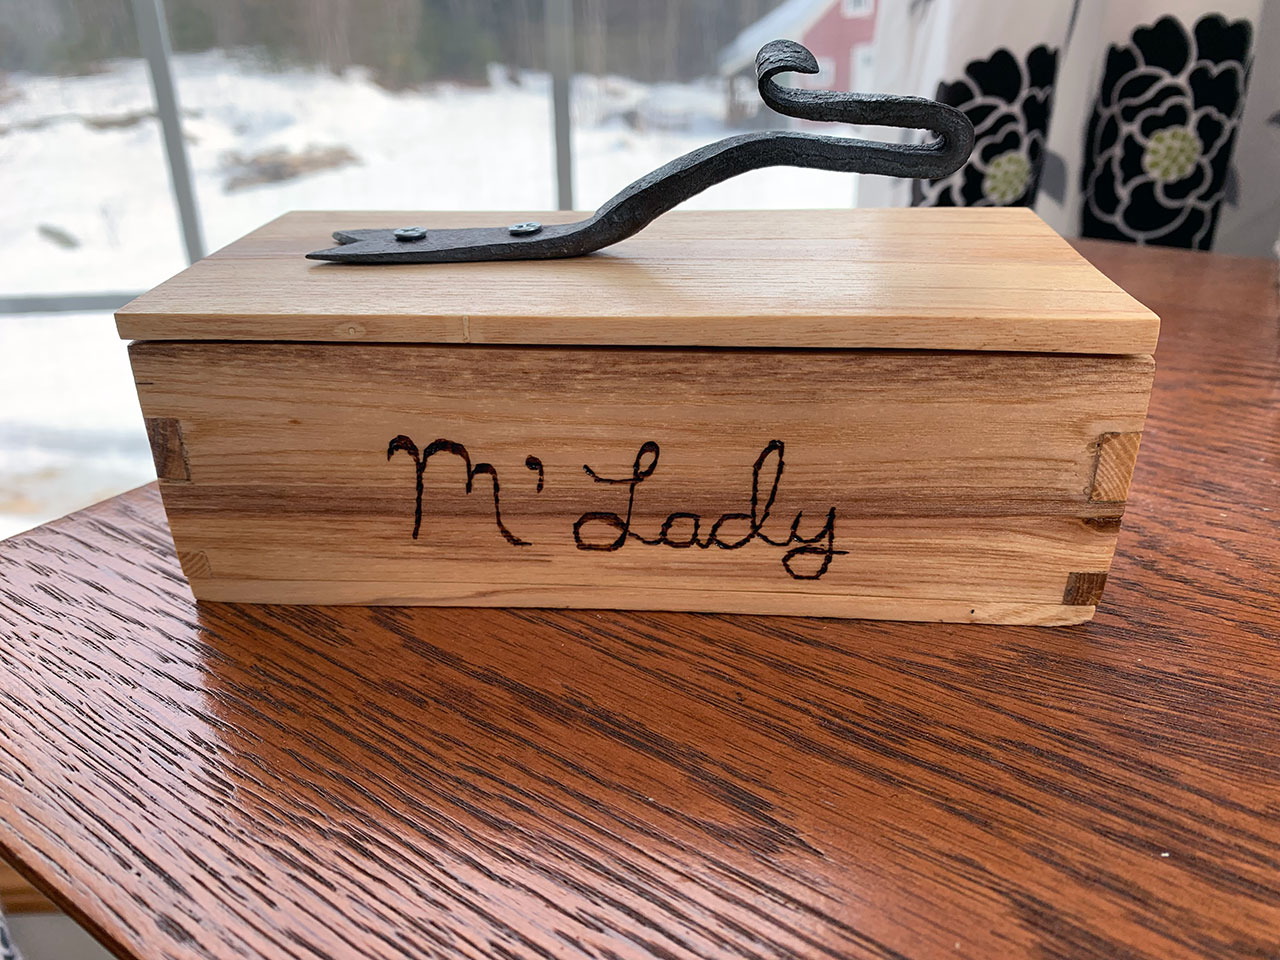
The last project is a keepsake wooden box I made for my wife. All small projects that were perfect for testing this out.
Preparation for Poly
Your typical steps apply here: sand the wood and make sure there’s no dust on it. Nothing different than usual.
Applying the Wipe-On Poly
The directions are straight-forward here as well. You want a clean and lint free cloth. I’m using a rag from some old pajamas so they’re 100% cotton, which I find is ideal for wiping on anything.
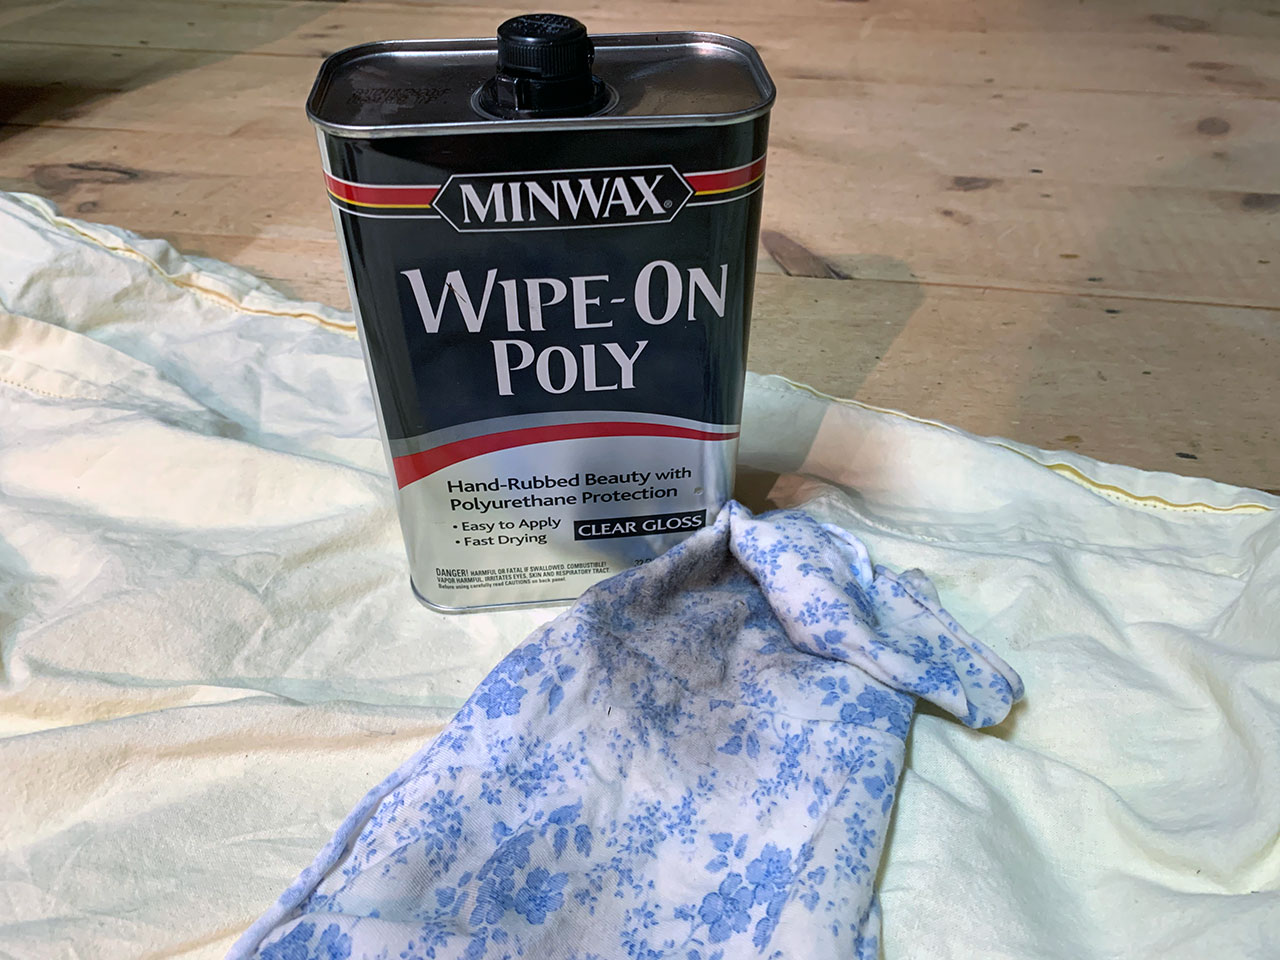
You add a liberal amount of Wipe-On Poly to the rag and just rub it in. I used the Minwax Wipe-On Poly in gloss. I wanted satin but the store was out and I needed it that day so I didn’t order off Amazon. You can find the satin on Amazon, the previous link is for the gloss.
Applying a Second Coat
After 2-3 hours per-directions you can do a light sanding (I used 220 grit), clean it off, and apply the Wipe-On Poly again. I let mine sit for longer than that as I had other things to do but I’m sure it would have been fine after a few hours.
Going in for a Third Coat
I noticed the second coat wasn’t very even on the coasters as it had soaked into the wood. It’s not too surprising considering this was from a tree that had sat outside for an unknown length of time.
Also, I feel like I was too light in my previous coats.
I gave another light sanding and hit the coasters with a third coat. I went much heavier this time with the poly.
The cell phone stand and box faired much better. Between a better sanding job on the wood, the wood itself being properly milled and dried, and then a coat of stain before the poly, it just looks a lot better by comparison.
The Final Results
I did 3 coats on everything here. The coasters I went for 3 coats for the extra protection. For the cell phone stand I did 3 coats to even out the second coat and it looks pretty great if you ask me. The box looked good throughout each layer.
Coasters
It’s hard to see the finish in this shot. This was a last minute picture I almost forgot to get.
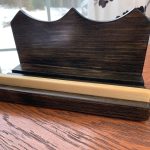
Cell Phone Stand
You can better see the finish on the cell stand. No bubbles, strokes, and an even finish that was easy to get.
Keepsake Box
Lastly, the keepsake box.

Review of Minwax Wipe-On Poly
Overall I’m happy with the results I got. Unsurprisingly the cell phone stand and box came out the best. It had a better base to work from considering how the coasters were made.
The time saved using Minwax’s Wipe-On Poly is not to be underestimated either. Compared to a brush on poly it’s a lot faster and that’s mostly by not having to worry about an even coat, dealing with bubbles or brush strokes in the finish, or dealing with brush cleanup.
I’d definitely recommend the Wipe-On Poly for more refined projects. By that I mean things you’re going to give a very nice sanding too.
Things like furniture, or small projects like my cell phone stand, would be a refined project where this product works well in my opinion.
My coasters for example would have received a cleaner finish had I used a brush-on poly. The wood was just so dry and uneven that I really couldn’t pull off a nice clear finish like I wanted. That’s no fault of the product but my own.
Making Your Own Wipe-On Polyurethane
I wanted to note that you can make your own wipe-on poly too just by adding mineral spirits or paint thinner to a normal polyurethane. Make sure though that the poly doesn’t say “Do not thin” as some will.
Do a 1-1 mix and you’ll have the same thing Minwax is selling for less money. Additionally, with a thinned out poly like this you can roll it on for larger projects too.