There’s a lot to learn with miniature painting, and it’s very easy to make mistakes because you don’t realize you’re making a mistake to begin with. With experience and practice you’ll learn what the mistakes are and how to avoid them.
However, today I thought I’d give beginners an advantage by revealing some of the most common mistakes so you never make them to begin with.
Disclosure: Some of the links below are affiliate links, meaning, at no additional cost to you, I will earn a commission if you click through and make a purchase. The commission earned helps maintain this site.
Miniature Painting Mistakes
This will be a living list of stuff. I’m sure I’ve missed some stuff in the first attempt at this list, so I’ll continually update it to help new painters out.
I also asked Dave of Wargaming Tradecraft for his thoughts on some common mistakes since he does a great job with tutorials and helping painters out. I’ve included his responses below and tagged him appropriately.
Getting Discouraged Instead of Inspired
While this isn’t directly about painting, and while I’m not ranking these, I put this at #1 because it’s the most influential thing on this list around painting.
This is something that I find comes up once someone has a little experience with miniature painting. Eventually you start feeling good about what you’re doing, confident in the progress you’re making, and the results you’re seeing.
Then, you see the work of another painter who may be more experienced, or just a better painter, and you get discouraged. That discouragement impacts your desire to paint, or your desire to get better at painting in general.
We’ve all done this, myself included, and I hope I can prevent some of you from going down that road.
When you look at the work of another painter, you should be admiring their work, getting inspiration, ideas, motivation, and not directly comparing yourself to them and becoming discouraged. The only painter you should compare yourself to is you and nobody else.
It’s easy to see the work of a talented painter and feel inadequate in your skills, but let their work fuel your desire to become better, to learn new techniques, to simply improve. It’s easier said than done, but you’ll be a far better miniature painter for it.
In the same vein, enjoy painting. Painting is part of the hobby, and hobbies are supposed to be fun, right? If you aren’t having fun then take a step back, figure out why, and come at it from a new angle.
Social media is a relating factor to this and I talk about that more in my article on how to become a better painter.
Not Cleaning Your Brushes
It took me probably 10 years to learn this one – clean your damn brushes!
Now, I’m not talking rinsing them out to get the paint off them. I’m referring to using a brush cleaner to clean your brushes when you’re done painting.

After each painting session, I use a brush cleaner that I swear by called “The Masters” Brush Cleaner and Preserver. This process only takes a minute for each brush I use and will clean off the excess paint from the brush. Getting that paint out is critical for the life of your brush, and also so your brush does its job well.
When I finally started cleaning my brushes, unsurpringly, I found the life of my brushes increased exponetnially. I was even able to revive some really old and abused brushes I had.
I did shoot a short video showing how to use “The Masters” Brush Cleaner and Preserver so you can see just how quick and easy this stuff is to use.
You don’t have to use the same brush cleaner I do, but be sure you do use something because it will save you a ton of money on brushes.
Not Priming Your Miniatures
Priming a model is essential to proper paint adhesion when you’re painting your miniatures. By not using a primer you risk your paint rubbing off, not sticking to the model at all, and a few other complications.
I won’t go into it beyond that here because I have an entire article all about priming your models. Check out that article and remember to prime your miniatures!

Related to priming, Dave had this to say.
Not priming white. I’m a firm believer that new artists should paint on a white base and use washes, until they learn how paint layers. Then they can shift to a black base when they understand how to properly layer paints to achieve the colour intensity they’re after.
– Dave
There’s some painters who think white is the only primer you should use regardless. Then, there’s other painters (myself included), who love working over a black primer. Regardless, working over a white primer is far easier to do, especially if you’re new to painting, which is what Dave is saying.
Working over black primer takes more time, effort, and understanding of colors to look good. So, do yourself a favor and prime white.
Not Sealing Your Miniatures
Much like priming, sealing your miniatures is something you should do. Sealing a miniature will keep your paintjob safe, prevent scuffing, scratching, and chipping of your paint. If you’re constantly touching your miniatures because you play games with them then sealing your models is a must.
As with priming, I’ve also done a more thorough article on why you should seal your miniatures that you should certainly check out.
Painting Too Thick – Not Thinning Your Paints
Acrylic paint doesn’t tend to be very thick, however, when you’re painting miniatures, it’s very easy to obscure the detail by not thinning your paint.
Some paints require more than one coat as well for good coverage, and not thinning your paint when doing multiple coats will create an obvious buildup of paint. That can create visible lines and brush marks on the model.
When I’m talking thinning your paints, I don’t mean anything elaborate. I avoided it when I was a new painter because I thought it was added, wasted time. I learned the error of my ways quickly, and also realized it’s not a big deal to thin down paint.
So, here’s what I do. When I’m painting, I always make sure my brush is wet. When I rinse off my brush to clean it off paint, I then wipe the excess water off on a paper towel so no water runs off. However, I do not continue wiping it on the towel until dry, I leave the brush damp. That way when I put my brush into the paint on my wet palette (check below for that), the brush is damp and the paint thins out as I load the brush.
It’s really that simple. You don’t have to bust out paint thinners and mix them in, just keep your brush damp when you’re picking up paint. Do be sure to rub the brush on your palette a bit once loaded to make sure it’s not too thin and running off.
Not Using a Wet Palette
Some people prefer not to use a wet palette, more on that below, and that’s totally fine. Not using one isn’t truly a mistake, but you definitely should try one out and see what you think.
I say this over and over, that being a wet palette was the best thing I did to improve my painting.
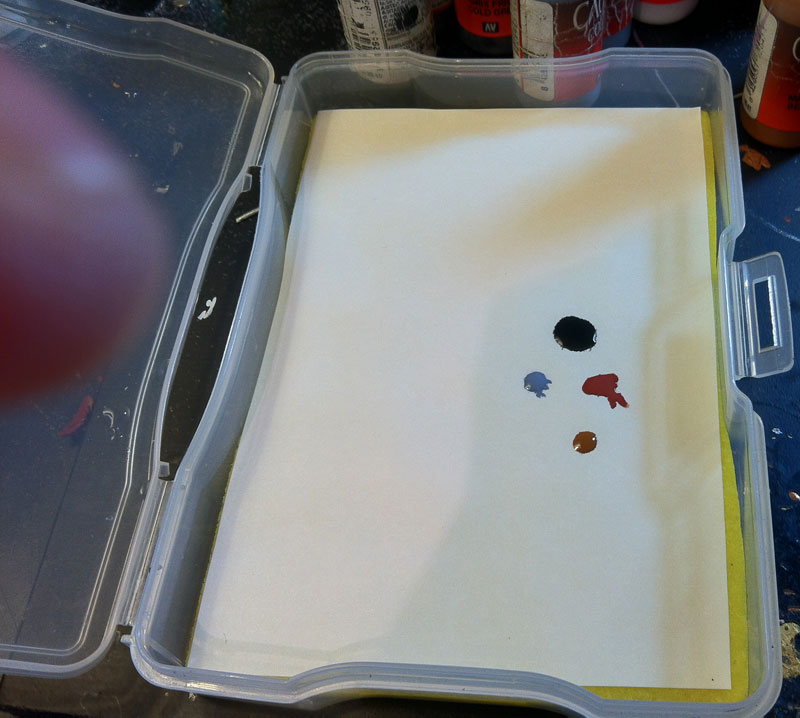
When I started painting, I used a basic plastic well palette that you’d buy at a craft store. You know the type, it’s round and has lots of wells around it for the paint.
Now, there’s nothing inherently wrong with using a basic palette like that. It’s far better than using nothing, but getting yourself a wet palette early on is a big improvement.
There’s two things a wet palette is awesome for.
One is that it keeps your paints moist and prevents them from drying out. A traditional palette will dry your paint out in a matter of minutes, but with a wet palette you can find your paint is still usable days later. Obviously this saves you paint and in turn money.
Along with that is the second point, that with the paint remaining wet, it helps you keep your paints thin, as mentioned above. Between a wet palette, and a damp brush, you can keep your paints thinned easily and avoid thick paint buildups on your miniatures.
I recommend building your own wet palette. It’s cheap, easy to do, and you’ll love it once you get used to it.
Something I want to note here. Some painters prefer not to use a wet palette as they find they get more control over paint consistency without one. I can’t argue that and controlling consistency is crucial for sure.
However, the acrylic paper I use for my wet palette is thicker than what people do for homemade wet palettes where they use wax or parchment paper. When you use a wax or parchment paper, the moisture quickly gets to your paints and turns them into a watery mess.
I don’t like that, and so I use a special acrylic paper that prevents that from happening and simply keeps my paints from drying out too quickly; that’s it.
Painting from the Paint Pots
Hell, I still do this from time to time, but it’s something we painters shouldn’t do.
Paint pots are mostly the realm of Citadel and P3 Paints at this point, regardless, you should take paint from the pot to put onto your palette, not to get paint from directly.
There’s a few simple reasons you shouldn’t do this.
The first goes back to thinning your paint. It’s far easier to ensure proper paint consistency (thin) when it’s on a palette.
The other reason, one I’ve learned the hard way, is painting from the pot will build up paint around the rim. That paint sits on the rim, or your brush the excess off into the rim, and it dries there.
Eventually it builds up to the point that the paint pot lid won’t close properly. Next thing you know, the paint has dried out because air could get in and you’ve lost a pot of perfectly good paint.
Not the biggest mistake you could make, but learning this early will save you money on wasted paint if nothing else.
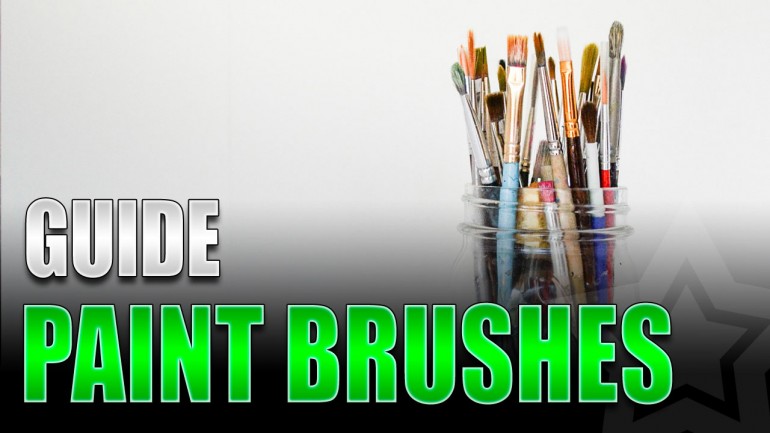
Using Cheap Paint Brushes
I highly recommend using cheaper paint brushes when you first start painting. A cheap paint brush will work well for you as you’re learning your basic painting technique. I mean, who wants to destroy a super expensive brush because they’re learning to paint and are rough on brushes? I didn’t!
However, at some point, when you’re comfortable with your painting technique (you don’t feel like you’re abusing your brushes), you do want to spend a little money on some brushes.
I have been impressed and happy with the Citadel line of paint brushes. Some people hate them, but with proper care (IE: brush cleaning), mine have lasted for a long time and they do their job great.

The Citadel brushes aren’t too expensive really, but they are certainly more expensive than if you bought your brushes at Walmart.
Some people will upgrade to premium brushes like Winsor & Newton Series 7 or the Raphael 8404 brushes. One of those brushes could cost you more than all your other brushes combined.
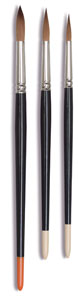
The people who use Winsor & Newton or Raphael swear by them. I know I love my Raphael brushes. However, I don’t feel you have to go this far. Spend what you’re comfortable spending, first and foremost, and take proper care of whatever brushes you do get.
I spent the first 13 years of painting using really cheap brushes or mid-line brushes like Citadel. I’d like to think I still painted some good looking stuff. Brushes are a tool, not a solution. They will not define your ability to paint.
I do have an article on miniature paint brushes that talks about this more.
Aside
I can’t count how many times I’ve had people say that you’re better off using cheap brushes; that expensive brushes aren’t worth the money. I want to definitively say that those people are wrong and don’t make the mistake of listening to them.
Some people are rough on brushes, they don’t care for them, so they buy cheap brushes because they destroy them. The thing is that they don’t realize they are rough on their brushes, that they are using them wrong, and they in turn think that a cheap brush is just as good as an expensive one because they destroy them all the same.
If you spend a little money, respect your brushes, and care for them, then you will absolutely see a difference between a cheap brush and a more expensive one. Don’t listen to anyone who says otherwise.
Using the Wrong Brush for the Wrong Job
If you use Citadel brushes then you’ll know that they have brushed categorized, like base, layer, artificer, glaze, etc. The categories tell you exactly what the brush is for and that’s exactly what you should be using those brushes for.
You don’t have to use Citadel brushes to understand what certain paint brushes are for. The concept is the same regardless.
There’s some brushes, those that hold a lot of paint and are a bit larger, that are great for base coating models (first layer of paint). Those brushes, however, are not great for detail work.
For detail work you’ll want a smaller, thinner brush. That detail brush is too small for base coating, you’d be at it forever, so you only use it for detail work. Using the wrong brush for the job can be infuriating as well.

By using the appropriate brush for the right job you are making your life easier as you paint. I’ve seen people get disappointed in their painting and discovered they weren’t using the right brushes for the right techniques. Let your brushes work for you, not against you.
Your brushes will last longer as well if you’re using the right one for the job. Performing the wrong task with a brush can damage it, like using a detail brush to do dry brushing. You want a dedicated dry brush for that.
Also, if you only use certain brushes for certain tasks then each brush individually gets used less. That will increase the longevity of your brushes and save you money in the long run.
I will note that part of using the right brush for the right job can also mean using cheap brushes. If you’re doing things like painting terrain then you want cheap brushes because you’re doing to abuse them.
You don’t want to use a Winsor & Newton brush to paint scenic hills, you want a cheap brush you got at Walmart for that. That brush pictured above, that’s cheap and perfect for dry brushing a bunch of scenery.
Using a Paint Brush That’s Worn Out
Most of us hate spending money if we don’t have to, so many of us try to get every little bit of life we can out of our paint brushes. The problem with that is that our painting suffers as a result.
If your brush no longer holds a nice point, the bristles are frayed or splayed out, maybe the bristles fork, or you have paint so dried into the bristles that it’s impossible to clean out, then it’s time to replace that brush – or at least delegate it to crappy jobs like base coating and dry brushing.
As someone who has done this, hung on to a brush for too long, I speak from experience. While I hate spending the money, the frustration I avoid by having a new brush is well worth the cost. Basically every time I replace a brush I ask myself why I didn’t do it sooner.
So, don’t frustrate yourself by trying to do fine detail work with a brush that’s better suited to cleaning a toilet. Replace that brush, thank yourself, and keep painting!
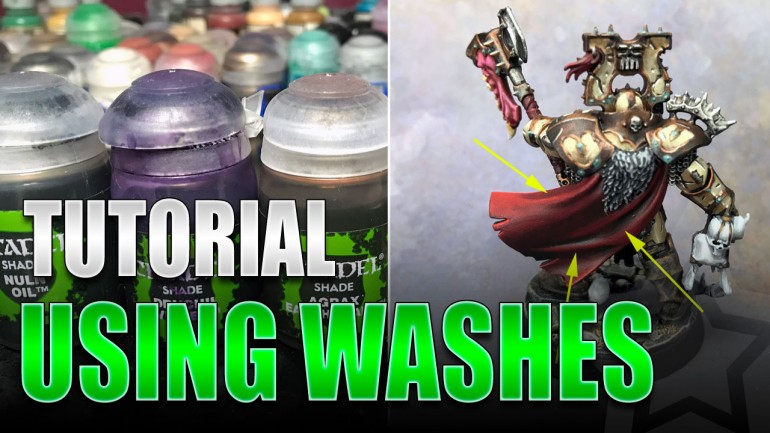
Not Using Washes or Using the Wrong Ones
Not Washing Miniatures. This is a step that takes no time and makes a HUGE difference on the quality of the miniature by making details jump out.
– Dave
By washing, Dave is referring to the washes you can buy from Citadel, Vallejo, etc. These are special paints that are meant to be applied liberally, and because they are very watery, they run into the recesses of your models to create shading.
Washing with Black. Shadows aren’t black. They’re darker versions of the colour you’re shading. Washing with black on most things will make them appear dirty.
– Dave
Dave has a great point there. If you wash with black over red to create shading then you’re desaturating the red. It creates a shading that’s not natural and can just look wrong to the eye.
Instead, using a green wash over red works well. Purple can work also over red. Once you learn a little color theory, you’ll see that there’s better ways to shade models than black.
I’ve actually got an article that covers this more, as well as how to use washes in general with tips and advice. If you’ve thought about using washes in the past, or you’re having issues with them, then definitely check that article out.
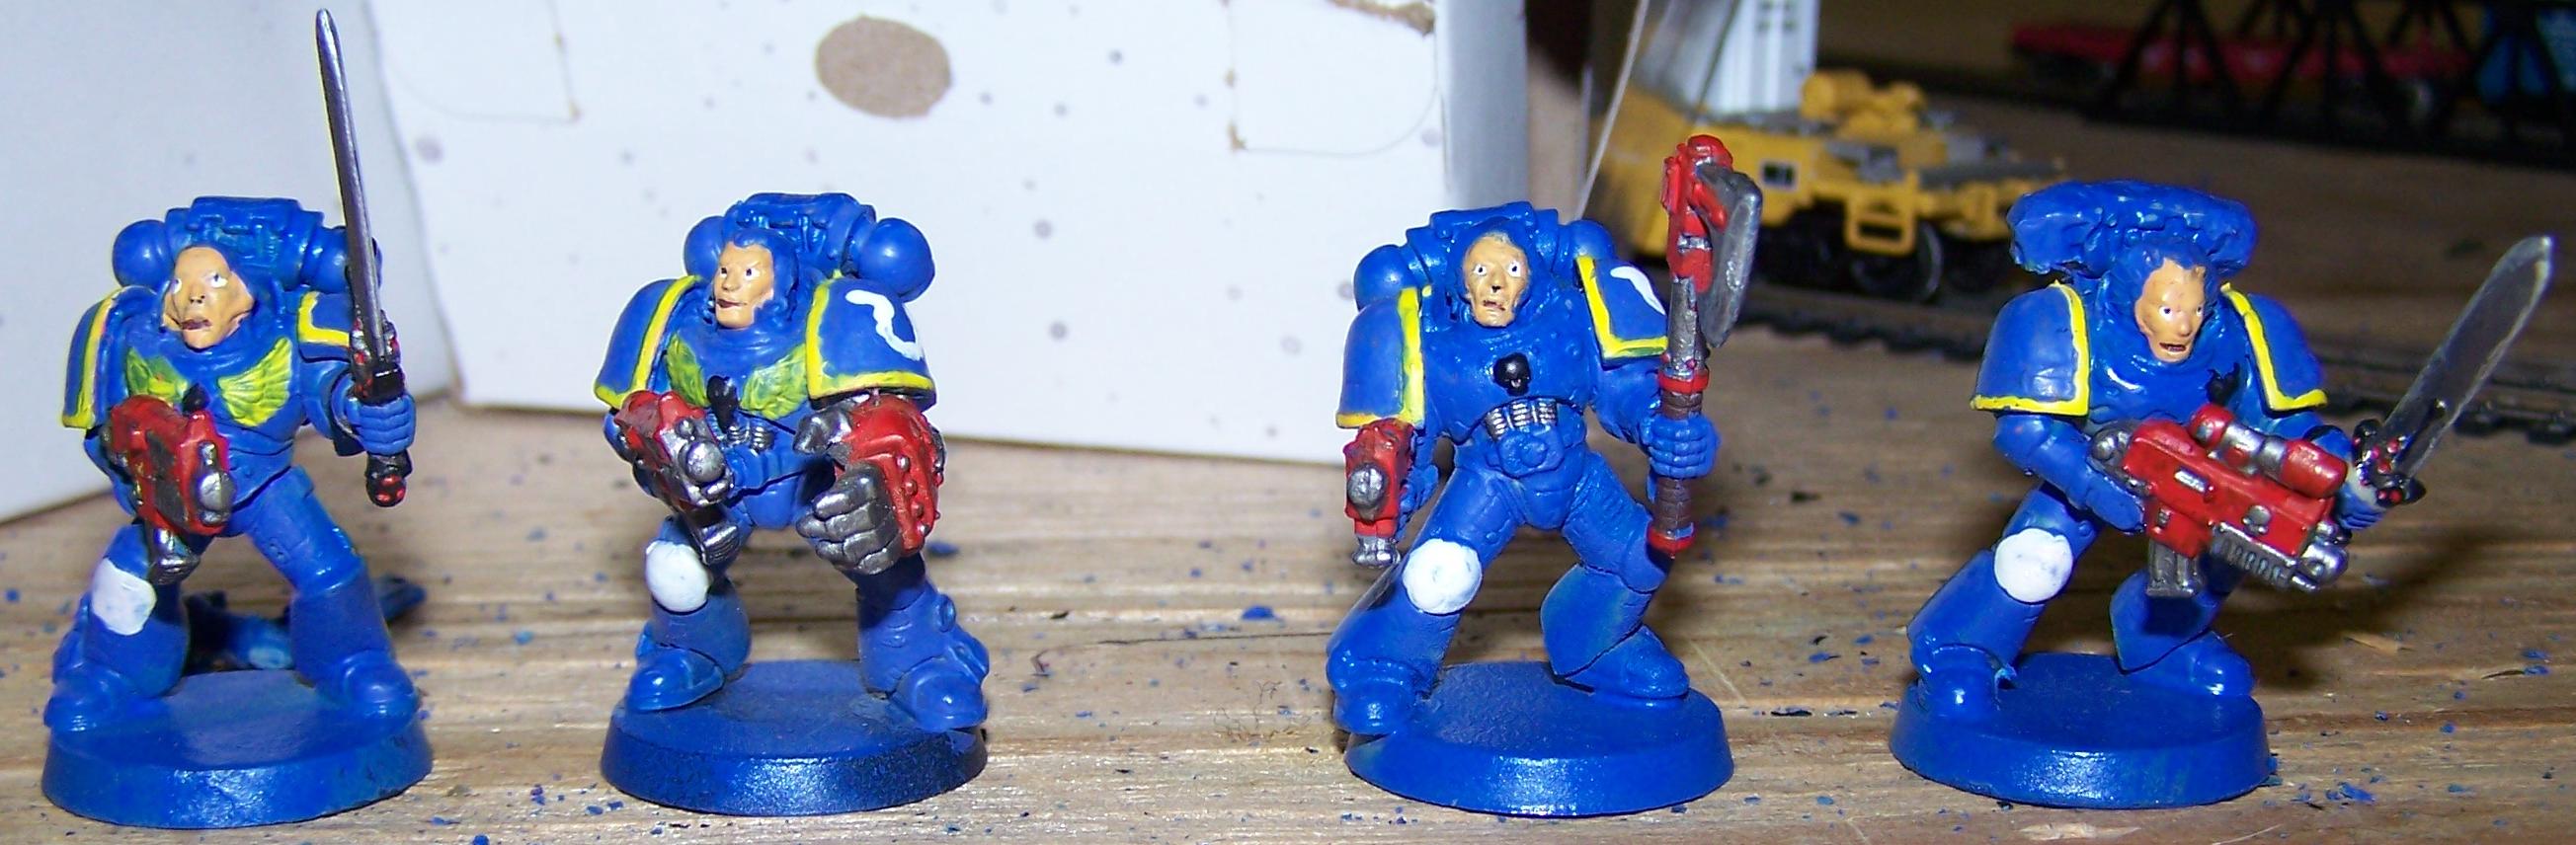
Improper Model Preparation
Not washing miniatures before painting them / gaming with primed miniatures. Miniatures are dirty from the factory and our fingers add a lot of grease to them which makes for a poor surface to paint on.
– Dave
This time Dave is talking about soap and water washing. All you have to do is get some warm water, add a little soap, grab an old toothbrush and scrub the model. Rinse it off after and you’re done.
Not cleaning mold lines. It’s an easy step, just takes a little more time to at least get rid of the obvious ones.
– Dave
Nothing, and I mean nothing, ruins an amazing paint job on a model like a mold line that wasn’t removed. I’ve seen painters who put my work to shame create beautiful paint jobs and leave mold lines on the model – instantly ruined it.
Poor Ergonomics When Painting
Another from Dave.
Painting miniatures can be painful. Tensing your hand or resting it too much on a desk corner can lead to wrist problems. Poor posture, leaning over, not raising your miniature or painting space can lead to back pains. Spending large chunks of days in an uncomfortable chair can lead to all sorts of pains.
This is something I only recently started paying attention to. I’m getting older, things hurt more these days, and bad posture while painting was causing issues for me. Dave is right, proper ergonomics will really save you from having issues in the long-term.
Here’s a video that shows you the proper ergonomics for painting.
Aiming for Perfection All the Time
Oh, man. The amount of times this has tripped me up is endless, and I still fall into this rut now and then.
I know this sounds counterintuitive, but don’t stress about getting everything perfect. The trouble with striving for perfect is it puts a lot of pressure on you, and I don’t know about you, but pressure to perform doesn’t make painting fun. When painting isn’t fun then there’s no sense doing it.
Also, as a beginner you need to have realistic expectations. I’m not saying that you shouldn’t aim high, you absolutely should, but temper your goals with realistic expectations of yourself.
Additionally, I find that finishing a project, even if it’s not perfect, and moving on to another project is more beneficial than hanging in with that one project you want perfect. Some projects come out better than others, accept that, move on, and make the next project better than the last.
Bonus Tips
These are things that aren’t mistakes but are great tips worth sharing with new painters.
Water Pots
Get yourself two water pots to rinse your brushes off with. One water pot will be for normal paints and the second water pot is for metallic paints.

If you use the same water pot to rinse off all paints then you can get metallic flakes on your brush when you’re not painting metallic surfaces. I’ve learned this the hard way.
Metallic paint has these flecks in it that makes it look like metal when painted. Those flecks float around the water and will stick to your brush when you rinse it off. You put that brush in a normal black paint (for example) and you might find your black is glittering.
Two separate water pots and you’re good to go!
Signing Your Work
Not signing and dating their miniatures. At least toss a date under the base so you can look back on it years from now and appreciate how far you’ve come.
– Dave
I admit, this is not something I do. All my work goes on the blog, so I do have a record of it, but it is a great idea; plus, it only takes a second to do.
Conclusion
We all have some bad habits as painters, and this article would be novel length if I tried to cover them all, but I feel I’ve hit the high points at least.
Also, I’m not trying to pick on anyone who does any of these things. If you don’t want to prime your models then more power to you – seriously. I’m sharing my experience and knowledge, but at the end of the day it’s simply advice.
I also have an article on ways to become a better miniature painter that I feel goes hand in hand with this article very well. That article is less about the tools and more about the approach and the mindset. With the right focus you can accomplish a lot even with poor tools.
Also, I have a thorough guide on miniature painting you may enjoy. There’s a ton of tutorials and resources there that will help any new painter.
If you’re a newer painter then you may also want to check out the glossary of miniature painting terms. The glossary explains a lot of common painting terminology and also gives examples to show you exactly what things are. It’s the kind of thing I wish I had when I got into painting!
Lastly, for more tips and advice, do check out my article that talks about things I wish I knew about miniature painting. That covers the stuff that would have made my life easier learning how to paint if I had known when I started.
Oh, if you’ve got any common painting mistakes you’d like to share then please let me know in the comments!
I love painting miniatures and teaching people how to paint. I also really love blogging, so I've combined those two passions here.
- Creative Twilight’s Future and My Thoughts (Feedback Welcomed!) - December 4, 2021
- My Top Gift Ideas for Miniature Painters & Hobbyists + Gifts to Avoid - December 2, 2021
- The Year That Was 2020 and Where I’ve Been - January 17, 2021


Great tips! I am helping a friend get started in the hobby with KillTeam / 40K at the moment and will be suggesting he check this article (and site) out.
Also, as one who made the jump to Windsor & Newton Series 7 brushes, they are awesome. I don’t feel that they are too expensive, approx 3 times the cost of a GW layer brush, but less than an GW Artificer brush. But they helped me take my my painting to the next level. And even helped me figure out what problems are on me and what problems are on the the brush, so I could focus on fixing my own technique errors and stop blaming the brushes I have.
I am going to take a step down on my next brush purchase and try the Raphael kolinsky sable line. I think they are around 1.5 to 2 times the cost of GW and I have heard great things about them too.
I really need to invest in some brushes. As I said, I use the Citadel ones, but that doesn’t mean I don’t want some W&N brushes either, lol.
I only recently got better at caring for my brushes, so when money isn’t so tight I’ll have to pick some up.
I’d also love to hear what you think of the Raphael ones. I’ve also heard that name mentioned. Those I might be able to pick up being they aren’t as expensive as W&N.
I splurged on some W&N brushes. You definitely notice the difference. I’m afraid to use them though.
Yeah, think I’d get two brushes, one for layering, and one for detail work.
Good tips, all. I am a recent convert to brush soap and am amazed at its restorative powers. It even brought some very old brushes back to life enough that they can be used for undercoating/drybrushing.
You did forget the biggest painting mistake of them all. This is one that we’re all guilty of at one time or another. Putting your painting water next to your coffee …
I only started using brush soap in the past year. I had a brush with dried on paint from dry brushing and it cleaned it all off. Definitely worth getting.
I’ve never had the coffee issue but my paint pots are legit paint pots and not a coffee mug. Helps ;)