Painting freehand on miniatures is one of those things that scares painters. People think it’s a lot harder to do than it really is.
Today I want to break that stigma and show you just how easily you can learn to paint freehand! I have three levels to take you through: beginner, intermediate, and advanced. You’ll learn the basics of using shapes for your freehand, as well as some blending work to create more advanced results.
As always, this is meant to guide you and help you learn. I want to give you the confidence you need so you can add another notch to your miniature painting belt.
I have a lot of high-quality images in this tutorial, so loading may be a bit slow.
Learning the Basics of Freehand
The basics are very easy to learn. These will get you painting simple icons and designs on your miniature. Say you want to paint a tactical symbol on your Marine, or some squad markings, then you’ll learn that here.
The freehand will be in one color, but once you learn this then you can move on to more advanced freehand where you use multiple colors, shade the freehand, and more.
I do want to note that while the examples I paint may not be for everyone, it’s the process I’m teaching, not specifically how to paint these icons. So, it doesn’t matter if you don’t play Warhammer 40K (some of the examples), as long as you learn how it’s done then that’s all you need.
Use Shapes to Outline
Anything you want to freehand can be broken down into a combination of shapes. That’s how you have to look at it. When you break it down into shapes then it’s much easier to paint and a lot less daunting.
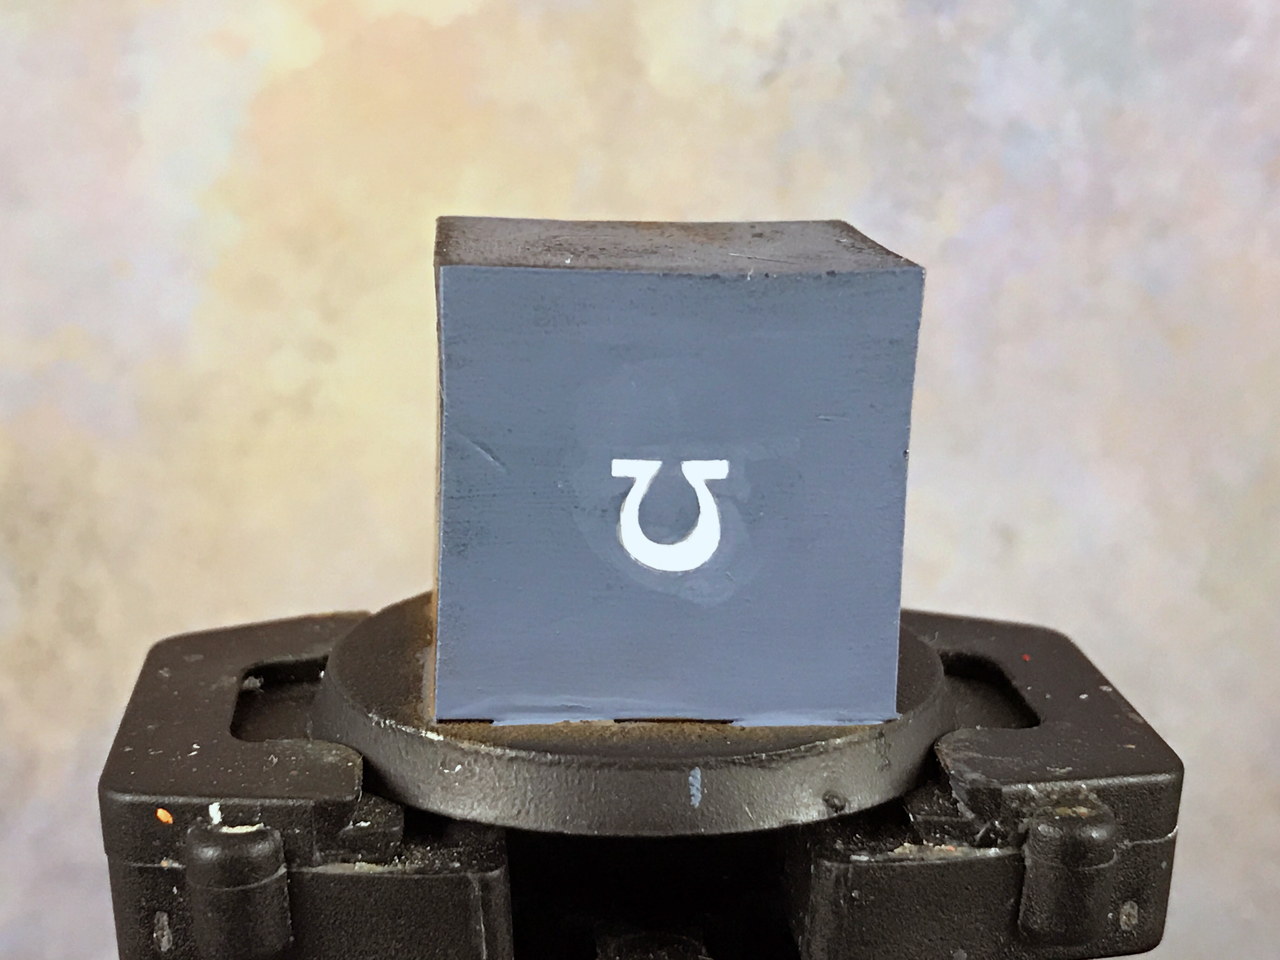
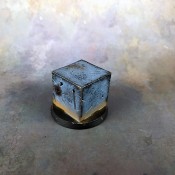
I’m going to paint a Space Marine tactical symbol, which is an arrow. I’ve got my model base coated and ready.
For this I’m using Cubie to demonstrate on, which is a flat, square cube. However, this process is the same no matter what you’re painting it on.
I will also paint it roughly the same size as it would be on a Space Marine’s shoulder. For those who don’t know, a Space Marine is a 28mm scale miniature, so the shoulder isn’t very large.
It is easier to show how to do this with a larger version, but I also want to show you that this works on any scale.
I will also be painting this in white since it’s a common color for stuff like this, and it can also be a bit tricky to get a nice even coat.
Also, all paints are Citadel unless noted otherwise.
Disclosure: Some of the links below are affiliate links, meaning, at no additional cost to you, I will earn a commission if you click through and make a purchase. The commission earned helps maintain this site.
Painting Shapes
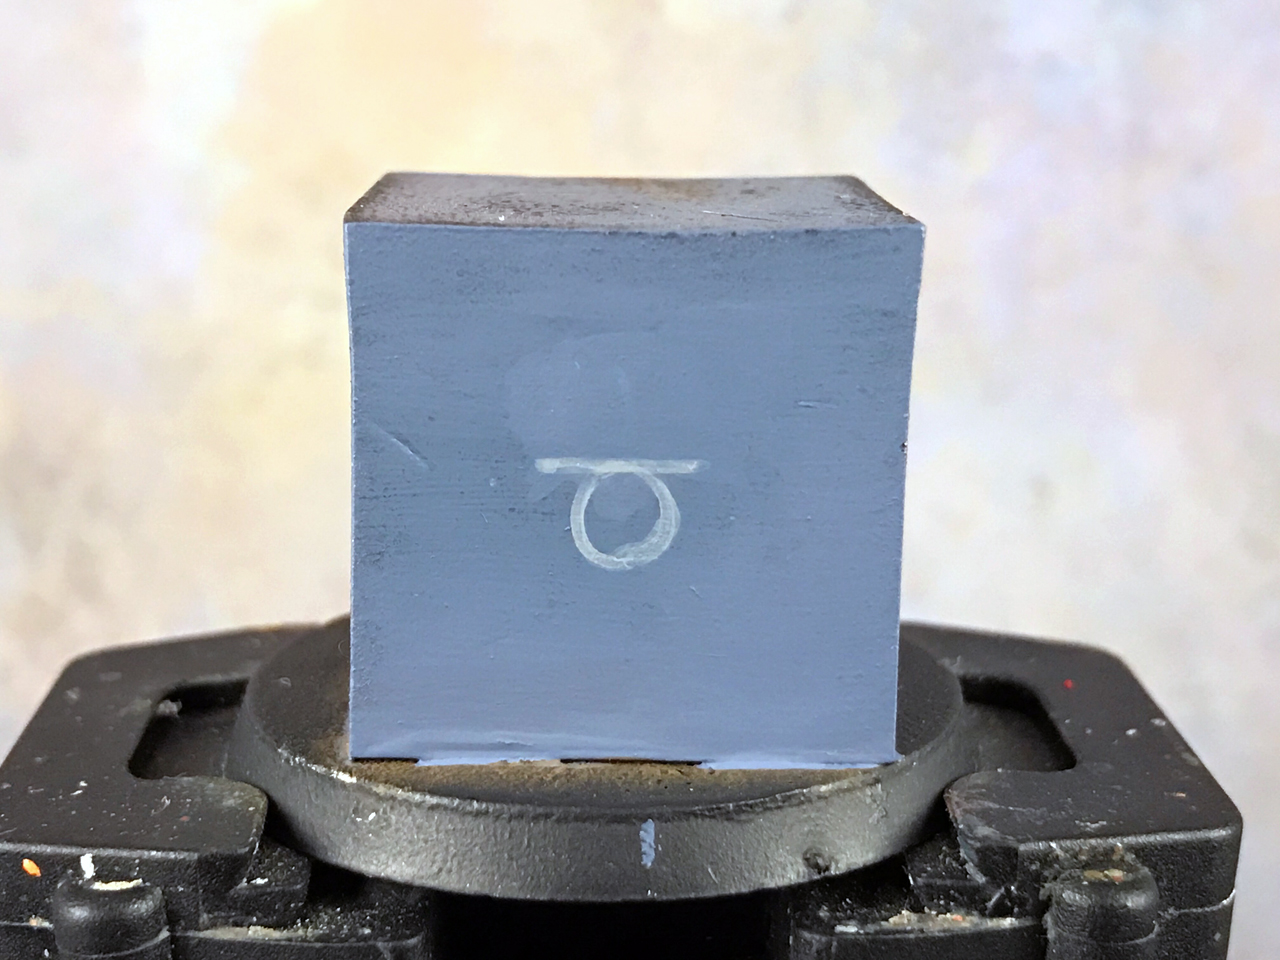
To start, I’m going to paint a triangle using Administratum Grey. I start with a grey to make getting white on here easier later.
All images can be clicked for larger versions.
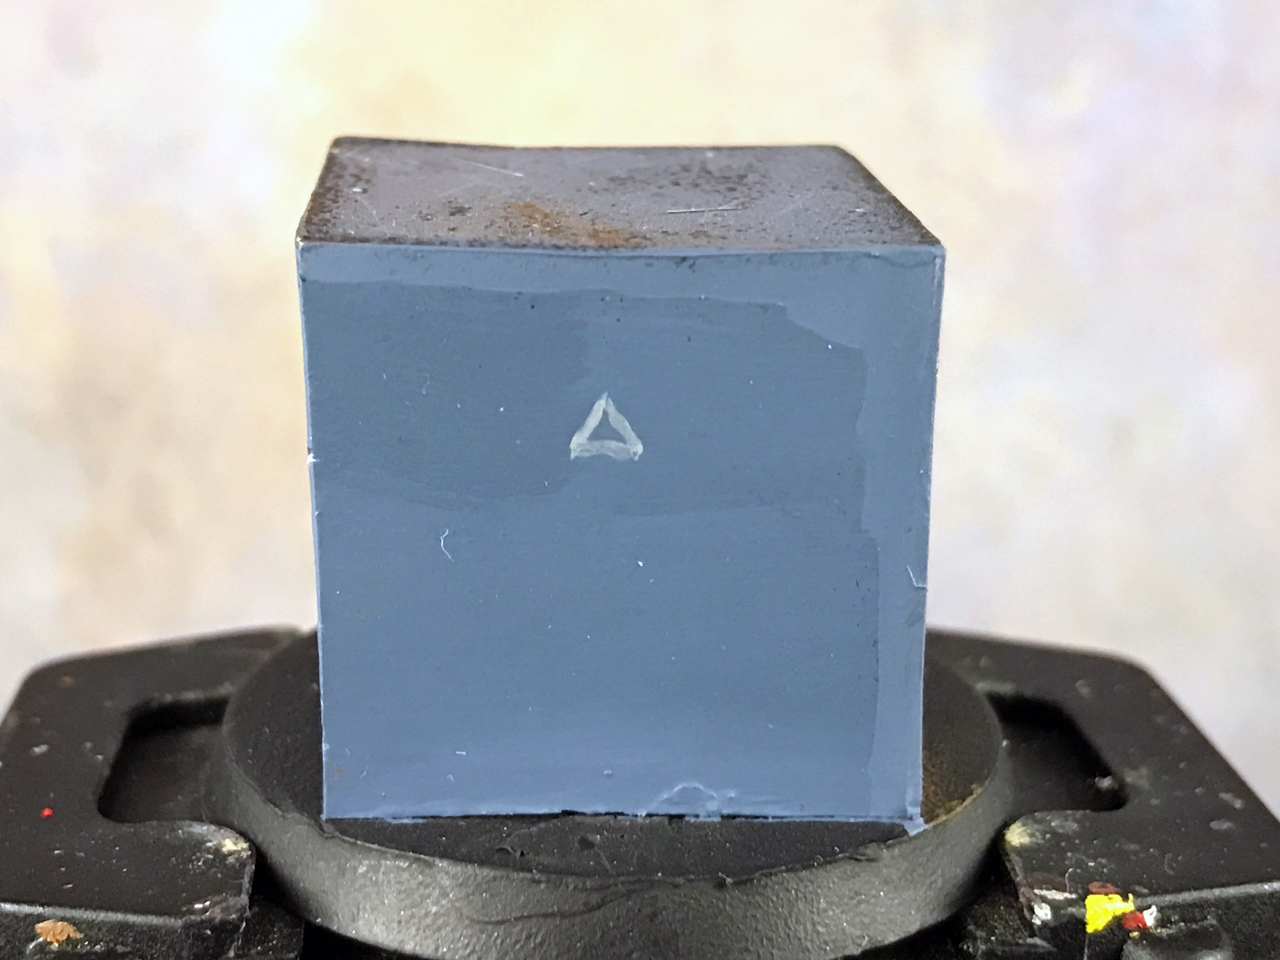
From there I just create a rectangle underneath, two shapes connected.
Now that I’ve outline it, I’ll go ahead and fill that in with a thin layer of the grey.
Filling it In
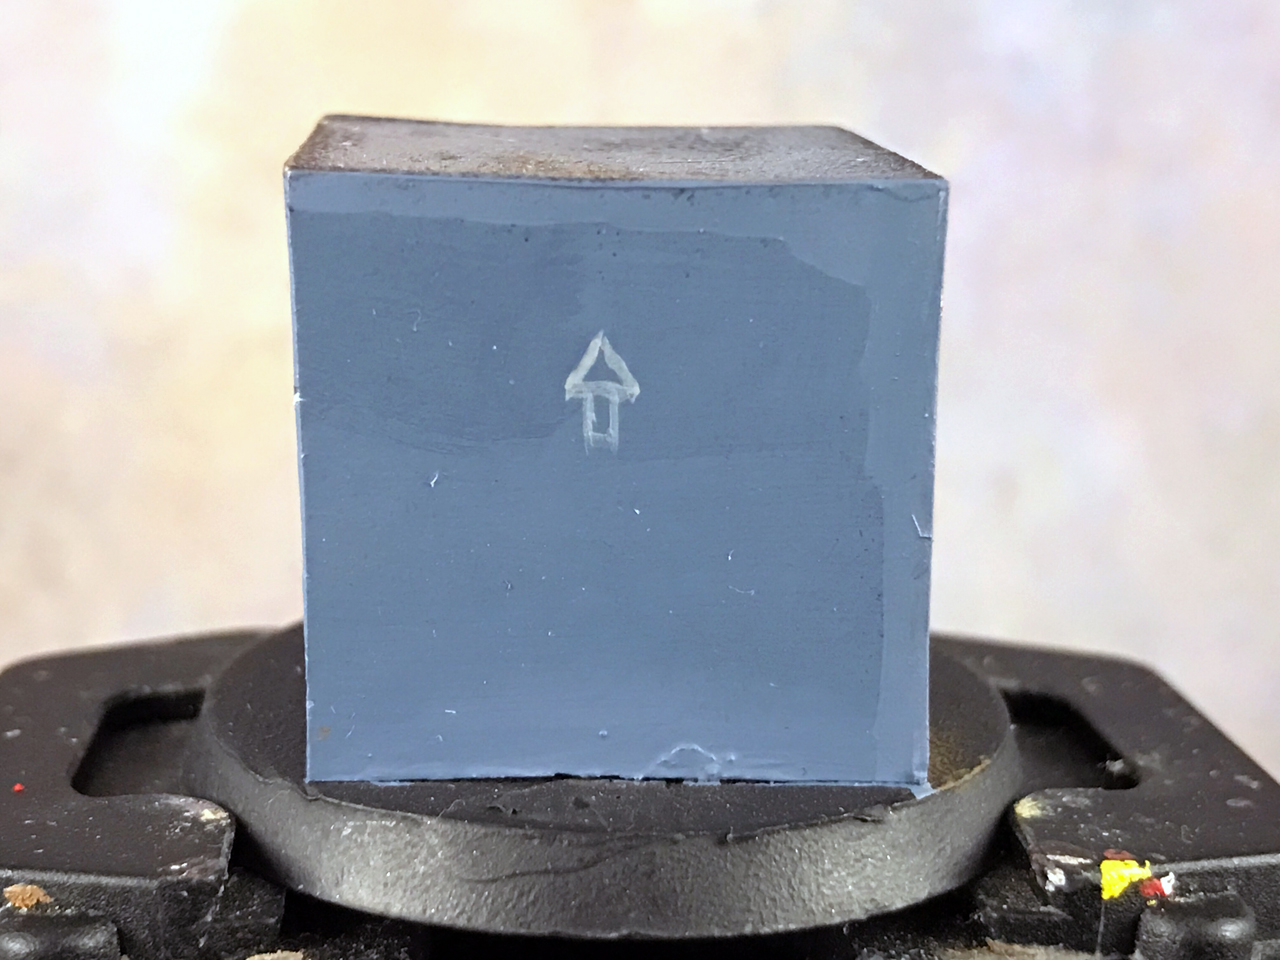
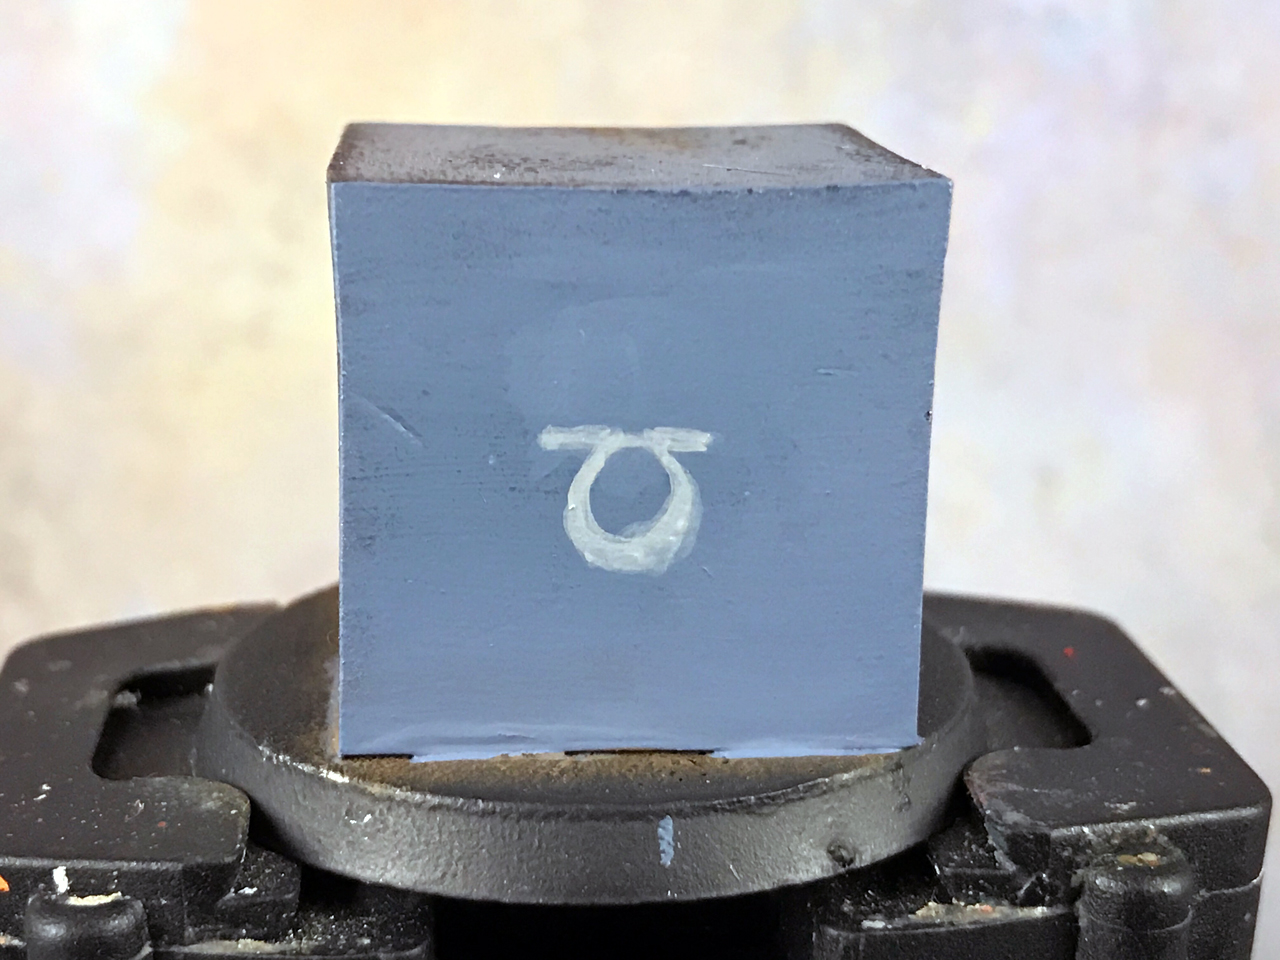
Notice how my lines aren’t perfect? That’s completely fine! I’ll leave that as-is and clean it all up once the white is down.
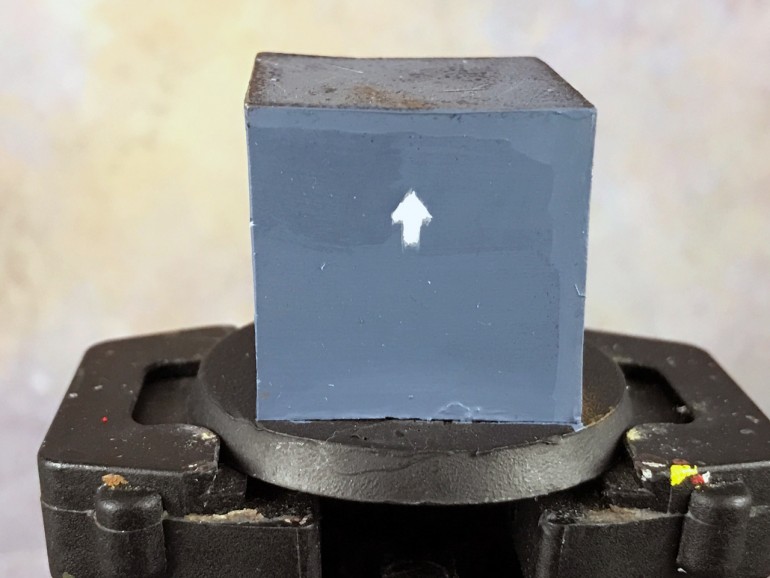
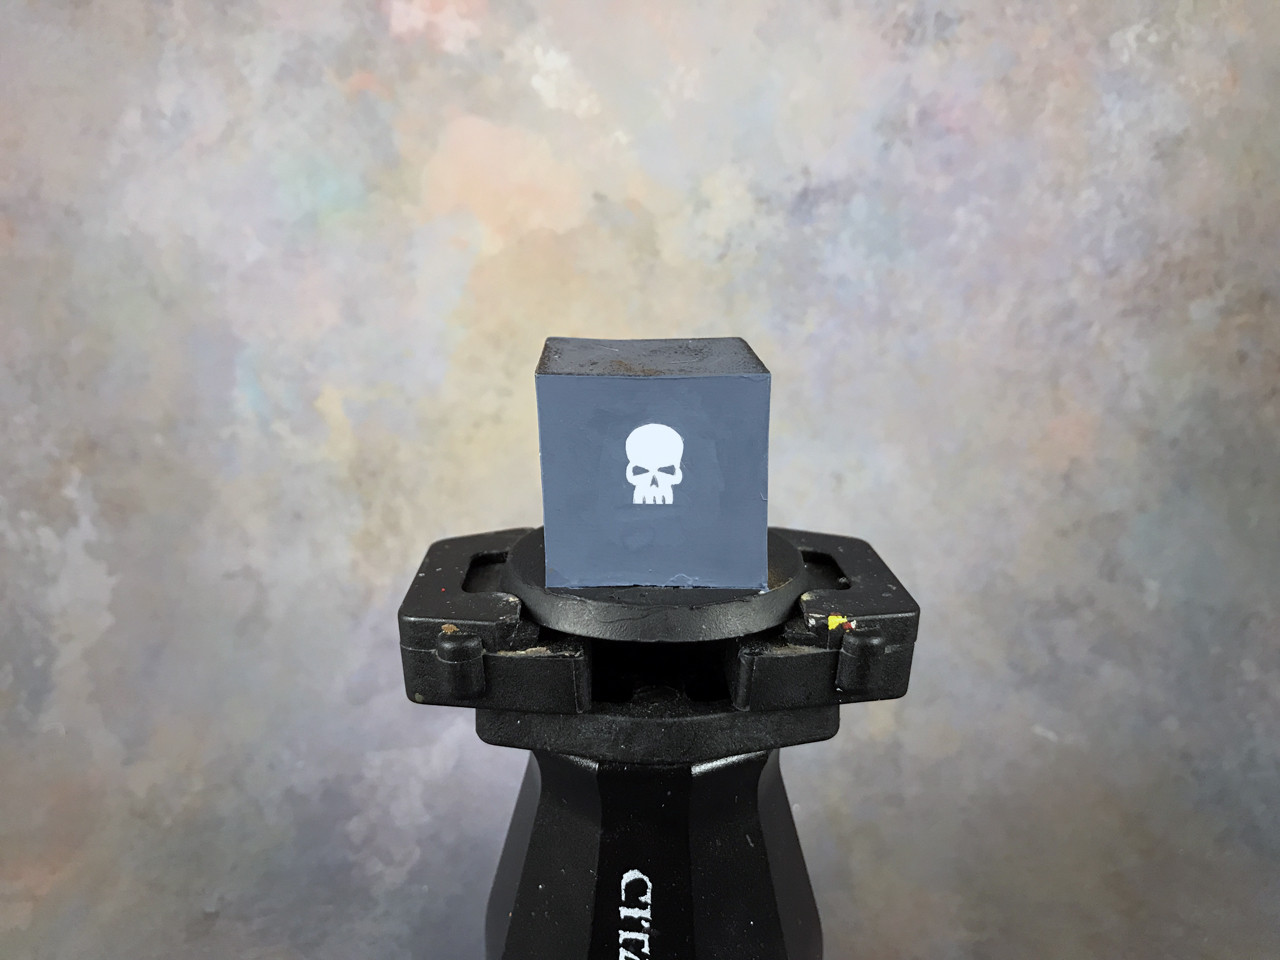
Speaking of, all I have to do now is go over the grey with white. Any white will do, but I’m using White Scar.
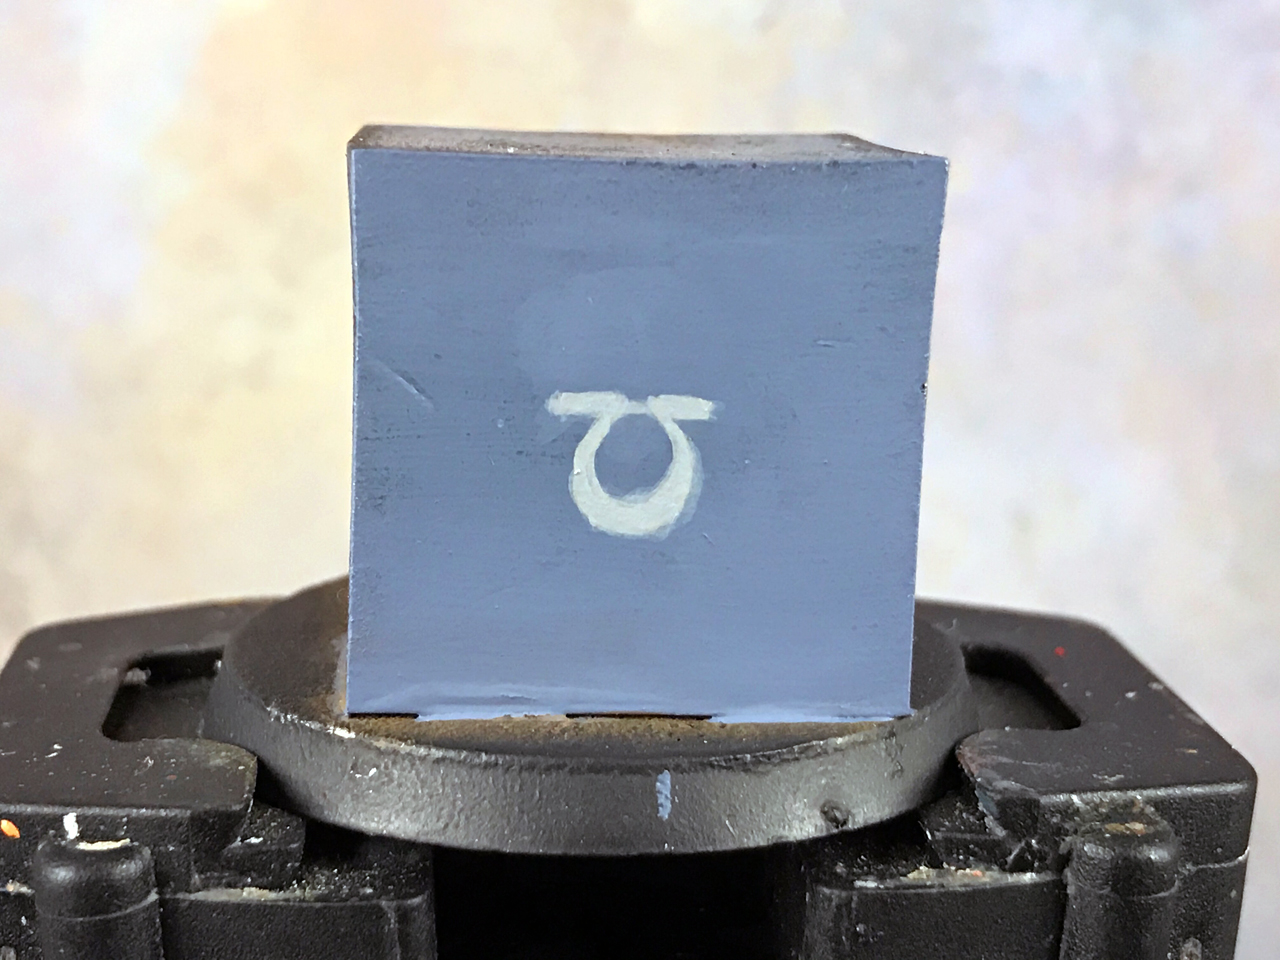
This will take a few thin coats, and there’s no need to show you each coat, but here’s the final symbol.
Thin Your Paint!
It’s important to keep your paints thin when you’re doing freehand. This can’t be stressed enough.
The most common problem painters run into with freehand is not thinning their paint and then they get a lumpy, chalky looking thing. If you apply the paint without thinning it then I can guarantee you’ll have this issue.
Now, you don’t need to thin the paint a lot. You’re not blending here, but you need the paint to flow smoothly.
When I clean my brush I will wipe off the excess water but leave the brush still damp. I then load the paint to the damp brush and it will thin it out just enough for this.
The other critical part of this is that I use a wet palette. So, the paint goes from the pot to the palette, and it’s from the palette that I load my brush.
The wet palette keeps the paint wet while I work to prevent drying out. Combine that with a damp brush and I get the paint consistency I need.
Cleaning up Mistakes
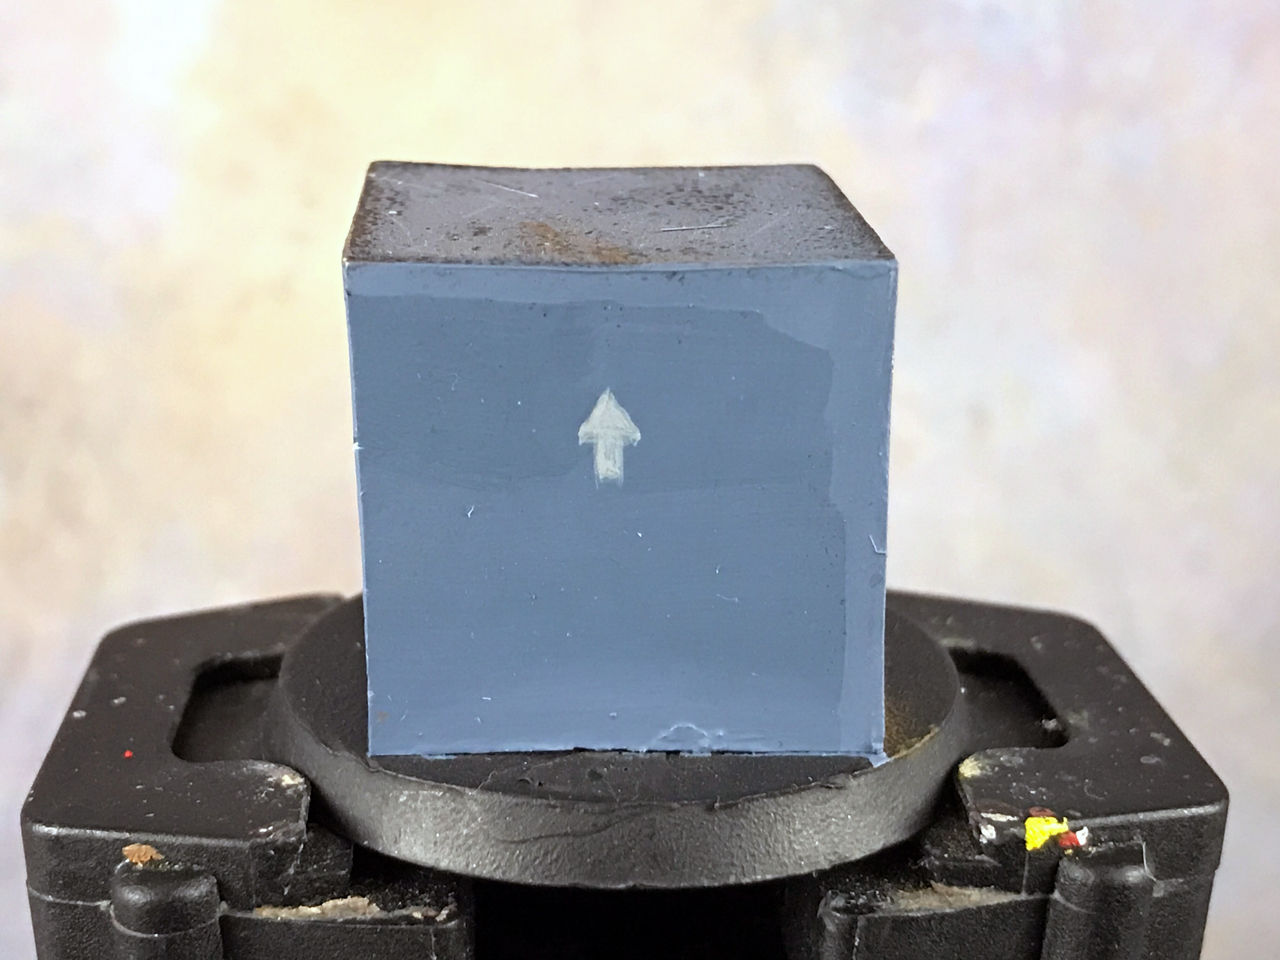
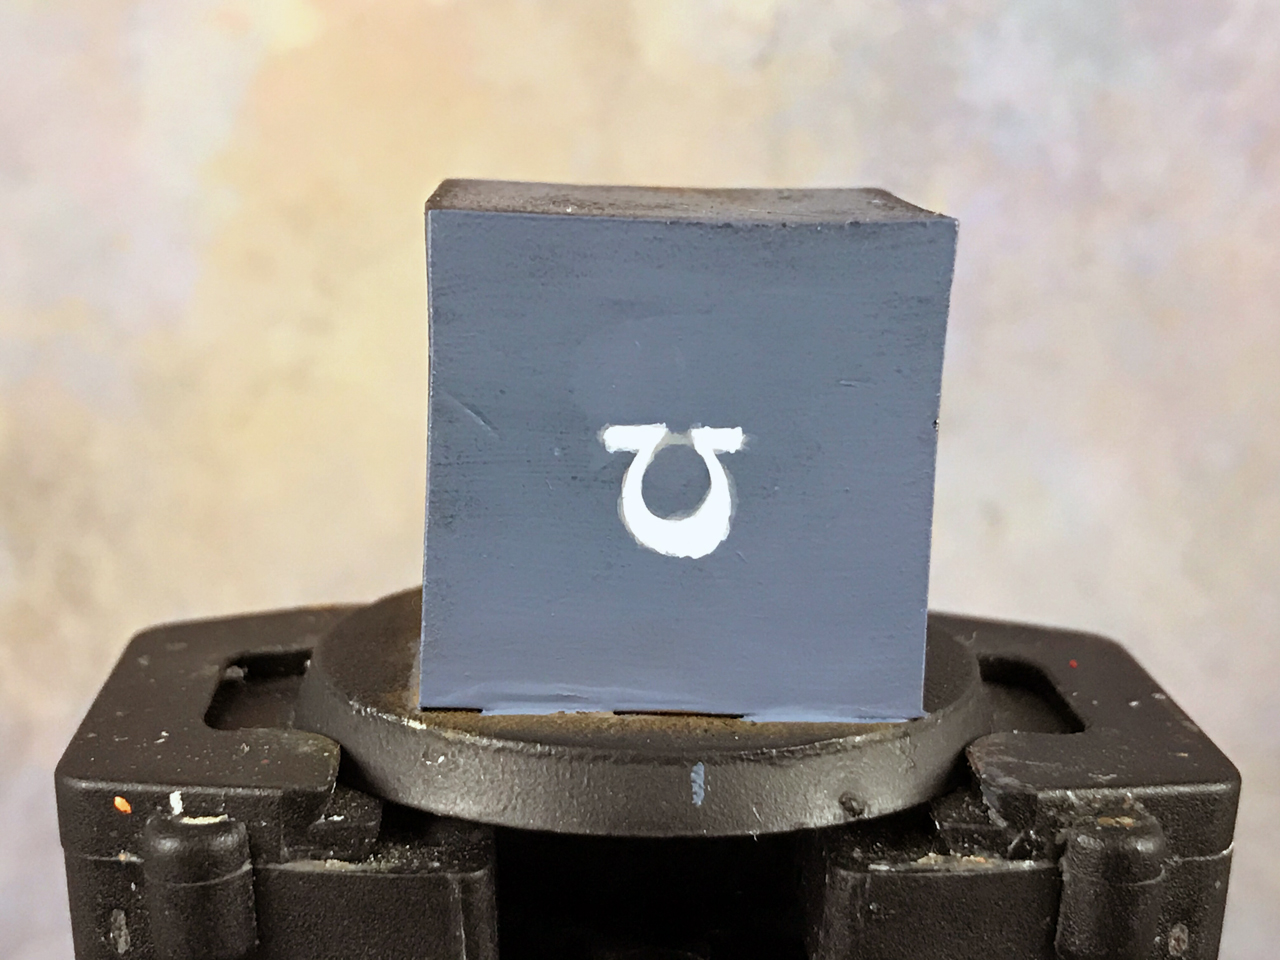
To clean up any mistakes I just take my base coat color and carefully clean up the lines to straighten them out and get sharp edges. It’s that simple.
That’s the trick you need to realize, you can always fix mistakes later and it doesn’t have to be done perfectly to start with.
When I’m working with a difficult color like white, I will focus on the basic shape and getting a solid layer of white. That’s the hard part, an even coat of white. I know I can fix it later so I don’t stress over any early mistakes.

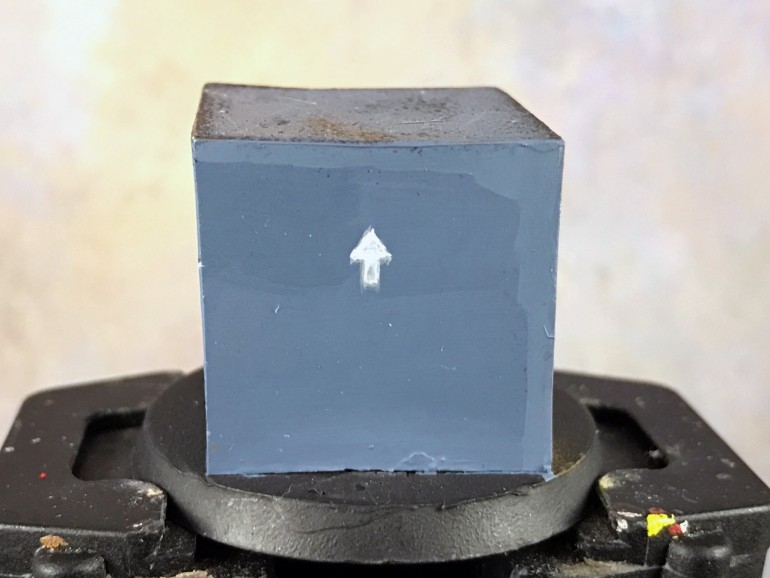
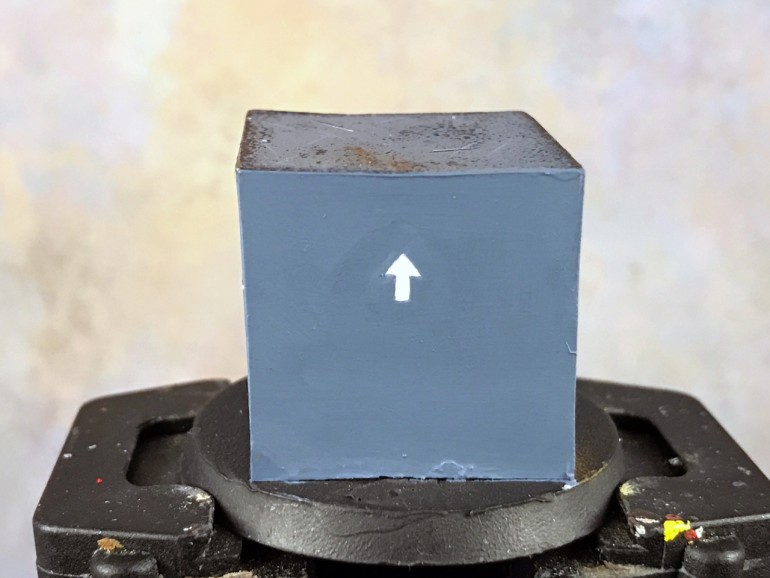
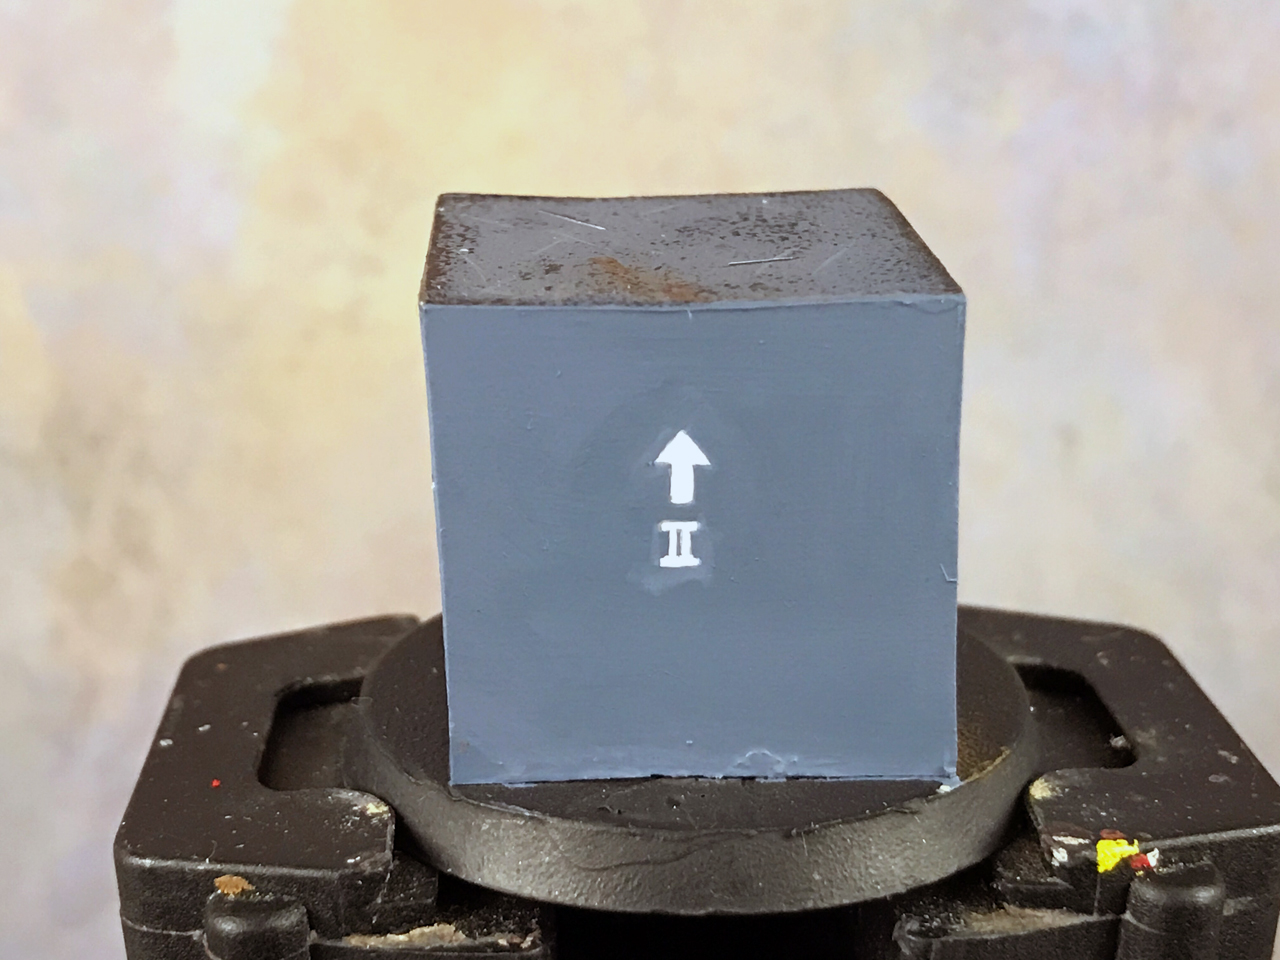
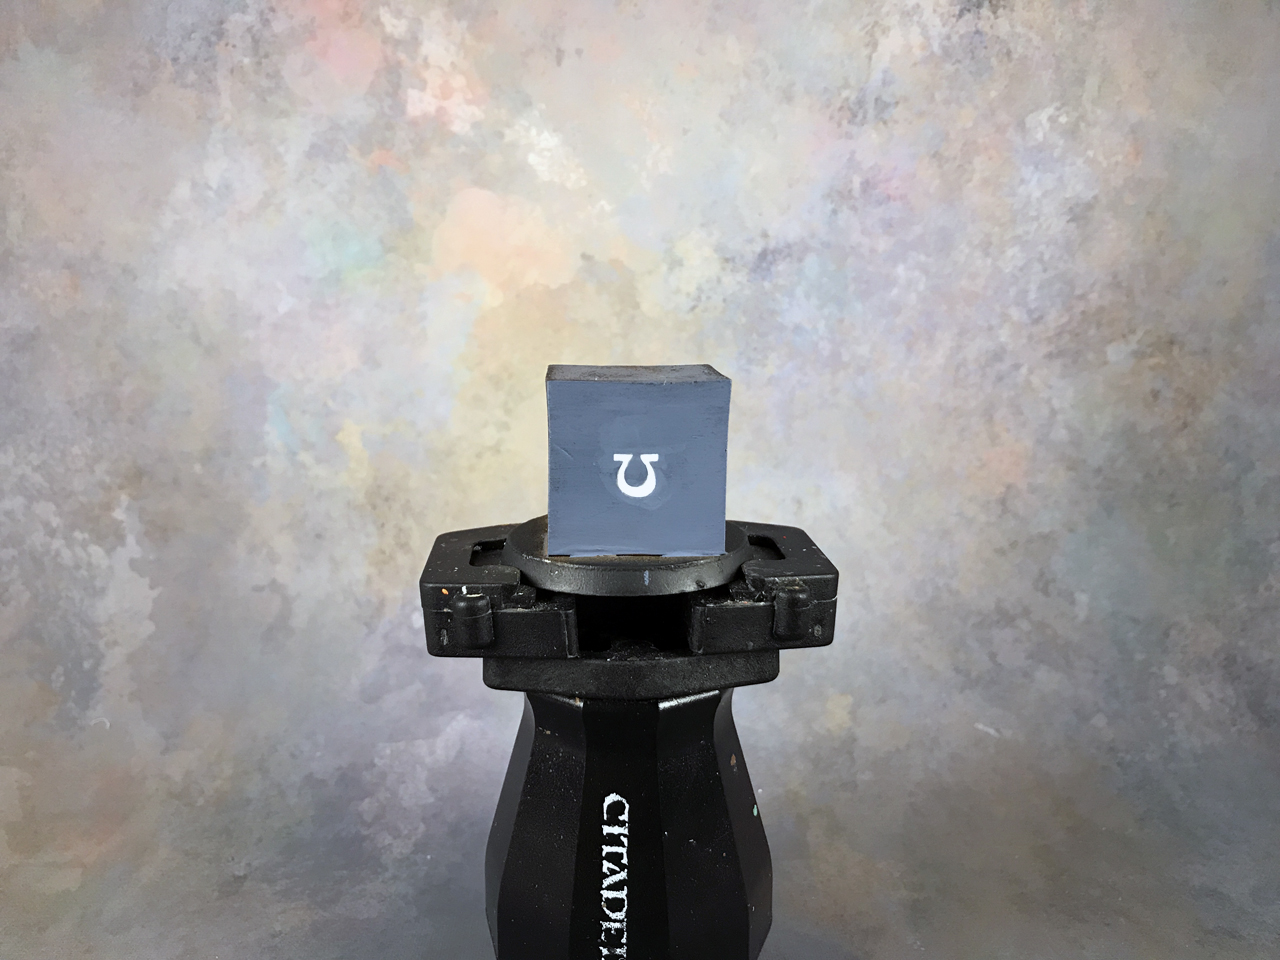
Here’s the same shot as the one above but zoomed out a bit. When you take pictures and zoom in you will always see all the flaws and it can be infuriating. So, I like to zoom out and view it at a more natural distance. It tends to look a lot better.

Know When to Stop
With that, there’s a point in freehand (painting in general for that matter) when you have to stop. It can be very difficult to get something exactly as you want it. Maybe a line isn’t perfectly straight, one area came out too thin, etc.
As I look at those above shots all zoomed in I can see a lot of flaws. However, I left it alone. When you’re working on freehand, and you’re dealing with such small symbols, it’s so very easy to try to fix something and you only make it worse. Suddenly fixing that straight line turned into having to redo it entirely because you slipped with the brush.
That is a lesson I’ve learned the hard way over many years. You might not be 100% happy with what you painted, but accept it, move on, and try to improve the next time.
Another Basic Example
Let’s say I want to add Roman numeral squad numbering on here too, typical of a Space Marine. It’s just more of the same.
I’ll start with two horizontal lines in grey.
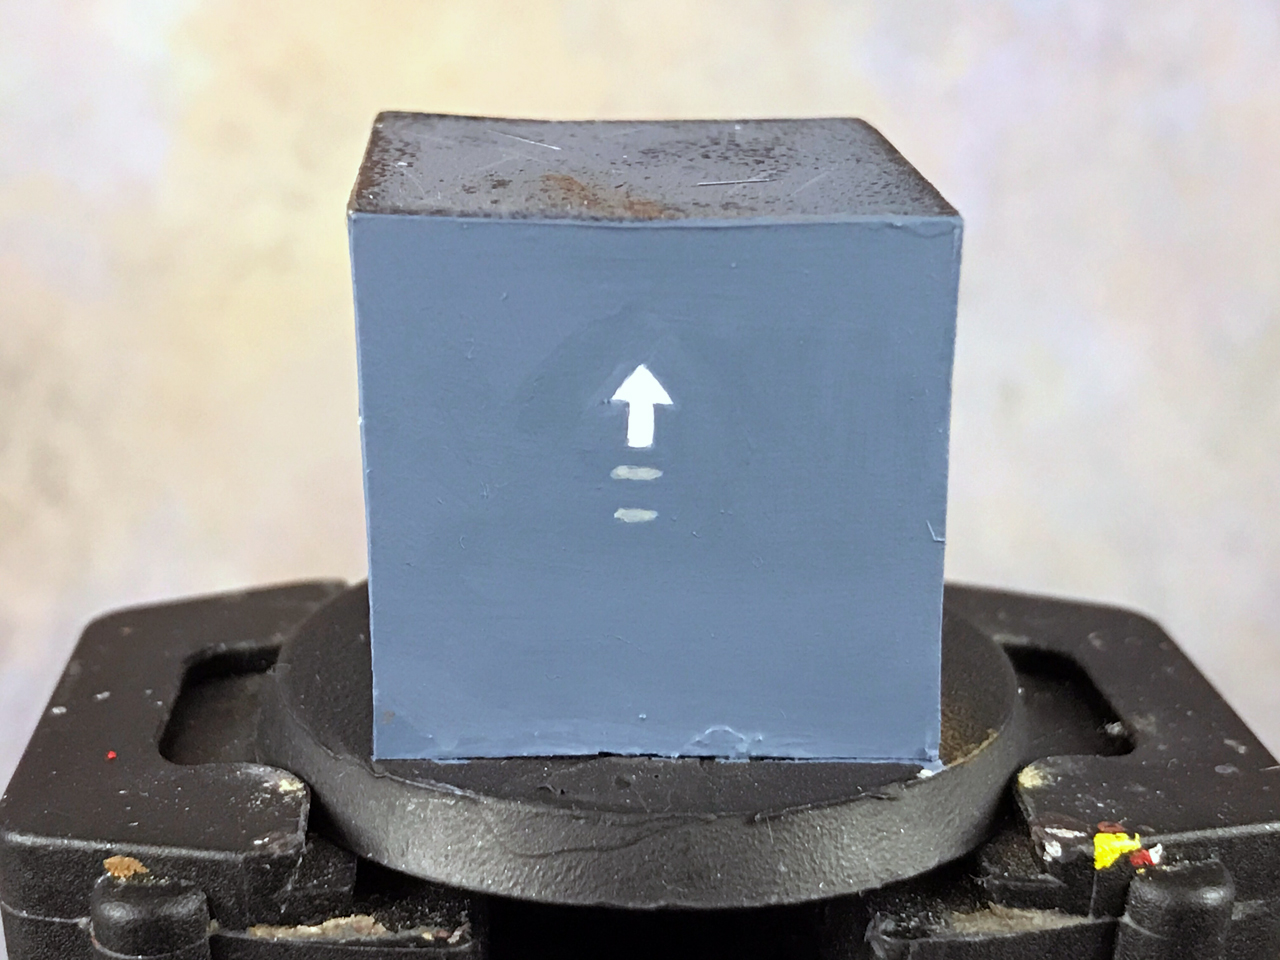
Then two vertical lines for the Roman numeral 2.
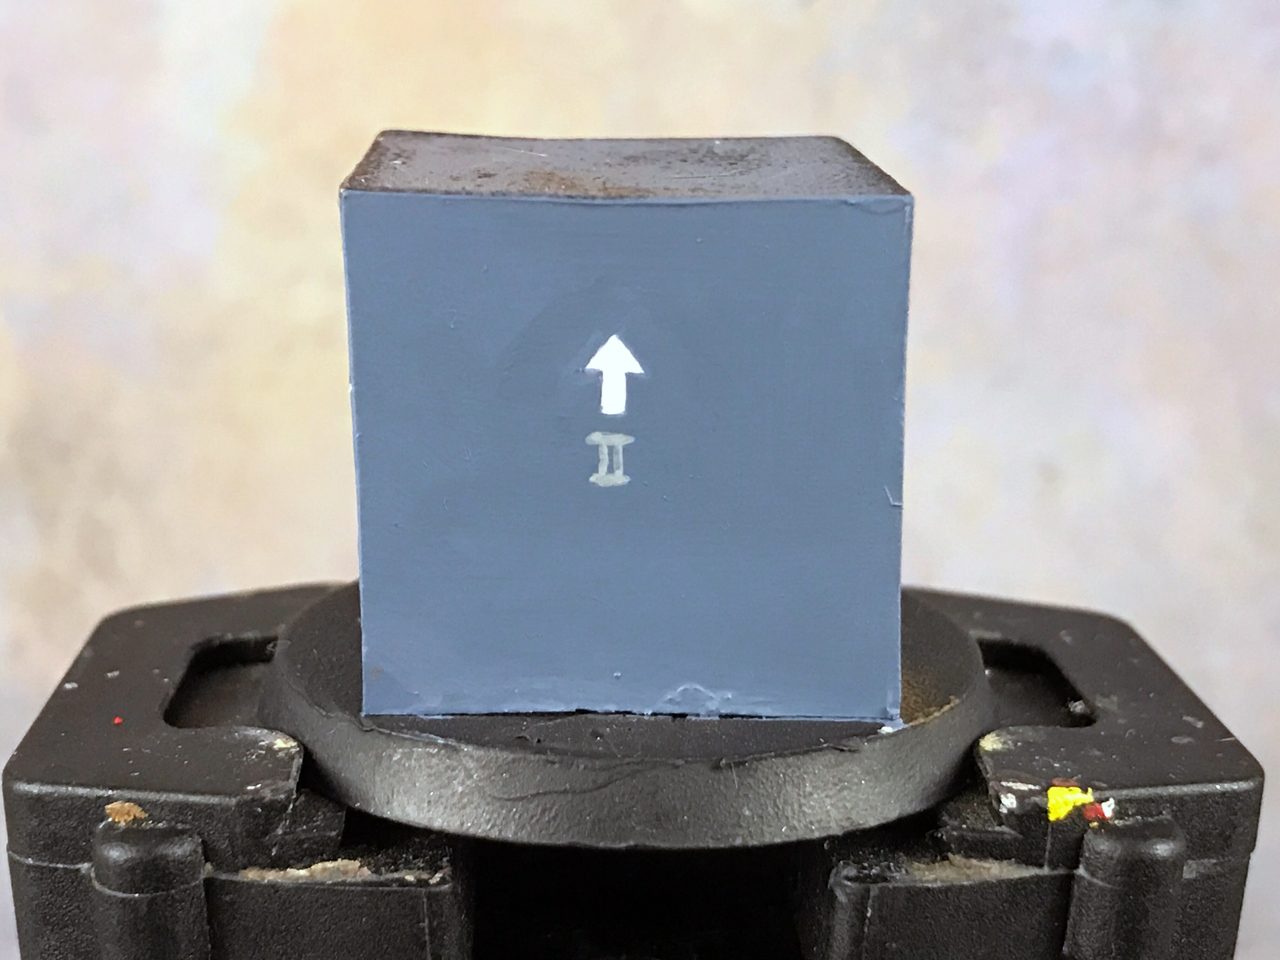
Now I layer white over it.
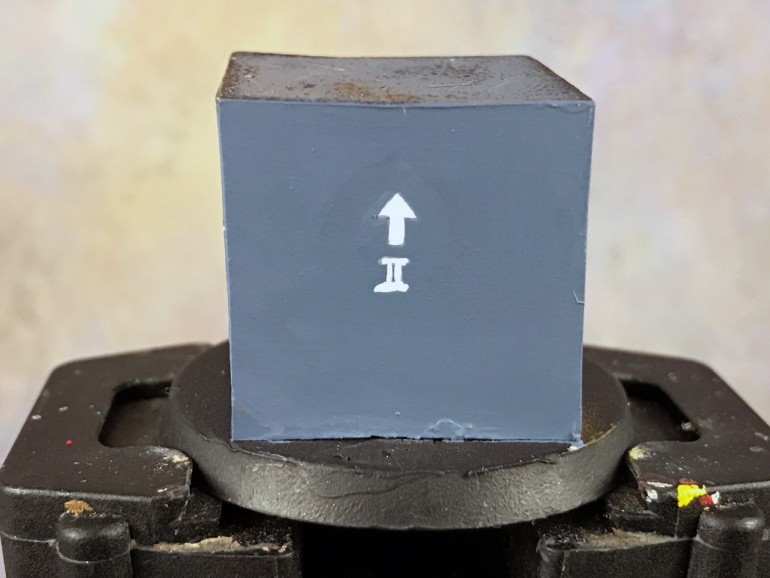
A little cleanup and I’m done.
I did want to mention, and it will be more apparent below, that the color differences you see in the base coat where I cleaned up is because of the particular paint I’m using.
There’s something about the darker Vallejo paint colors that dry lighter when they’re thinned out; not sure why. I didn’t really notice much until it was too late.
If you’re using Citadel paint then you’re fine. I’ve never had an issue with that, just Vallejo.
Intermediate Freehand
Now that you understand the basics, let’s step it up a bit!
A lot of painters find painting circles difficult. So, these intermediate examples both involve creating circles.
Ultramarine Symbol Freehand
Continuing on the Warhammer 40K theme, let’s paint an Ultramarine Chapter symbol, a reverse omega.
I’m going to let the pictures do most of the talking from here forward as it’s just more of the same.
Always Start with Shapes
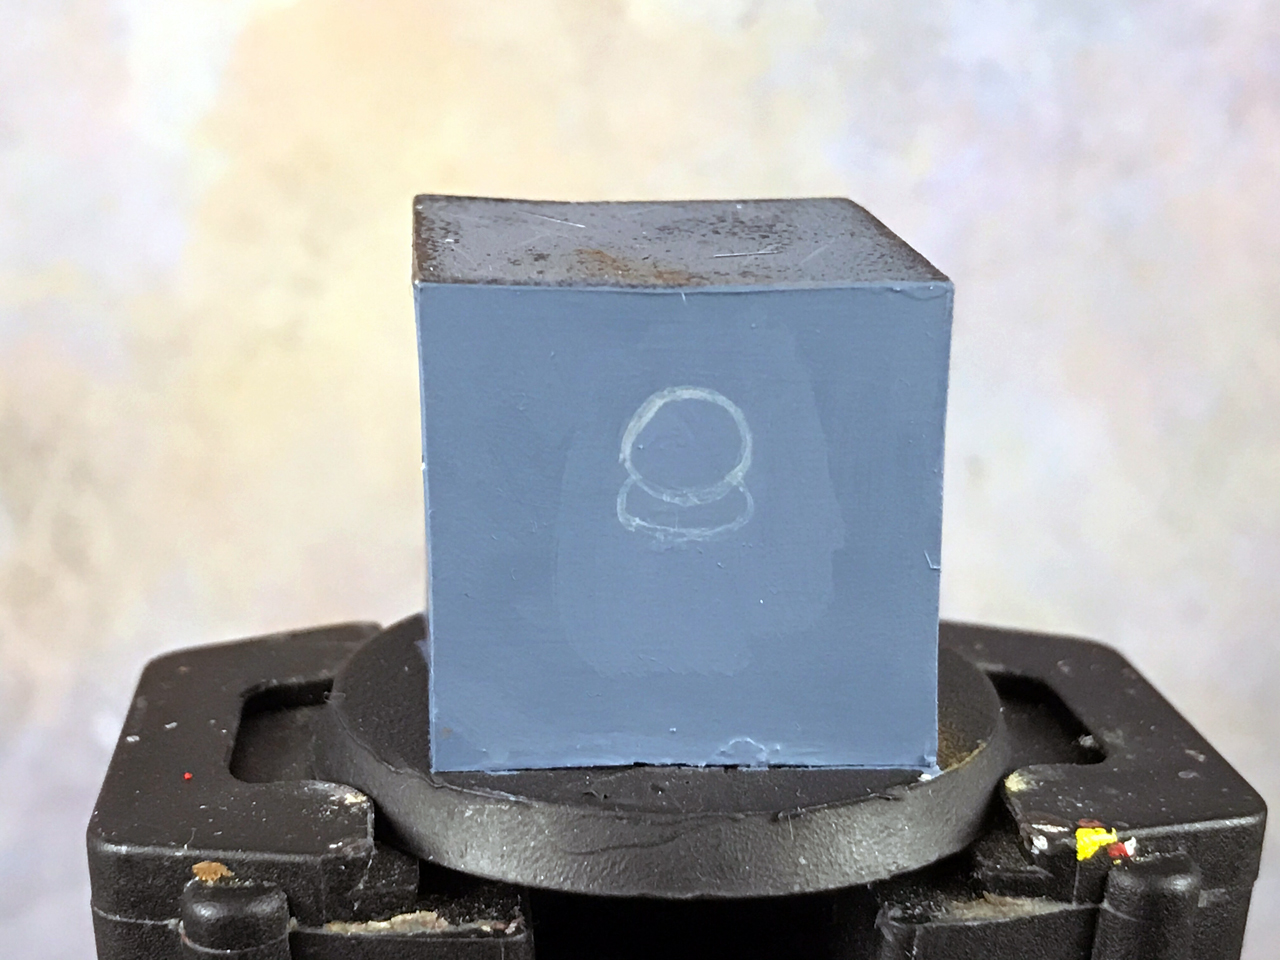
To start, I create a circle (shapes).
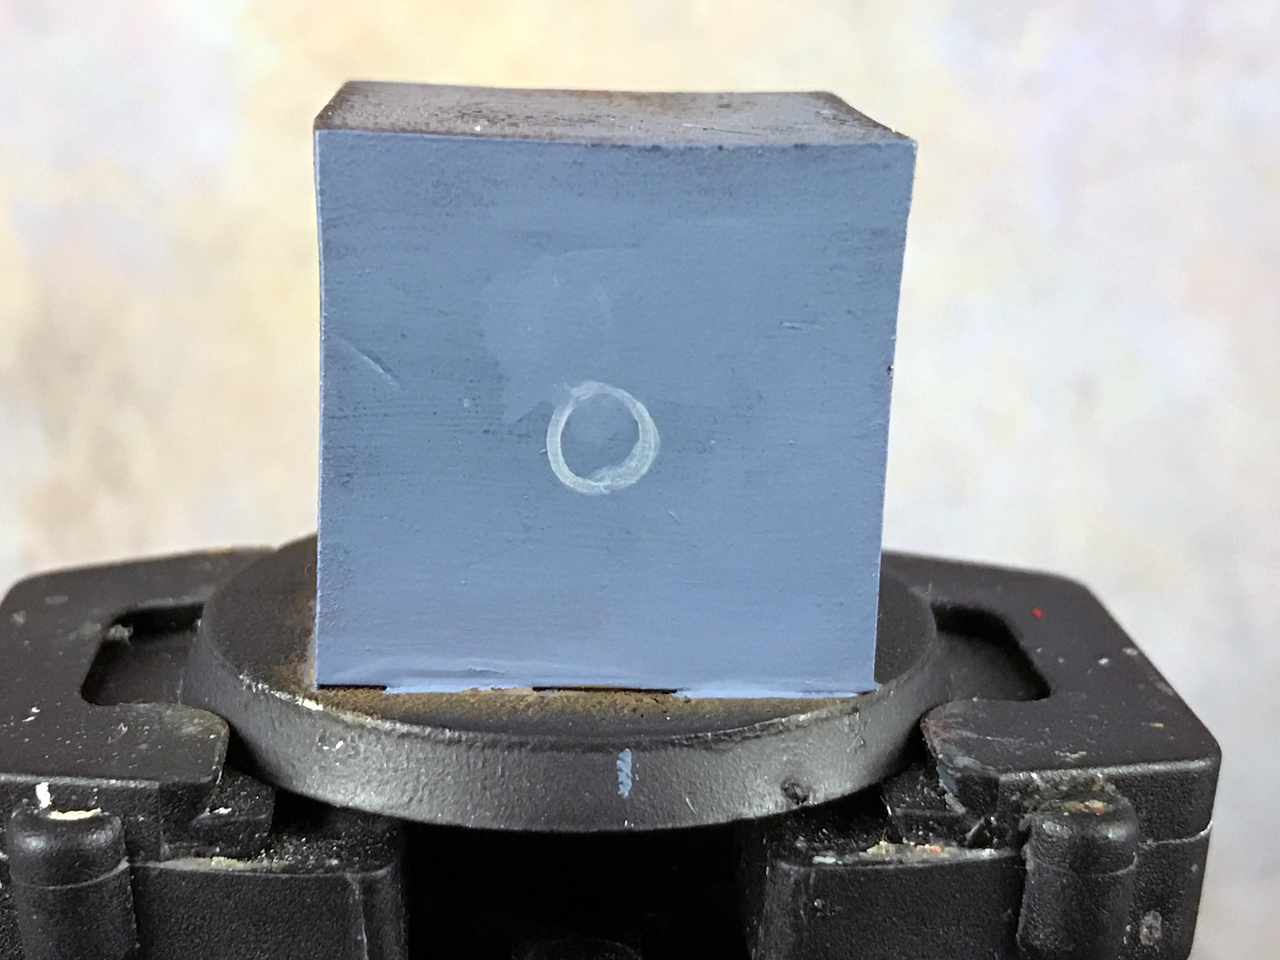
Then I add a horizontal line on the top.
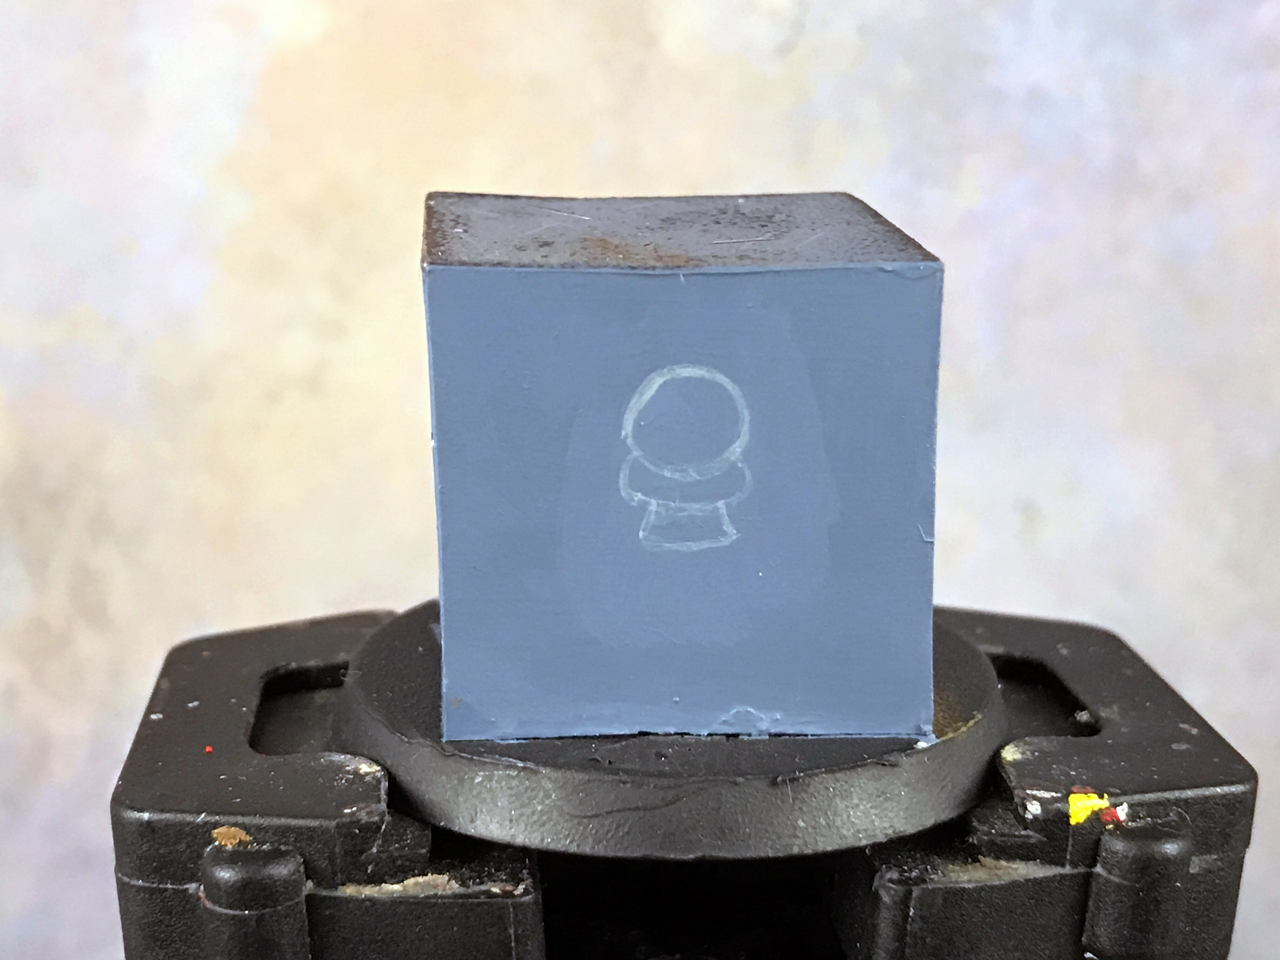
From here I thicken it out to get that oblong look where it’s thicker at the bottom. I also get a more solid layer of grey on there.
Then a few layers of white.
Cleanup Time/Done
The final cleanup step and I’m done.
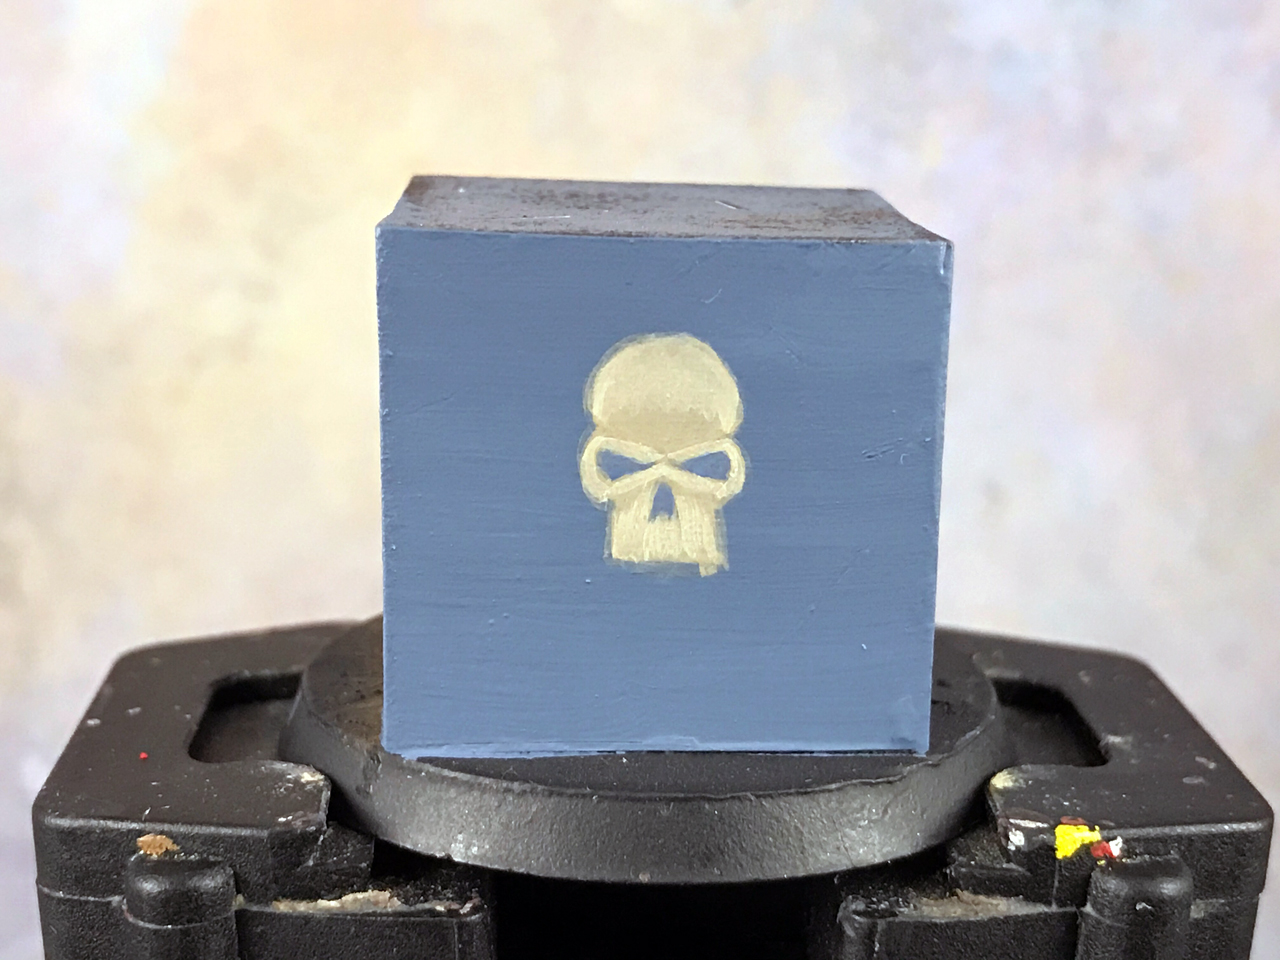
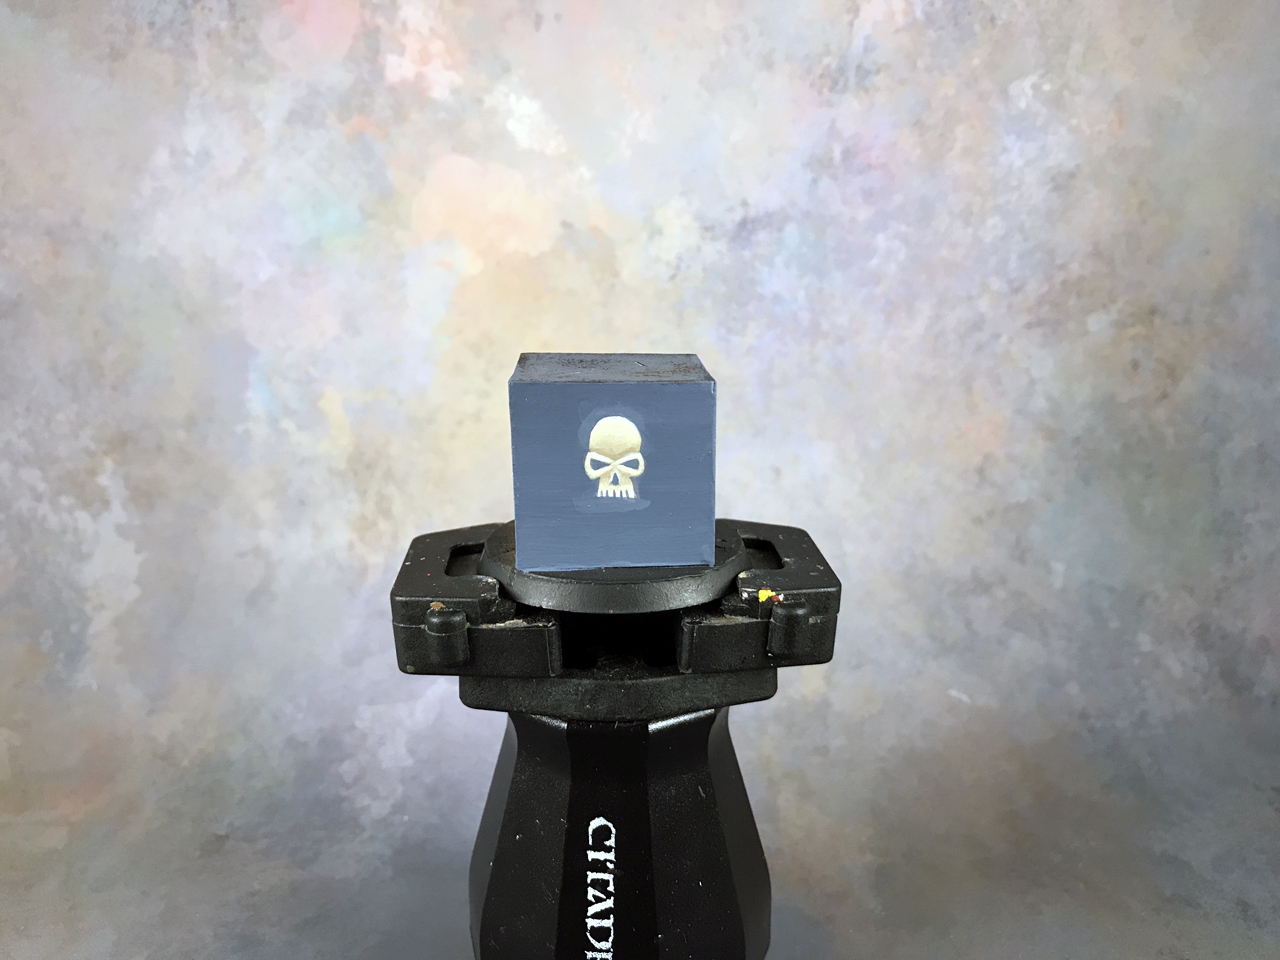
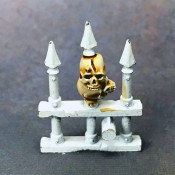
Painting a Freehand Skull
I’m going to paint a skull, which is another common theme in Warhammer 40K, and virtually any gaming system honestly.
This time I’m going a bit larger. This size would be suited for a vehicle.
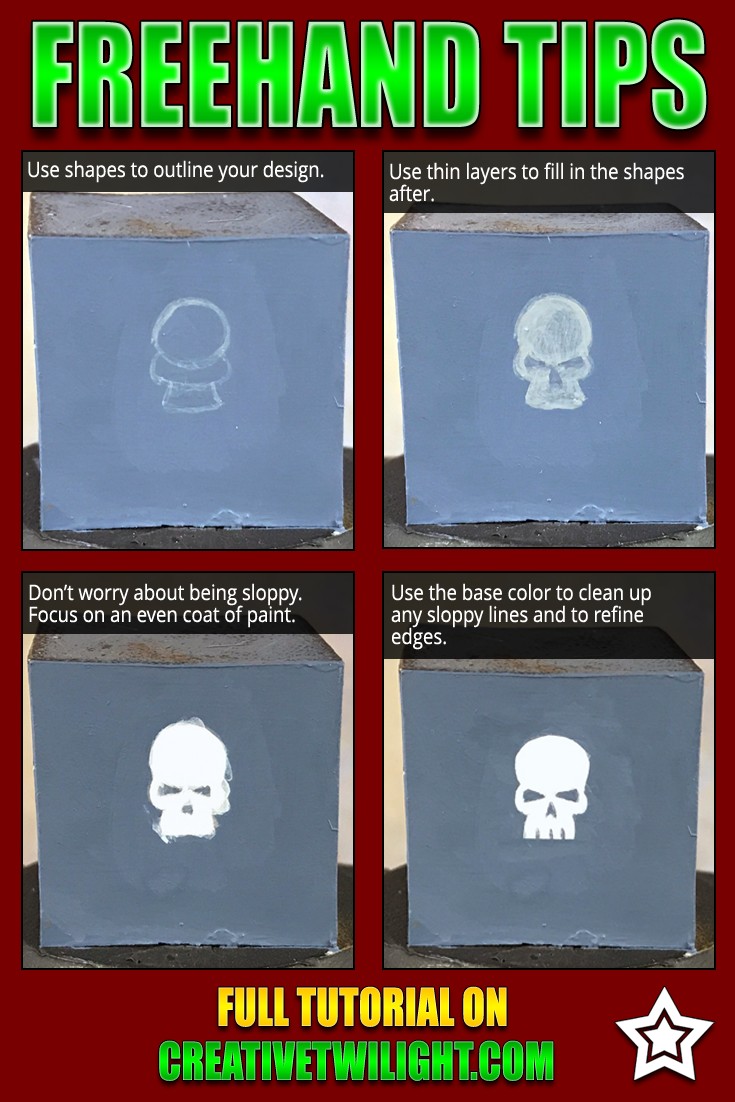
Shapes, Shapes, and Shapes
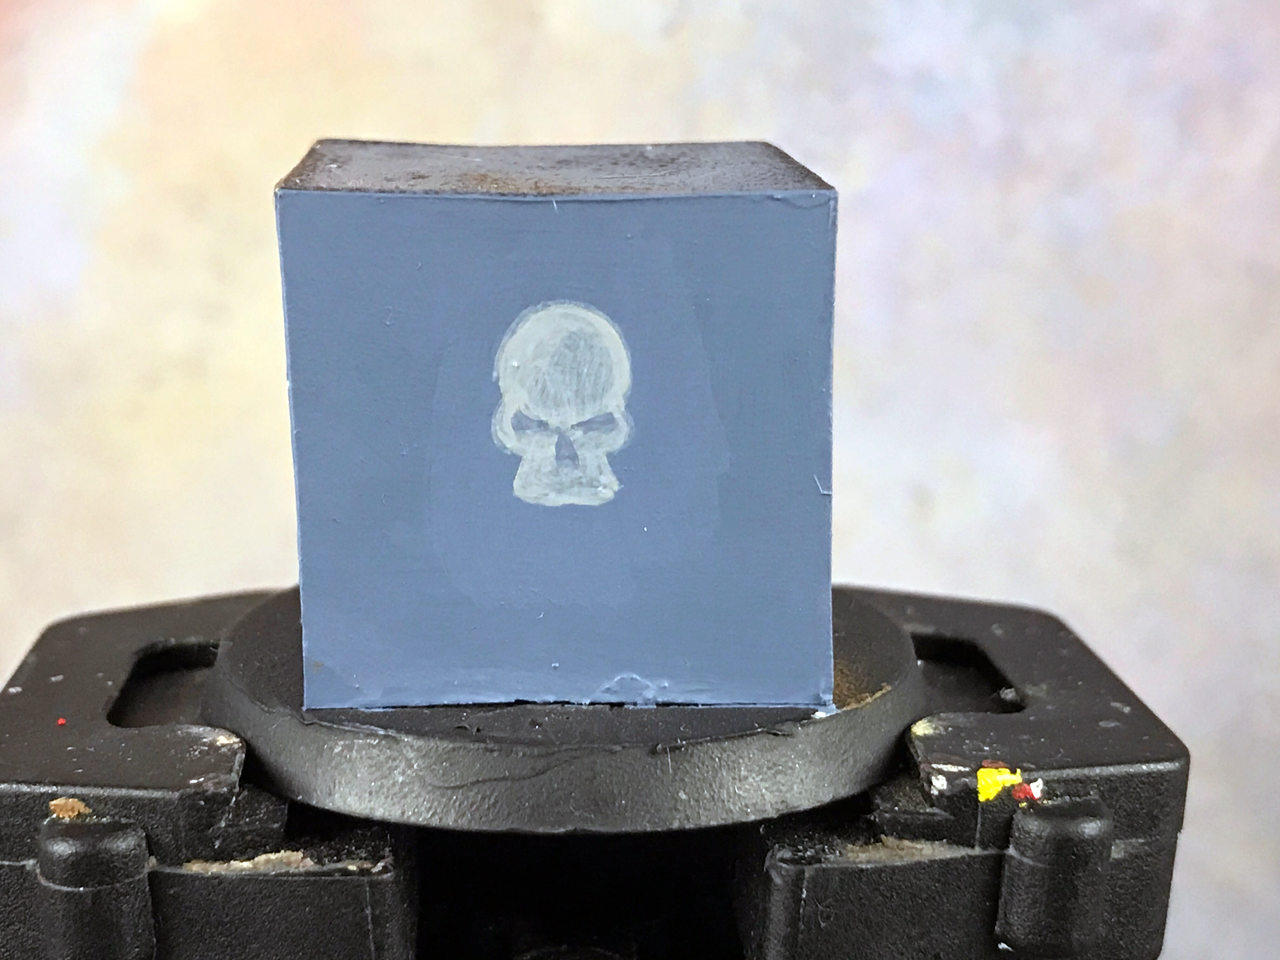
While the icon may be more complicated, it’s still just a series of shapes. So, I start off with a circle for the top of the skull.

Then I add an oval under it. This oval will be the eye socket area.
From there I add a skewed rectangle for the teeth.
Next I start filling it in with the grey. This first coat is very thin.
Filling it In

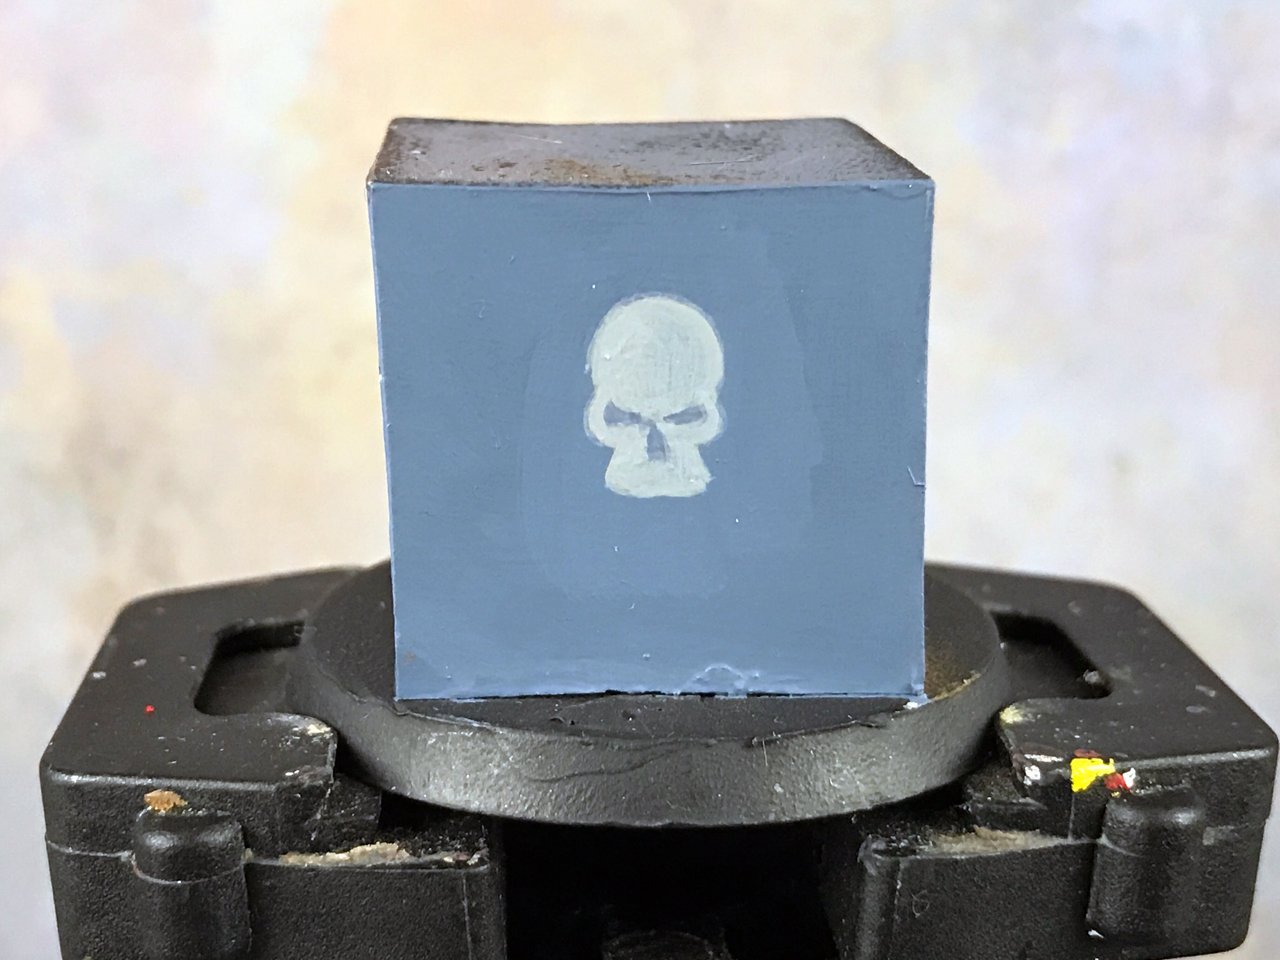
You can already see how it’s coming together.
I then do a second thin coat and I also use my base coat to cut in the eyes and nose a bit.
Notice how they’re just triangles? Shapes!
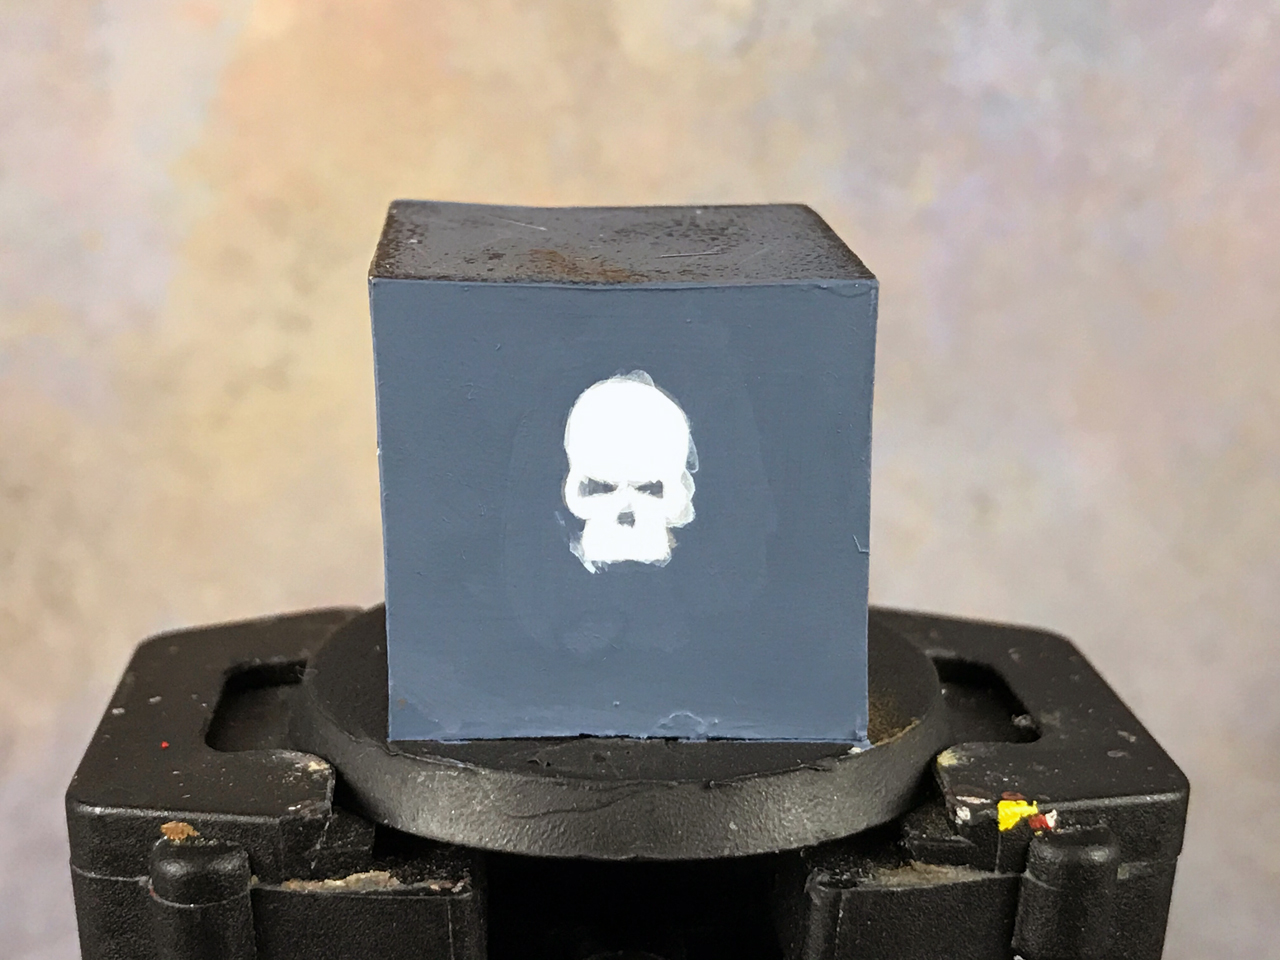
The reason I marked those areas out early on, instead of at the end of everything, is just to make life easier. The less cleanup you have to do the better things will be. Mistakes can be made when you’re cleaning up, so the better you can get it early on the better off you’ll be.
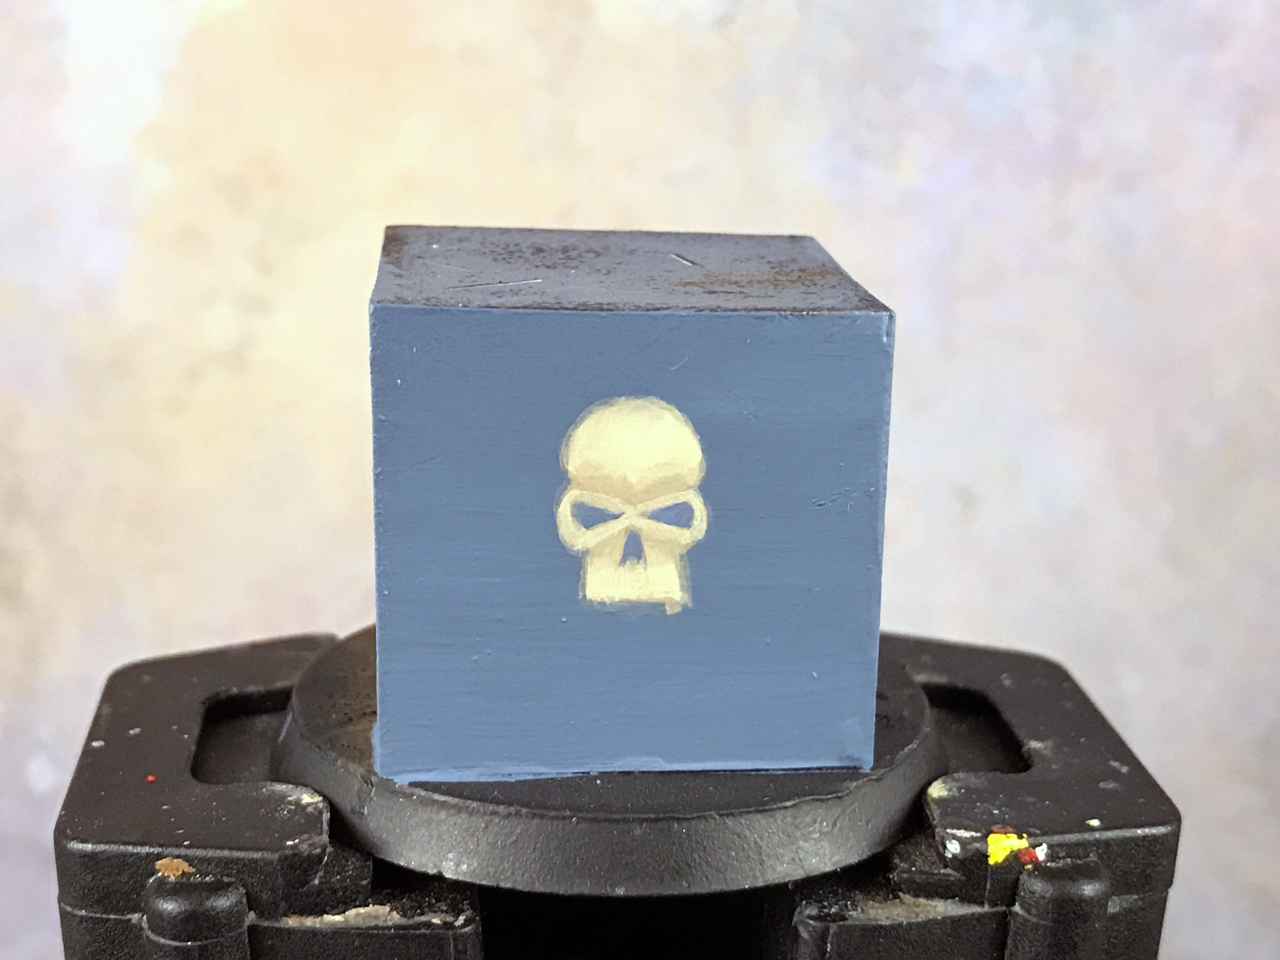
I’ll rapid-fire these ones out. I put another layer of grey on there and then a few layers of white.

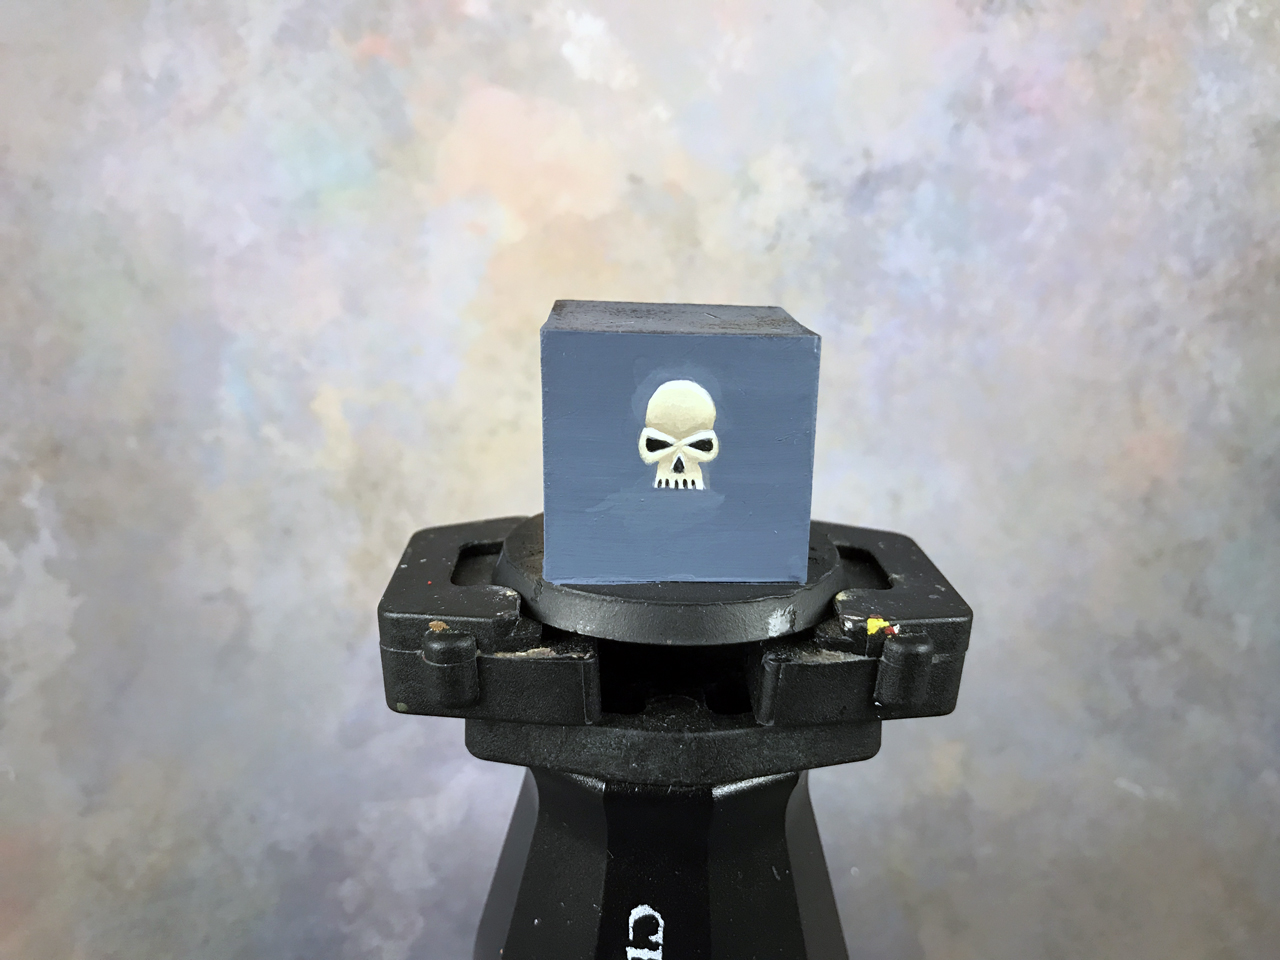
Cleanup & Completion
Now, same as before, I come in and clean up the edges and sharpen everything up. This includes the eyes, nose, and then adding simple lines for teeth.
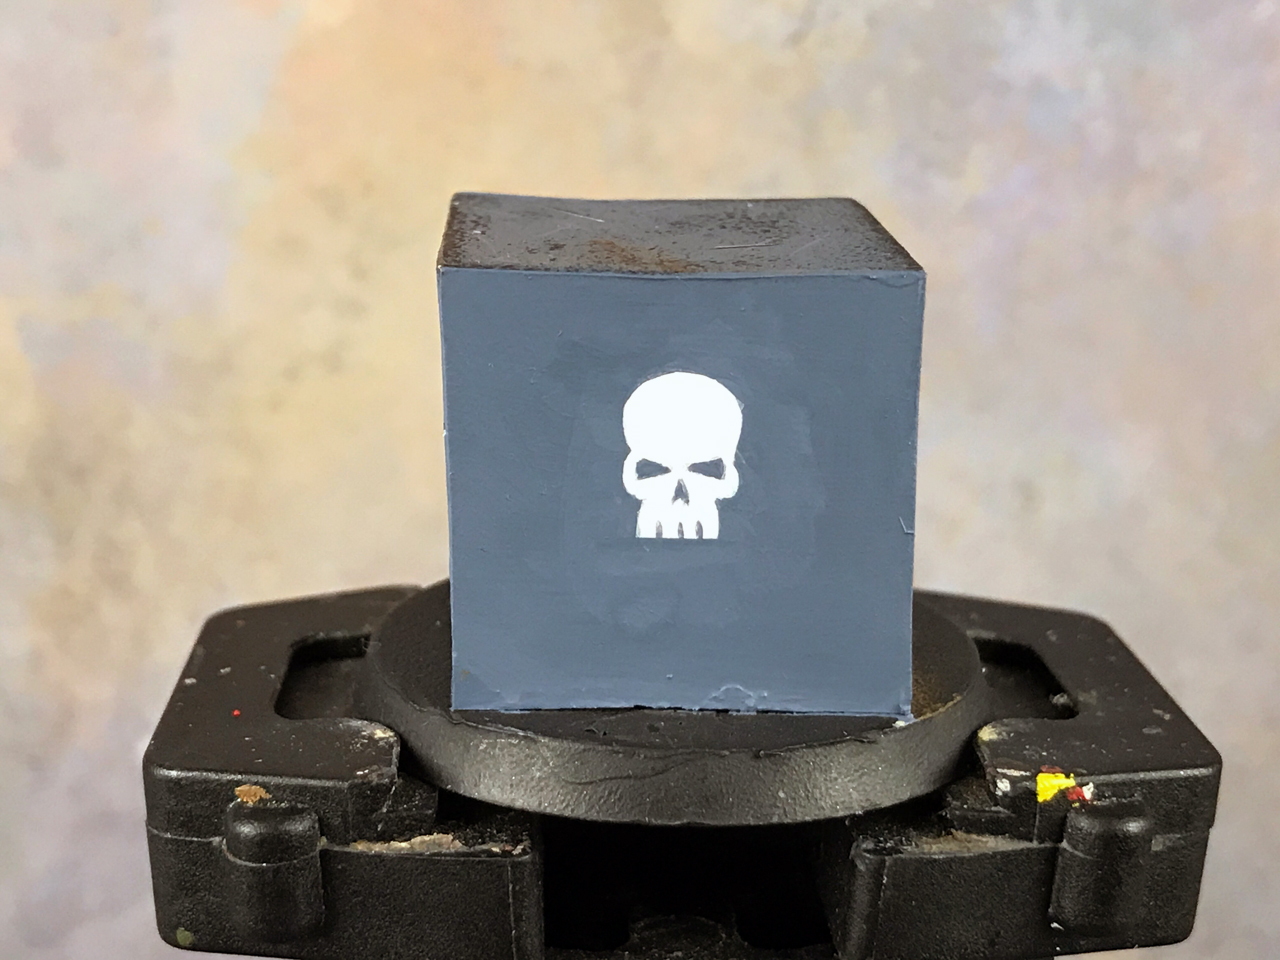
I realized in the above shot that my cleanup wasn’t perfect. I can see some white bleeding out a bit (pictures are great for that), but it’s good enough for government work!
Again I’ll zoom out to show the final result.
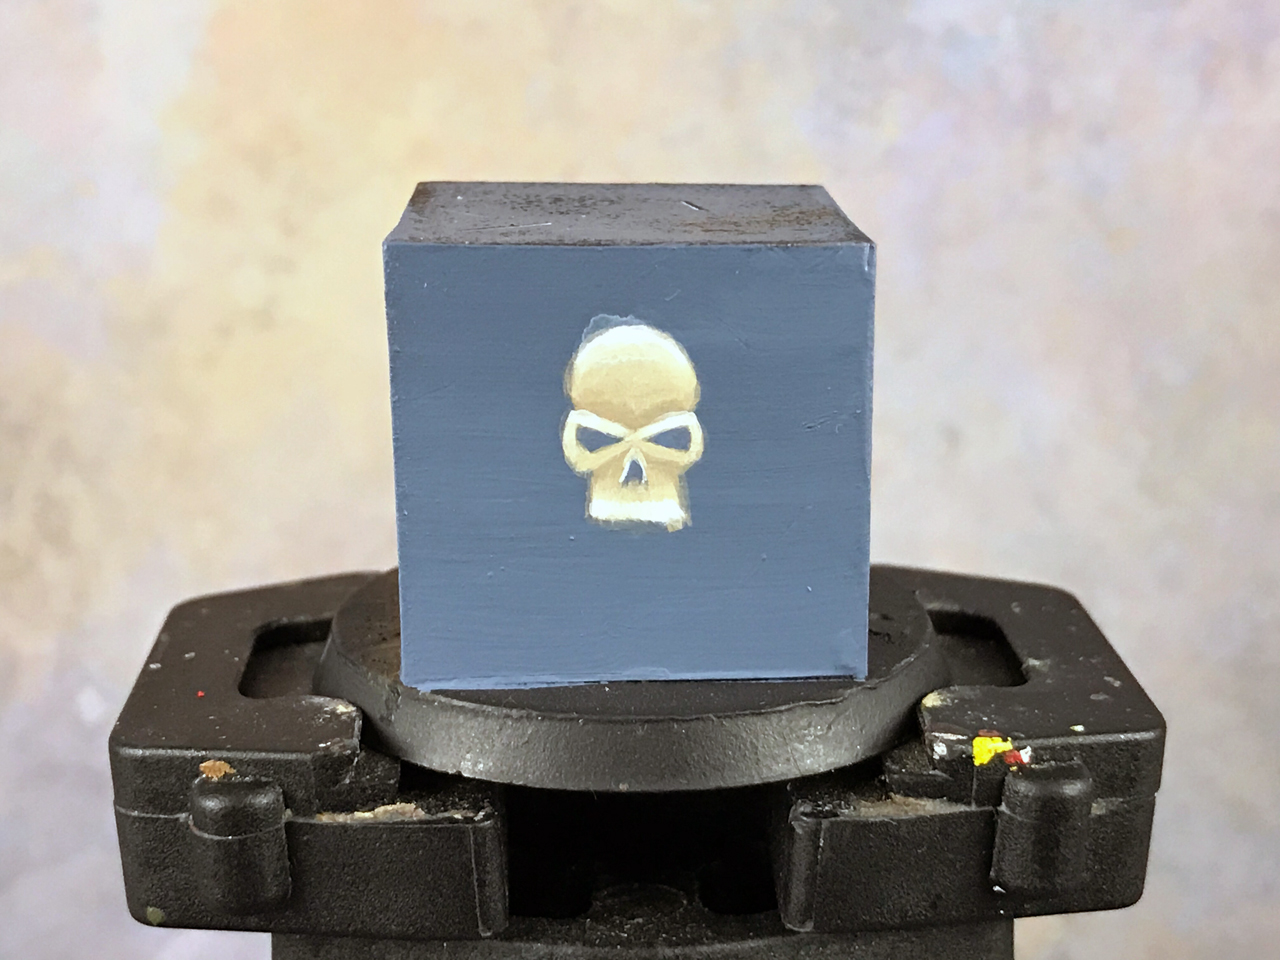
Bonus Tip: Weathering
If you’re curious about weathering your freehand, then I’ll show you a quick and easy method.
Something I like to do is paint battle damage and weathering. Check out that tutorial for more in-depth info on the subject as this is a bit of an addendum to that, though not required reading by any means.
When you have freehand you worked hard on, it can be difficult to take that step to mess it up, but if you want a gritty look then shoulder on!
All I did here was to take a sponge, load it with my base coat color, dab most of the paint off on a paper towel, and then sponge over the skull icon.
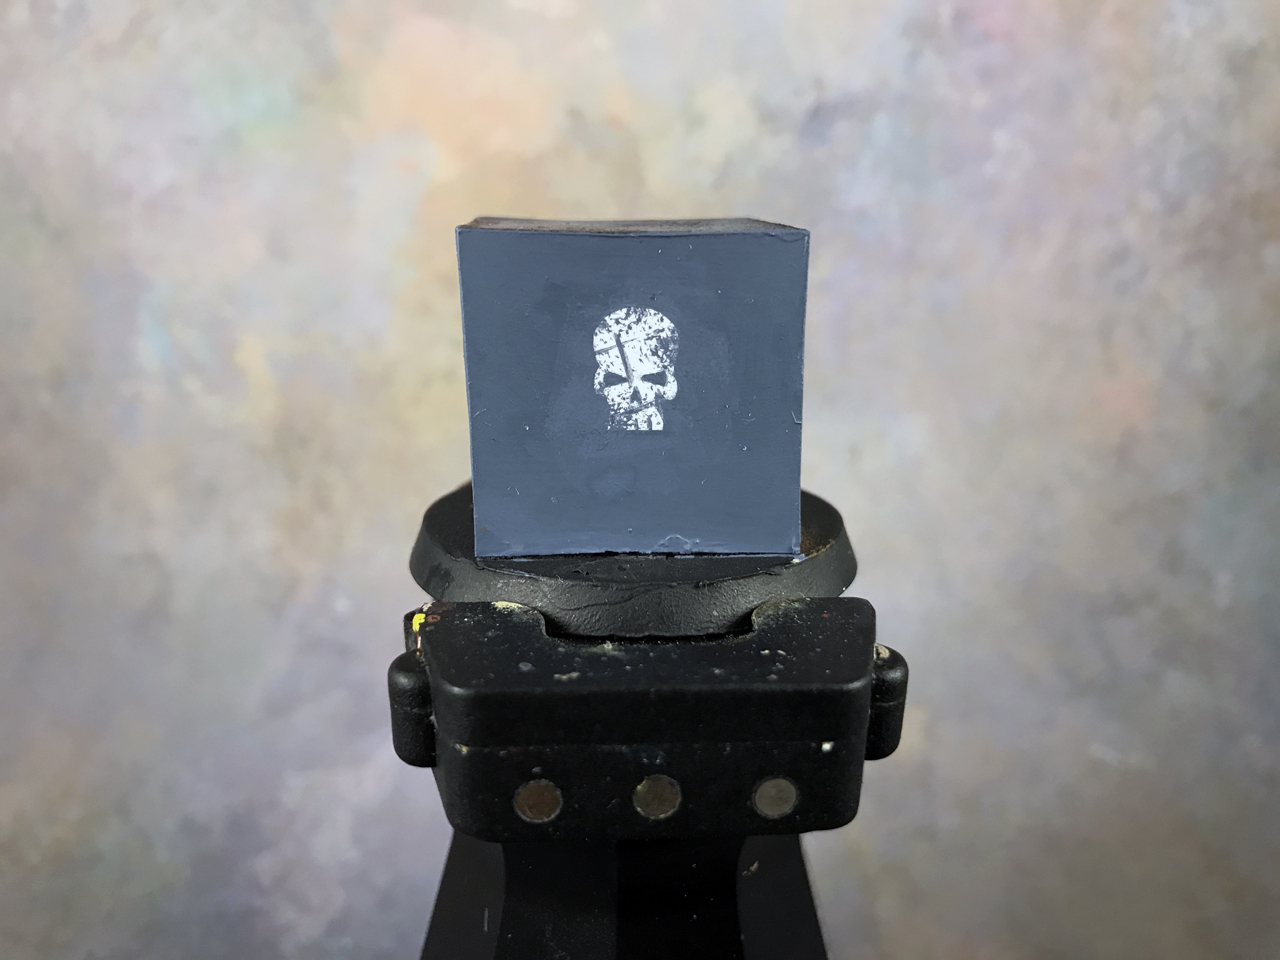
The other thing I did was to create a few scratches through it with a brush, again using the base coat color.
The trick with this is to focus most of the wearing off on the edges, as that’s how it would wear down realistically. You can also use your brush to add some bigger areas, kind of filling in the sponged areas.
Just experiment and have fun with it.
Advanced Freehand
Advanced freehand can be just adding some shading and detail, or it could be painting a mural on the side of a tank. The basics remain the same and we’re just adding in some other colors to create effects.
I’m only going to cover one example here because I feel it sums everything up nicely. I just want to show you what you can do with some effort, give an example, and lead you down the road.
So, we’re going back to the skull but we’ll be doing some blending on it this time.
Guess What? Shapes!
More rapid-firing here. Here’s the outline followed by filling in the color. I’m using Karak Stone for this.

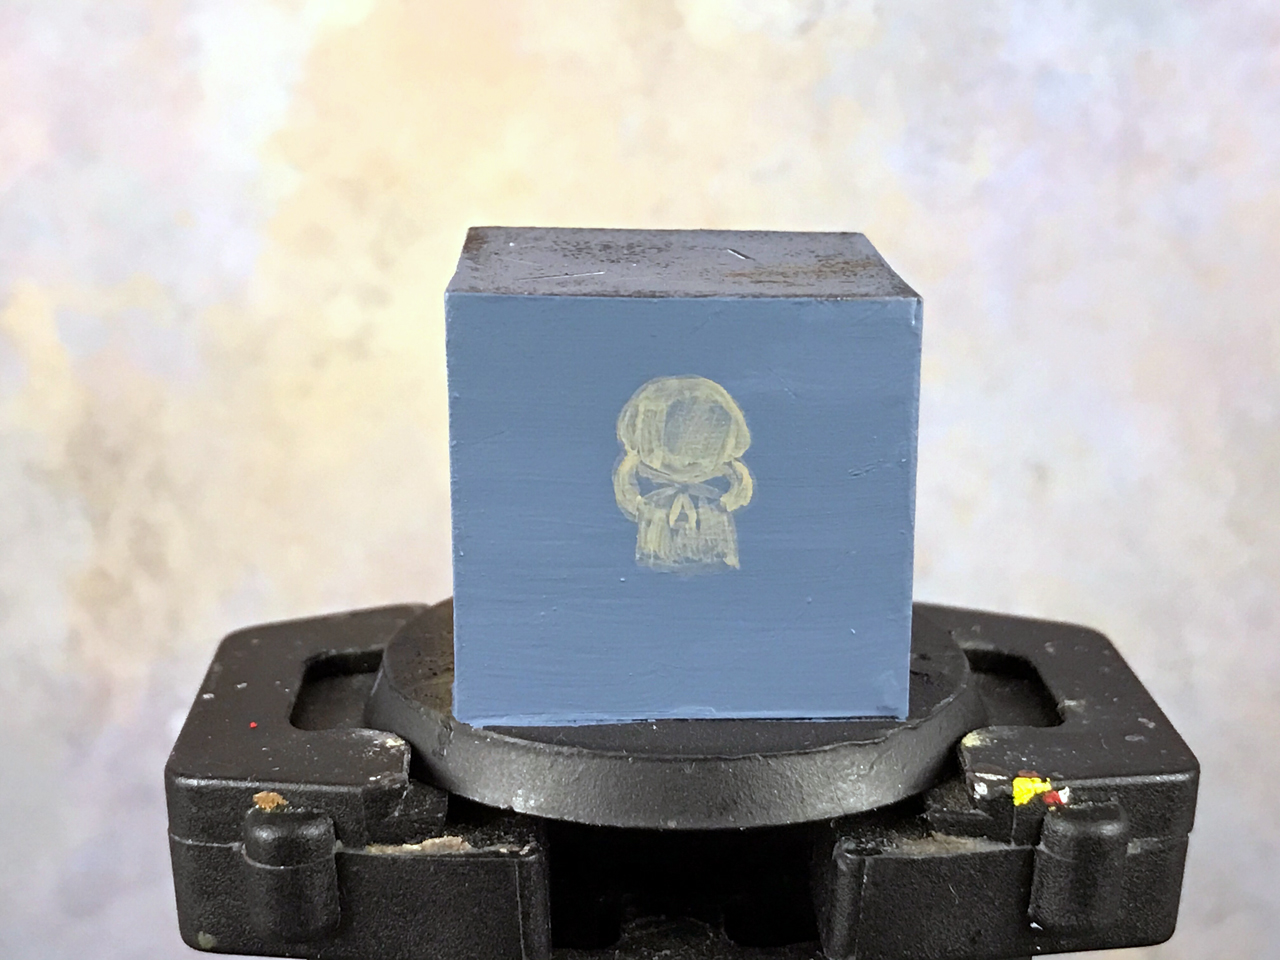
Starting on Layering & Blending
I then come in with Ushabti Bone to add a highlight layer.
I do another layer with Screaming Skull and also try to smooth out some of my blending.

I add some white for a final highlight and keep messing with my blending.
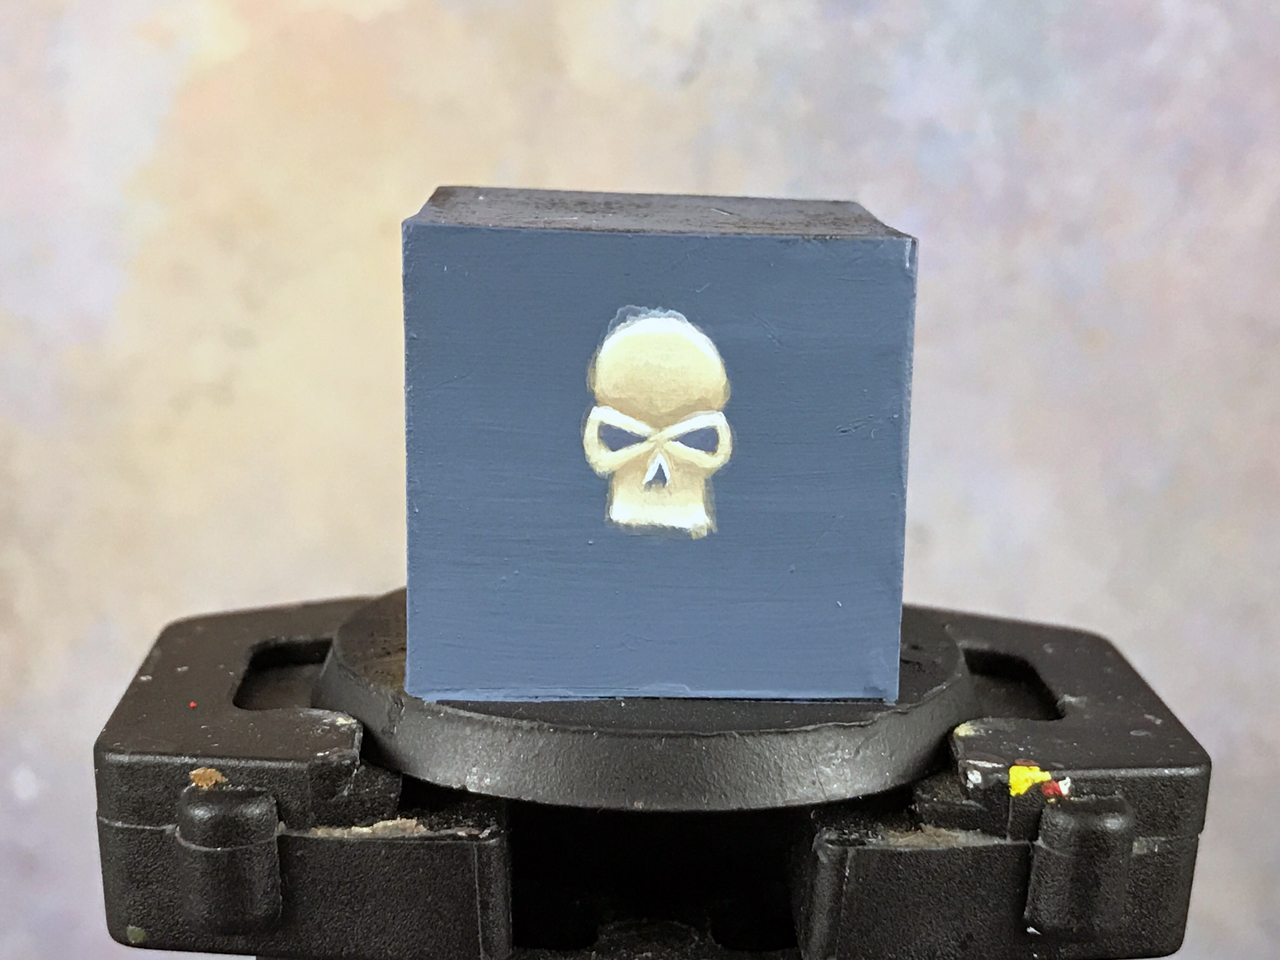
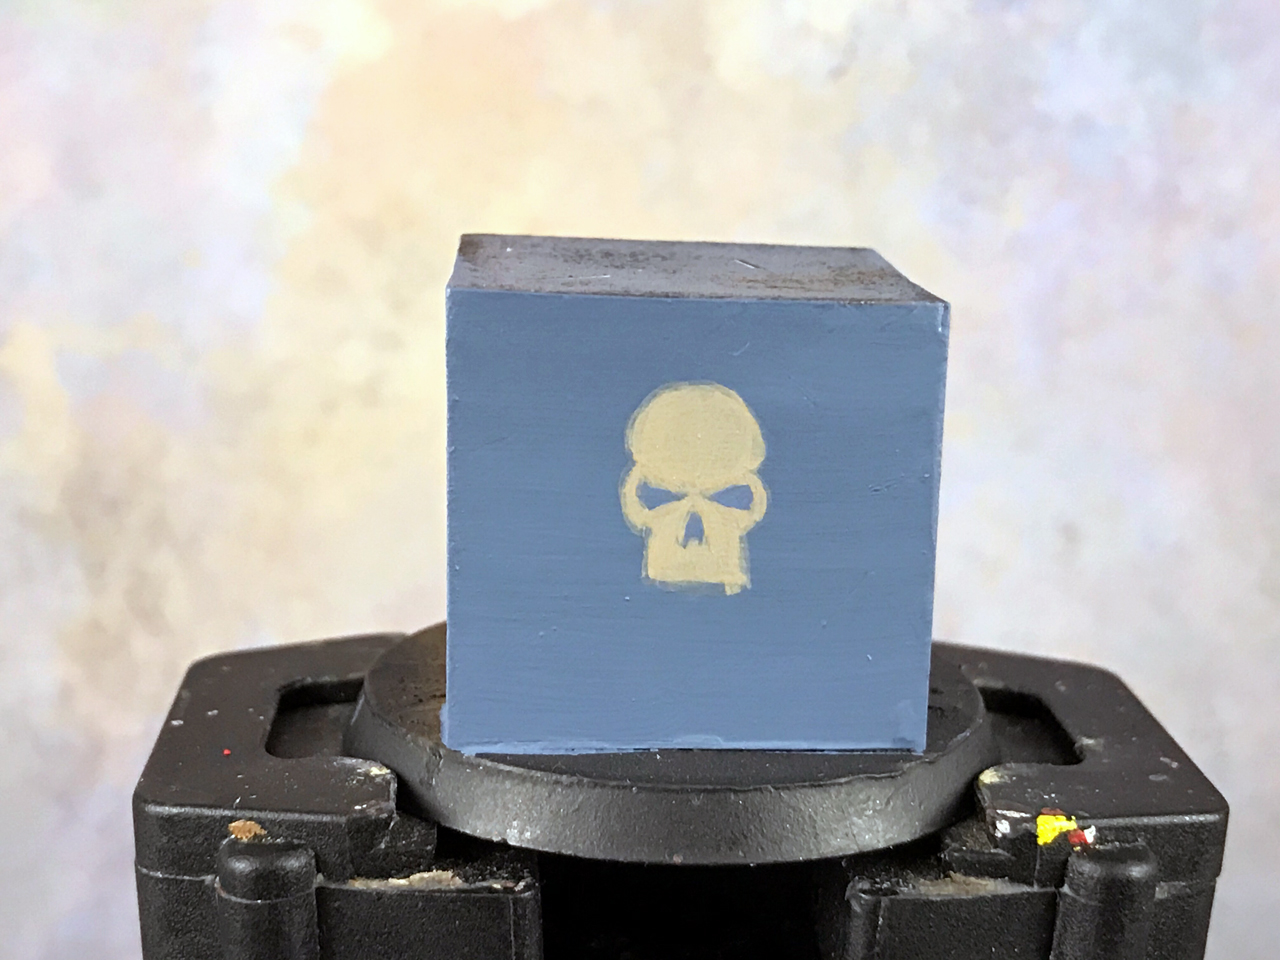
Cleanup – Da End
Now for cleanup.

I wanted to see how it looked if I blacked in the eyes, nose, and teeth separation. I think I prefer it with the blue in the recesses but here it is.
I’ll admit the blending on that skull is not amazing. I wasn’t aiming for a showpiece, seeing as this will just get painted over later anyway, but just something to show you. That being said, it’s not bad at a distance, so good enough!
Also, as I said earlier, the kind of streaky blue you see from where I cleaned things up is because of the Vallejo paint I’m using. If I used Citadel paint for the base coat then I’d have been fine. It does show you pretty clearly how I clean things up though.
Quick Reference Image
I put together this image if you’d like to save it for quick and easy reference.
Bonus Tip – Sealing/Varnishing
I know some painters who like to spray a coat of sealer on their miniatures before they do freehand. You could even do this selectively with a brush-on sealer if you like, say if you’re just doing a shoulder pad or something.
The purpose is that you’re now painting on a protective coating. So, if you mess up and don’t like what you did, then you can rub off the freehand without messing up the work underneath it. Basically, it gives you a clean slate to work from if you’re fearful of how you’ll do.
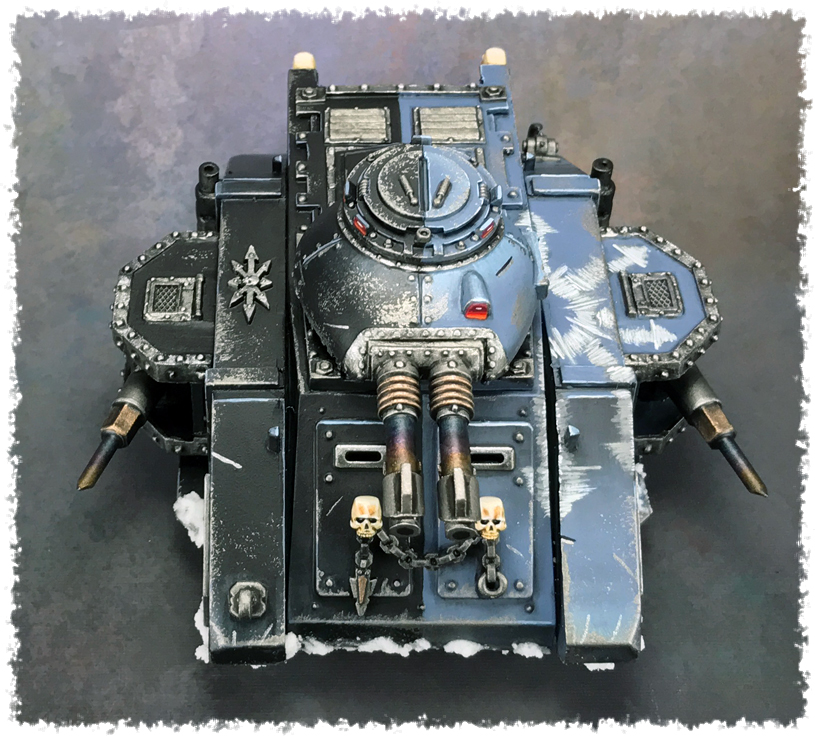
Some More Examples
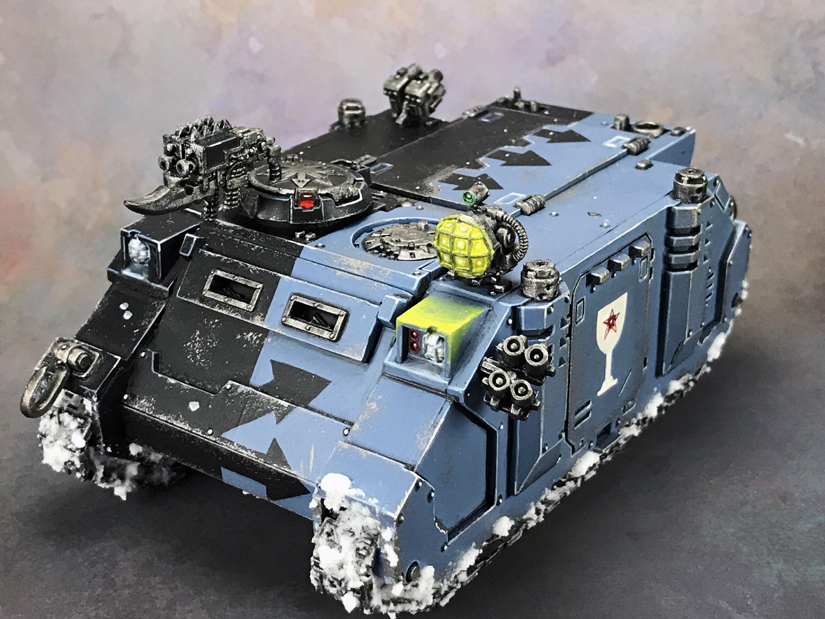
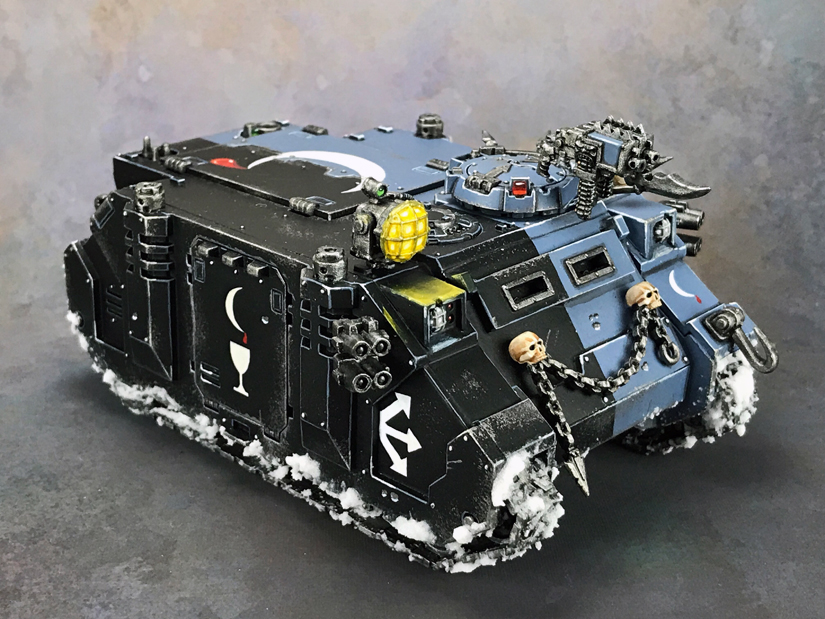
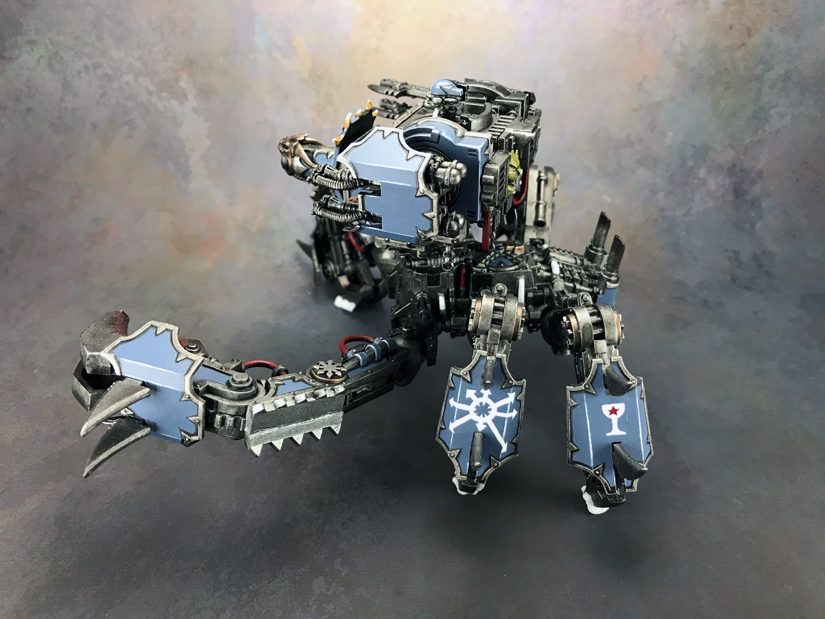
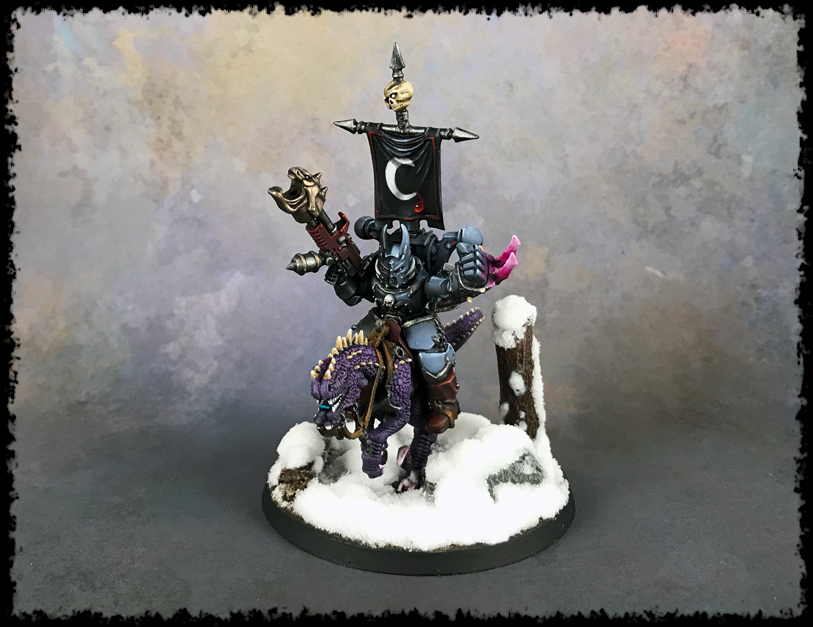
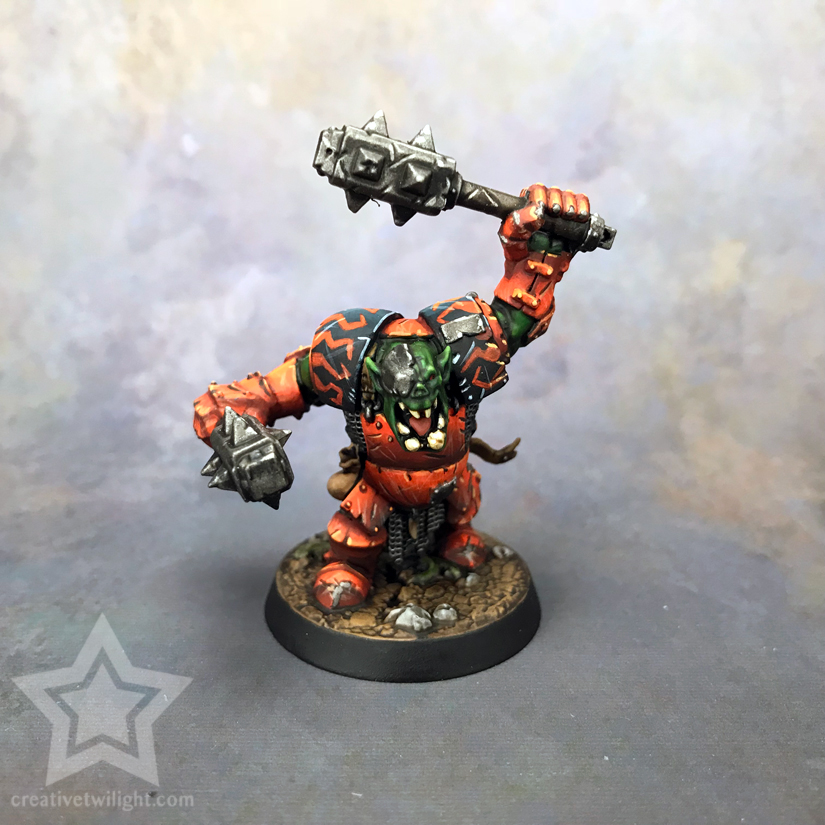
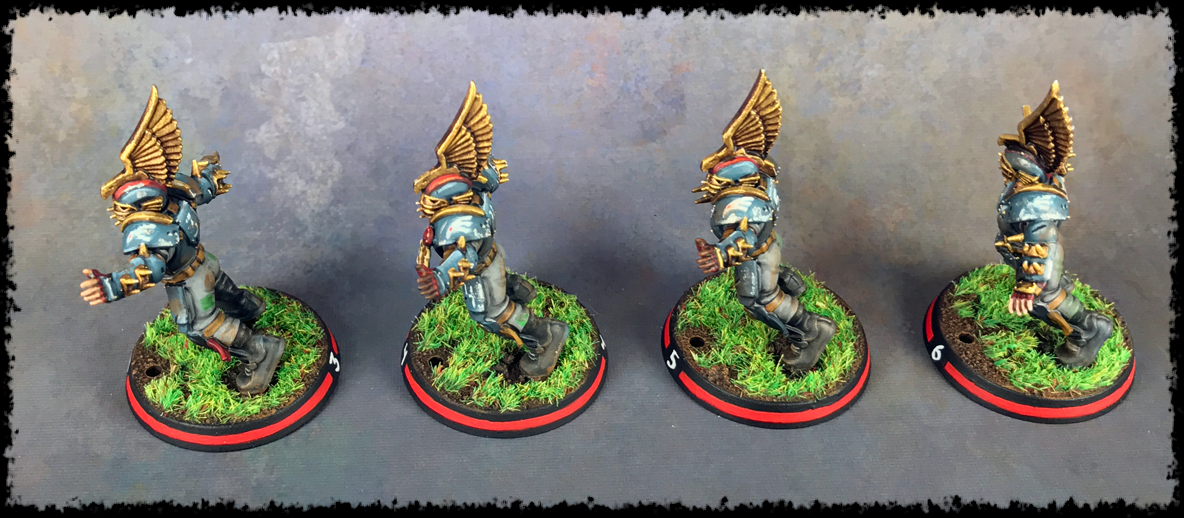
Just to give you an idea of the fun stuff you can do with freehand that really adds some interest to your miniatures, here’s some of the stuff I’ve done over the years.

Conclusion
I do hope I’ve removed the scary stigma from freehand painting for you. I’m not going to claim that it’s all easy to do, and experience goes a long way here, but just start off small and build up your confidence.
Taking the time to learn freehand will really improve your brush control. Also, adding in small little freehand details on your models is a great way to take the miniature from good to amazing.
Like anything – practice, practice, practice. Use anything, cardboard, paper, even an empty miniature base, and just keep trying to perfect the technique.
I do suggest a good brush for doing freehand. You want a brush that can hold a good point. To that end, check out my guide to paint brushes for more details.
Another tip to close with is to try drawing what you want to freehand. A good rule is that if you can’t draw it then you won’t be able to paint it.
That’s not meant to discourage you but to give you a realistic basis to work from. Remember, everything can be improved. If you can’t draw it then practice drawing it until you can. Once you’ve got that then try painting it!
Freehand isn’t just about painting icons either. For example, you could paint lightning with it. To that end, I have a tutorial for painting lightning ;)
If you’re looking for other ideas, then check out my miniature painting guide. That has a ton of resources for every painting.
Also, just look below for a list of links to other painting tutorials I have.
Miniature Painting Techniques & Guides
Learn the basics, as well as the advanced techniques, of miniature painting.
I love painting miniatures and teaching people how to paint. I also really love blogging, so I've combined those two passions here.
- Creative Twilight’s Future and My Thoughts (Feedback Welcomed!) - December 4, 2021
- My Top Gift Ideas for Miniature Painters & Hobbyists + Gifts to Avoid - December 2, 2021
- The Year That Was 2020 and Where I’ve Been - January 17, 2021
Lovely tutorial, one of your best.
Thank you. I appreciate it.
If you don’t mind me asking, what made this one better than previous tutorials? Not looking to inflate my ego, just to learn so I can apply that going forward.