Learning how to paint lighting on your miniatures is honestly a lot easier than you probably think it is. The thing I think people get bogged down with is painting realistic lightning. The fact is that lightning comes in so many different colors, patterns, strengths, etc., that you really can’t paint it wrong. Any vision you have for your lightning is perfectly acceptable, I assure you.
I’m going to show you the basic concept of painting lightning. I have multiple tutorials with different colors and methods for painting lightning from beginner to advanced.
Lightning References
As I said, the color variations for lightning are endless. Not to mention patterns.
Still, for the sake of discussion and getting some ideas, here’s some real life references.
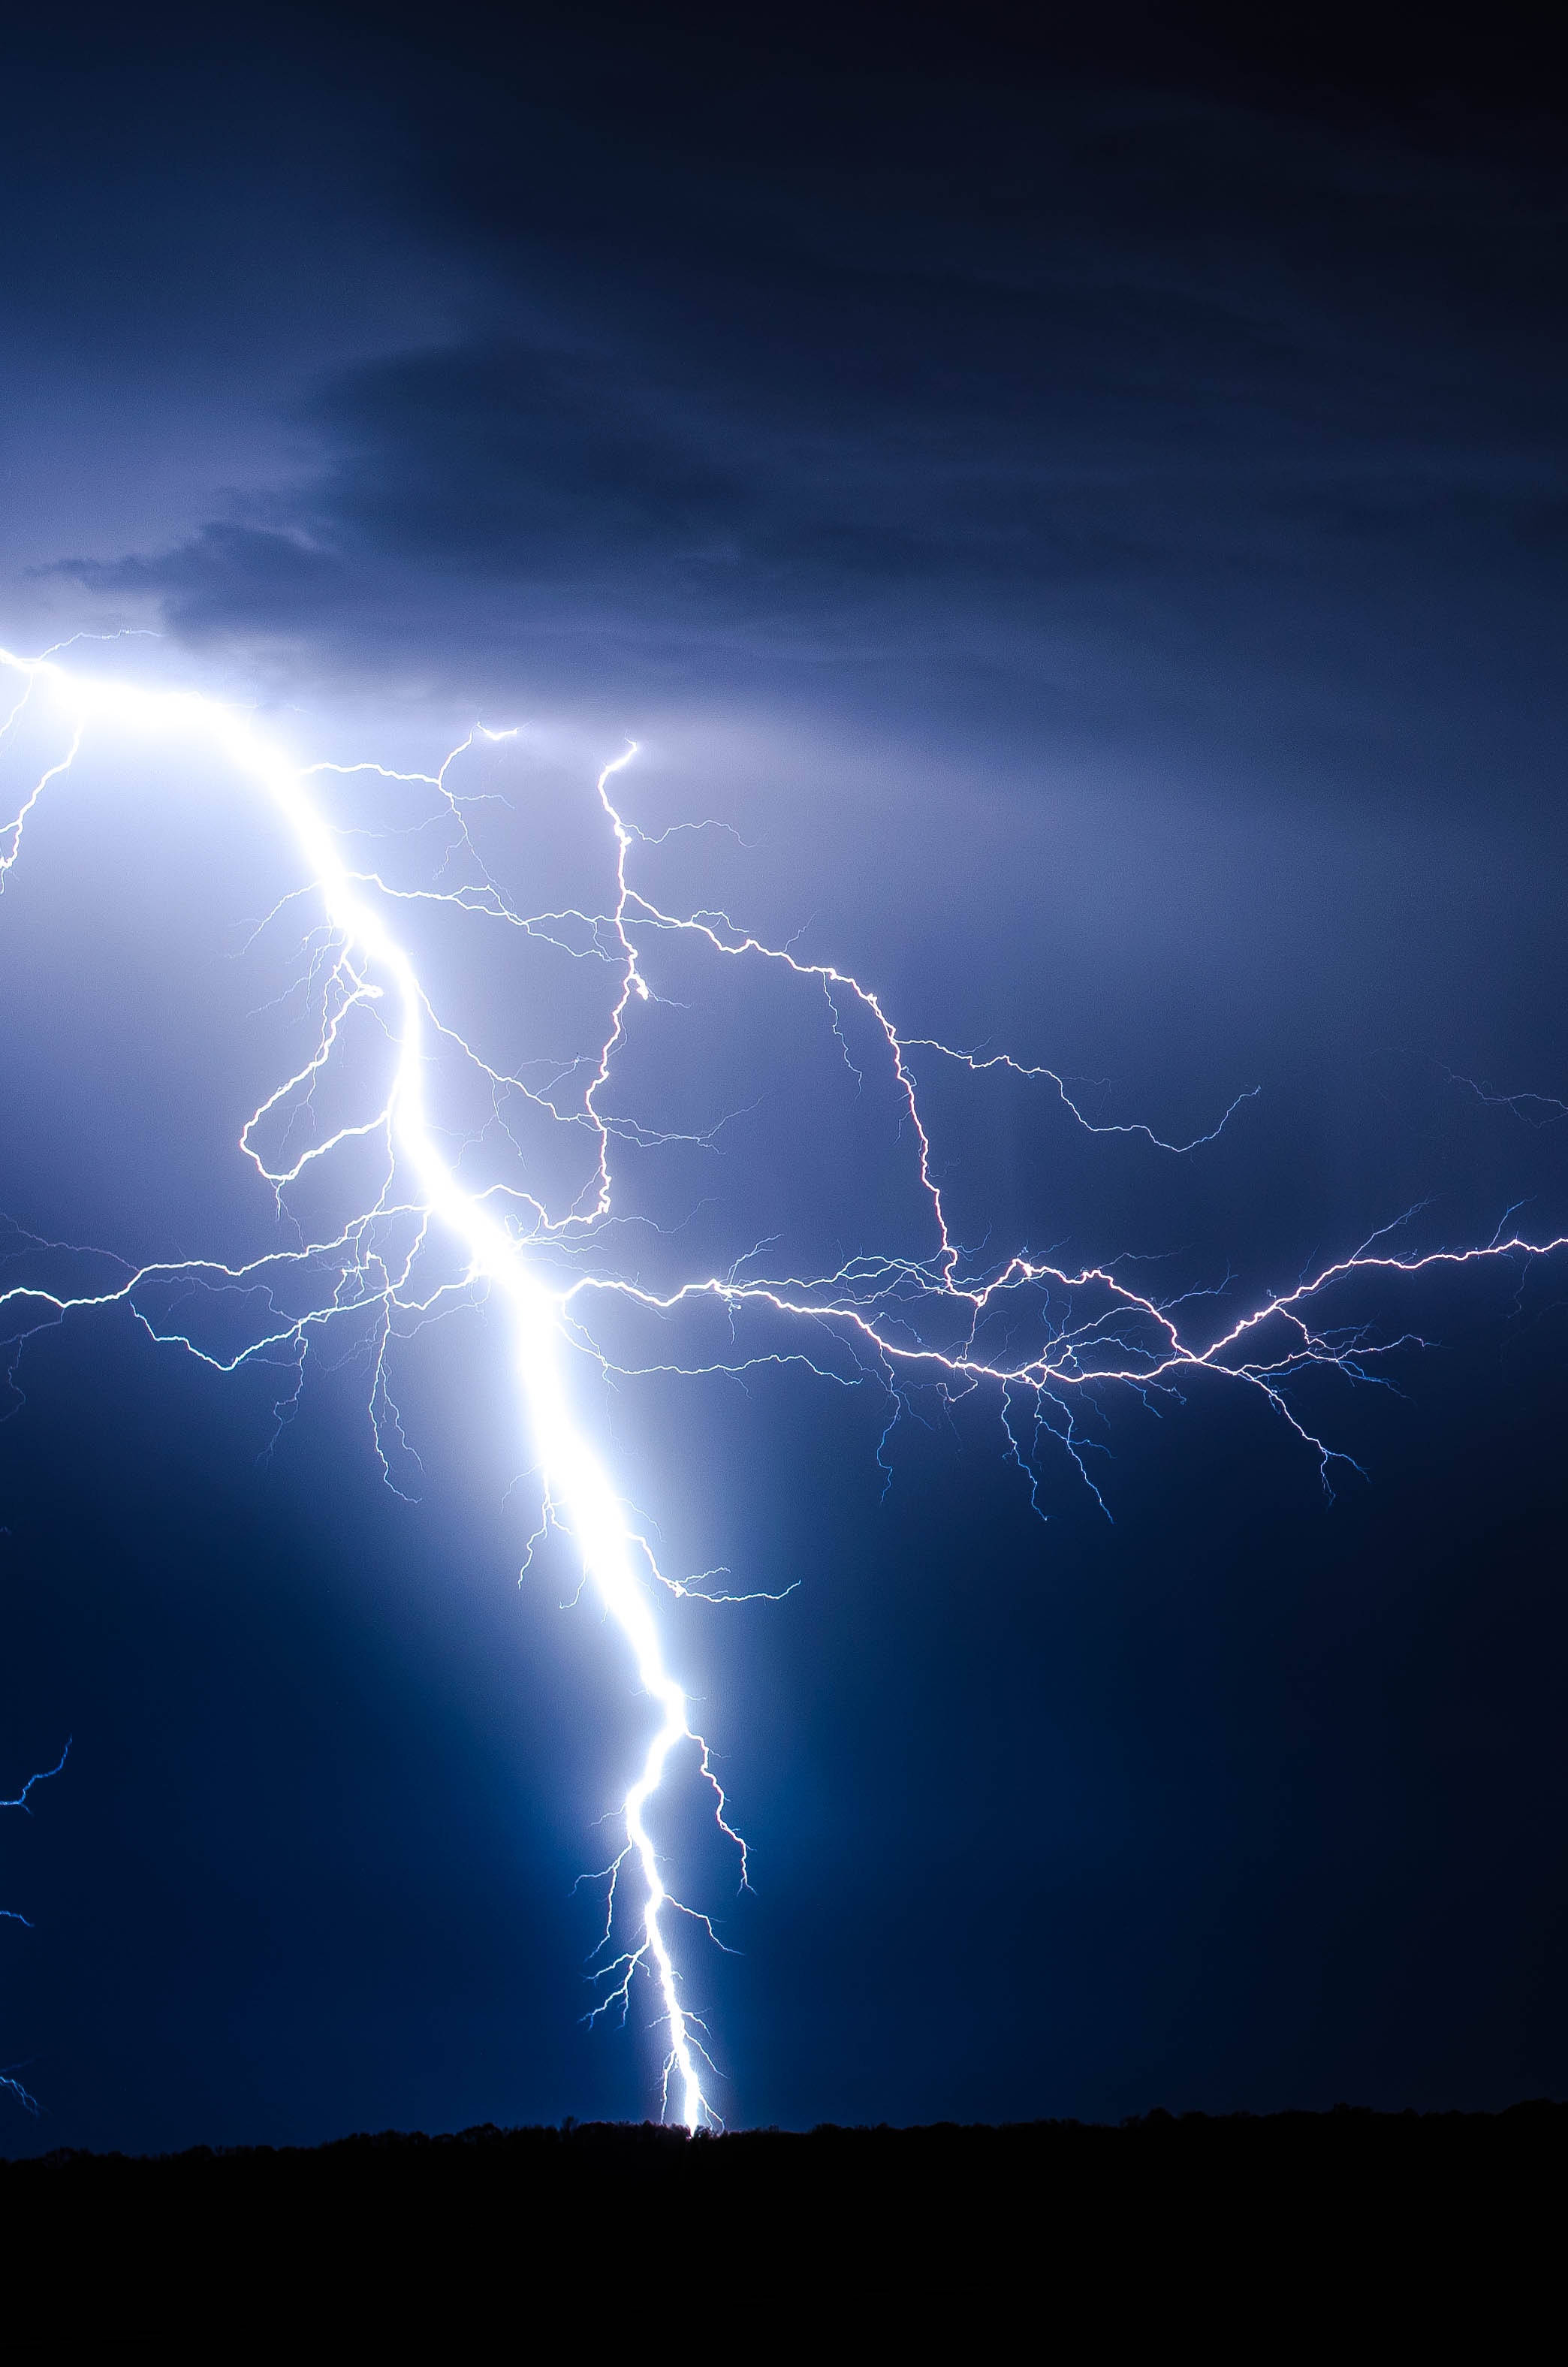
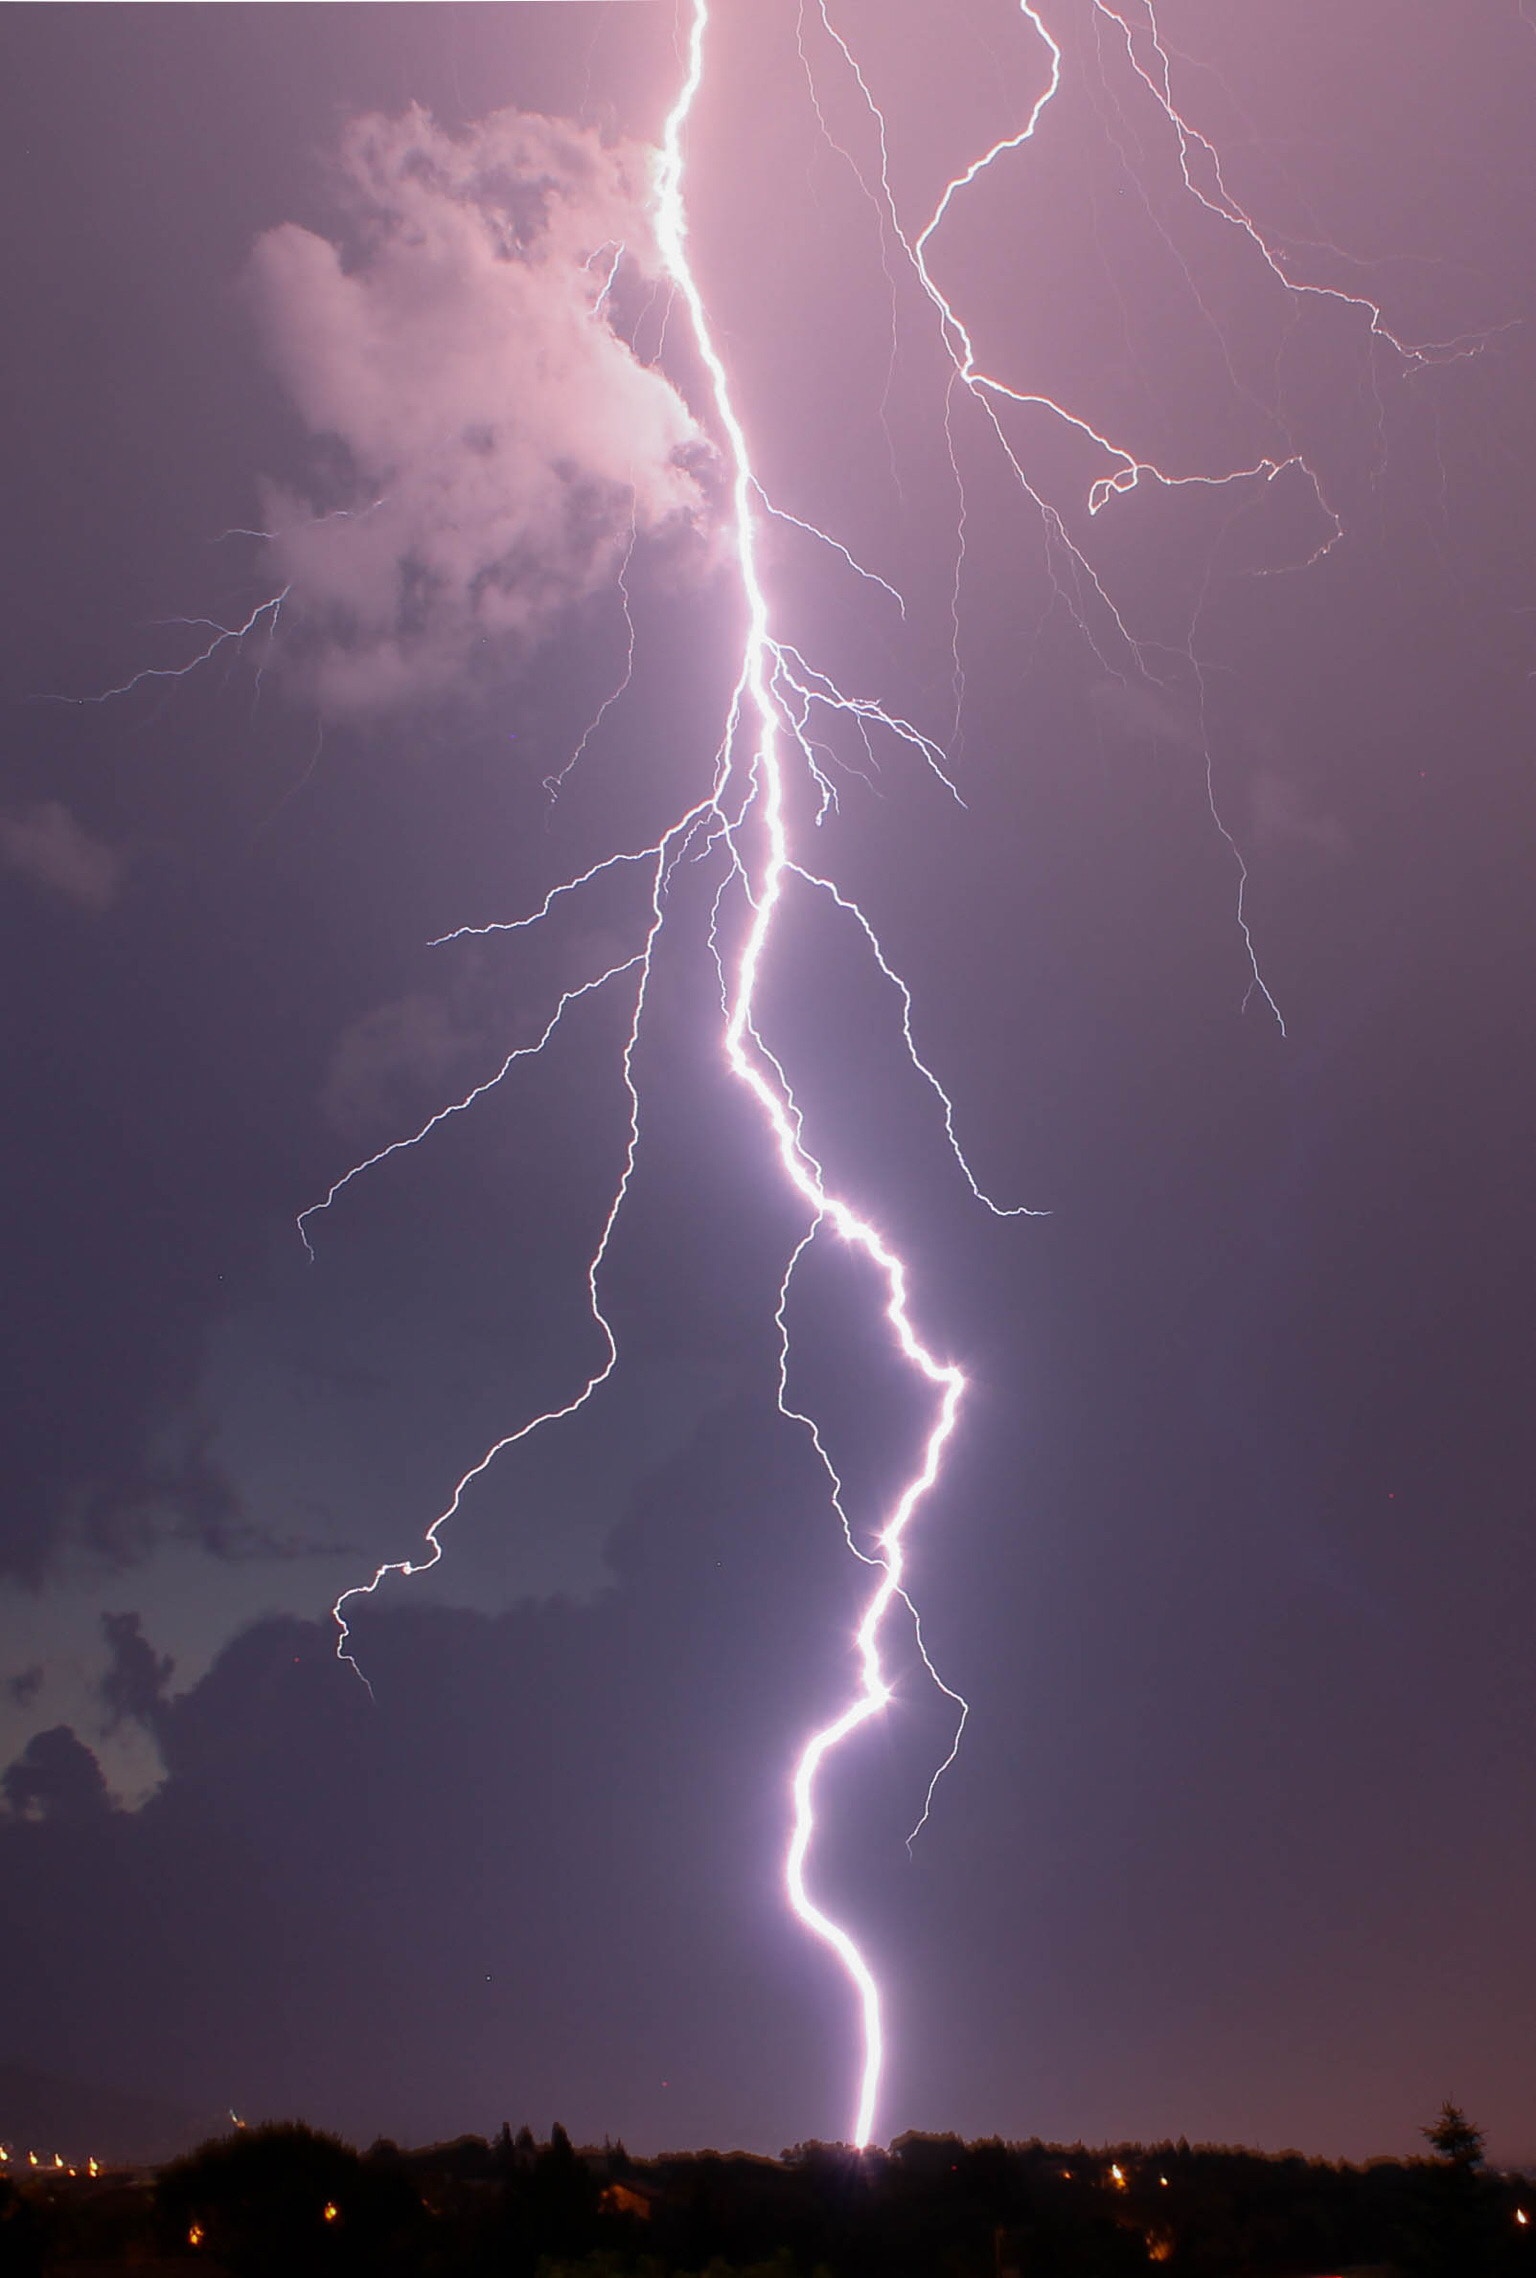
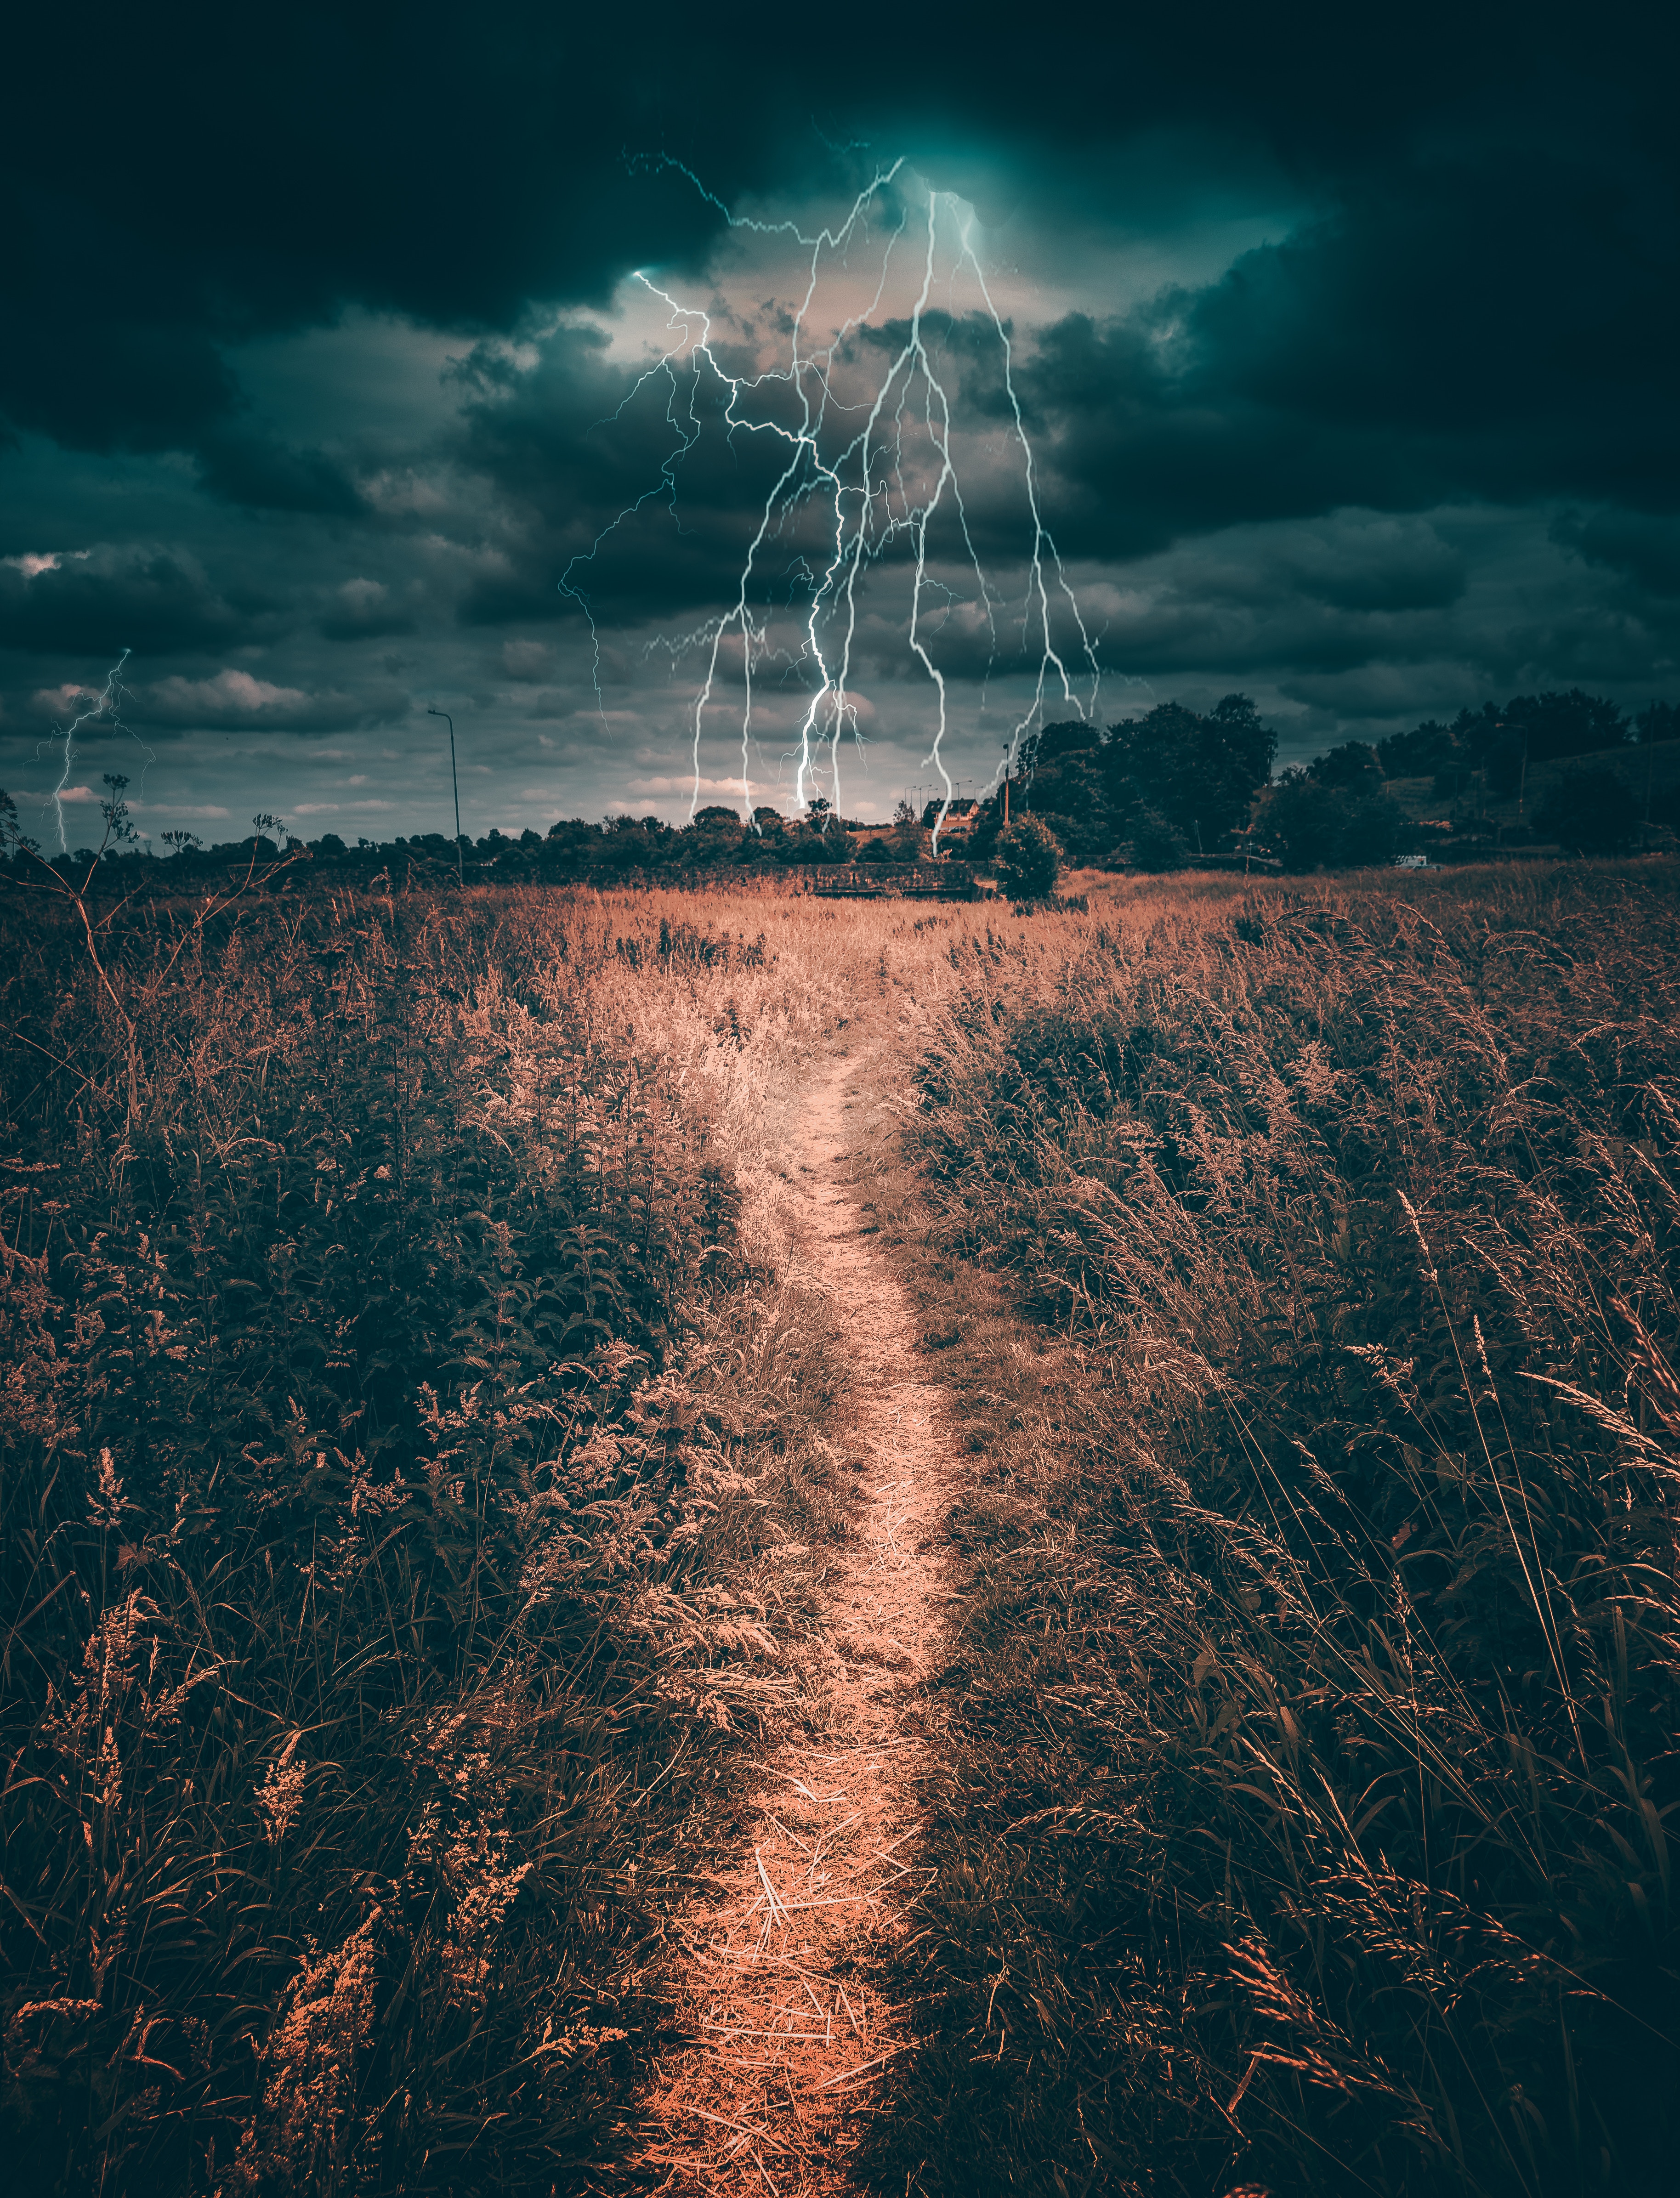


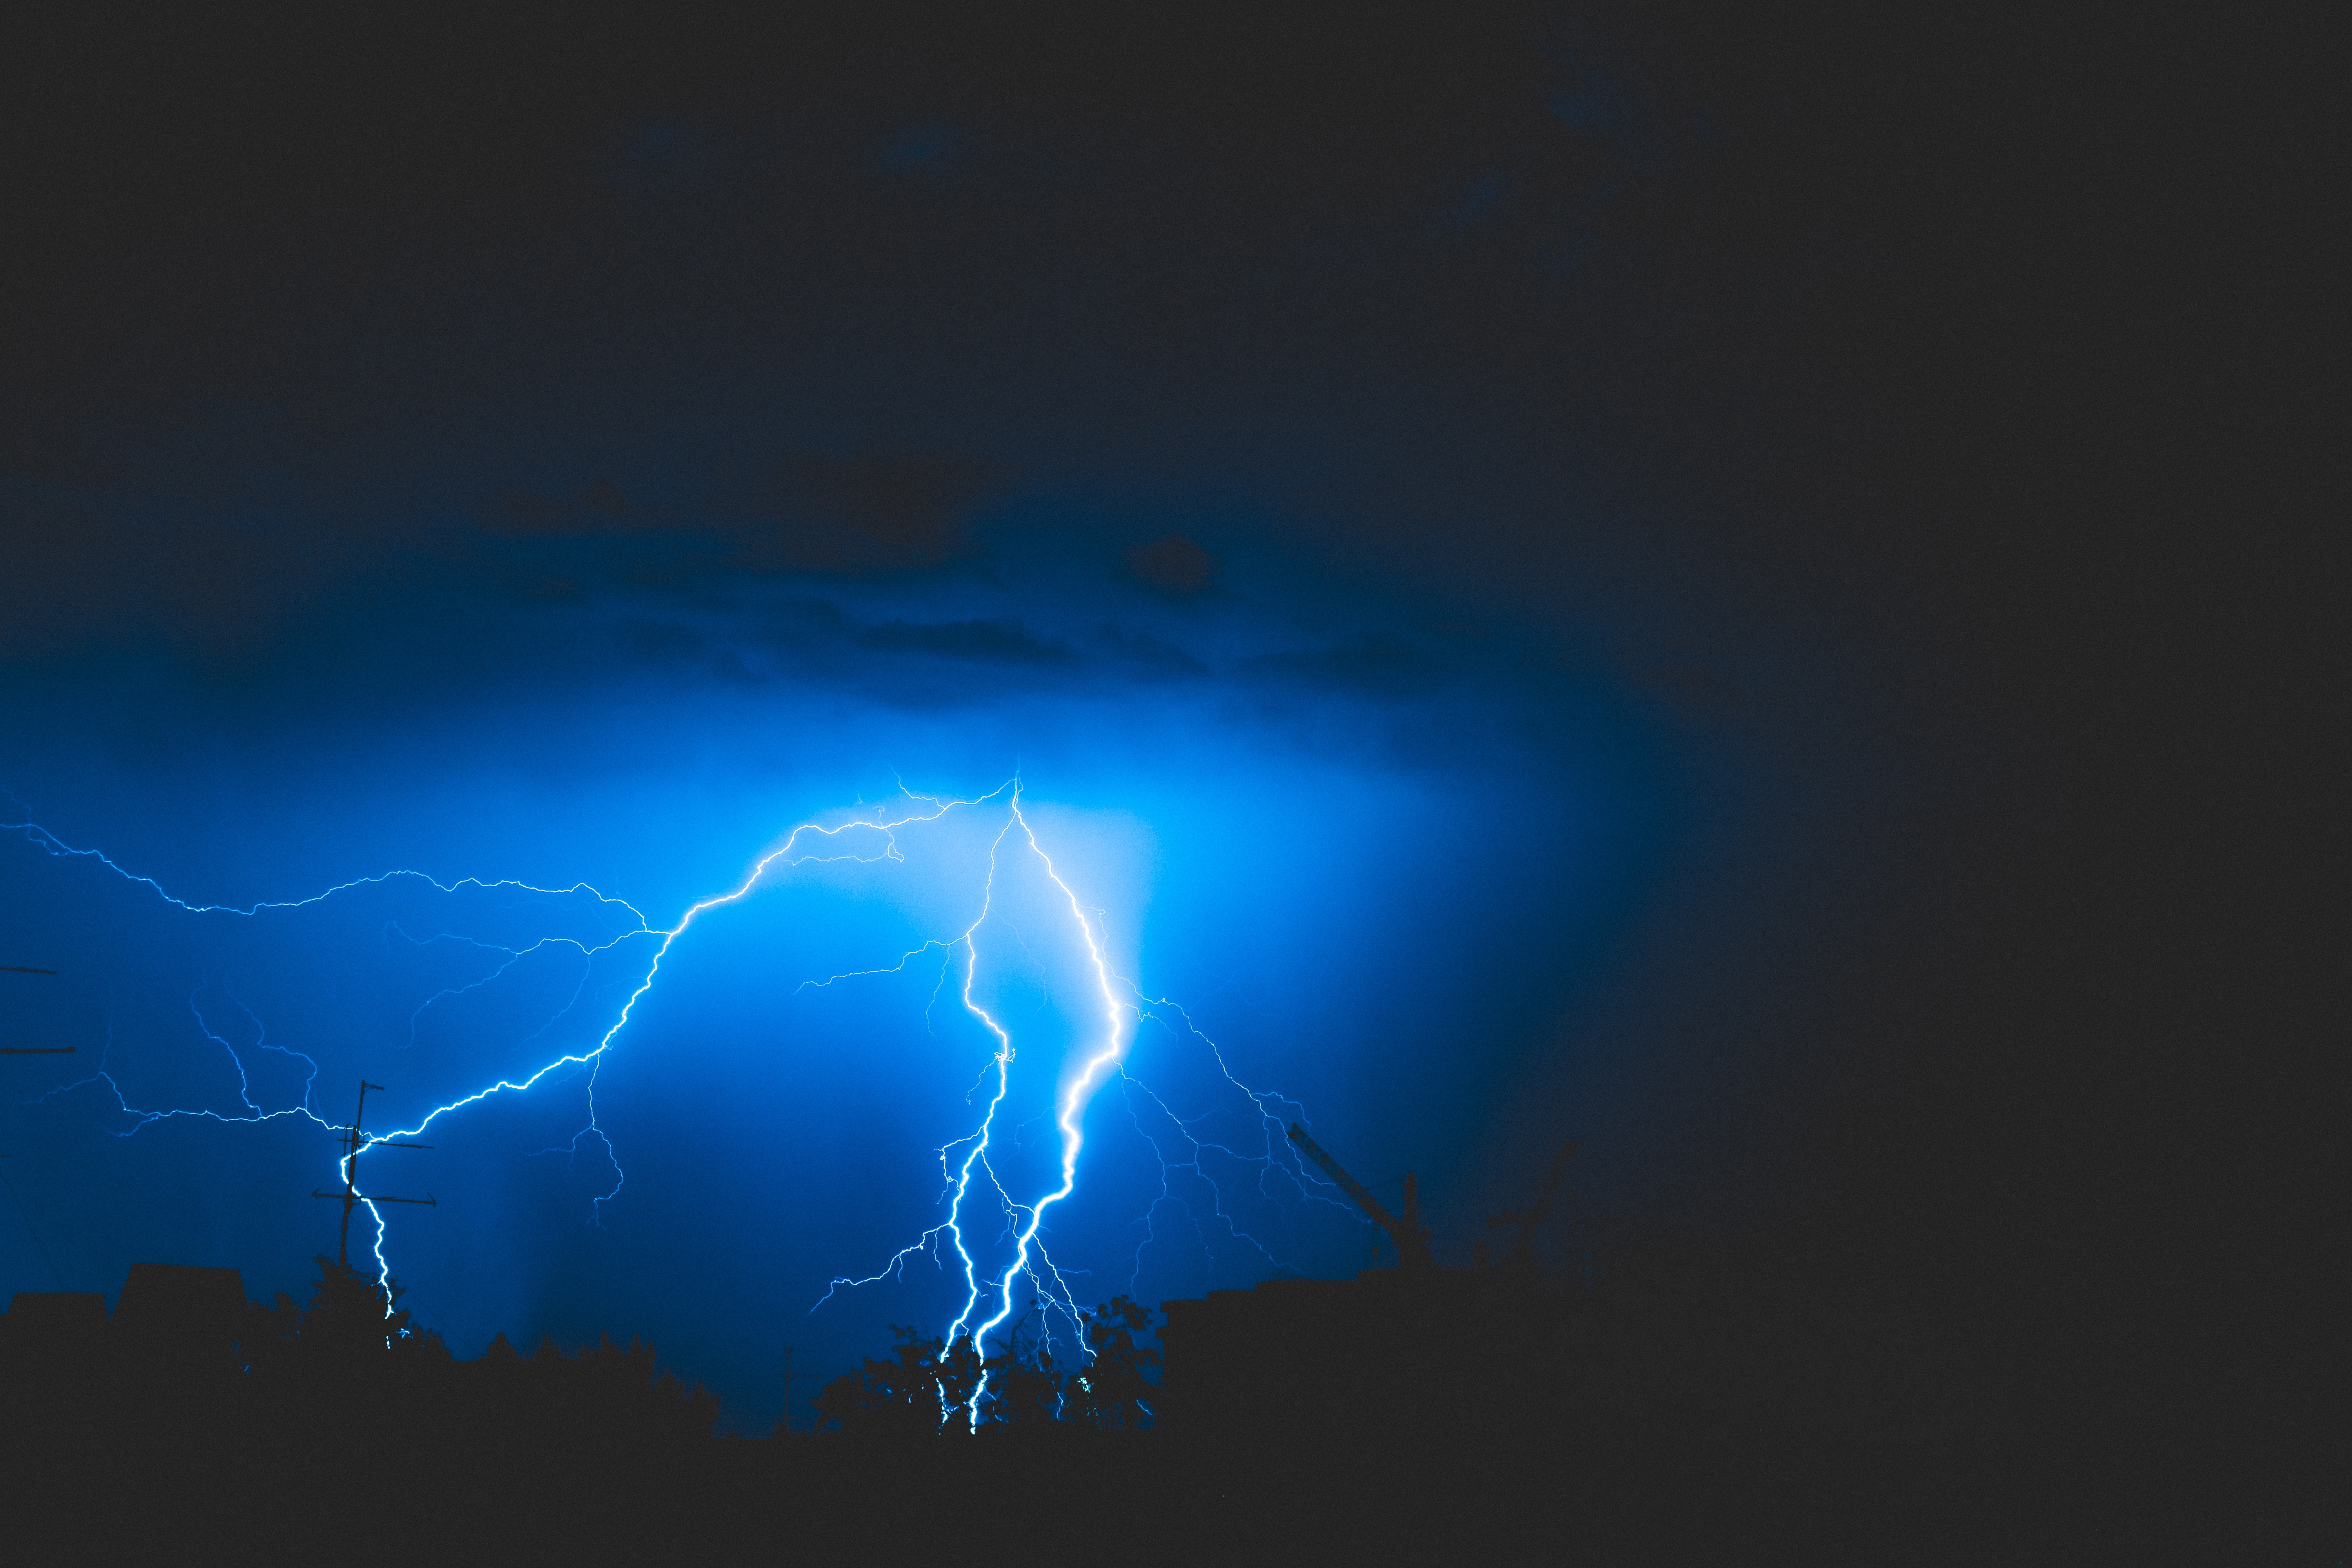
I tried to collecting varying colors and intensities to show how truly different every lightning storm is.
So, you can use any color when painting your own lightning, but there’s a few basic principles you should follow.
You’ll notice in most of those pictures that there’s larger bolts with smaller secondary bolts that come off of the stronger, more intense bolt. The strongest bolt emits a pretty strong glow where the secondary bolts are less intense.
Knowing that will let you create realistic looking bolts of your own. Now, you don’t have to follow that law of nature. Art is what you want it to be and miniature painting is art. However, if you’re goal is something realistic then it’s something to consider.
Painting Lightning
Now let’s get to actually painting it.
Video Format
I’ve since done a video tutorial. It’s a slightly different technique than below if you’re interested.
Picture Format
I’m going to break this down into beginner and advanced.
If you’re just after something quick and easy that you can paint across an entire army, then check out the beginner section.
If you’re painting something you want to put a bit more effort into then check out the advanced tutorial. I don’t feel the advanced section is any harder, it just requires more time.
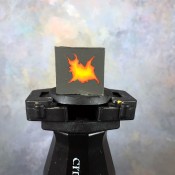
I’m going to be painting up Cubie for this, my humble painting assistant. I base coated Cubie in black just to maximize the visual impact of the lightning.
You can base coat your miniature any color you like. This is about teaching you how, now the exact colors required.
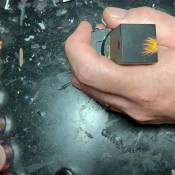
You can click to zoom in on any shot below. They are pretty tight shots, so you will see everything when zoomed in; for better or worse ;)
Disclosure: Some of the links below are affiliate links, meaning, at no additional cost to you, I will earn a commission if you click through and make a purchase. The commission earned helps maintain this site.
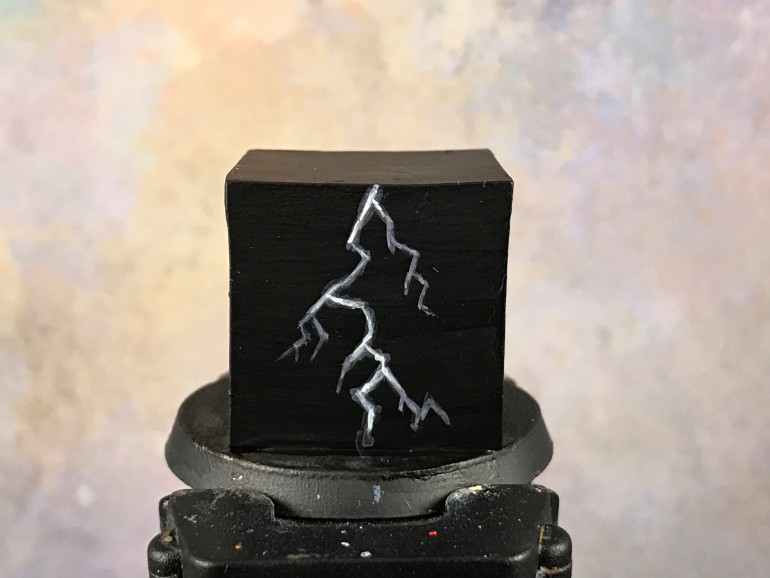
Lightning for Beginners
You can create some cool looking lightning in 3 simple steps and with 3 colors.
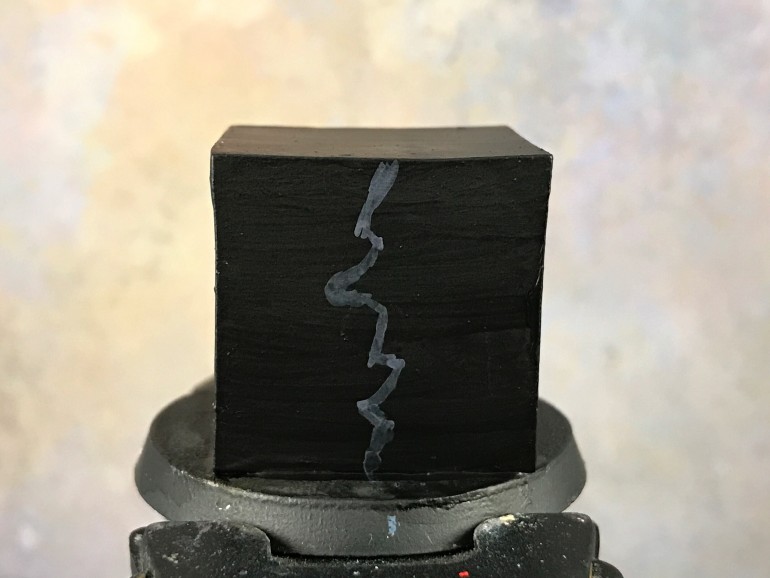
First Layer
The first step is to create the primary lightning bolt. For this I use thin paint so it goes on smoothly, but it’s not thinned out a whole lot. Basically, thinned out like you were layering, not blending.
The blue I’m using here is an old Citadel one called Enchanted Blue.
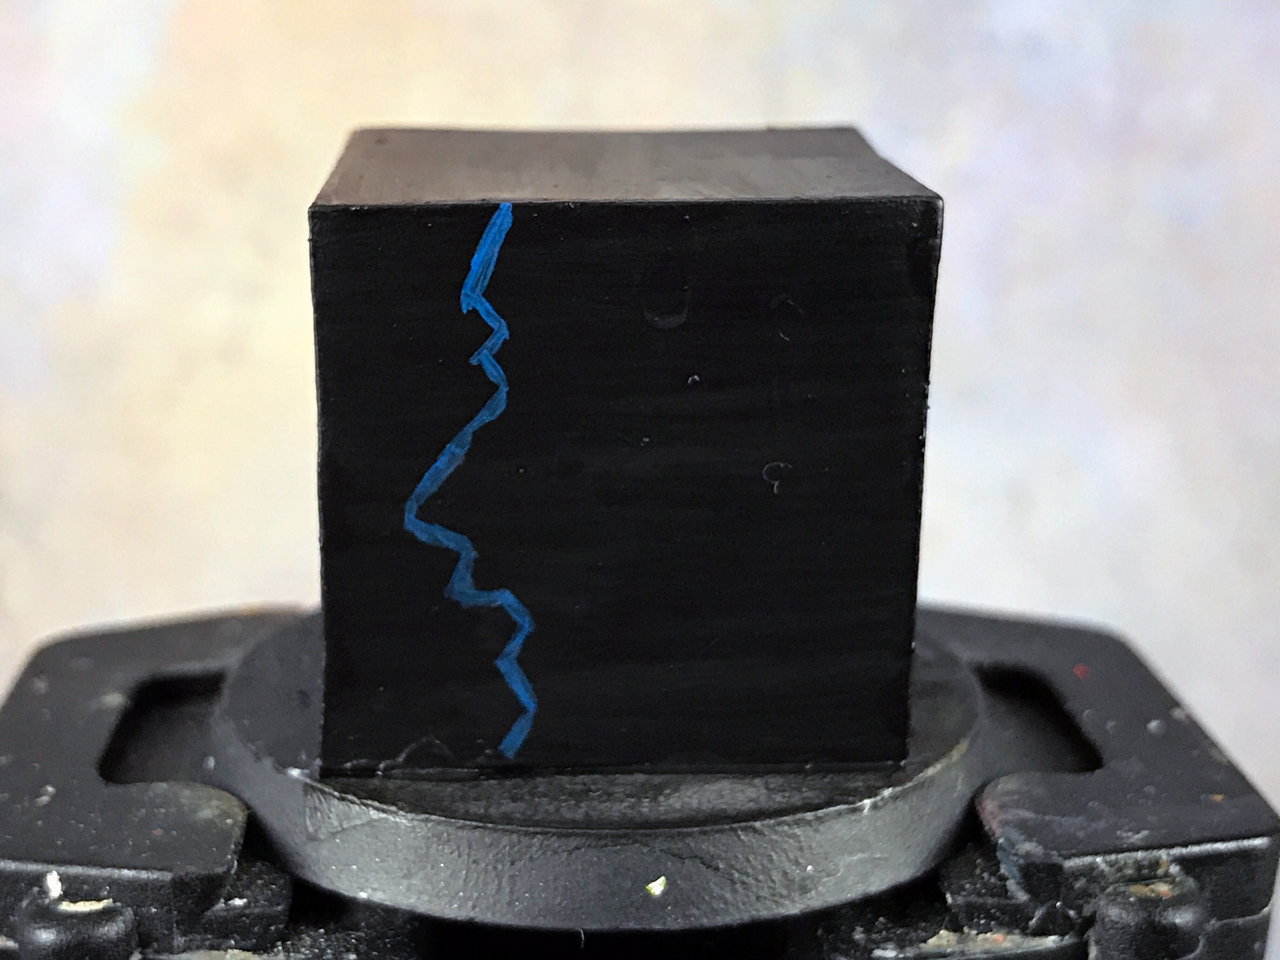
I’m trying to create a random zig-zag pattern, but as shown above in the references, lightning comes in all shapes. So, don’t stress too much about this step if yours isn’t looking quite right.
Next I create the secondary bolts coming from the primary one.
You can use those secondary bolts to correct your primary one a bit if you weren’t happy with it. Once those secondary bolts goes on there it starts coming together.
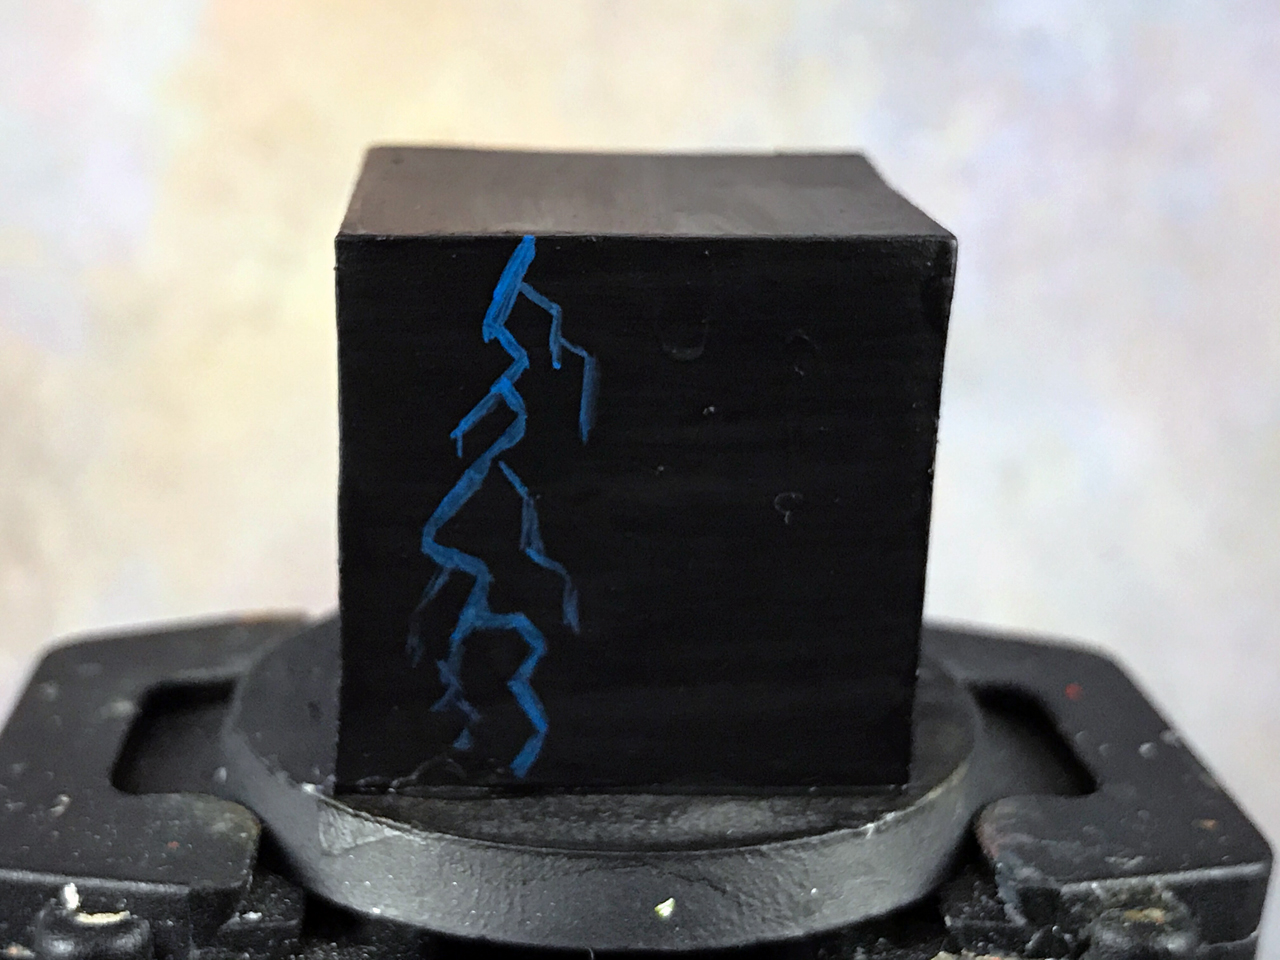
Second Layer
Now to really start making the lightning stand out.
All I do in this step is to take a lighter blue and paint a thin line inside the previous line. I’m not too concerned about it being perfect because lightning is random in nature.
The blue here is a Vallejo color called Electric Blue. It’s one of my favorite colors Vallejo makes.

You can see it’s now starting to take shape and look like lightning. Only one step remains now.
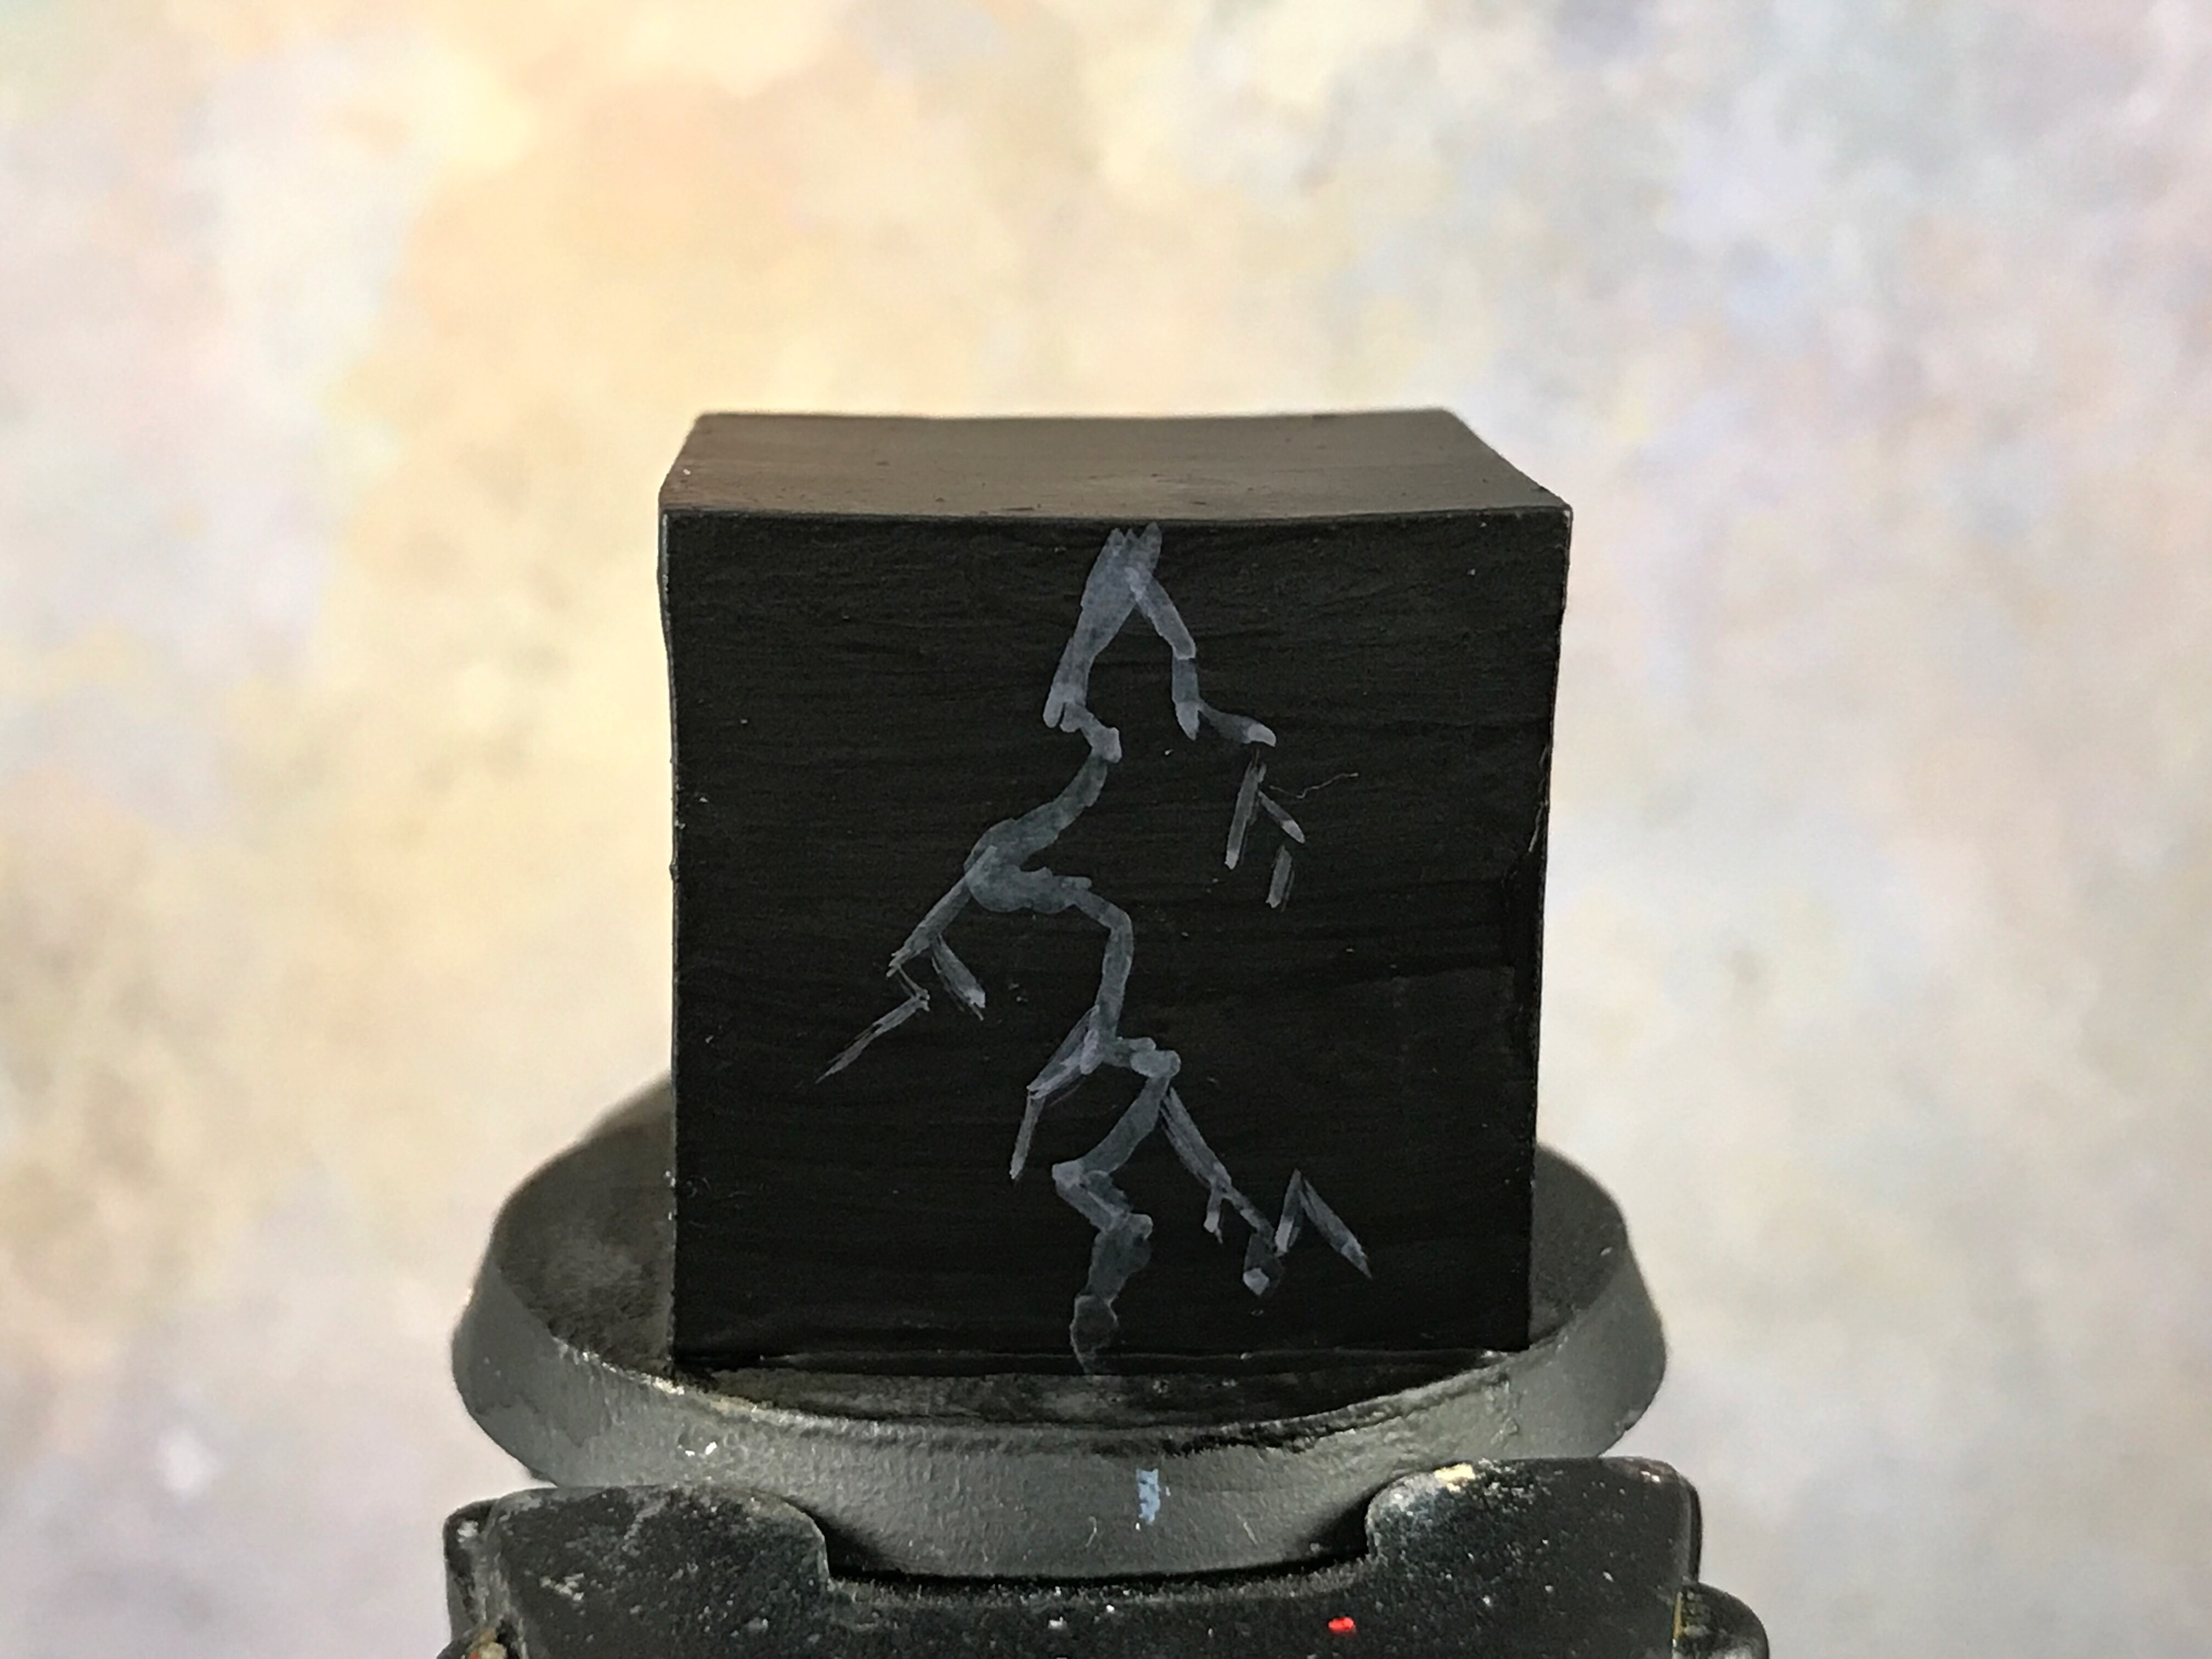
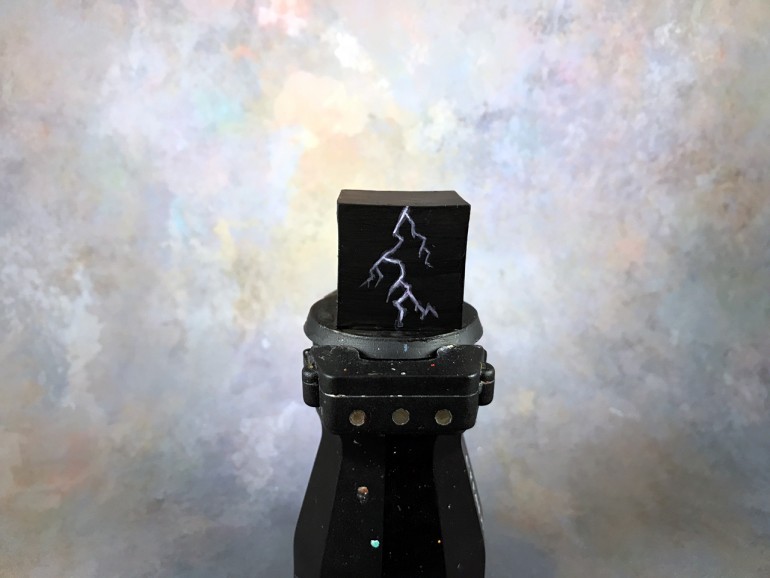
Third Layer
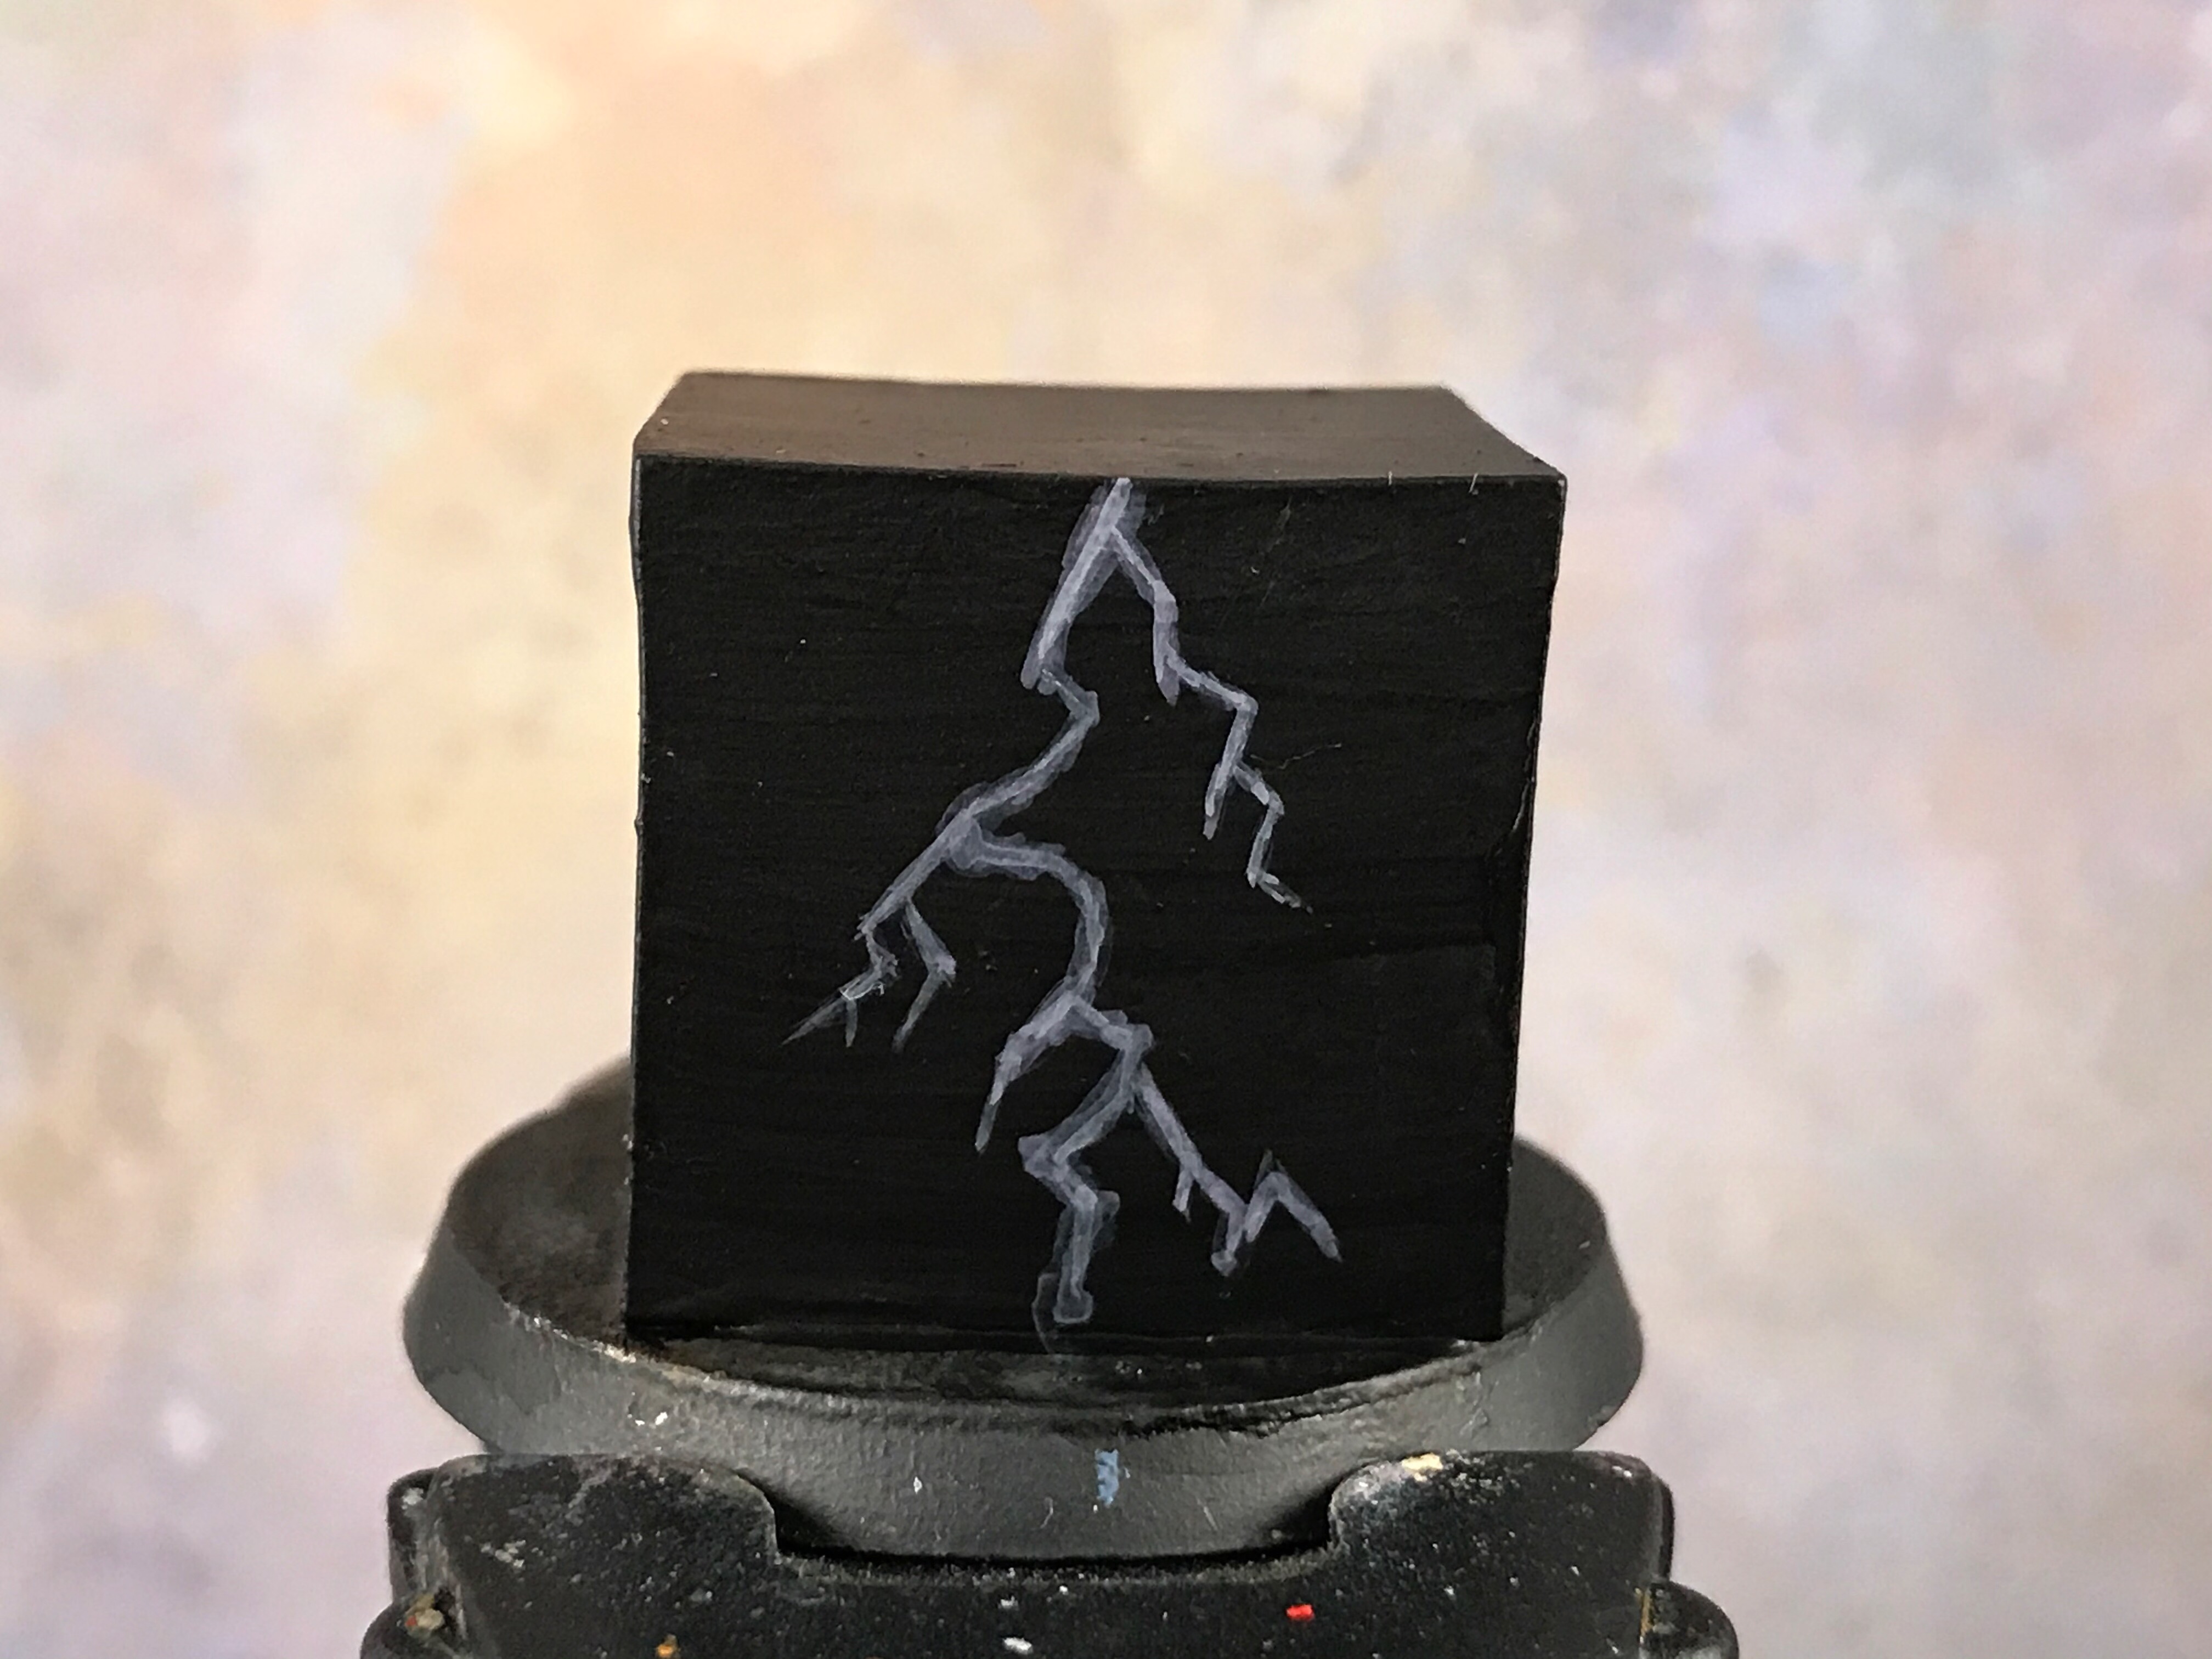
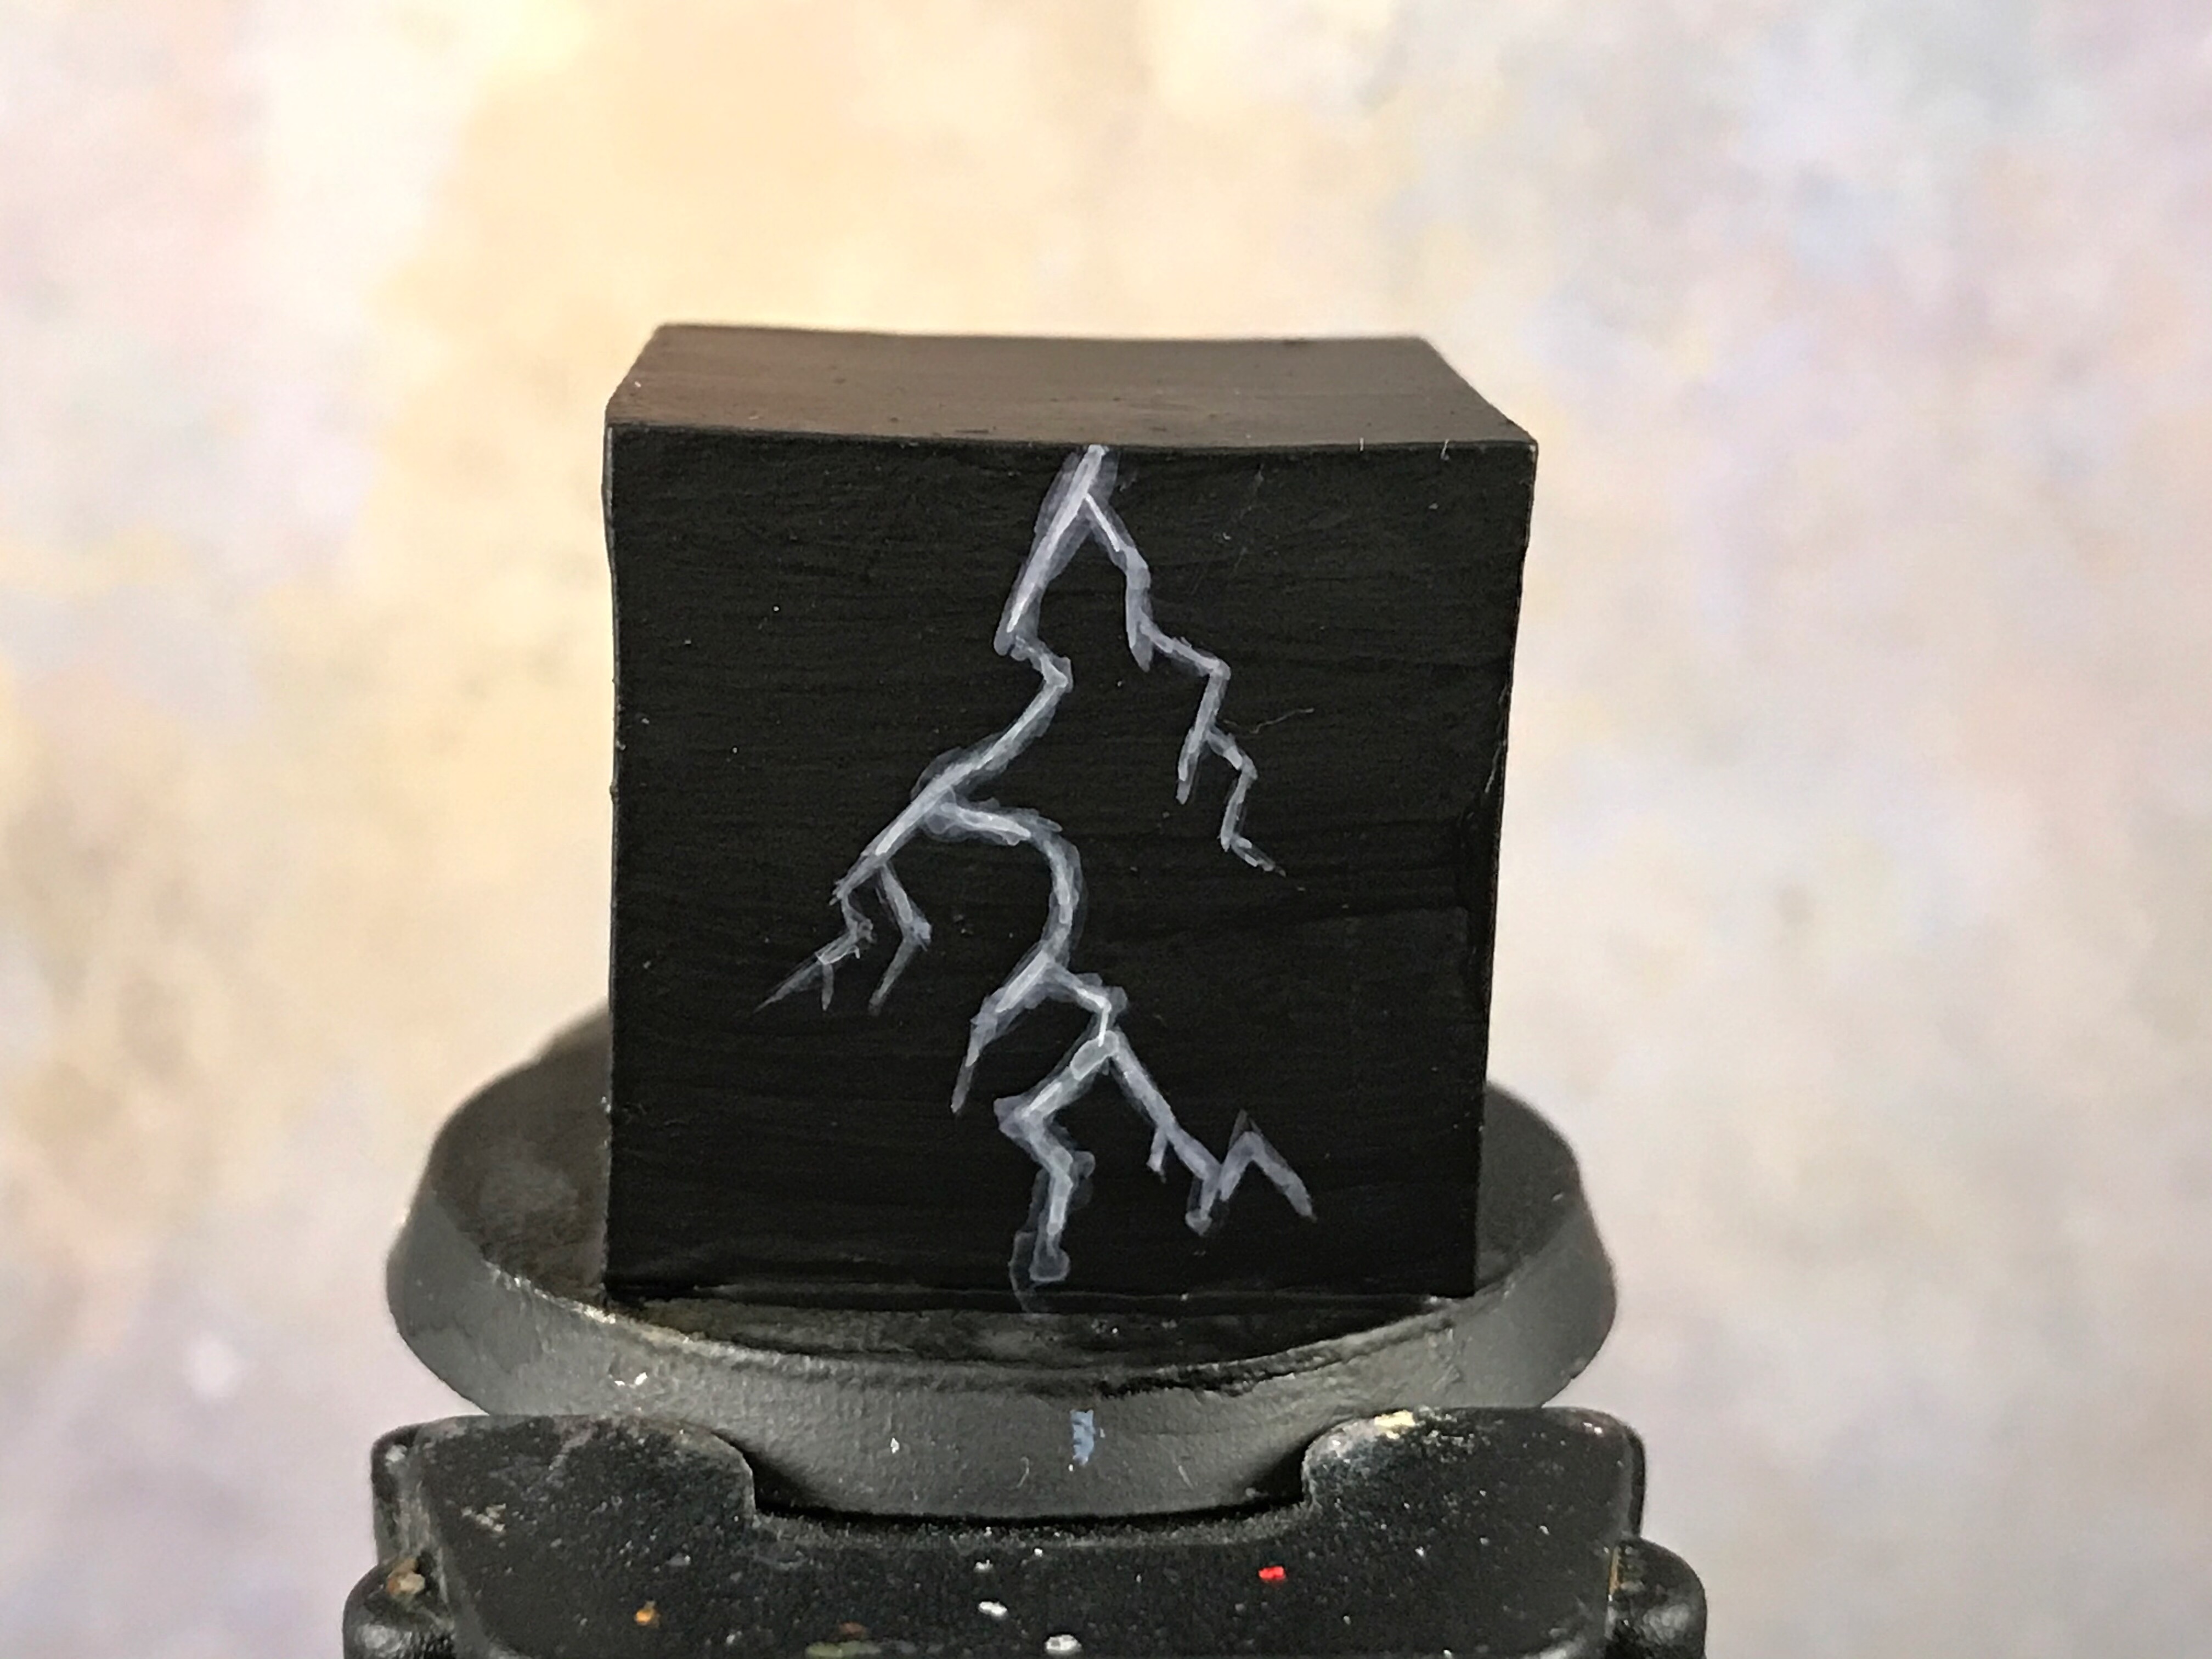
For the final layer I’m using white. What I’m going to do is reinforce the primary bolt and paint a thin line inside the previous line.
What I like to do here, and this is an artistic choice, is not use the white down the entire length of the primary bolt. I’ll paint down the length some, stop, and pick it up a bit further down, in turn leaving some gaps of the previous blue.
This process, as you’ll see, creates a bit of a broken and irregular look that I just like the look of. You could paint white down the entire primary lightning bolt and be fine too.
I’m using White Scar from Citadel for this but of course any white works.
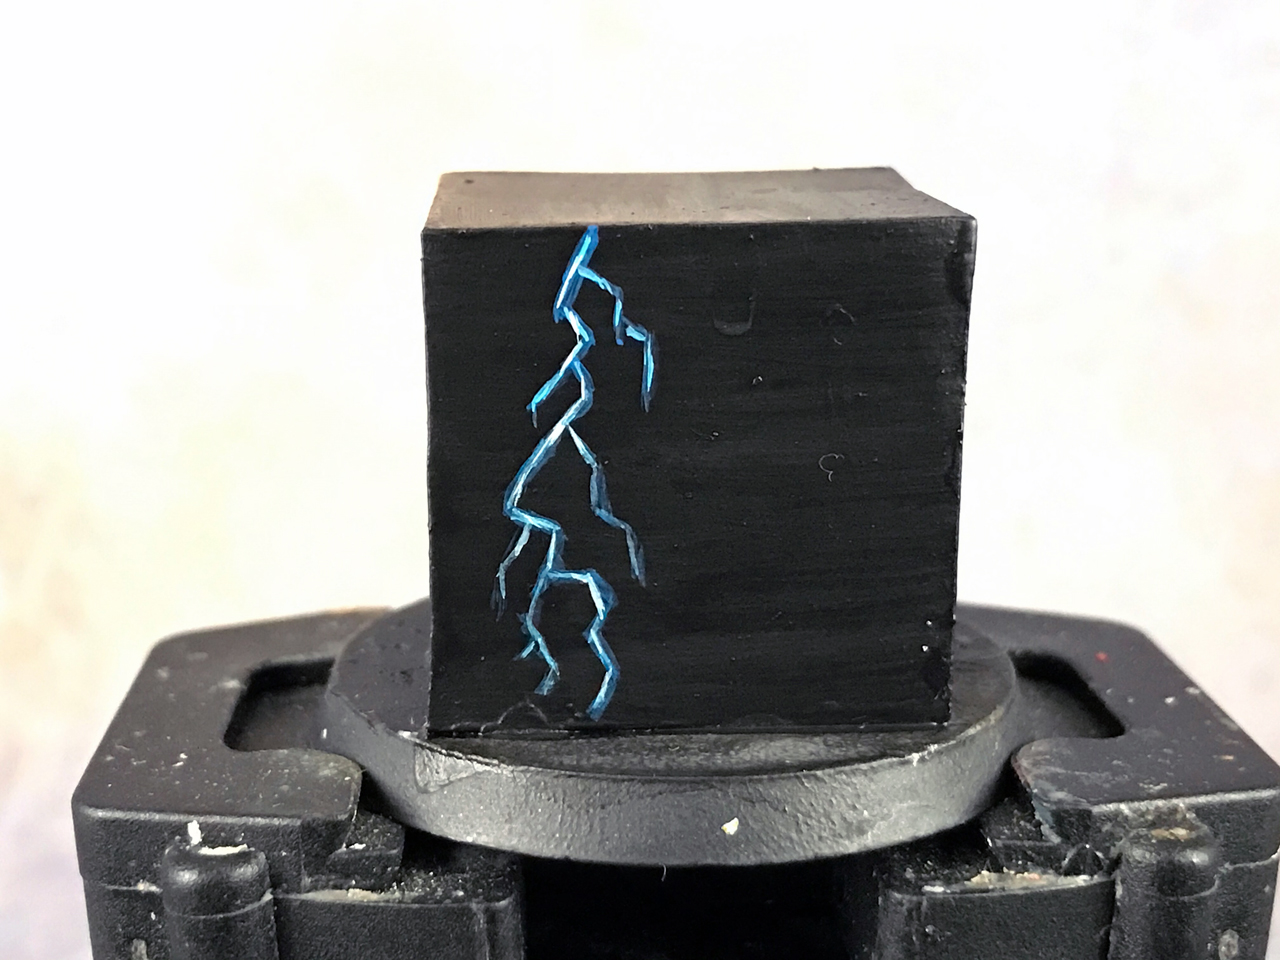
Notice how I don’t use the white down the secondary bolts. I have some white that starts down the secondary bolts but stops.
Again, it’s all artistic choice and about creating something that looks cool to you.
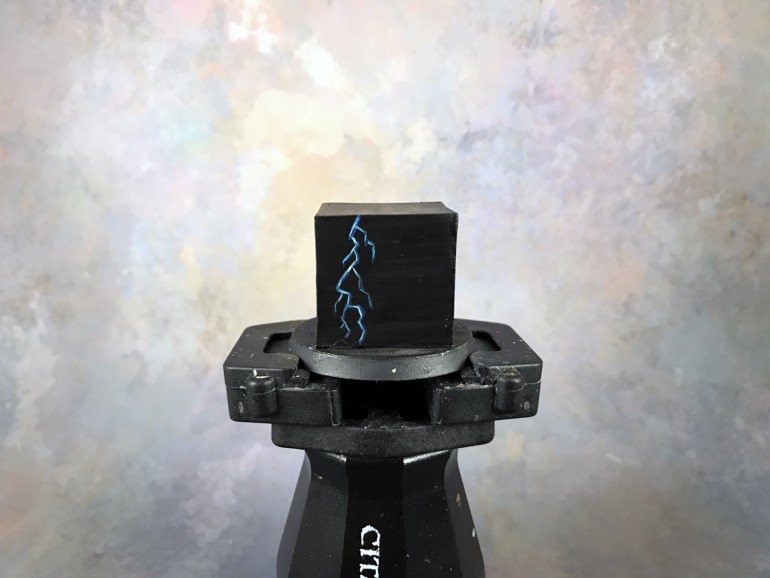
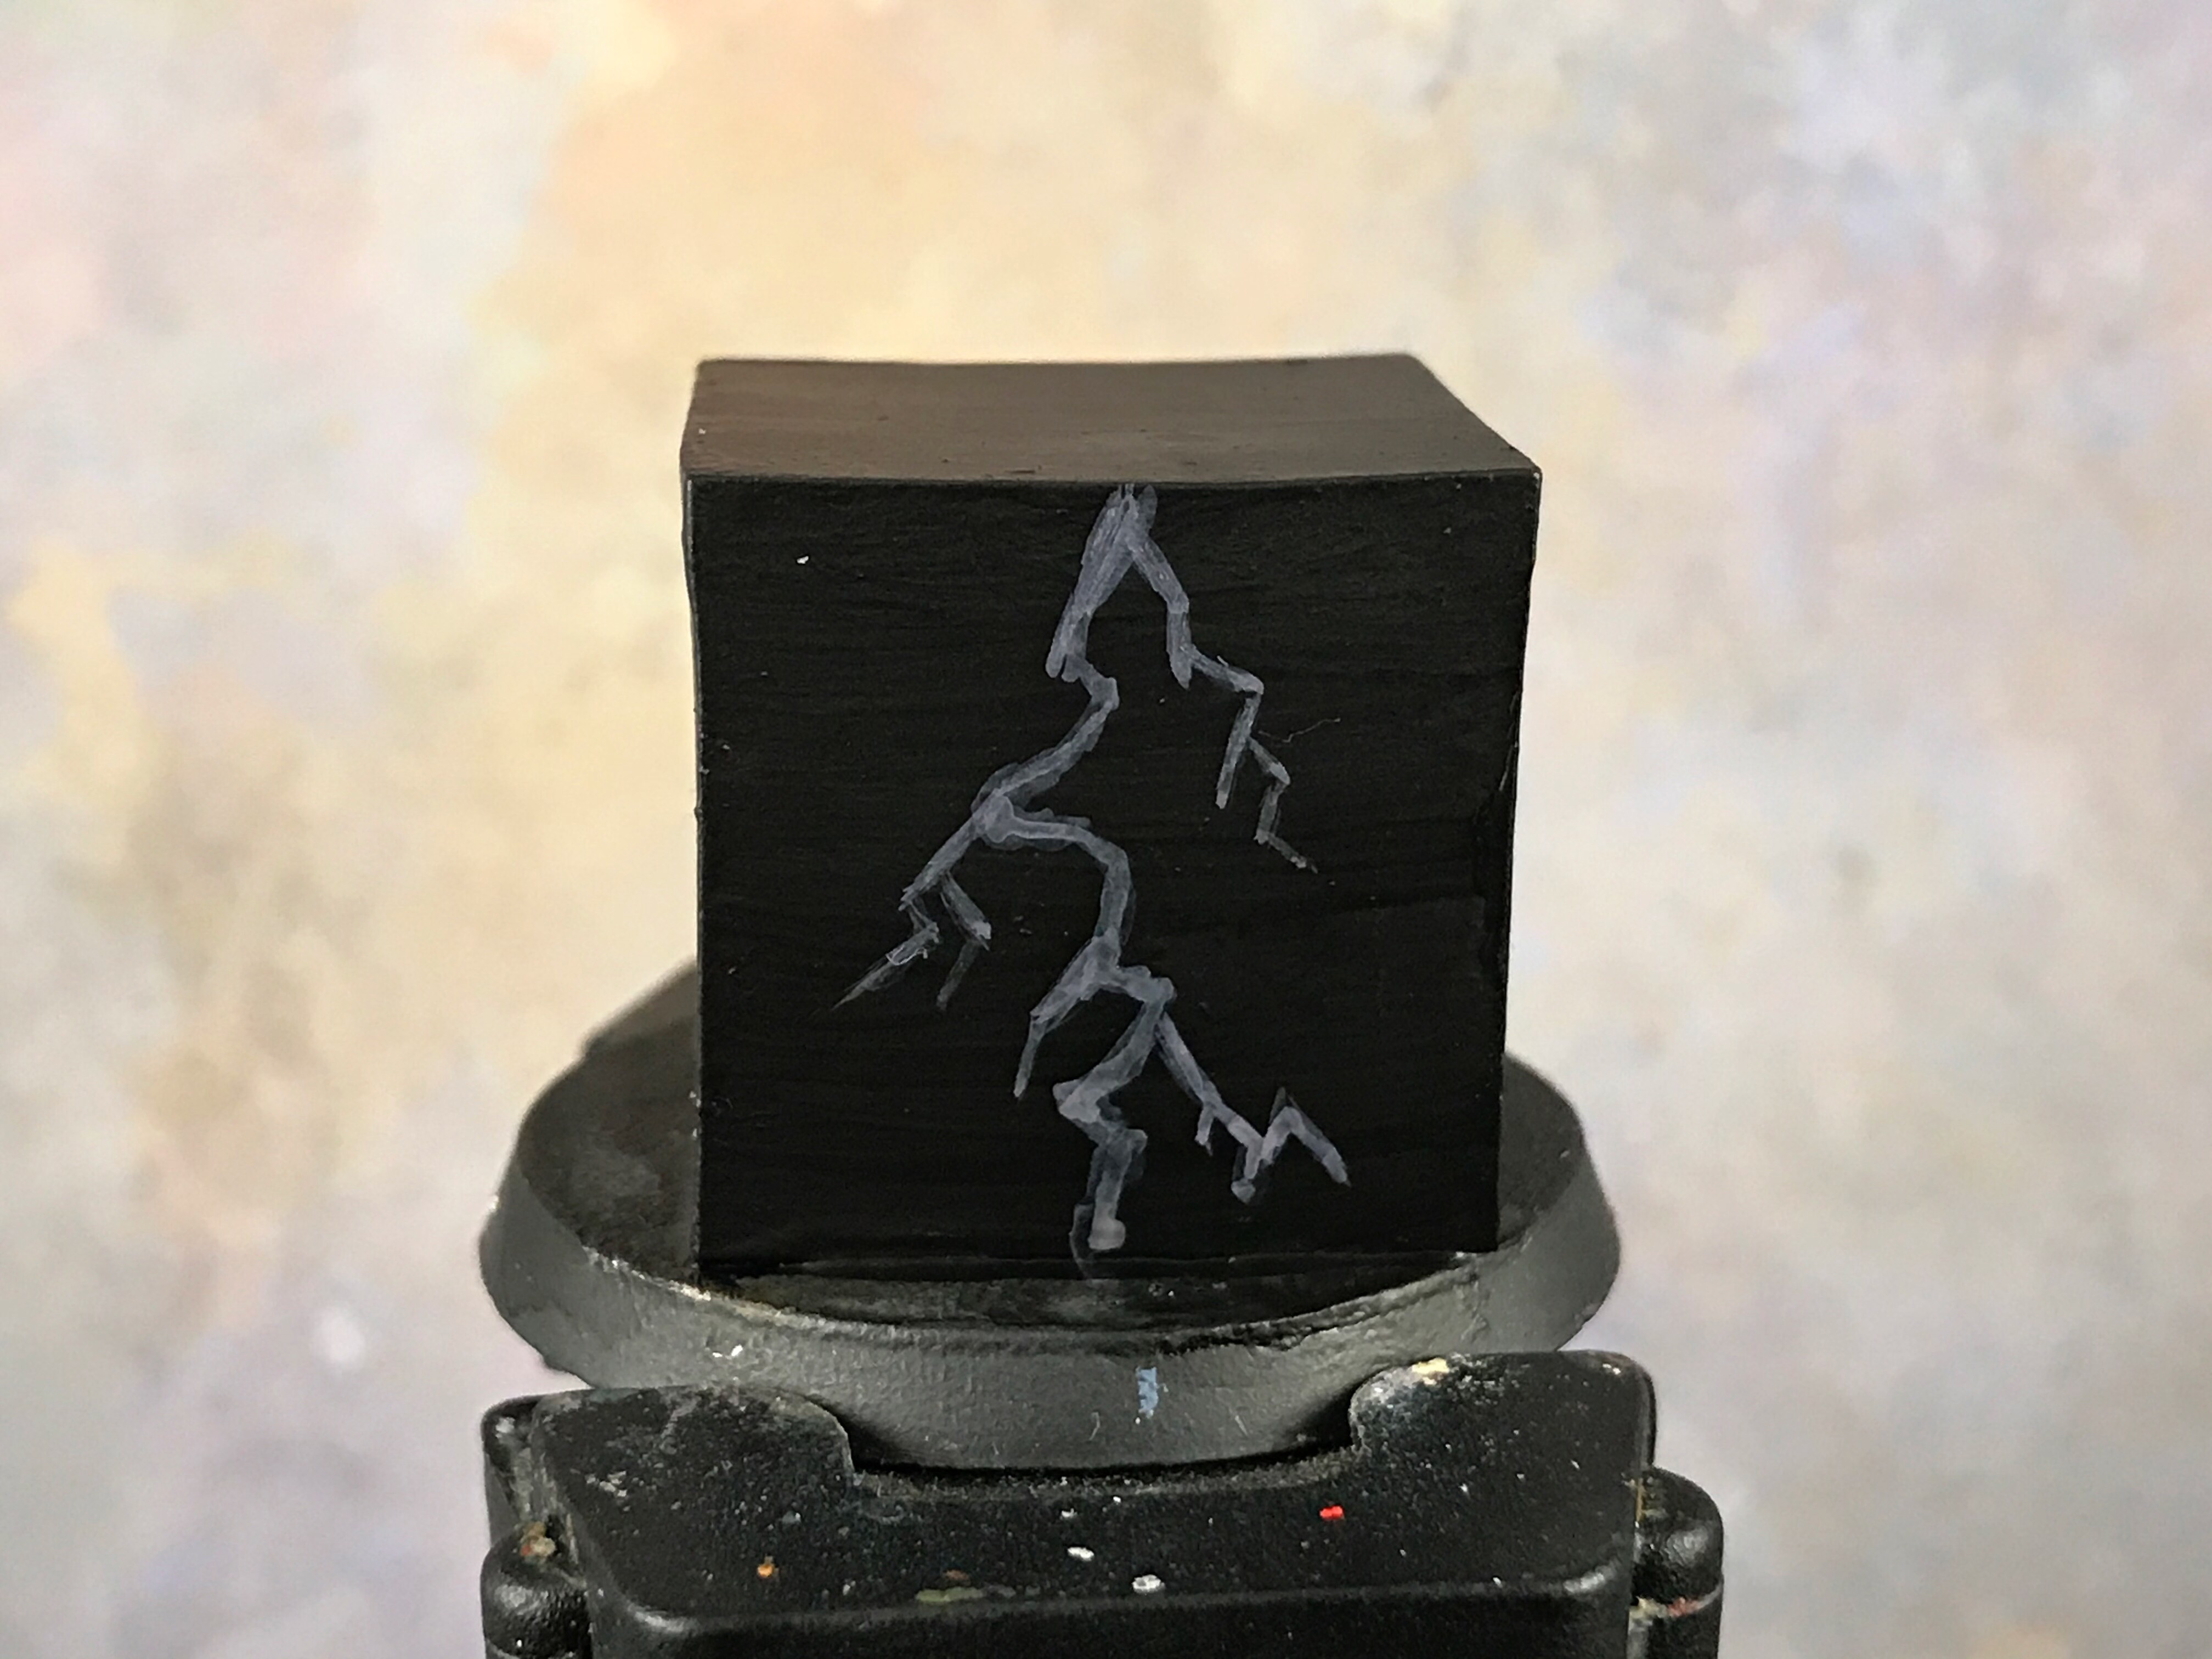
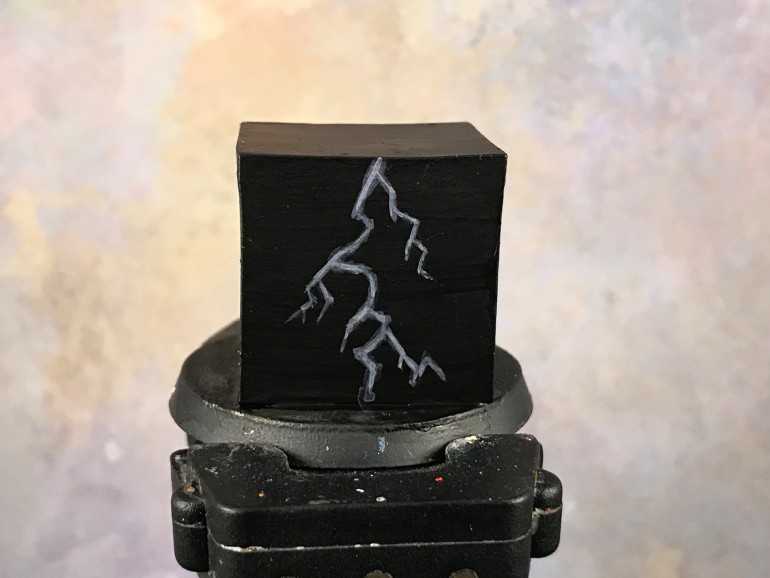
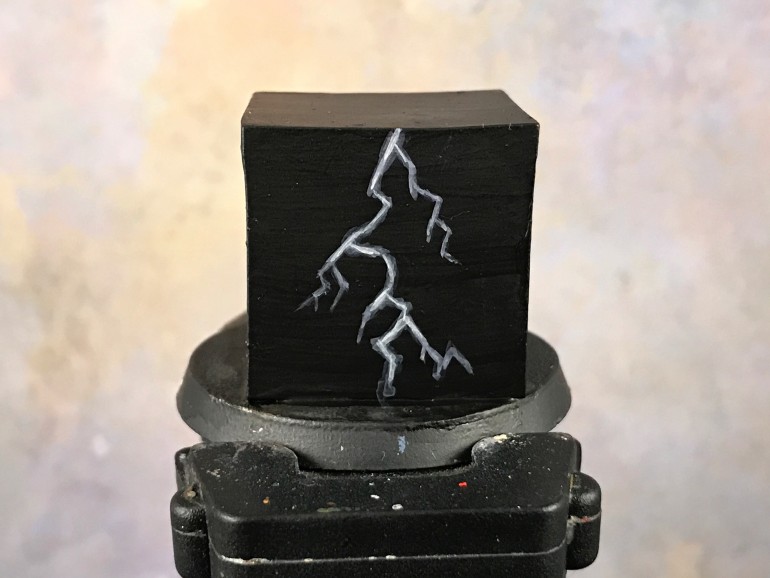
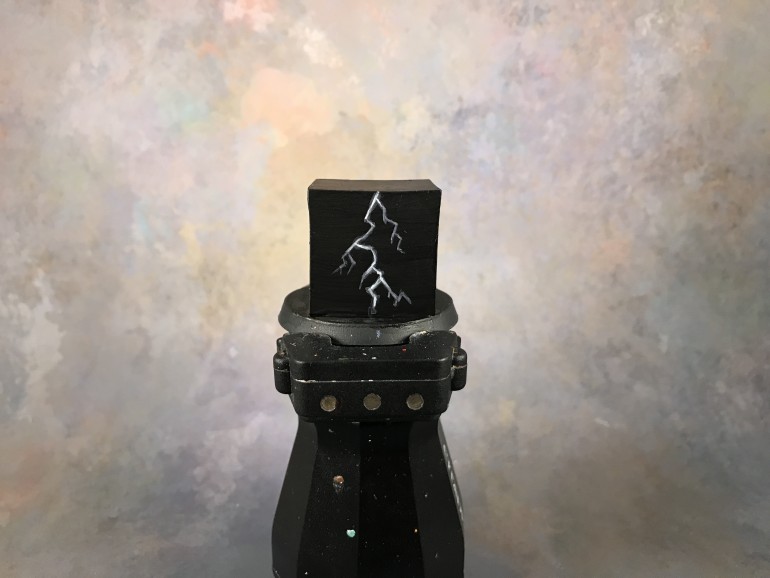
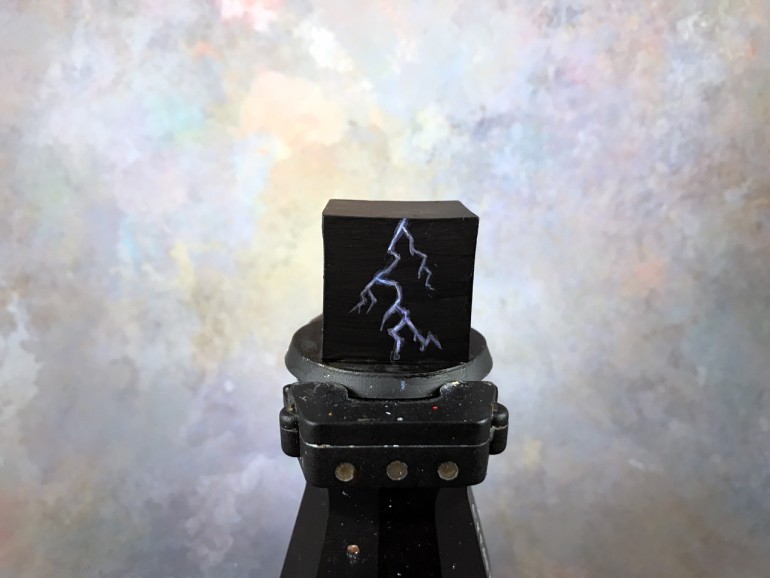
Here’s the same shot as above but zoomed out a bit to show you how this looks at a more natural distance. When you get all zoomed in things just look bleh.
Painting Thoughts
While I did give the colors I used, you can do this technique with any colors. It’s about the concept, not the color.
The concept boils down to creating progressively thinner layers of paint inside previous layers. You start with a wide line and paint a line inside that, and then a line inside that.
Doing this will create that glowing look that lightning bolts give off. The impression of light is created with some very simple layering.
Master that and you can create lightning in any color you want.
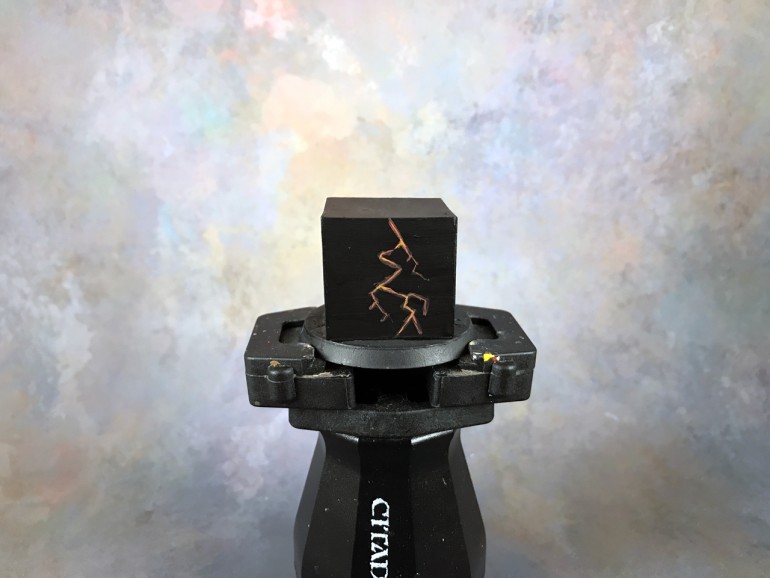
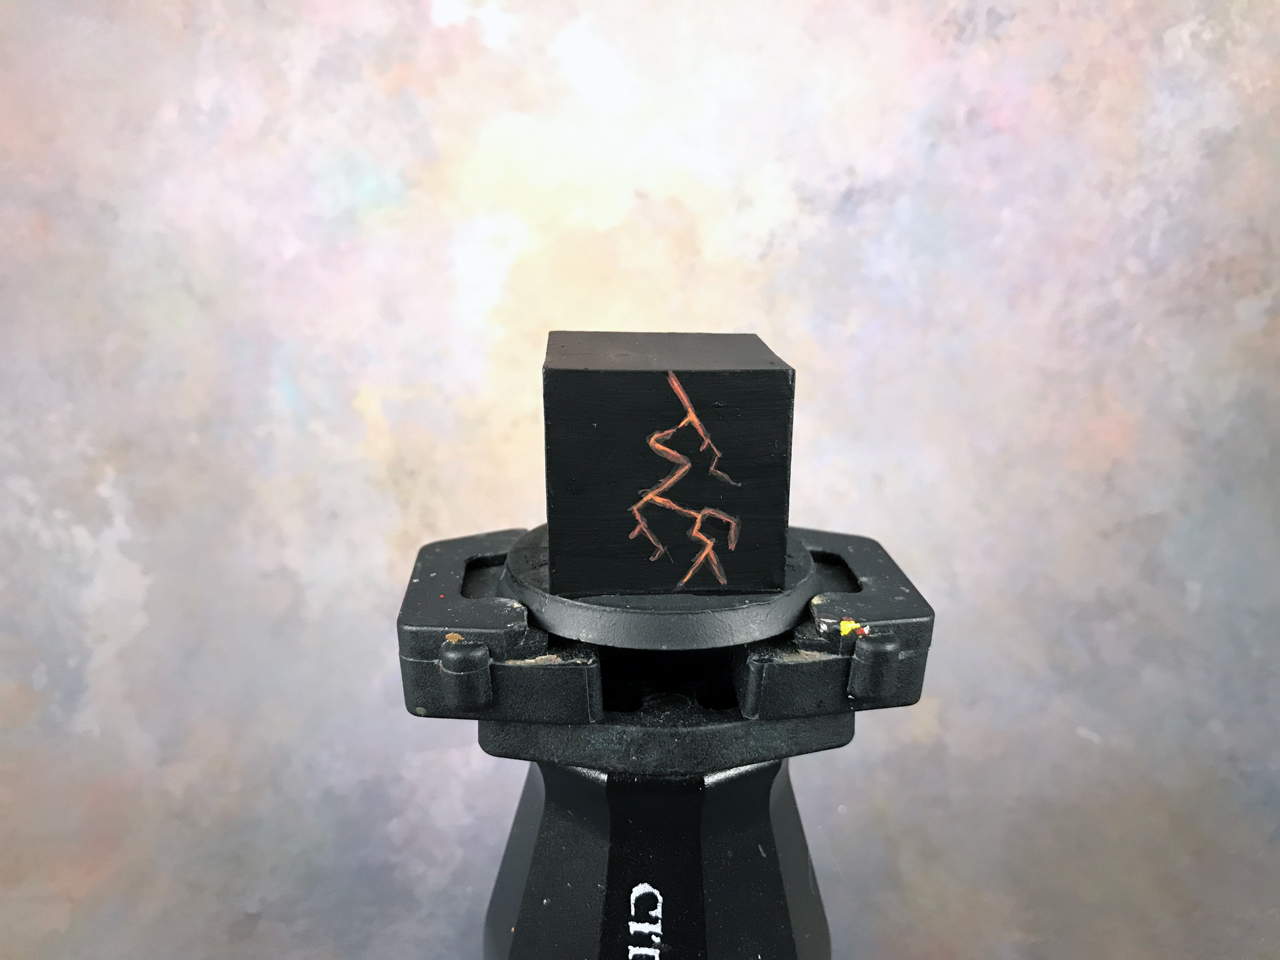
Another Example
Using the same technique outlined above, here’s another example using oranges to create lightning.
I tried making the bolt a bit different and just experimenting. I admit, it’s not the sexiest lightning bolt but sometimes you just gotta play around.
Painting Advanced Lightning
The advanced version is mostly just some thinner paint and some extra layers to create something smoother.
Step #1 – Layers 1 & 2
I start off with a thin layer of Daemonette Hide and create the primary lightning bolt.
I then add on the secondary bolts.
As noted above, this method isn’t any harder, just more time consuming because you’ll do everything twice.
So, I take the same color and do a slightly thinner line to bolden it.
Step #2 – Layer 3 & 4
Now, I use Slaanesh Grey and do the same, create a thin layered line inside the previous.
And, once again, I do a second layer of the same color to reinforce things and blend it out.
Step #3 – Layers 5 & 6
Guess what? We do it again! This time I’m using Pallid Wych Flesh.
And then the second layer.
Step #4 – Layer 7
I decided I wanted to push this a bit more, so I grabbed some white and hit a few points on the lightning bolt to really make it pop.
And here’s that same shot zoomed out to a more normal distance.
Now, to get this to look even better all you do is keep doing thin layer after thin layer. Using a lot more thin layers will let you blend everything out much smoother so it looks better up close. I’m just trying to give you the groundwork, so admittedly my efforts above aren’t amazing.
Bonus Tip: Glazes
Sometimes your lightning bolt color isn’t exactly what you wanted, or maybe you want to blend things out a bit more, or maybe you just want to add some visual interest.
All three of those scenarios can be addressed with glazing. Using a glaze will add a thin translucent layer that can change the color and help smooth out the look.
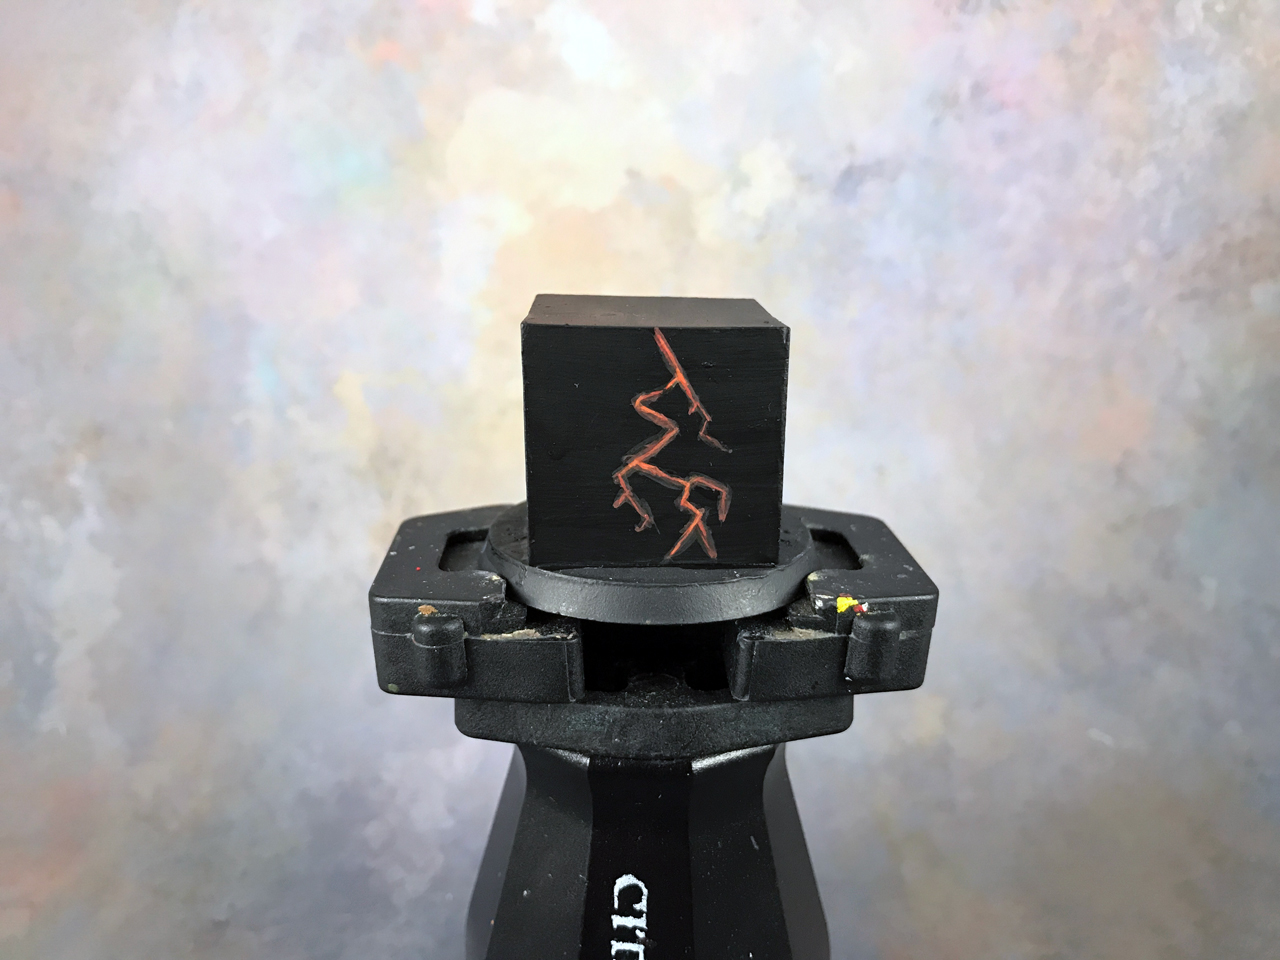
Let’s start with the beginner examples. Here’s what it looked like:
I decided to add a red glaze over the lightning bolts to darken it some. I used Bloodletter Glaze for that.
The single layer is pretty subtle. I could continue to add more layers of glaze to continue shifting the tone to red and darkening it all. It’s always better to start thin because you can keep adding more layers but you can’t take them off.
Speaking of, here’s a second layer of red glaze to show you.
The blue lightning I did, here:
I thought it would be fun to add a yellow glaze (Lamenters Yellow) over it.
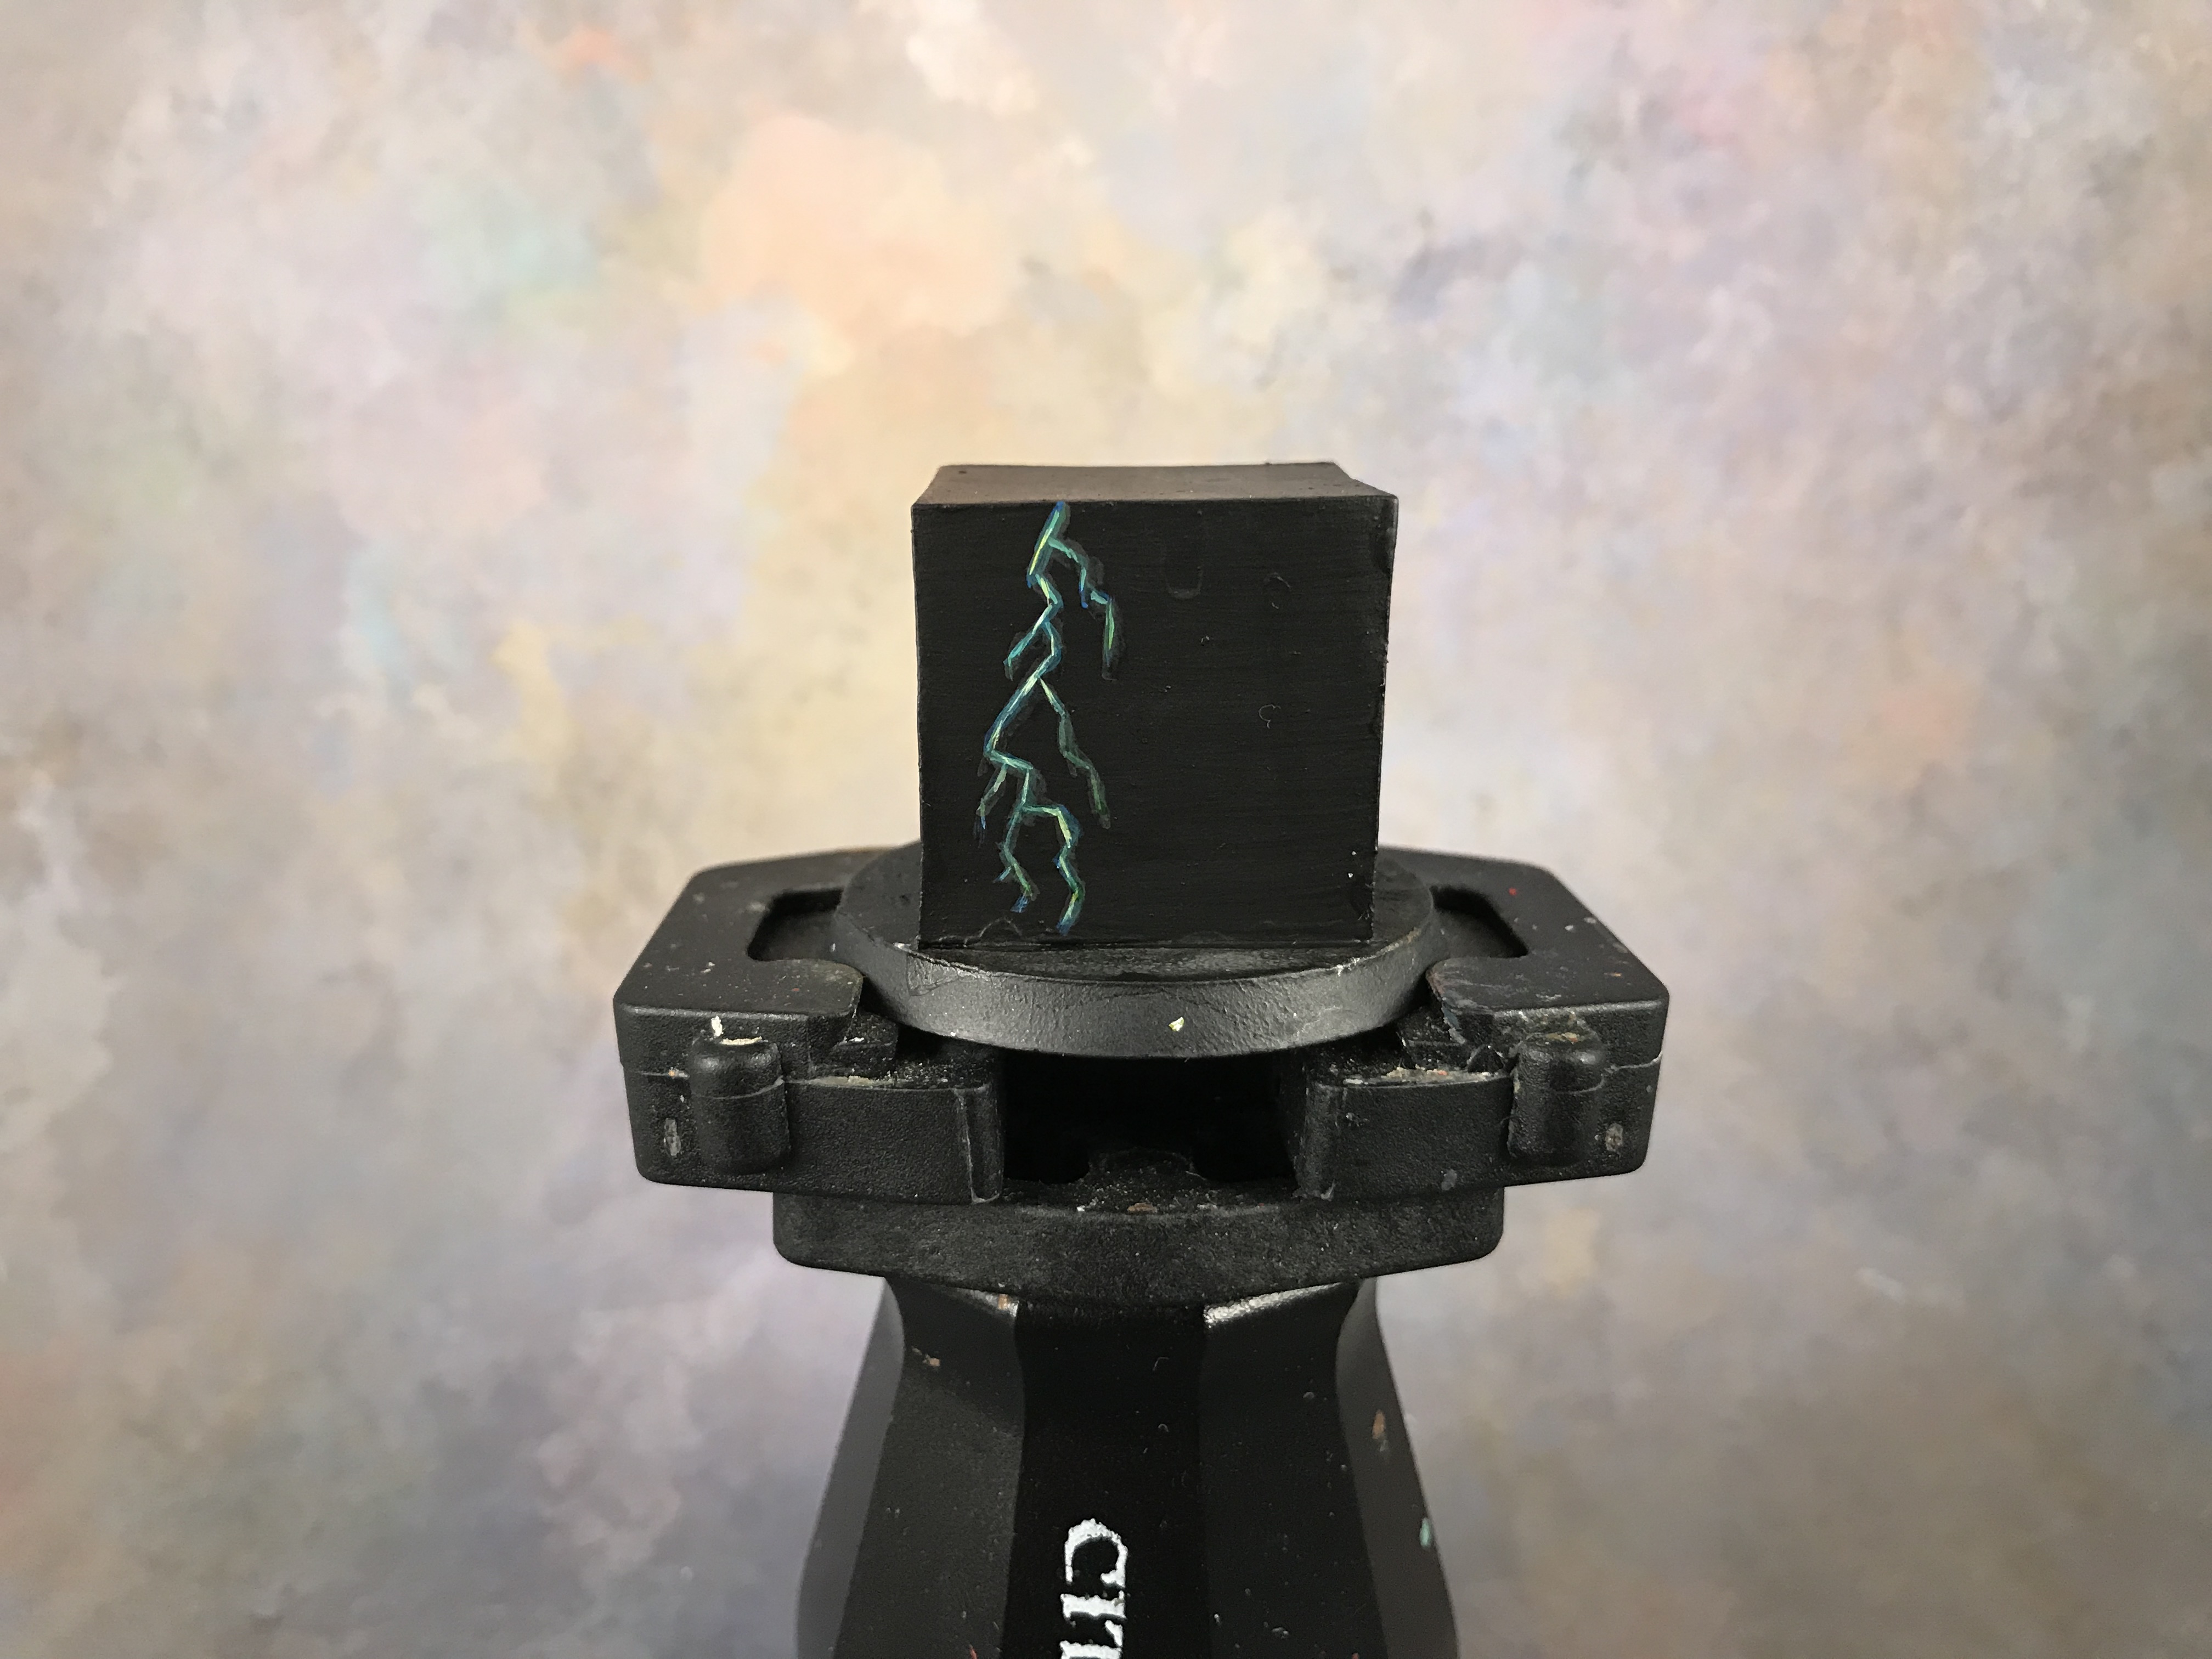
As you can see, the color shifted towards a green hue (yellow + blue = green). A really simple way to completely alter the look.
For the advanced one:
All I did to this one was to put a very thin layer of purple wash (Druchii Violet) over the bolt to darken it some.
I then decided to use a blue gaze (old-school Guilliman Blue) over parts of the lightning bolt to just add a little visual interest and color shifting elements to it.
The other thing this is doing, as I said above, is smoothing out the layers of paint and blending things out.
So, if you want to play around then grab some glazes and just create something fun.
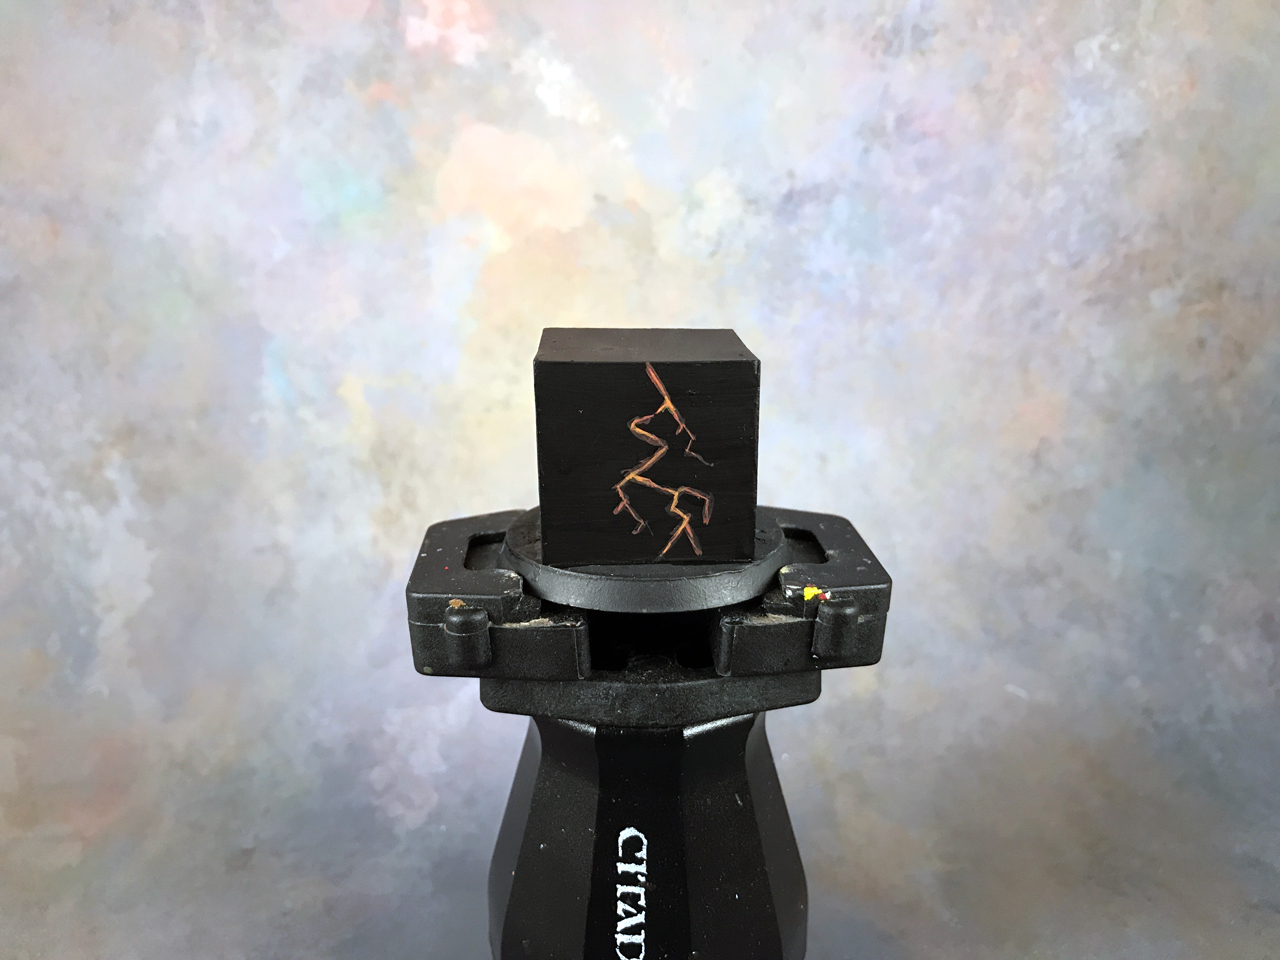
Maximum Effort!

So, if you take all the above and combine it you end up with something like this.

I did a lot of very thin layers of paint, glazes, more thin layers of paint, more glazes, repeat ad nauseum to get that.
I felt I needed something to show here that didn’t look like hot garbage zoomed in, and to show you how you can keep pushing the results higher and higher :)
That could still be improved upon as well. Like anything, you get out of it what you put into it. That being said, I find there’s a fine line between having fun creating something and getting frustrated seeking perfection. If you’re not having fun then stop.
Different Styles of Painting
It’s worth noting that this is how I like to paint lightning. This is my style for it and there’s many more ways you could go about painting lightning bolts.
Maybe you’re not a fan of my style and that’s cool. I just want to show you how you could go about it and let you find a style that suits you.
An easy way to adjust the style of this is to use more circular motions and less angular ones like I used. My style is more on the cartoony side where realistically lightning isn’t so zig-zagged.
You could blend out the earlier layers more than I did and go wider to create more of an OSL (object source lighting) look to it as well. Basically, make the lightning glow outward more.
The possibilities are endless!
Oh, speaking of style, I do have an article on painting style that talks about this more. I won’t bore you right now :)
Conclusion
I really enjoy painting lightning. It’s random, chaotic, and you can’t paint it wrong. I hope to have shown you that and helped you feel confident enough to try painting your own. Just play with it, experiment, and have fun with it.
If you’re looking for more help with freehand painting (which this is), then check out my tutorial on that as well. You’ll find some more tips and advice there.
Lastly, with this technique you could paint a great power sword as well. Check out that tutorial if you’re
Specific Painting Techniques & Tutorials
Check out these other tutorials covering specific techniques.
I love painting miniatures and teaching people how to paint. I also really love blogging, so I've combined those two passions here.
- Creative Twilight’s Future and My Thoughts (Feedback Welcomed!) - December 4, 2021
- My Top Gift Ideas for Miniature Painters & Hobbyists + Gifts to Avoid - December 2, 2021
- The Year That Was 2020 and Where I’ve Been - January 17, 2021

Wow! The glazes really do make a difference. They look so good! Maybe I should paint some Night Lords …
Thanks. Glazes are one of those things a lot of painters forget about and they do have a big impact.
Everyone needs another hobby project! ;)