So, I decided I wanted to paint marble effect on the bases of my Steelheart’s Champions warband for Shadespire. I took to Twitter, asked fellow painters for tutorials and resources, and I was not disappointed. I was given a ton of great stuff to look at.
Ultimately though, for painting the marble effect, I didn’t follow a tutorial. I took some advice and tips, but many of the tutorials were very lengthy.
If I was painting one showpiece model then I’d gladly follow along with a tutorial that took 2 hours. However, I had three models to paint, and while I wanted something nice, I didn’t need showpieces either.
After a few failed attempts, I finally stumbled into something I liked the look of. Ironically, I should have documented that experiment since that base came out the best. Steelheart himself has big stones on his base, perfect to experimenting with. The other models have smaller paving stones, so the effect isn’t as capturing.
Now, I did do a video of this process, which is of questionable quality. However, the big thing that video shows is the technique that’s hard to explain. So, even if you prefer written format for painting tutorials, do check that video out briefly to catch the technique.
Disclosure: Some of the links below are affiliate links, meaning, at no additional cost to you, I will earn a commission if you click through and make a purchase. The commission earned helps maintain this site.
Painting Marble Video Tutorial
So, if you prefer video format, here’s the tutorial I shot of painting the marble effect.
I apologize a lot in the video, and I’ll do it again here, the setup wasn’t ideal for shooting. I just don’t have a proper camera, or general painting setup, for shooting good videos; it’s why you haven’t seen any for painting tutorials.
Still, I shot it, so I may as well show it, right?
I’ve also got another video tutorial I shot after the above video. This one shows more clearly what I’m doing.
Miniature Marble Effect Painting Tutorial
OK, now for the written tutorial.
I used another model for this than the video. The reason being that I forgot to cut from the video and take shots of the model at each stage. I totally meant to, but as I got painting I just kept going.
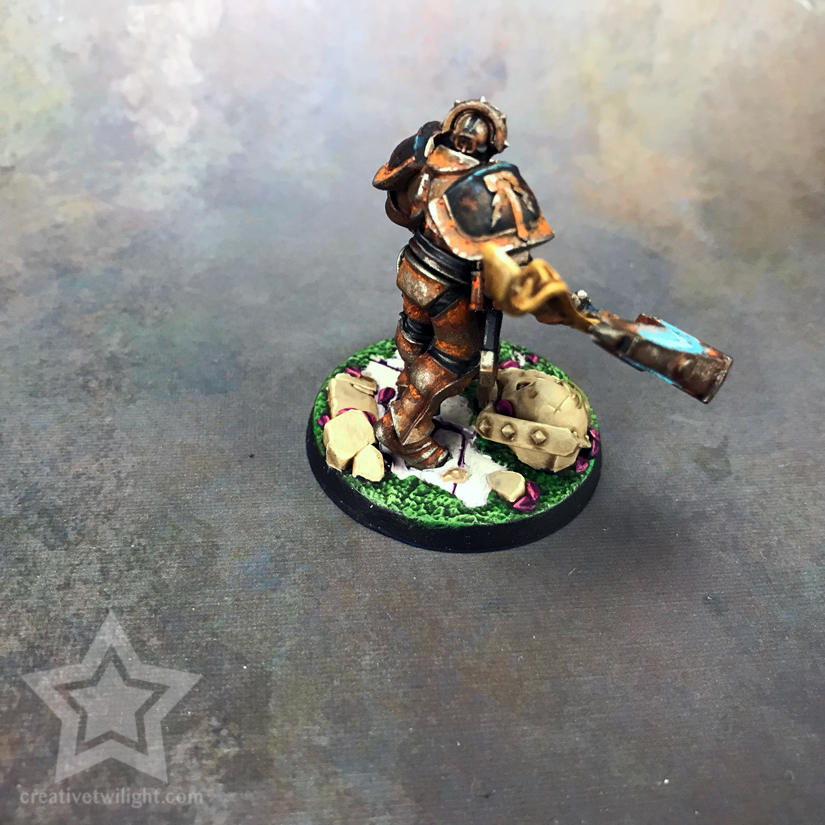
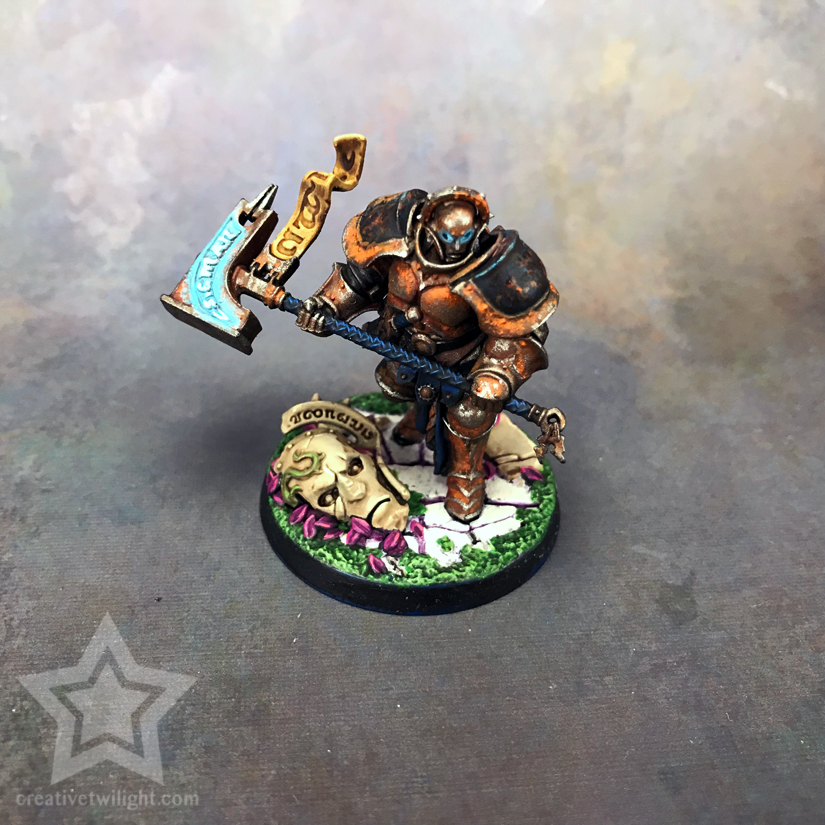
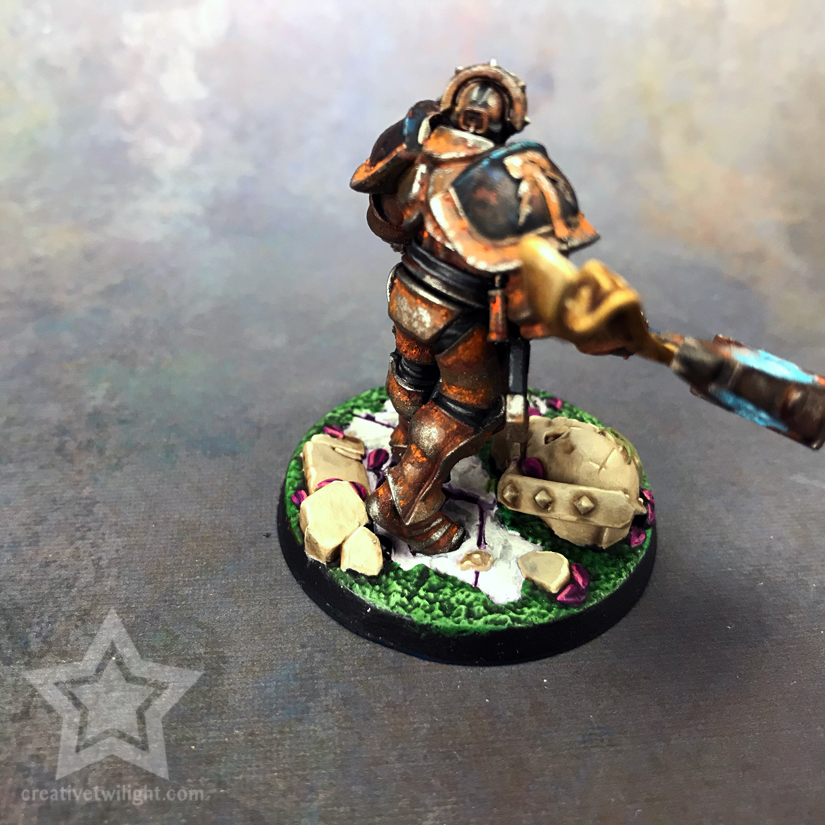
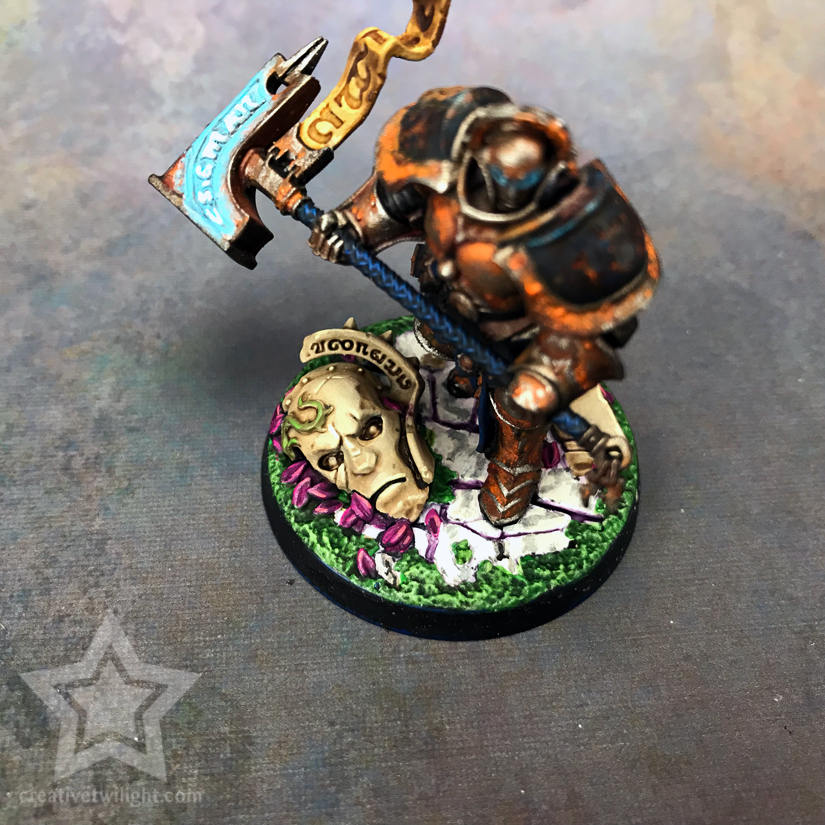
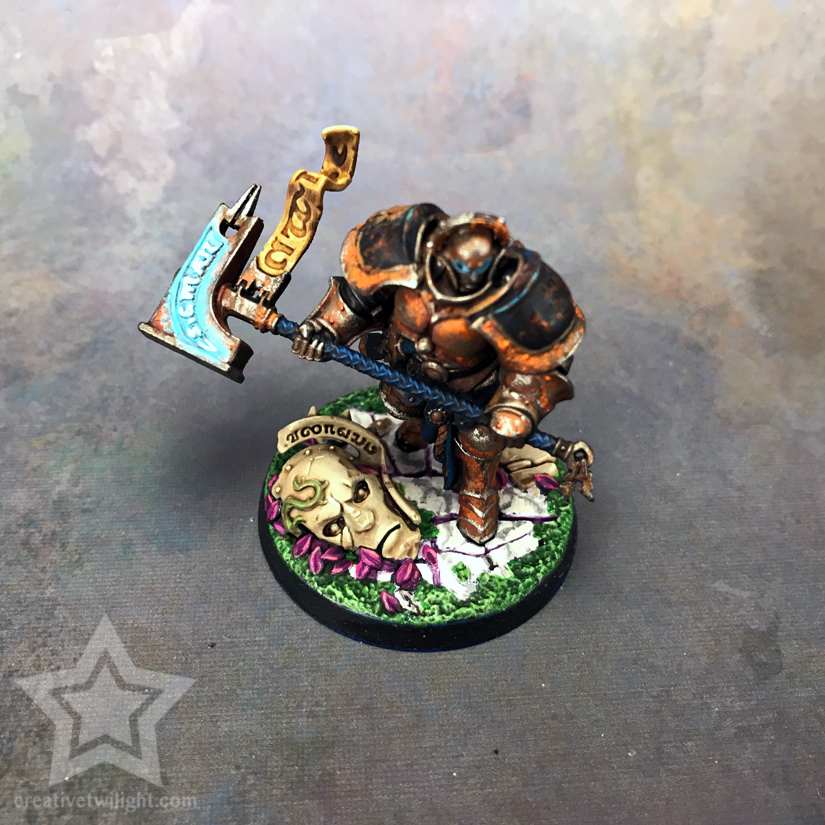
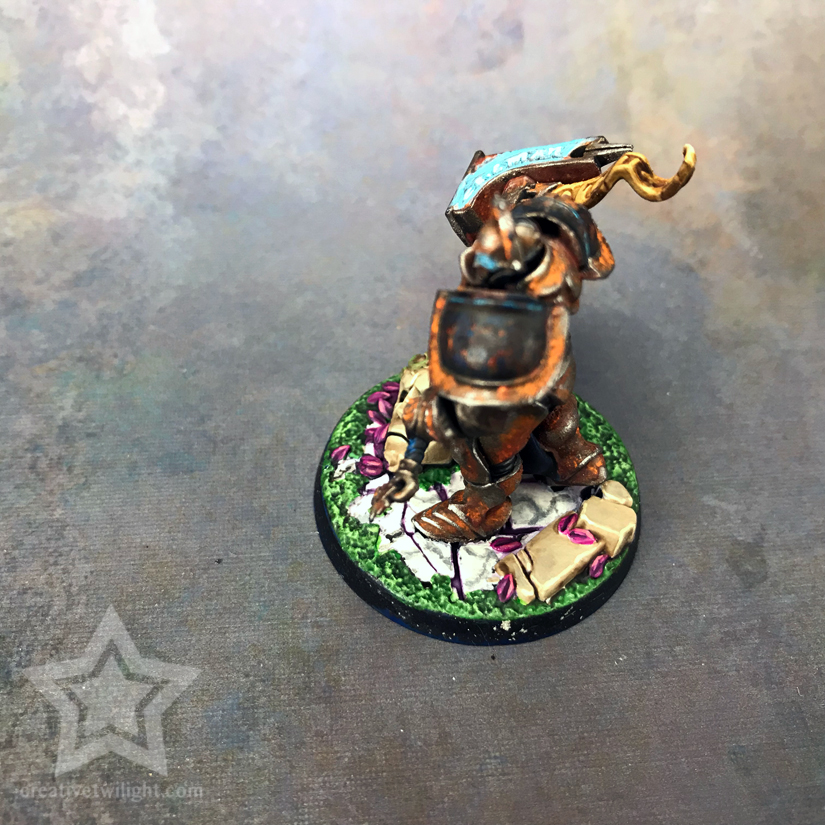
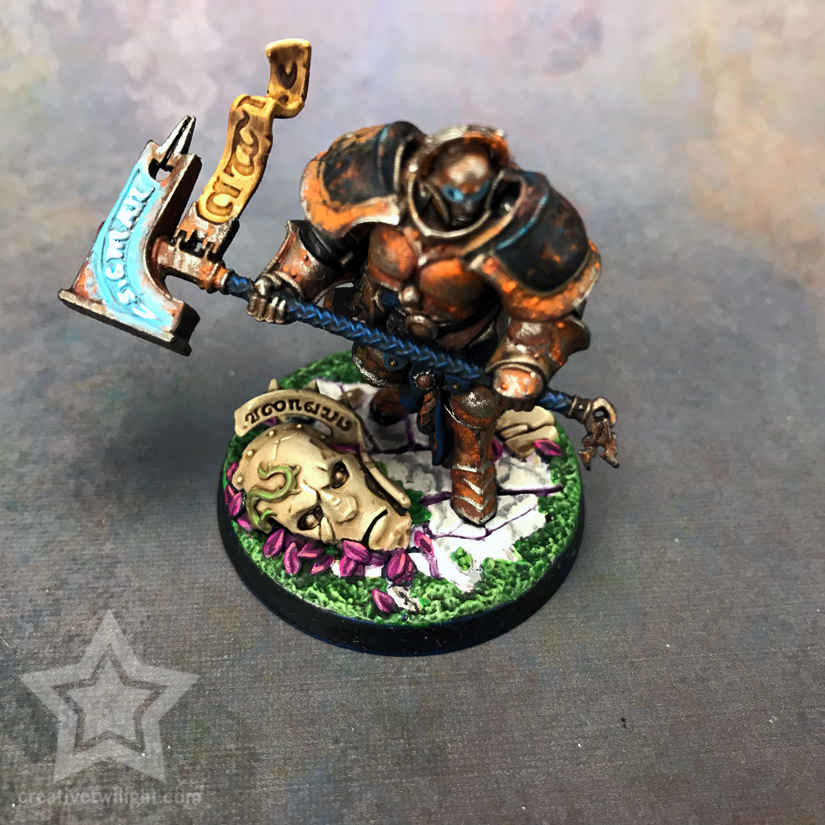
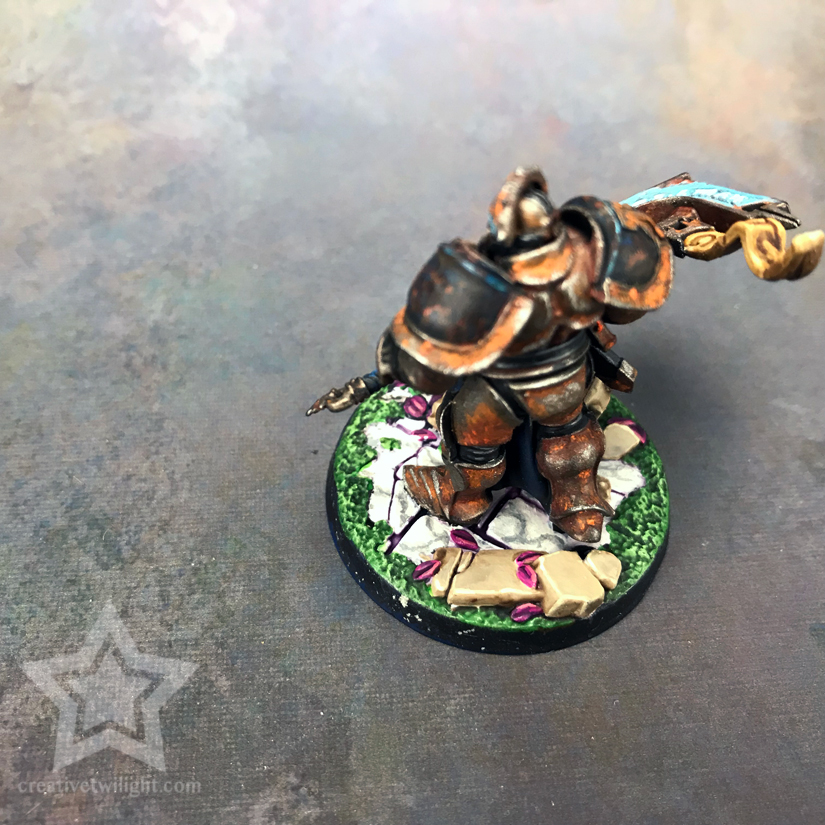
So, this tutorial will use Obryn, who unfortunately has the worst base for showing off the marble effect. However, the concept is the same regardless, and at the end I have shots of them all. You’ll see Steelheart at the end, who has the best looking base of them all for the marbling.
The pictures aren’t great either. It’s hard to pick up the white’ish marble and marbling on camera very well. Honestly, this whole tutorial process didn’t go as planned. However, what can you do?
sighs
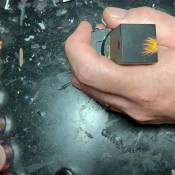
Step #1 – Establish the Pattern
What I’m teaching here is the technique of painting marble, however, for full disclosure let me explain the color I’m painting on.
The basecoat on the stones is Pallid Wych Flesh (GW). I then created a glaze with Lahmian Medium and Druchii Violet and applied that over it.

Then I blended that back up to Pallid Wych Flesh with some thin coats so I could let some of the purple glaze show through.
You can of course paint your stones any color you want, but I figured I’d tell you how I did mine in case you liked them.
So, the paint I’m using to create the pattern is my basecoat color (Pallid Wych Flesh) with some Eshin Grey (GW) mixed in. This creates a darker version of the basecoat.
I had tried using black to mix it in, but the contrast was too much for my liking.

For the marbling effect I like to use a Citadel Small Layer Brush. You can of course use any brush you have, but ideally it will be a smaller brush you’d use for detail work.
Using that mixed pattern paint, I apply it in a thin layer randomly. This is where the video comes in because you can see how I created the pattern, but I’ll try to explain.
I put the brush on the stone, and while dragging the brush, I wag it back and forth (side to side), to create a zig-zag like pattern. This creates something that looks random, which is key to making this look real.
As you can see, it doesn’t leave much behind, but that’s the goal, translucent paint.
Step #2 – Refine the Pattern
Here I do the same thing again, thinned out pattern paint and follow the established pattern.
This time though, I try to stay within the area defined to make it darker in the middle.
Step #3 – Final Line
The same thing again, but this time I take the pattern paint and don’t thin it very much, just as much as I would for normal layer painting. I stay inside the middle of the pattern I’ve created to add a more solid-looking line.

The marble effect is done at this point, so it’s time to highlight.
Step #4 – Highlight
I just use white here and hit the edges.


It’s hard to pick up the white over the Pallid Wych Flesh, but it’s there. Again, it was super difficult trying to shoot this. The camera hates white’ish colors.
That’s it. Done.
Fixing Mistakes
Just a quick note on the process and fixing things you don’t like.
Sometimes the pattern you paint isn’t exactly what you want. Other times a layer might go on too dark. All you have to do to fix anything is take your basecoat color, thin it out, and blend over the mistakes.
So, if I painted a pattern too wide then I’d take my Pallid Wych Flesh, and using the zig-zag stroke, come in from the sides to thin the line out and blend it together. I show this in the video above as well.
Don’t worry about getting stuff perfect the first time. You can fix anything.
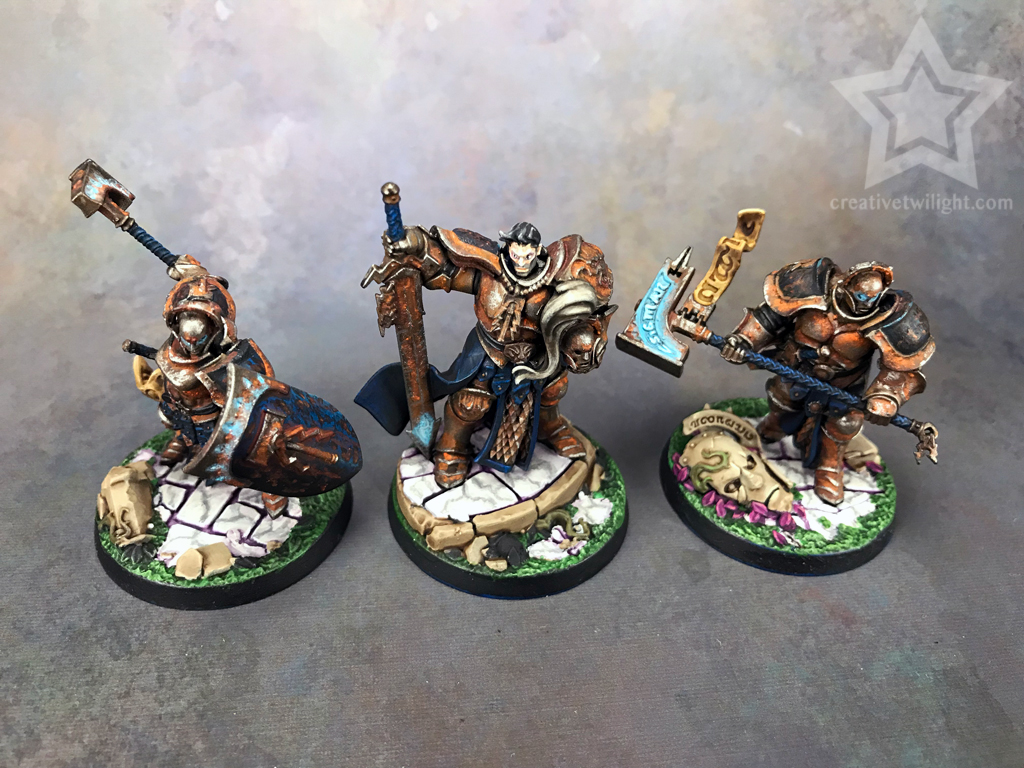
Group Shot
I wanted to show the group together so you can see the marble effect across a few models. Again, Steelheart (center), has the best one in my opinion.
God, I wish I had used him for the tutorial and not the experiment…
Conclusion
This isn’t the most amazing marble effect you’ll find, but I think for a technique that only uses a few simple steps, that the results aren’t half-bad. If you need to batch paint a bunch of models with marbling, then something like this would work out pretty well.
If you like the rusted armor then check out my tutorial for that.
Also, if you’re a newer painter then be sure to check out my list of supplies every painter needs. I’ve also got an article on ways to become a better painter you may enjoy as well.
Specific Painting Techniques & Tutorials
Check out these other tutorials covering specific techniques.
I love painting miniatures and teaching people how to paint. I also really love blogging, so I've combined those two passions here.
- Creative Twilight’s Future and My Thoughts (Feedback Welcomed!) - December 4, 2021
- My Top Gift Ideas for Miniature Painters & Hobbyists + Gifts to Avoid - December 2, 2021
- The Year That Was 2020 and Where I’ve Been - January 17, 2021
I just got the new set of AoS Objective markers, and a couple of them would look great in a marble effect. I’ll have to give this a try, as it seems much more manageable than the other methods for marble I’ve seen over the years.
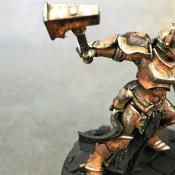
Also, Steelheart really needs a shave ;)
At first I was a bit disappointed with my marble. I looked at so many tutorials and examples and they were all amazing. Lightyears ahead of what I did, but they all took significant time and skill.
Then I realized I had something that was good and practical. It won’t win you any awards, but it looks the part and is quick to do.
I figure I’ll use this as a basis going forward for other marble stuff I do, and then just enhance it as needed and see what happens.
lol – Steelheart. He’s the first model I’ve done that 5 o’clock shadow on ironically. I figured if I’m rusting up their armor then it makes sense he doesn’t get to shave every day ;)
Yeah, I think that’s part of what’s put me off trying it in the past: All the examples and tutorials I’d seen were by people who had mastered it, and were way beyond what I’m capable of right now. You’re a better painter than I am, but the gap isn’t so great as it is with those, and perhaps more importantly, you’re still figuring this particular technique out yourself, which brings your tutorial to a level where I can actually get a handle on it.
And yeah, shaving with a rusty razor probably isn’t the best idea ;)
I know what I mean. One of the tutorials I looked at was amazing, but I was like “Nope. Fuck that. Can’t even do it.” I’m all for improving my painting, I love it, but I prefer taking steps I can accomplish instead of getting disappointed trying something way beyond me.
Yep. Gotta take it in steps of the right size. Can’t just go to the top in one leap.
Thanks for the tutorial – I plan to watch the video when time permits. It’s encouraging to see that there’s an easy way to get tabletop quality marble results for my Custodes army. I didn’t want to get too intricate because the Shattered Dominion bases already have some level of non-stone detail.
Gladly.
Yeah, those bases are great already, so subtle would certainly work well there.