There are a lot of miniature blending techniques. The layering painting technique is just one of them. It also happens to be my favorite technique and I’ll explain why.
What I’ll show you is the basic idea of blending using layering and how to do it yourself. It really isn’t hard and just takes a bit of practice.
What is Layering?
First up, what is a layering paint technique? Are you familiar with laying paint? If not, it’s where you paint a brighter, or darker color on top of another while leaving some of the previous layer visible. You’re building up layers, but not completely hiding what came before.
If you’re new to painting then check out my tutorial on layering. It covers the basics in more depth than I’ll be covering here.
What makes this an advanced painting technique is you use really thinned out translucent paint instead of the usual thickness you’d normally use. Really, the paint is so thin, and you’re just looking to shift the color a little, that you’re effectively glazing.
You lay down a base coat and then use really thin paint to build a layer on top of that. You keep doing that with the same color over and over, always leaving a bit of the previous layer showing, until you’ve created a nice and smooth transition. Simple!
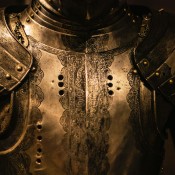
Let me show you a picture that demonstrates what I’m talking about.

This goes from dark to light, or light to dark (however you want to look at it), and is done with lots of small layers. Those layers would be done with very thin paint, and as mentioned, leaves a bit of the previous layer visible to create a transition.
Now, such a large picture makes it obvious that the transition isn’t smooth. That’s intended to demonstrate the concept, however, if I take that same image and shrink it down then the transition looks much cleaner. Basically, it’s a perfect example of how it works when applied to a miniature.
I realize that image is probably hard to see, but you get the idea.
Why I Like Advanced Layering for Blending
Before I jump into showing you how to do the blended layering, I wanted to chat about why I like it.
The Style
The thing I like the most about the layering paint technique is the almost rough nature of the technique. There’s other miniature blending techniques out there that give easier to manage blends that look flawless, like wet blending, loaded brush, or feathering. Those techniques are easier to create smooth blends with, but they have drawbacks too, however, that’s another article.
Anyway, layering can give a gritty look to something and help set a mood, a vibe. If I’m painting blood thirsty killers then I want to convey that in the painting. Having perfectly blended skin and armor probably won’t set the tone I’m after. However, if the blending is a bit rough then it feels more appropriate. Know what I mean?
I like working with dark tones, setting sombre moods with my models, and I feel that layering really helps me with that.
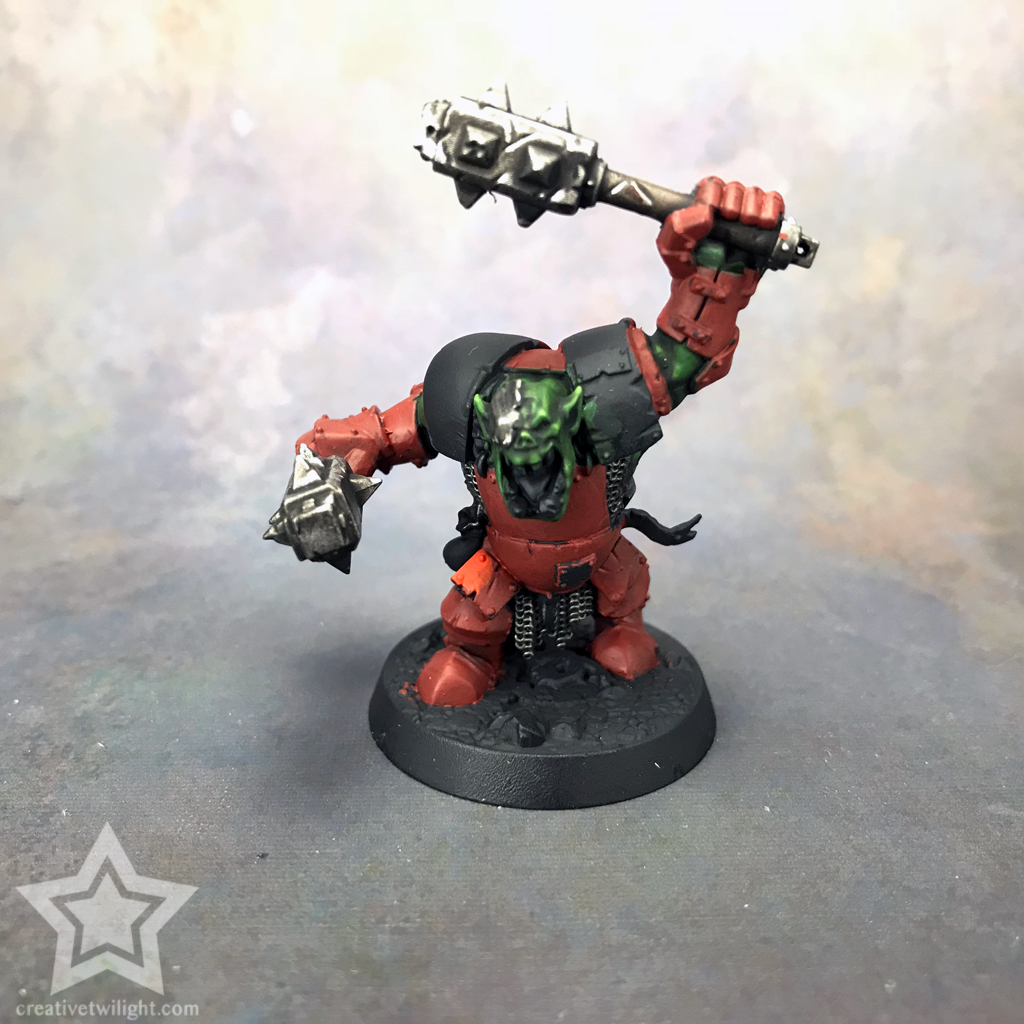
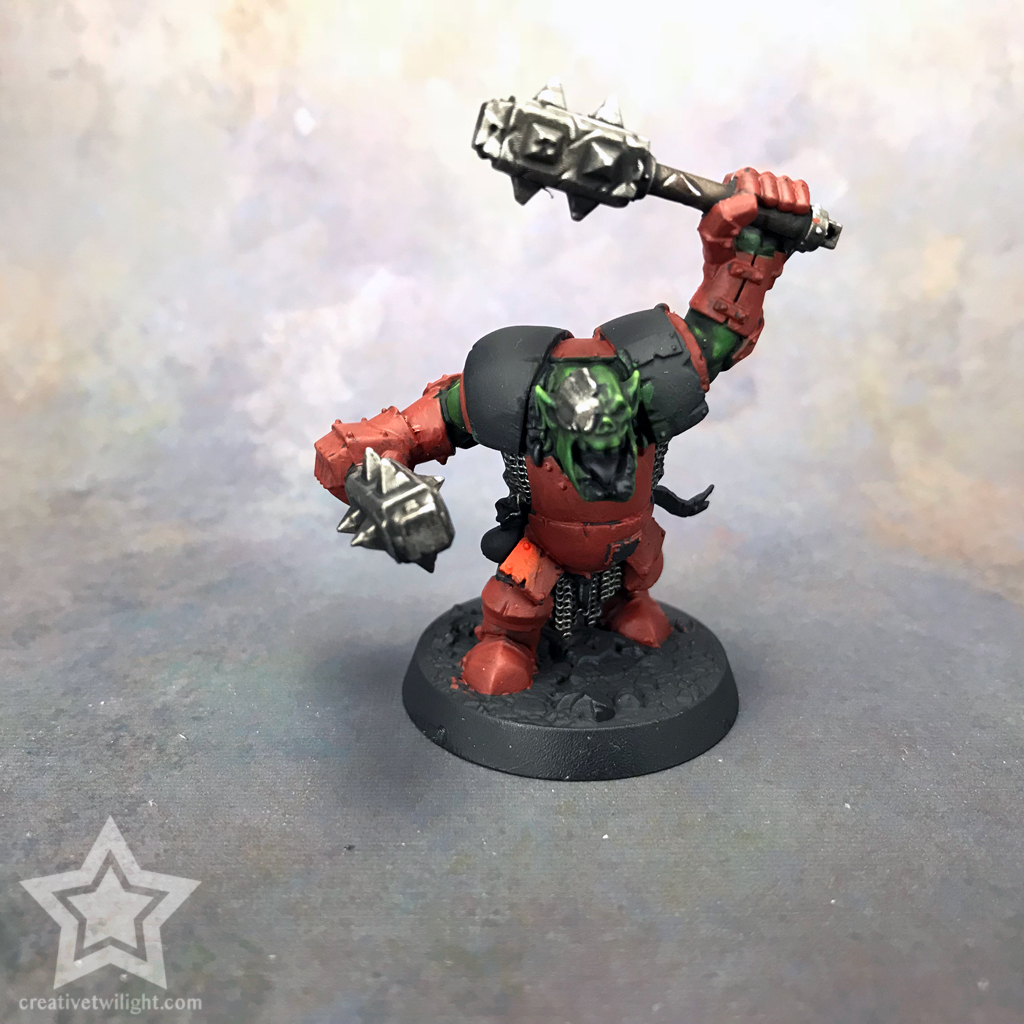
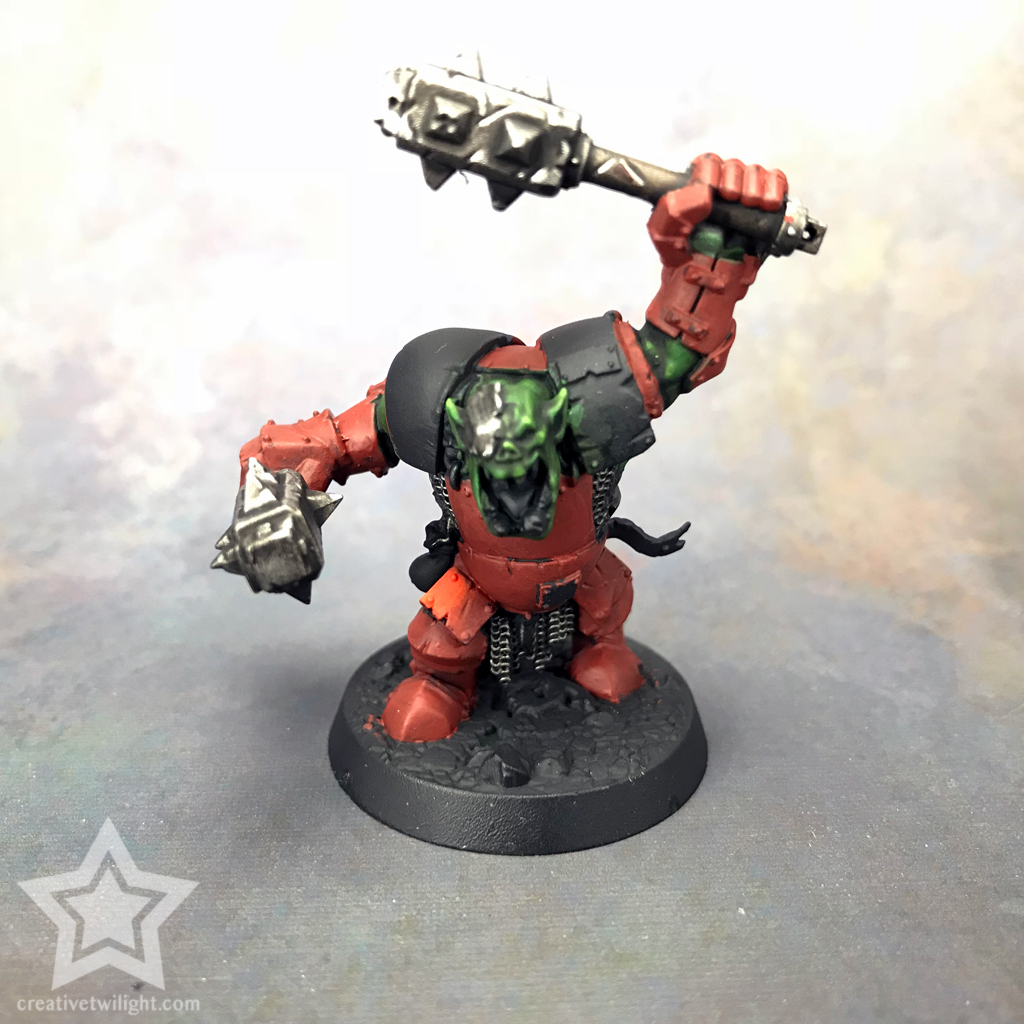
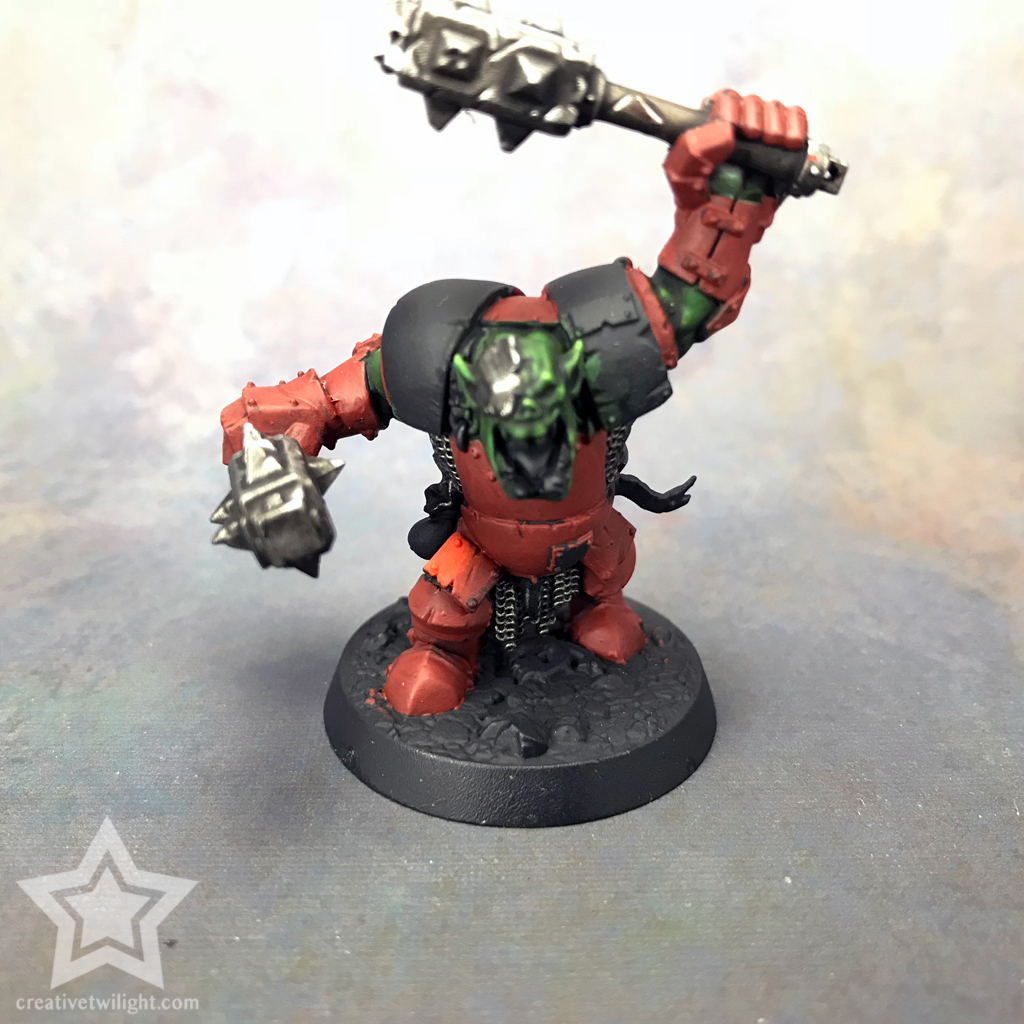
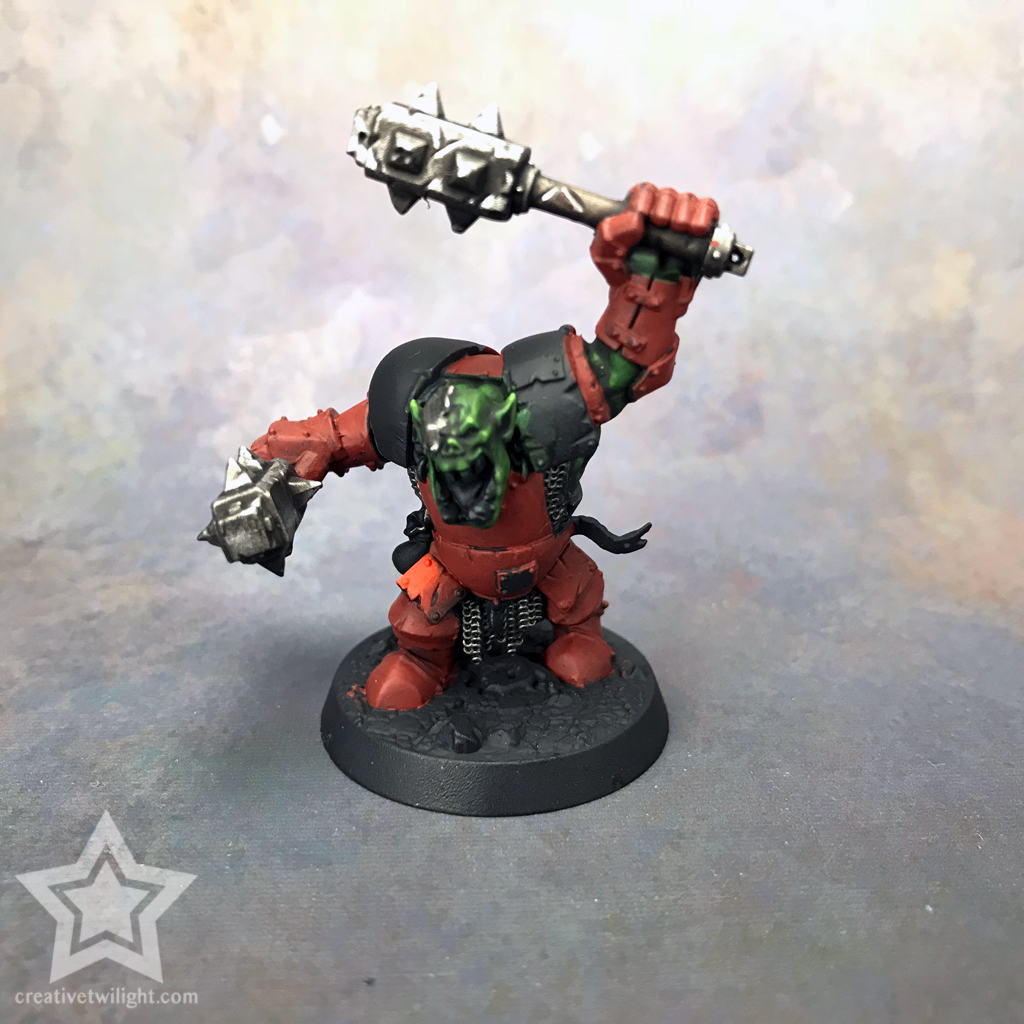
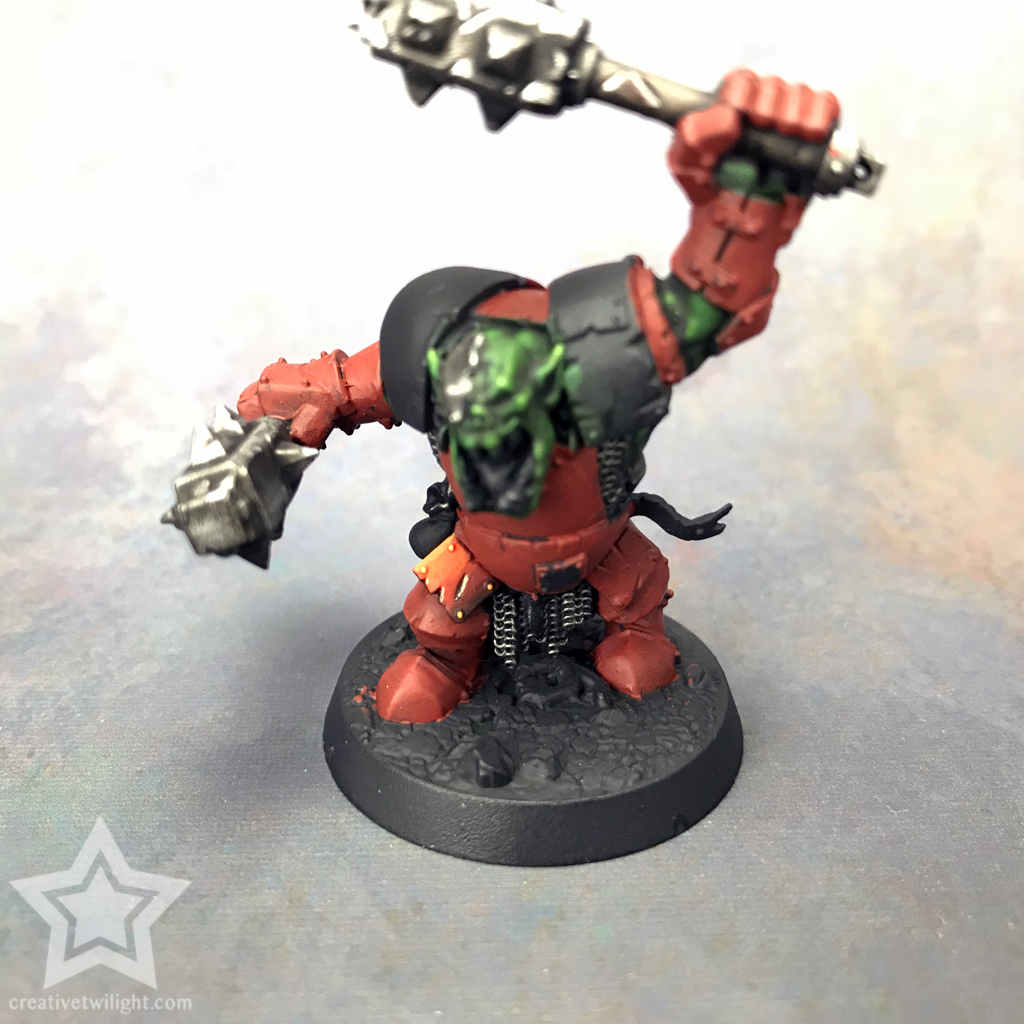
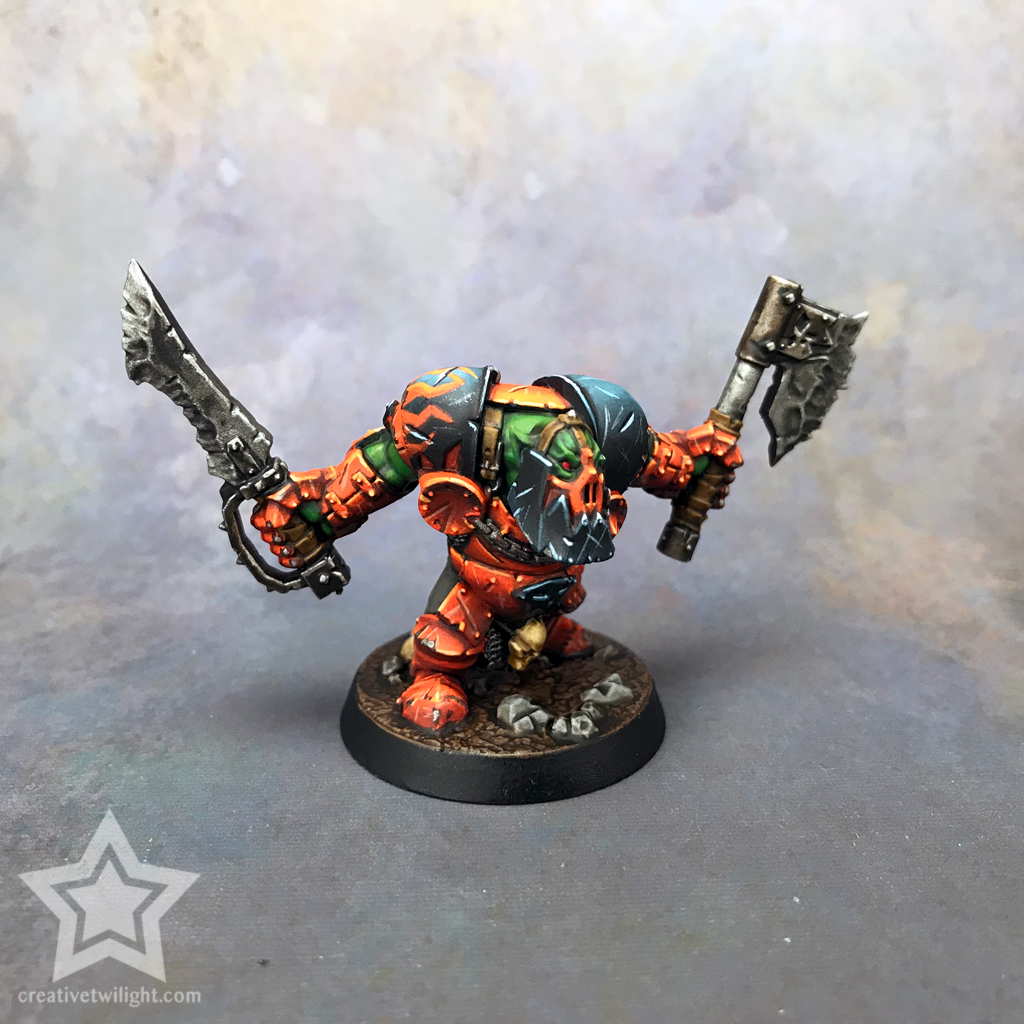
Here’s some examples of my miniature blending work and moody tones.
Click to enlarge.
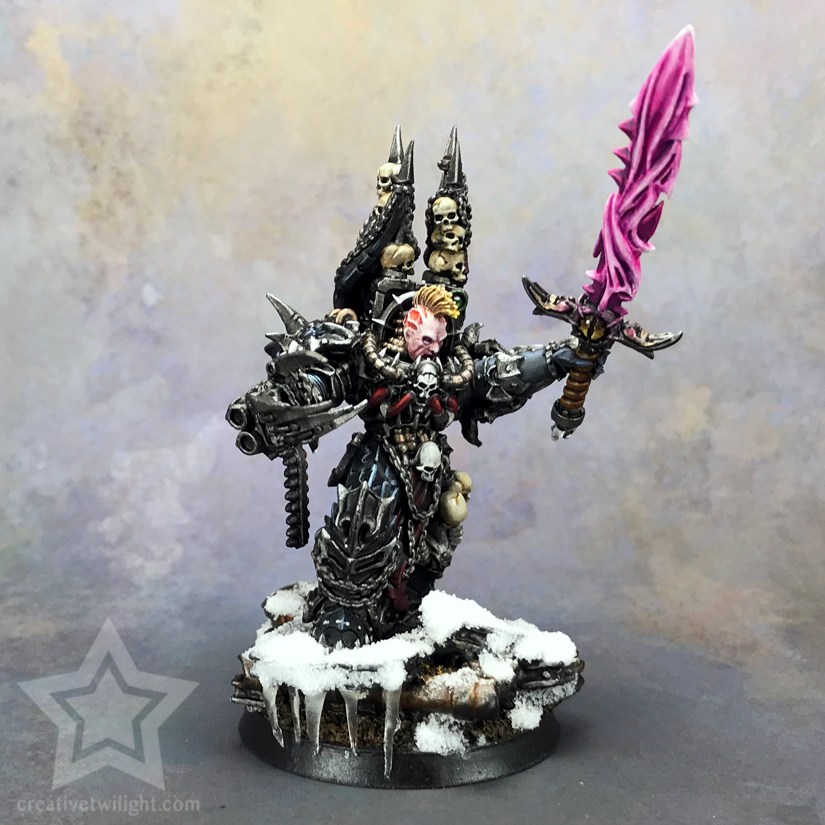
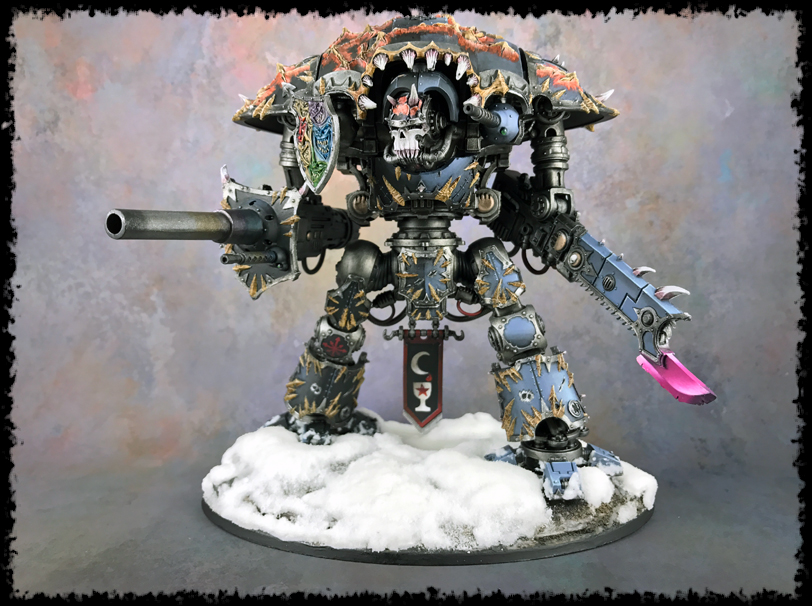
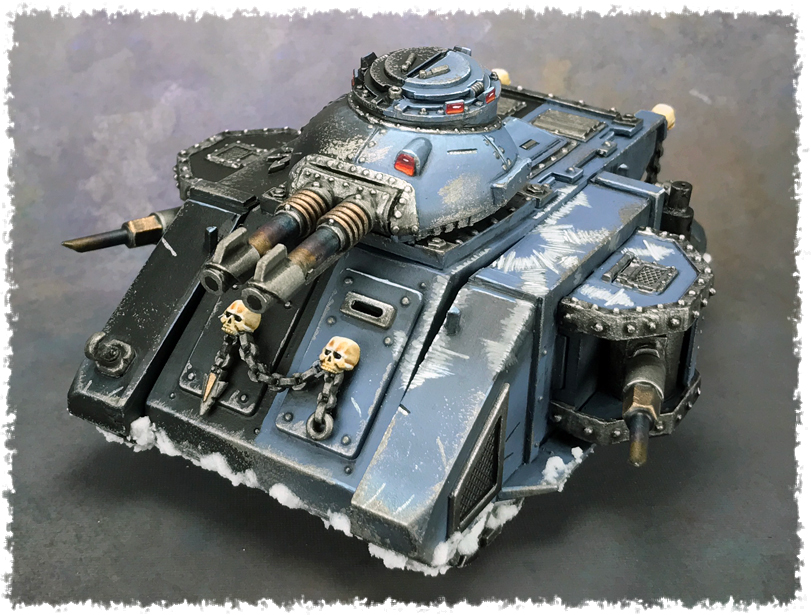
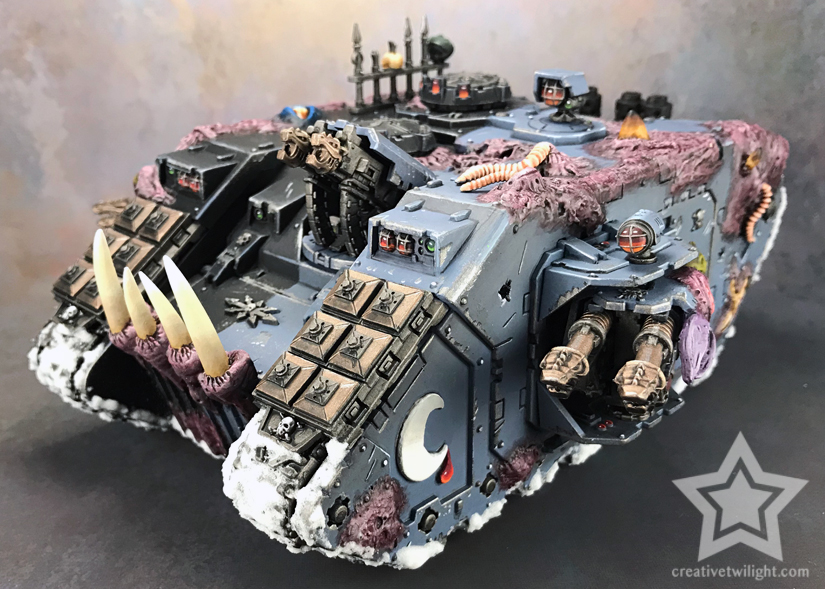
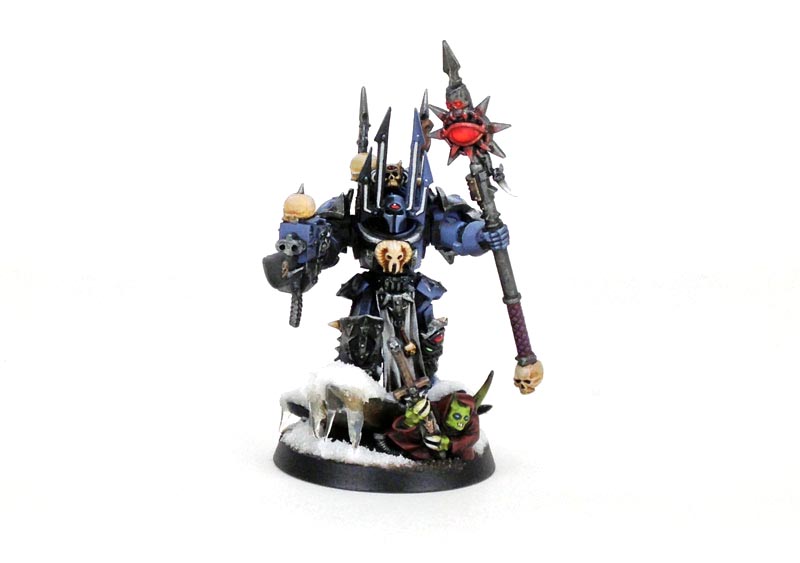
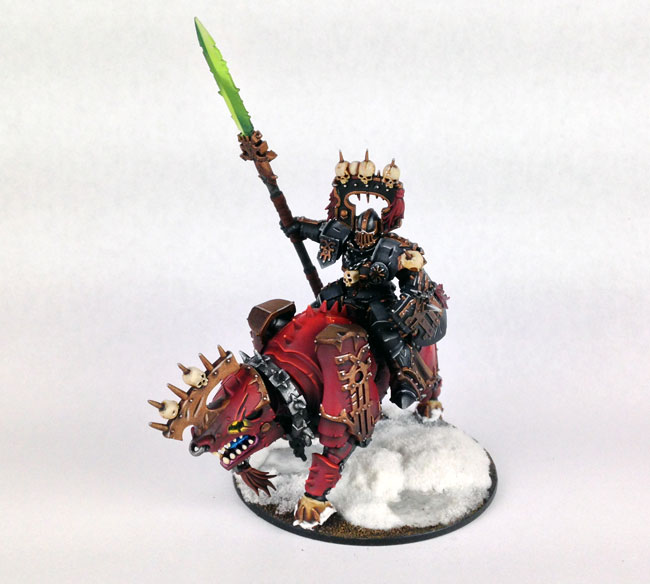
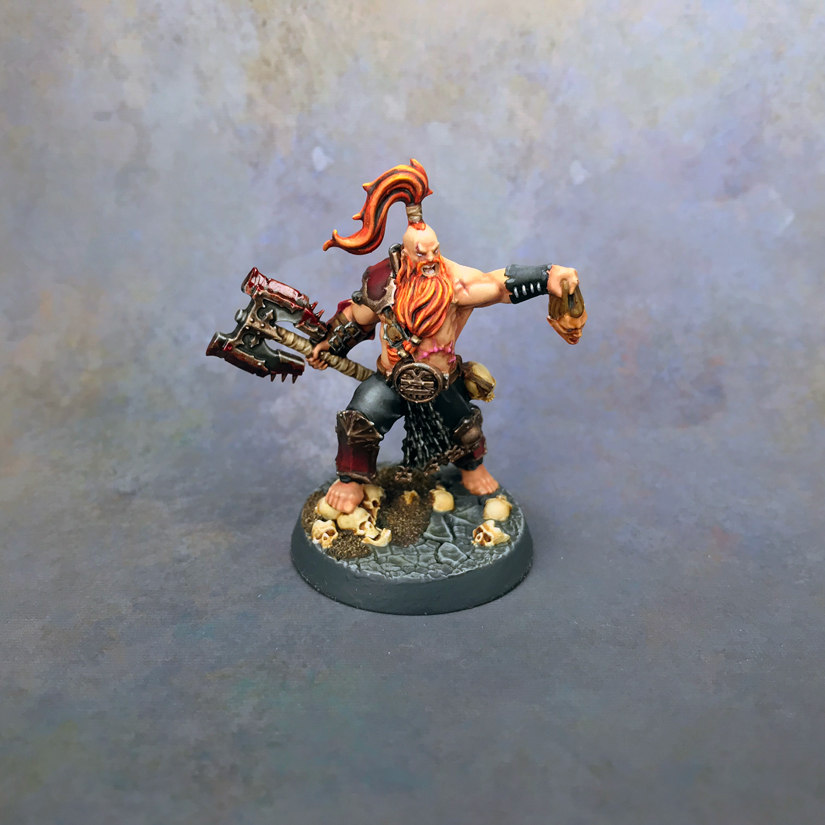
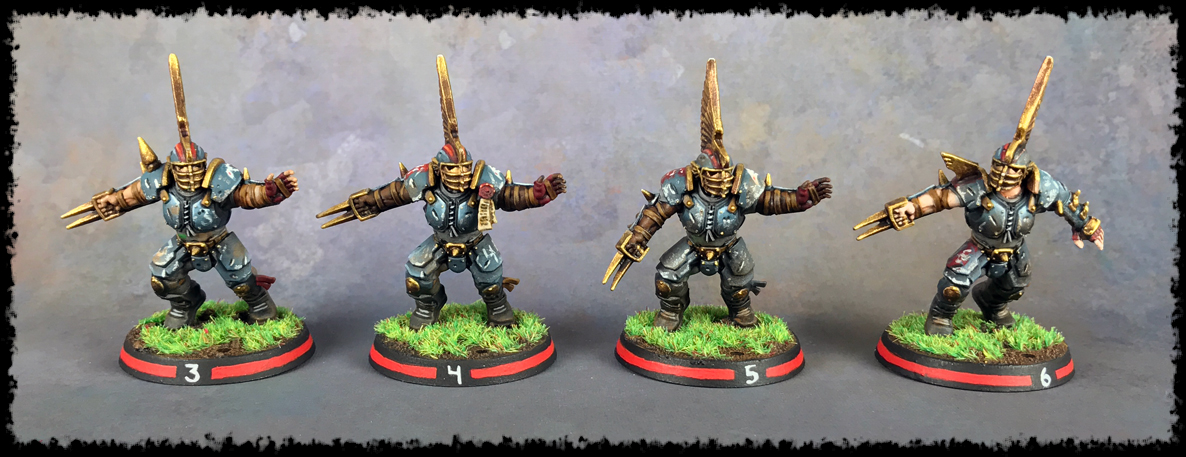
While it’s obvious some of those models are from the same army, overall I feel that my painting style conveys the grittiness I’m after, and layered blending plays a part in that.
Now, don’t get me wrong. I’m not saying that my blending on any of those models is terrible. In fact, I’m quite proud of some of the work I’ve done there, just that the technique suits my style.
Also, you can create some damn flawless blends with layering. With enough thin layers you can make any transition smooth. However, it’s more my style to be grittier with it. It’s not a failing of the technique itself – just to be clear.
Easy to Learn & Control
Style aside, the layering method is probably the easiest of the miniature blending techniques to pick up. As I said, if you know how to do basic layering then you can do this for blending.
Along with being easy, I also find it offers the most control. Wet blending and loaded brush techniques can be random and chaotic by comparison. With layering you’re laying down precision layers.
The Downside
There is, of course, a downside to layering, and that is that it can be very time consuming. Laying down countless translucent layers of paint in succession takes time if you want great blends. You can do less layers, have a rougher transition, and save time if needed.
I tend to walk the line between speed and smooth transitions. Meaning, it’s a good tabletop blend, but it won’t win any Golden Daemon awards, and that’s fine with me. My method is what I’ll be teaching of course.
Disclosure: Some of the links below are affiliate links, meaning, at no additional cost to you, I will earn a commission if you click through and make a purchase. The commission earned helps maintain this site.
What Brush to Use for Miniature Blending?
What you’re layering is going to dictate the size brush you use. If you’re working on the big armor panels on a tank then you’re going to want a large brush. If you’re working on a sword then you want a smaller one.
When I learned to blend, I would say that about 90% of the blending I did, I did with a Citadel Medium Layer Brush. It’s a good size that you get coverage and precision for most things on a 28mm scale model.
For the smaller parts of a 28mm model, like straps, buckles, etc., I used the Citadel Small Layer Brush. I’ve just had really good luck with the Citadel brush line.
Update: I have since upgraded to using the Raphael 8404 series brushes and I love them. It’s an expensive investment but well worth it.
I also have a guide to miniature paint brushes that covers this topic in more detail.
How to Blend Miniatures with Layering
The basic concept of advanced layering, to reiterate, is to take thin, translucent layers of paint and to apply them in succession on a model, but where do you start?
Base Coat
You want to start with a base coat. Now, what you use for a base coat is going to depend on the colors you’re using and the result you want. I won’t explain this in-depth because it’s something you’re going to quickly learn as you start using this technique. I find experience to be the best teacher.
As a general rule though, my base coat will be a shade under my primary color.
All images can be clicked to enlarge.
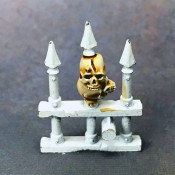
So, in this demonstration my primary color is a Vallejo color called Hot Orange, which would be like GW’s Troll Slayer Orange.
My base coat is Terracotta, also a Vallejo color, as that’s the color I like to use to shade this orange. It’s not the darkest shade I’ll use, just one shade under the orange I’m using.

You could use any darker color. GW has some darker oranges that are actually orange, like Fuegan Orange or Jokaero Orange, where my Terracotta is a reddish-brown. However, I didn’t like the look of the darker oranges, so I tried Terracotta and loved the result.
That’s one thing I can’t stress enough with painting, just experiment with colors. Sometimes the non-traditional choice makes for a far better one. Play and learn!
Painting the Mid-tone
I start by taking some thin Hot Orange and creating a layer at the top.
Now, I didn’t thin the orange a lot. It is thinned out though – always thin the paint out. There’s a few reasons I didn’t go super thin here.
Orange is hard to work with. It’s one of those colors, like yellow, that is tough to get solid coverage from. It takes a while before it doesn’t appear spotty, which you’ll notice it does in the image.

Some colors are a lot easier to work with. In particular, I find reds to be great to blend with. With reds I can often start blending immediately without preliminary layers.
How you approach this will again depend on your color choice, and you’ll learn that through practice.
So, by not starting too thin I’m able to get a foundation to build on. I’ll use thinner layers to smooth that out going forward though.
The other reason is that, as a general rule, it’s easier to darken colors than to lighting them with blending. I can start a bit thicker on the mid-tone, the orange, knowing that I can easily create the blend with the color I use as a shade.
Also, this is just how I do it. If you want the blends perfect then you’re going to be using very translucent layers and just keep building them up. However, I try to take shortcuts where I can with blending, and starting off a color a bit thicker is one of them.
I won’t teach you how to do layering flawlessly to win national painting contests, but I’ll at least get you setup on the road should you choose to pursue it.
More Layers
So, now it’s just a matter of continually adding layers of orange to smooth it out at the top, and also to create the blend.
To explain a bit here since I know I keep saying “more layers”.
Each time I’m doing another layer of thin orange, what I’m doing is starting it the layer out a bit further down the plate, more towards the bottom. Each layer extends a bit beyond the previous.
So, if you look at the brighter side (right), that first area would be layer #1. The next area, to the left, would be my second layer. Keep going left for each progressive layer.
This does two things. One, it creates that blend where two colors meet. Two, it smooths out the layers under it, making my orange cleaner and brighter because each time I start that layer out further and keep bringing it back to the start.
I suppose that’s the trick worth pointing out. Each time you keep bringing that layer of paint back to the beginning, covering all the layers previous. That’s where the smoothing of the blends is done, layer upon layer.
How Thin Should the Paint Be?
How thin you make your colors for shading, or blending is general, is another thing that’s best learned through experience. Some colors blend easier, require less thinning, where others have higher pigmentation and require more thinning.
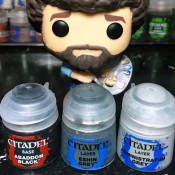
You can thin you paint a number of ways. You can use a bit of water that you mix into your paint on your wet palette. A wet palette is something I recommend in general, especially if you’re going to be doing miniature blending. I have a tutorial on making a wet palette that’s easy and cheap.
GW also has something called Lahmian Medium which works great to thin out paints and to make glazes. I swear by this stuff. I also have a tutorial that covers glazes in more depth as well.

Those are the two I use, though you can definitely find other recommendations. For what I’m doing here, it’s all done with water. I tend to only use the Lahmian Medium when I’m aiming for really smooth blends.
As far as how thin, basically you don’t want to see any paint on the brush. It should be translucent, which makes the brush look wet.
What I do is load my brush up, brush it against my wet palette a few times to remove excess, and then give it a quick dab on a paper towel to make sure there’s no drops of water in there that will run out when I start blending. Often I’ll then run it over a finger nail to make sure it’s the right consistency before I apply it to the model.
Also, how thin is going to depend on how smooth you want your blending. The thinner, and in turn more layers of paint, the smoother. You can thin it out less, require less layers, but it won’t be a flawless blend. I generally do the latter just because, as I’ve said, I like the gritty look it gives.
Ultimately, it’s experience that’s going to guide you. I can’t say that enough; just try something, fail, and keep at it until you get it. It’s through those failures that you learn how something works, get an intimate understanding that you otherwise would not have if someone told you exactly how to do something.
I’ll guide you, but I’m not going to give you a precise recipe. That’s for you to figure out.
Where to Start Your Brush
I once took a painting class with Todd Swanson, who is an amazing Golden Daemon winning painter. This was where I learned the basics of miniature blending.
The biggest thing I learned in his class was this. When you’re blending, you want to start your brush at the point you want the least amount of paint, and you stop where you want the most paint.
If your brush is properly loaded, meaning the paint is properly thinned and you don’t have too much in your brush, then the starting point of the brush will contain the least amount of paint. Where the brush stops will have the most because the brush will deposit it there by the nature of you dragging a brush towards that point. Make sense?
This is a critical thing to know for blending and will save you a lot of headaches.
The Reach Down
Now that the orange is smoothing out well, I start adding a few layers where I reach down further.

The reason for this is because I want to set up the shading. I paint the orange further down than I want it knowing that I’ll use the darker shade to blend the colors together. That will in turn shorten how far the orange comes down. You’ll see.
Blending Out the Mid-tone
Once I have the orange where I want it, I start working on the layering and blending the two colors together.
If you’re wondering why I didn’t base coat the model with the orange, the reason is because of the shading. I really wanted to push the shading pretty dark. So, I primed my model in black and did the Terracotta base coat, which gives it darker tones.
Had I base coated in the orange, and then blended it down into the Terracotta shade then the shading wouldn’t be as dark since it’s over a lighter color.
Anyway, what I do here is to take thinned out Terracotta and apply it starting on the orange and dragging it down into the base coat. I do this a few times to smooth out the transition.

Again, I like quick and dirty blending, so I call it good where you see it above. I could do thinner layers and really make a really smooth transition if I wanted.
The Final Shade
The darkest color I go to is Rhinox Hide, which is a very dark red-brown. This is an amazing color to shade reds and oranges. Actually, it’s great to shade damn near anything really.

Like I did with the orange to start, I begin with a relatively strong layer, but of course this time it’s at the bottom. I then do a few thin layers of Rhinox to create the blend, each time reaching a bit further up and pulling it down.
Highlights
There’s one final blend I’ll be doing and that’s the highlight. For this I use Fire Dragon Bright.

No surprises here, some quick thin layers near the top.
I’m focusing on the very edge area. Basically, if you’re familiar with how GW likes to do edge highlights, a thick edge highlight followed by a thinner one, this would be like that thick edge highlight, only I’m blending it instead of layering it.

I then do some edge highlights. Most of it’s done with Fire Dragon Bright, but I also mixed in some Screaming Skull for the brightest highlights you see.
Step Back
The biggest favor you can do for yourself with miniature blending, through the entire process, is to step back and evaluate. When you hold a model inches from your eyes you’re going to see everything – every little mistake, blends not being perfect, everything; it’s brutal.
Instead, hold the model at arm’s length and look at it. Unless you’re painting for competition, arm’s length is how people are going to see it. Don’t kill yourself trying for flawless perfection, especially as you’re learning.
So, here’s a shot of the part I worked on at a distance more suitable for gaming. I think that looks pretty damn good like that. I know it’s not perfect, the close in shots I’ve done show that, but what I see at this distance is great.

Size Does Matter
One reason I picked the small armor plate I did for this tutorial on layering was because of its size. Smaller pieces, I find, are easier to blend. Not so perfect transitions aren’t all that noticeable.
Now, if you’re working on a larger part, say the chest area, stomach, or the big plate on the Orruk’s back, then things become much more apparent to the eye. You have to work a little harder to smooth out the blends so they aren’t so jarring.
So, my recommendation if you’re learning this technique is to start small. Do some small areas, build up your confidence, and then try and tackle bigger pieces.
Putting it All Together
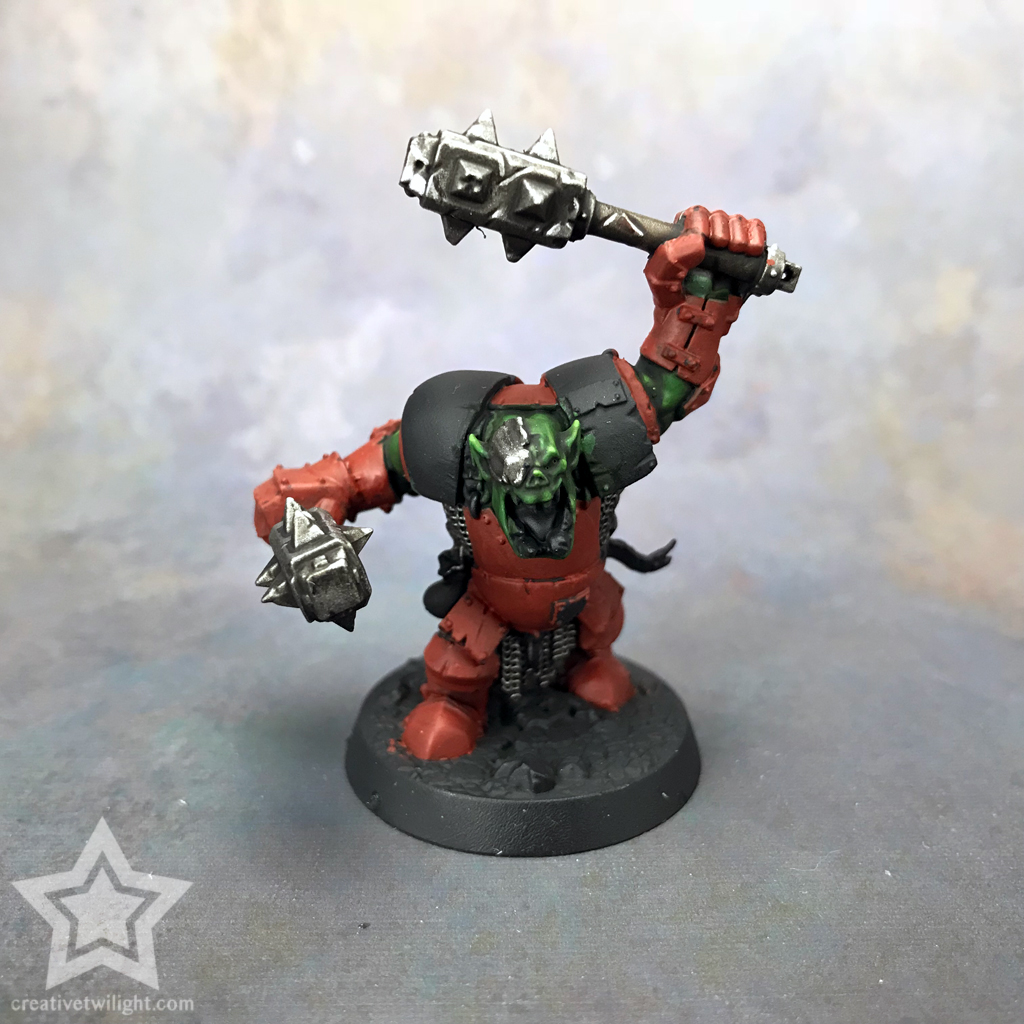
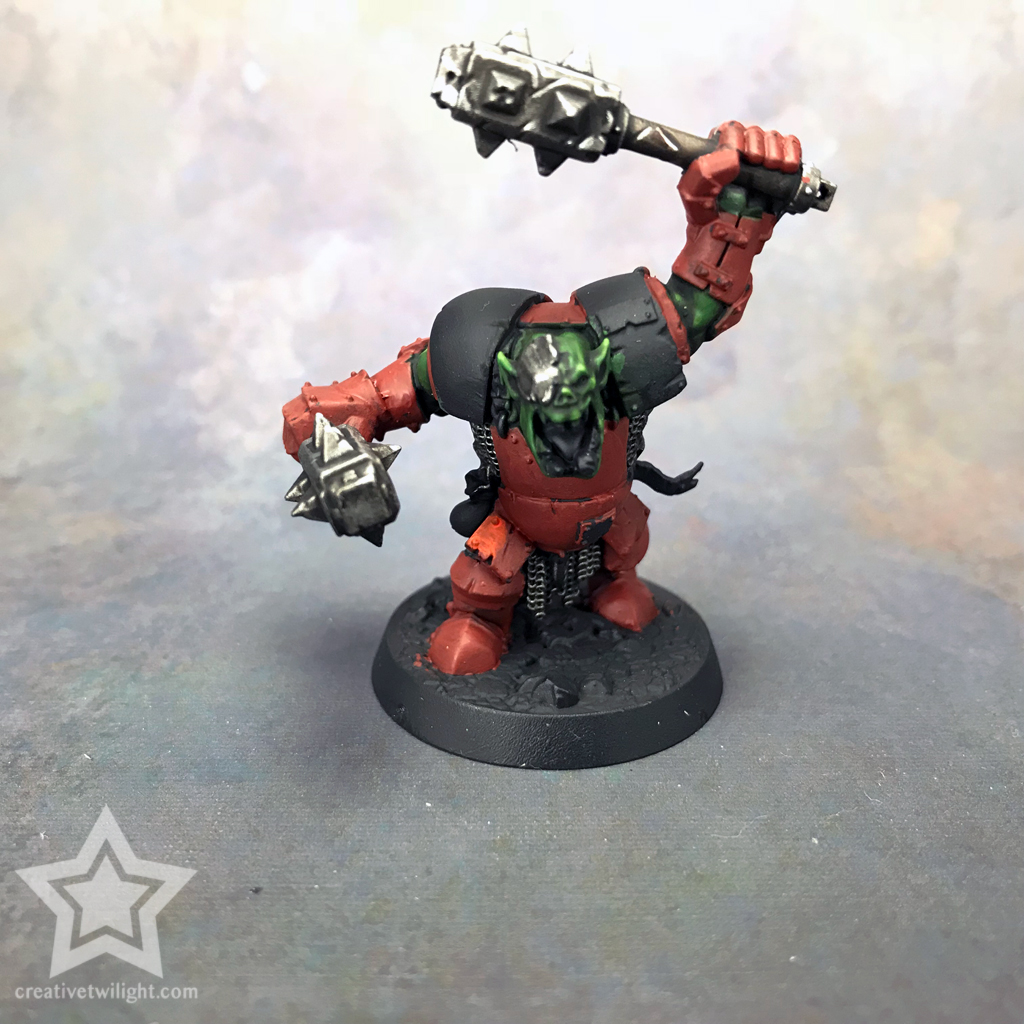
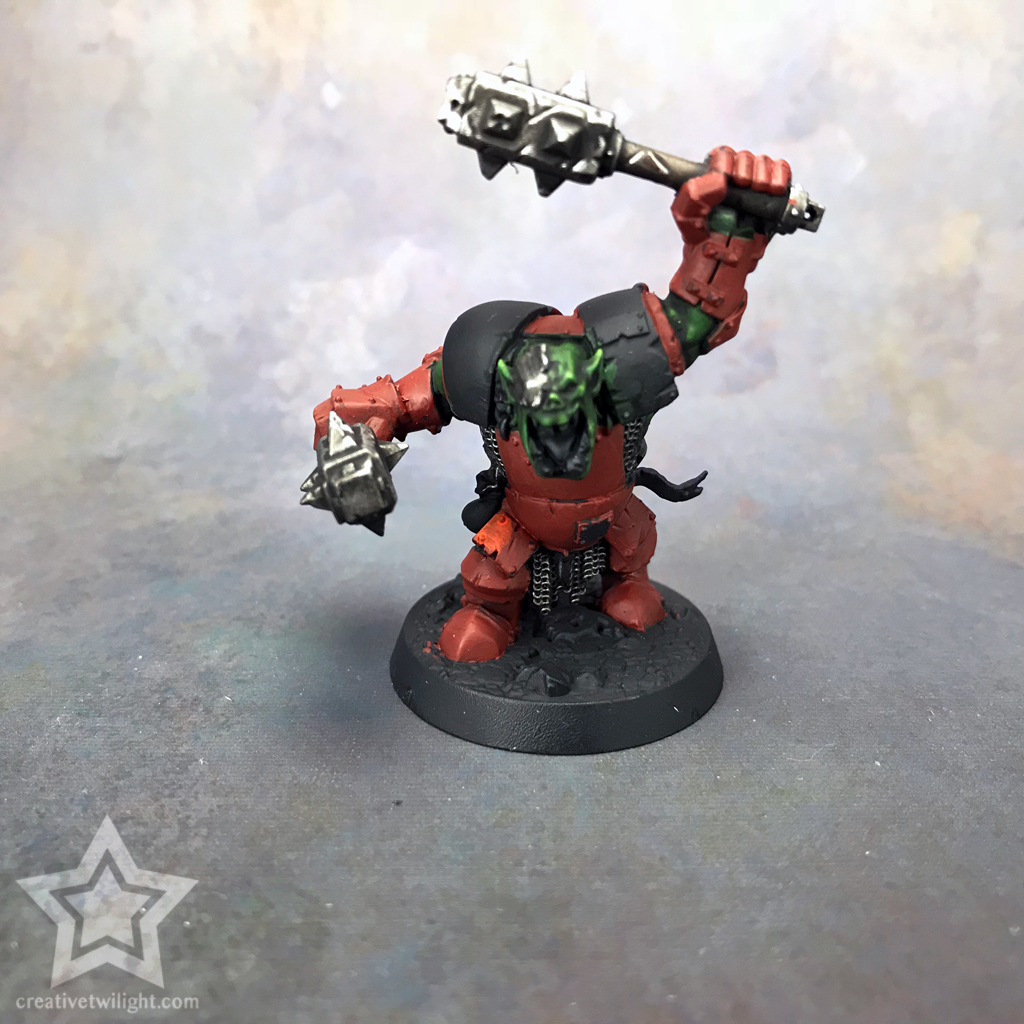
Below is a shot of another Orruk (Hakka) that I painted. I want to show you how it all comes together as a whole.
The finished model has some battle damage and weathering, but you can of course see the overall blending too. I do have a tutorial on painting battle damage if you’re curious.
One of the big things I learned with miniature blending is that each part on a model is its own element. You paint each single part as an individual with its own shading and highlights. How each part would highlight and shade is going to be unique.
So, don’t look at the model as a single thing, instead see the parts that make it up. If you treat it as a single piece with top part brightest (head and shoulders), fading to a mid-tone near the torso, and darkest at the feet, then it will just look wrong.
More Examples of Miniature Blending
I did a tutorial on how to paint lava that shows the process for miniature blending I did there. Every piece you blend is going to be a bit different, so if you’re looking to absorb some more info on the subject, then definitely check that one out.
Also, once you get the hang of blending then you can do cool things with it like painting OSL. Blending is the foundation of so many advanced painting techniques.
Painting NMM is also a matter of blending. Once you get the hang of this then you can easily start painting NMM.
This can be used for painting a power sword as well. It’s actually in painting power weapons that I first began learning about miniature blending.
Here’s the video I did for that power sword tutorial. You can see how I do the blending, same as I showed you above but on camera, which I know makes it easier to learn new techniques.
Conclusion
I do hope this proved useful.
As I said earlier, I don’t want to tell you how to do advanced layering. I wanted to show you what I do, give you some tips, and get you started. I find painting is just that much more gratifying when you finally figure something out and it clicks.
Remember, failure paves the path to success.
Layered blending, or glazing isn’t the only way to blend. There’s a lot of other miniature blending techniques. I have a tutorial on painting flames that uses a wet blending technique. It’s a bit sloppy but does the trick for that particular job.
Another popular form of blending is loaded brush and Pirate Monkey Painting has a great tutorial on that. In fact, there’s a lot of great painting tutorials on there worth checking out.
If you got this far – congrats, and you’ll probably find my article with tips to improve your painting useful ;) That article is more of a motivational piece than it is about technique or skill. You can learn technique and improve with experience, but you have to be in the right mindset as well.
For more help with painting check out the links below. There is also a comprehension miniature painting guide I’ve put together with lots of great information and resources for all things painting.
Also, I’ve got a great list of painting supplies every painter needs if you’re newer and looking for advice. The list covers the very basics, as well as some nice to have stuff that you may never have thought of. Having the right tools for the job is essential.
Have you tried blending yet? Is there something more about blending you’d like to see me cover?
Miniature Painting Techniques & Guides
Learn the basics, as well as the advanced techniques, of miniature painting.
I love painting miniatures and teaching people how to paint. I also really love blogging, so I've combined those two passions here.
- Creative Twilight’s Future and My Thoughts (Feedback Welcomed!) - December 4, 2021
- My Top Gift Ideas for Miniature Painters & Hobbyists + Gifts to Avoid - December 2, 2021
- The Year That Was 2020 and Where I’ve Been - January 17, 2021
I enjoyed the article but I think you’ve got your terms mixed up. Feathering is when you use a colour, and then feather it out by either using more water, or another colour, from the edges. What you’ve described in great detail here, is simply layering, glazing also uses an identical method, just very thin layers of paint, usually 1/20 parts paint/water or medium.
Well, that’s embarrassing. That’s the term a person used when I was learning to blend that way. I do see what you’re saying on proper feathering though, just looked up the correct term.
Thanks for the correction. Embarrassing but better than having it wrong and being embarrassed that way.
Well, that’s embarrassing. That’s the term a person used when I was learning to blend that way. I do see what you’re saying on proper feathering though, just looked up the correct term.
Thanks for the correction. It’s embarrassing but better than having it wrong and being embarrassed that way.
Np Thor – keep up the good articles :)
Thanks, and hopefully the other ones (articles) use the proper terms ;)
Np Thor – keep up the good articles :)