At one point or another, we all find ourselves wanting/needing to paint lava for our miniatures. It’s a great way to add a big visual impact to the basing of your miniatures, or to the miniature itself if it’s a molten daemon, IE: Avatar of Khaine.
Today I want to show you how to go about painting your own lava. It’s pretty simple to do and only requires a few paints. I’ve got two levels of tutorials as well: beginner and advanced.
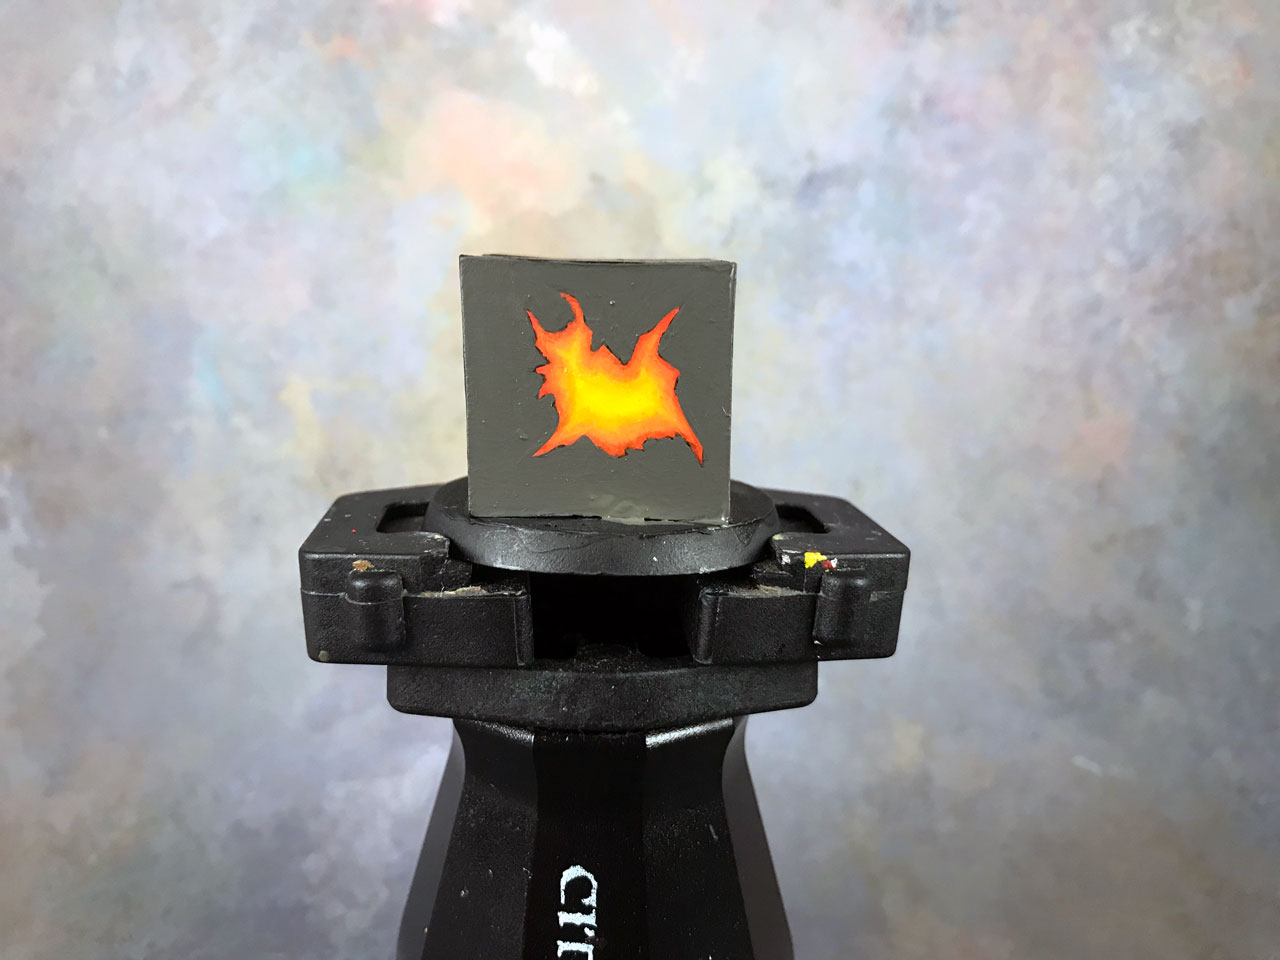
Painting Lava
The basic principle you want to adhere to with lava is that it’s brightest in the middle. The lava cools towards the sides where there’s less of it, but in the center where it’s more massed up it emits the brightest glow.
What I’m going to show you is how to paint a simple lava pool. There are other techniques out there for creating a more molten look, where you see cooled off areas (black or dark grey) within the lava creating a variegated look. That’s an awesome look, but today we’re aiming simpler.
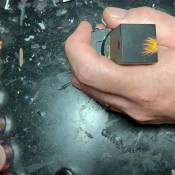
I’ll be painting up Cubie again for this tutorial. So, I’ll be painting a flat surface, however, the technique is no different if you’re painting in the recesses of a base or something else.
Disclosure: Some of the links below are affiliate links, meaning, at no additional cost to you, I will earn a commission if you click through and make a purchase. The commission earned helps maintain this site.
How to Paint Lava
Time needed: 10 minutes
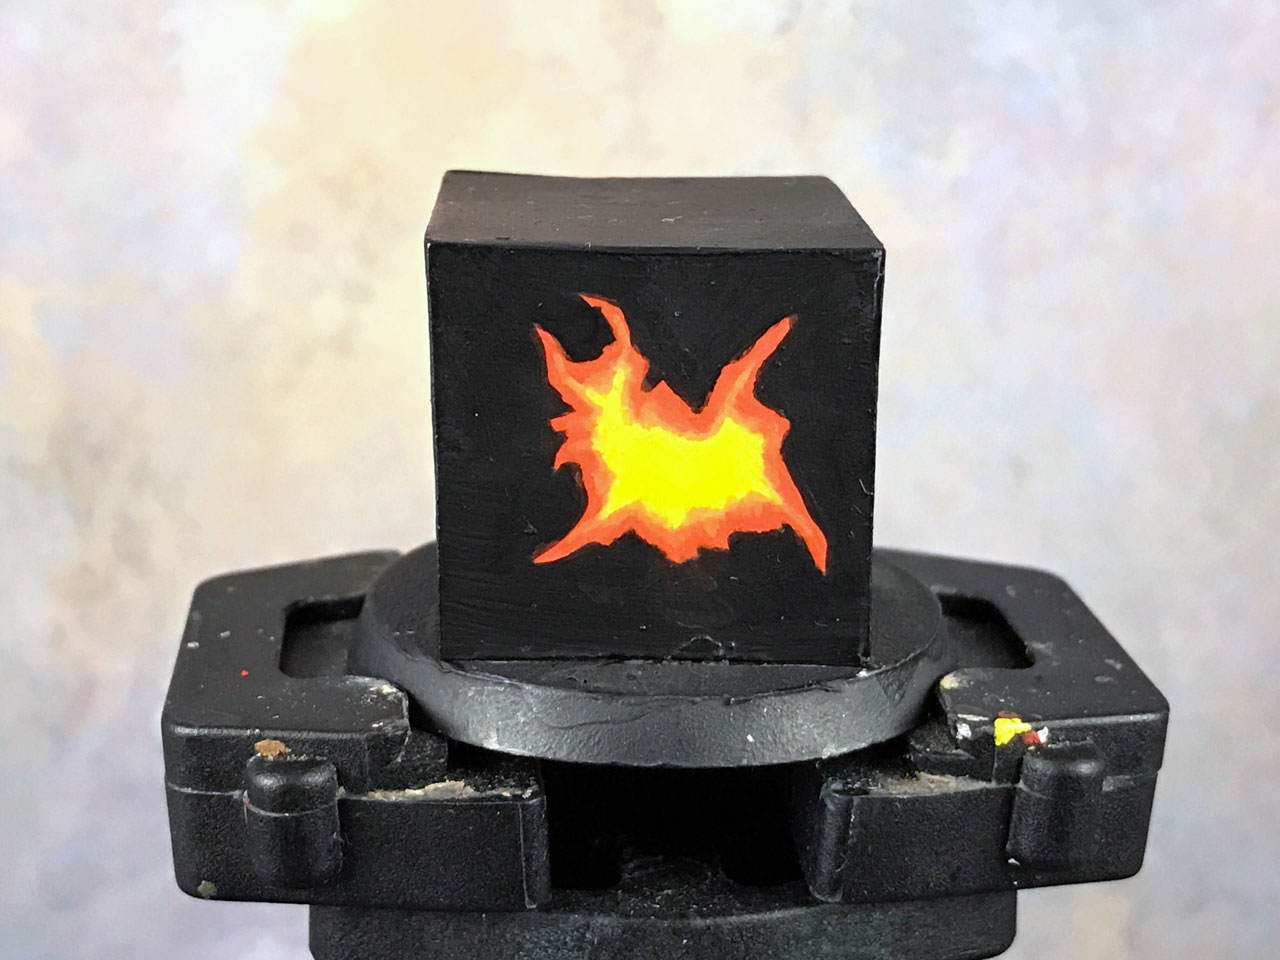
While I refer to this as for beginners, this is the process I use even when I’m doing the advanced version, which you’ll see below. The difference is that the advanced version builds on this, so you’ll want to start here regardless.
- Paint Your Base Color
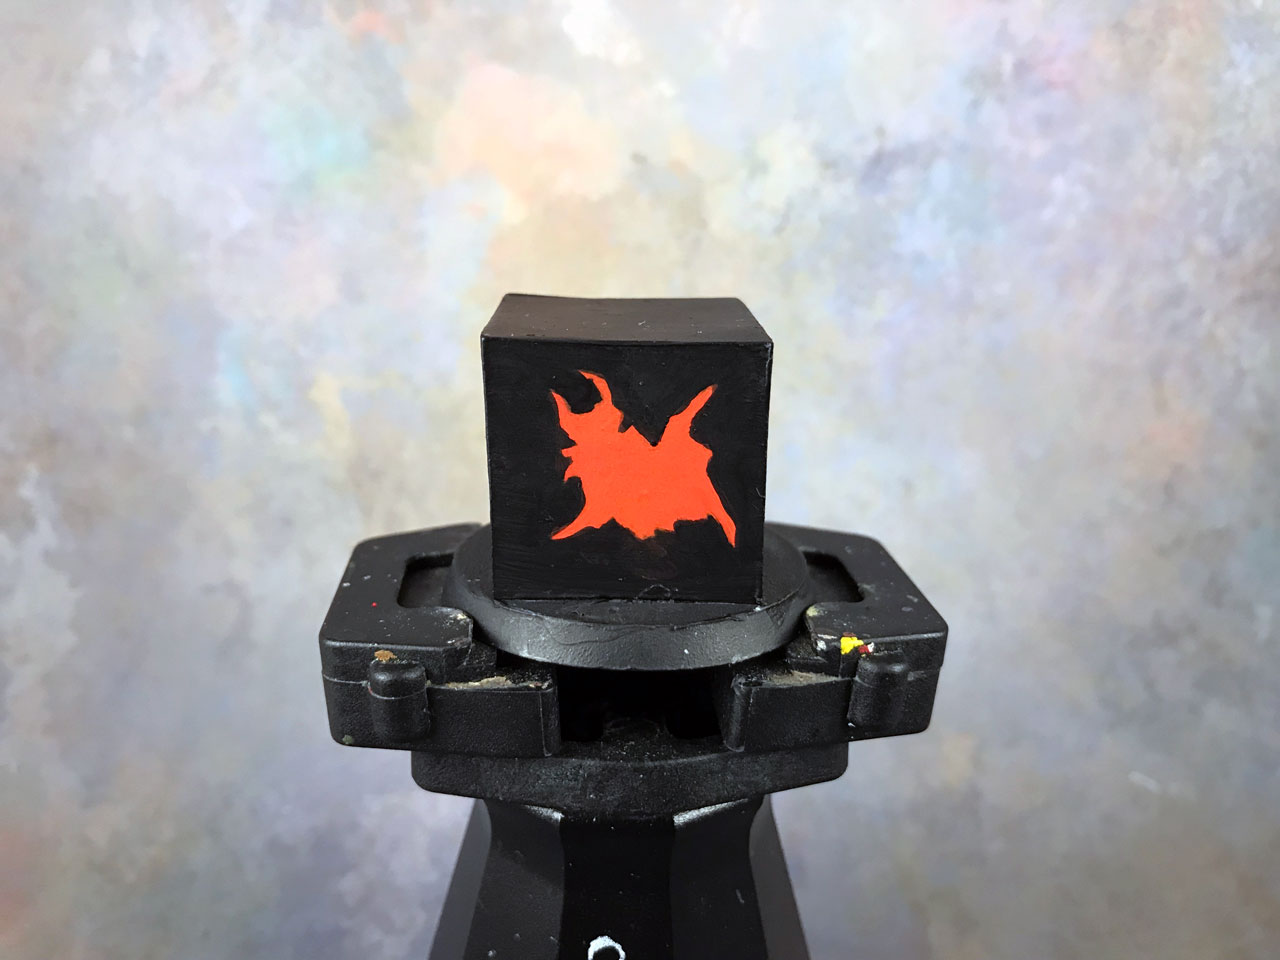
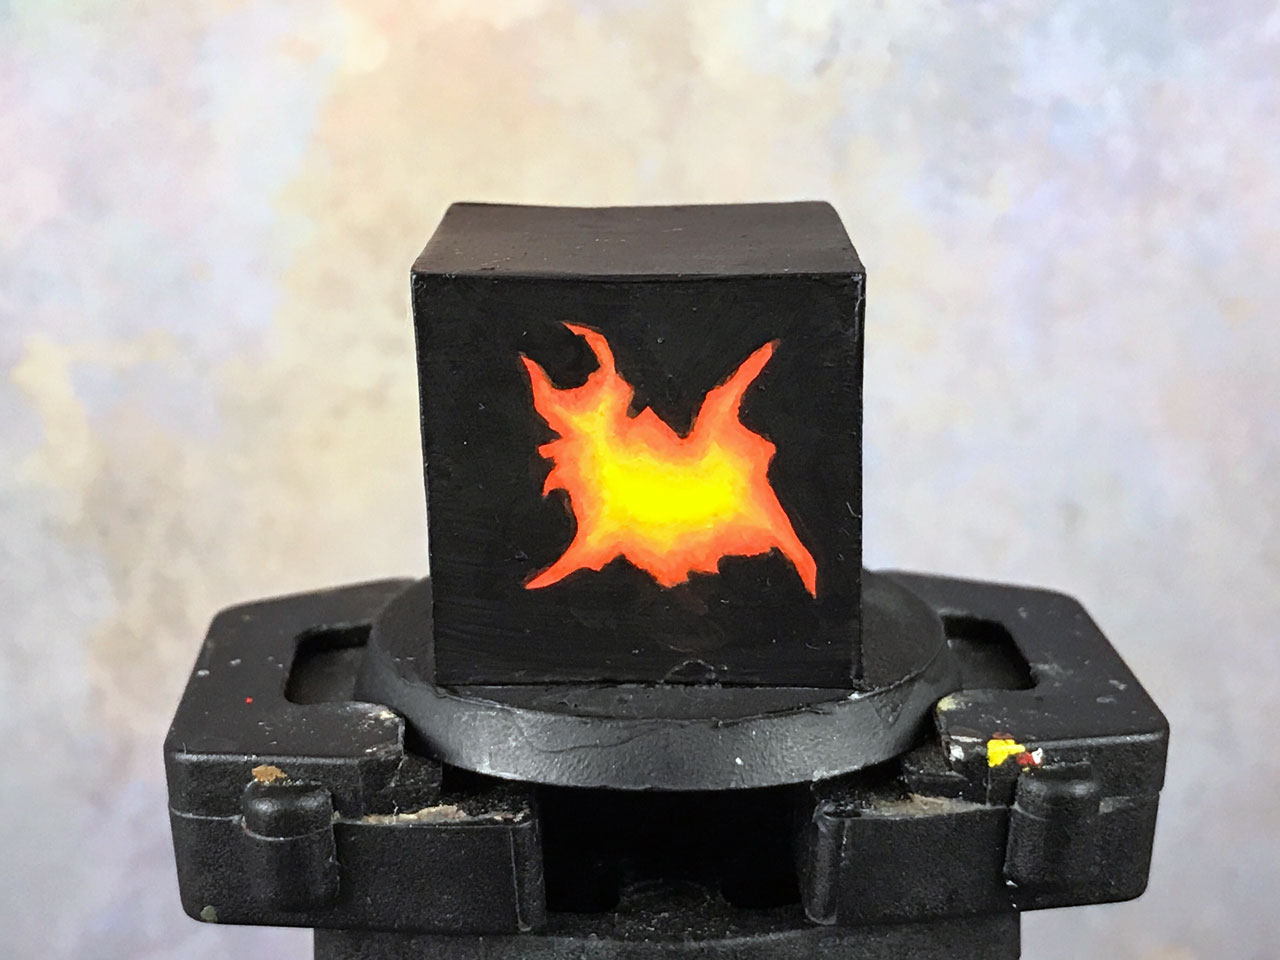
To start I’m going to lay down a base coat of Hot Orange (Vallejo). This takes quite a few thin layers since I’m painting over black.
The only reason I’m doing this on black is the visual impact. I would suggest starting over a white base coat/primer if you can to make this stage easier.
We’re going to assume that the area I’m painting is a recessed part of a miniature’s base. - Get a Bit Brighter
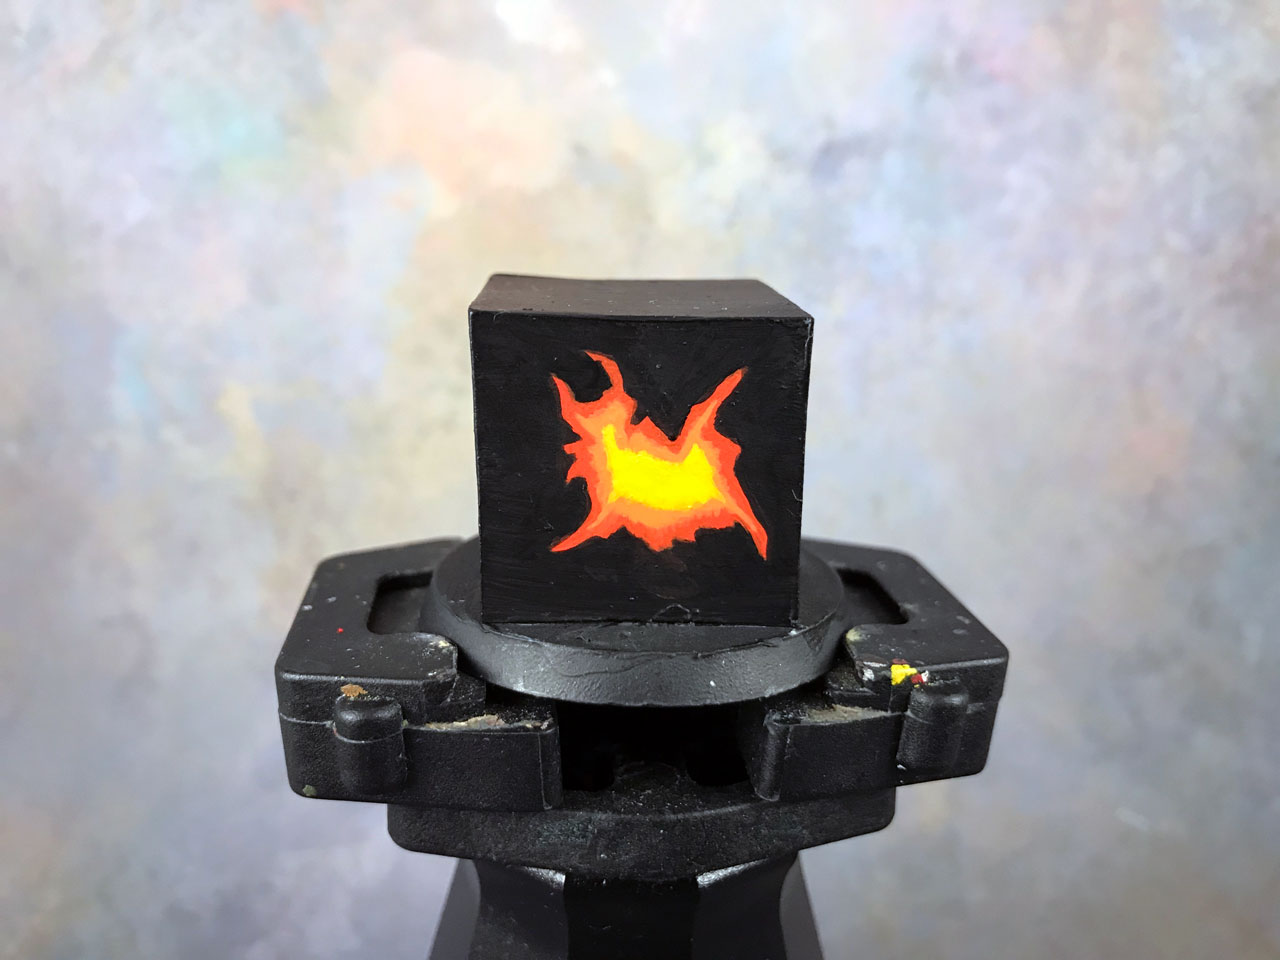
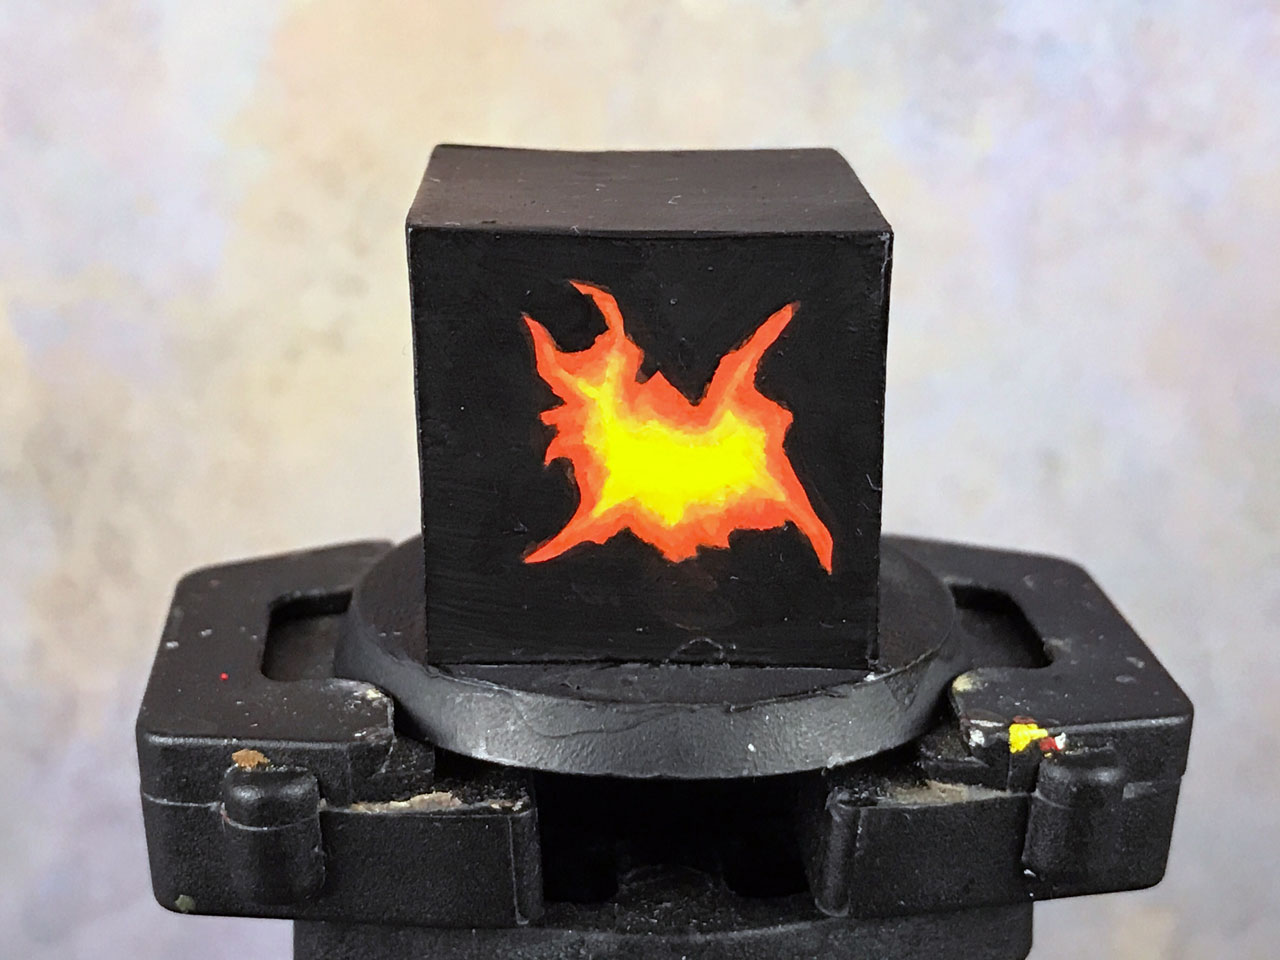
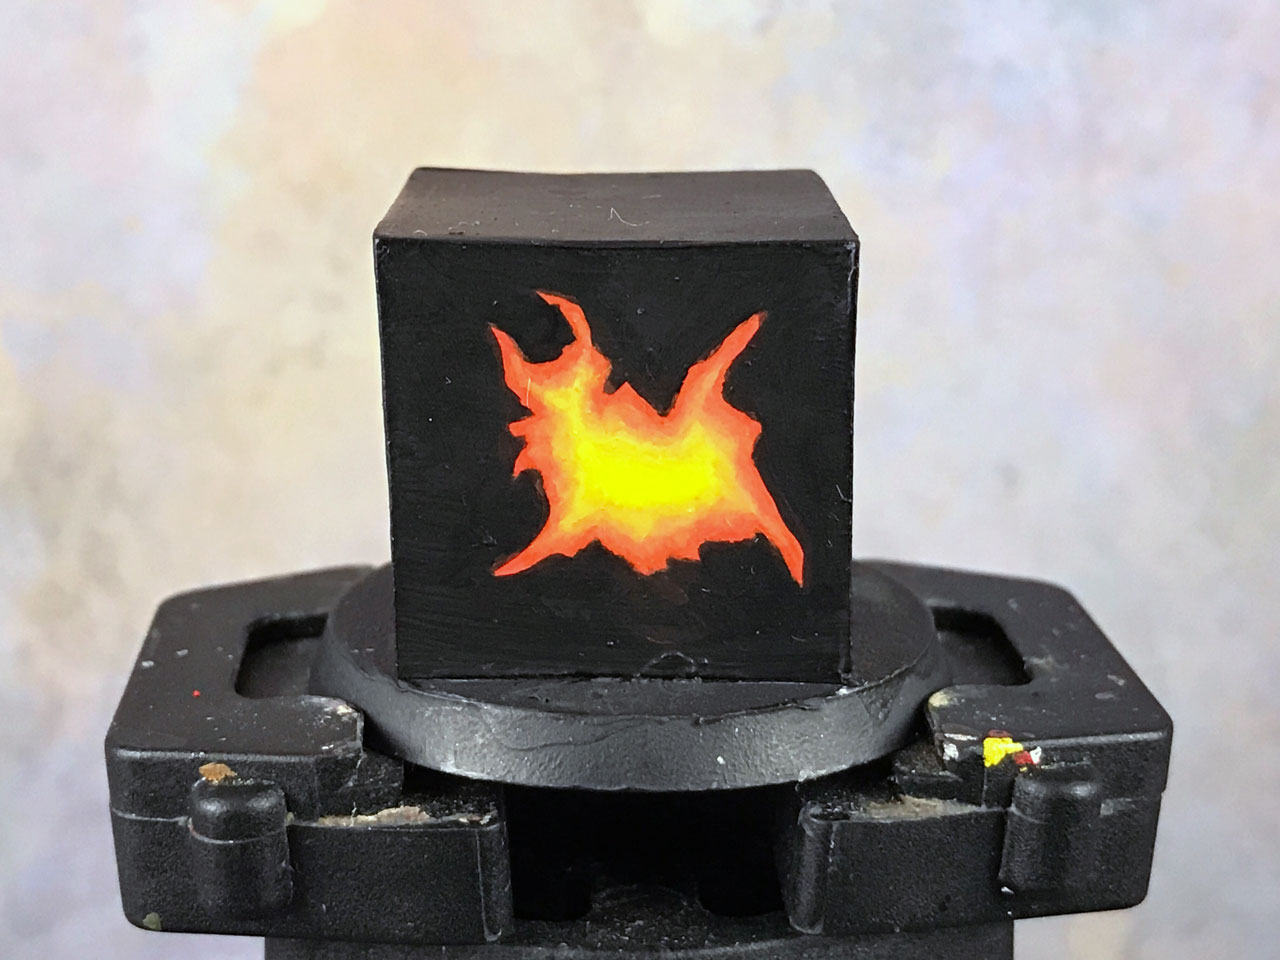
Now I add a layer of Fire Dragon Bright while being sure to leave some of the previous layer visible.
The thing you should try and do here is not paint completely straight lines for this layer. This is personal preference, but I find if you make it jagged and uneven then it looks more convincing. Straight lines of layers of paint just looks too clean. - The Final Layer
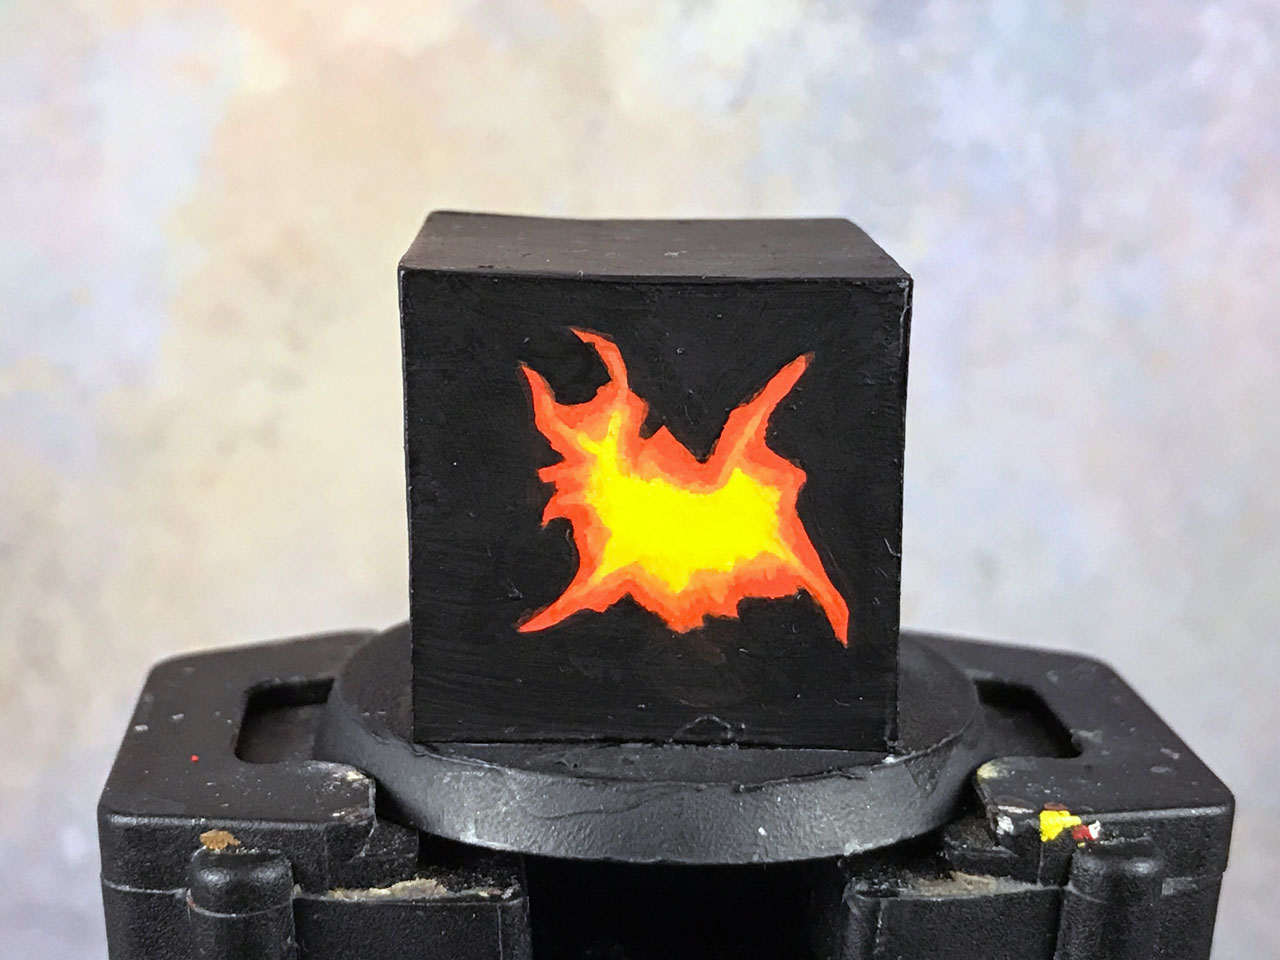
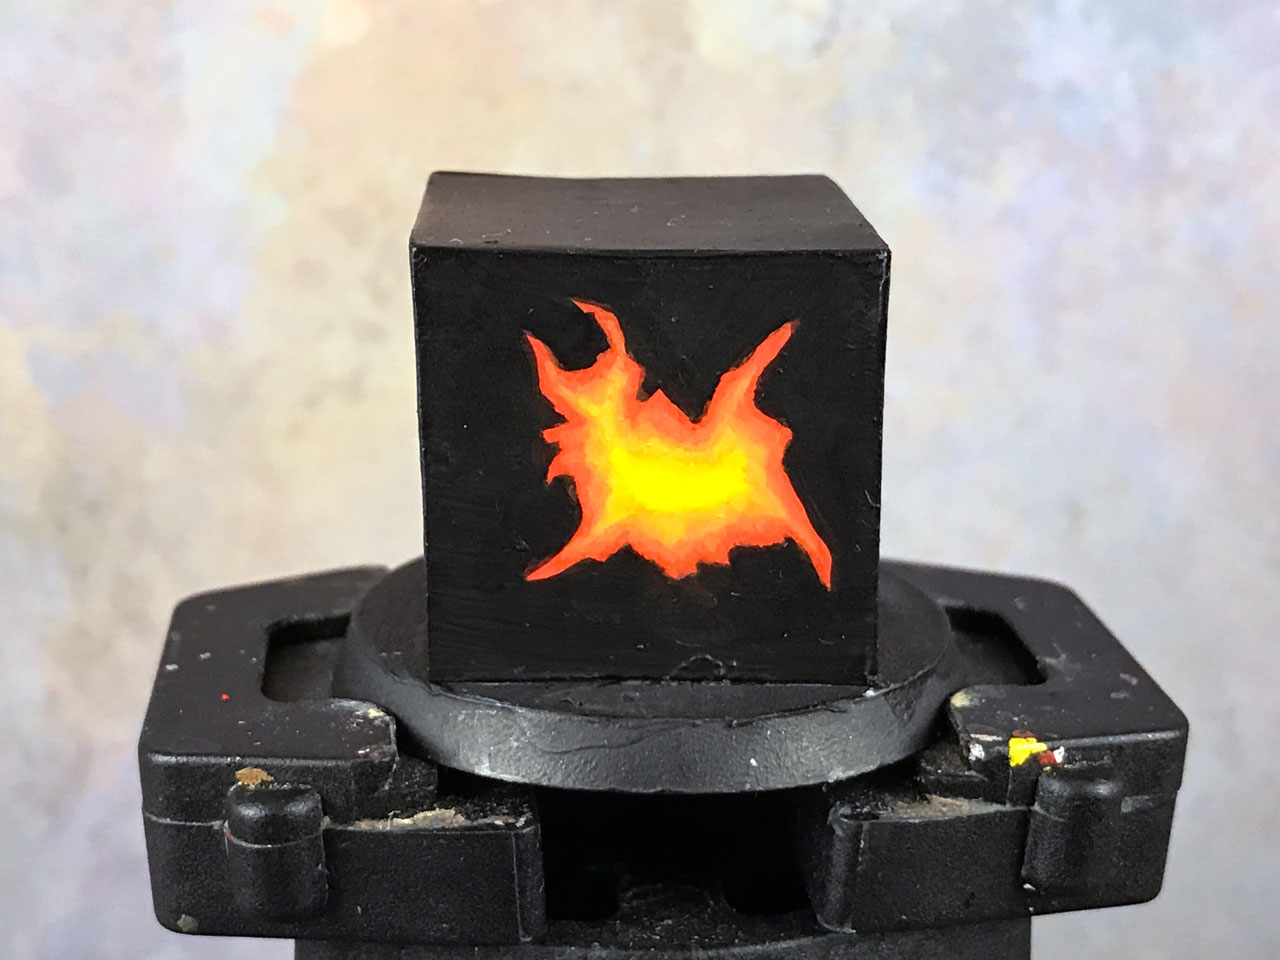
The final step is to add in the yellow. For this I use Flash Gitz Yellow and do the same as before.
- Make Adjustments as Needed
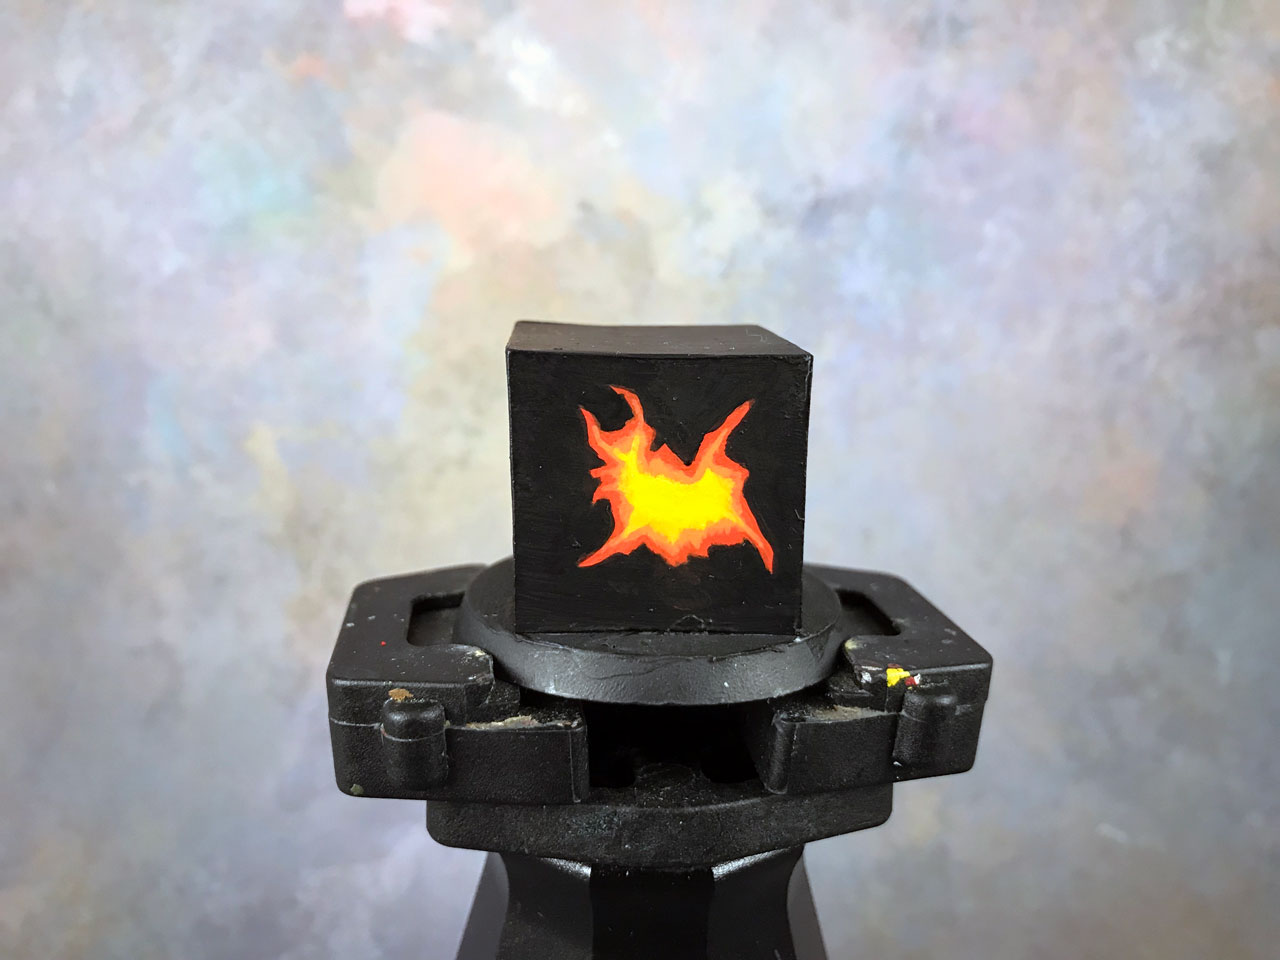
At this stage I’m done, however, I decided I wanted to push the yellow out some more; it felt too confined. So, pushed the Fire Dragon Bright out a bit more, and then I pushed the Flash Gitz Yellow out some more to get a shape I liked more.
Much better. It looks more random and less intentional.

That’s it! If you want quick and easy lava then you can call that done. However, if you want to step up your painting game a bit then read on.
Advanced Lava: Stepping it Up
I’m going to use what I did in the beginner tutorial and show you how you can improve it.
To improve upon the layered version of the lava I’ll do some blending. I’m going to smooth out the transitions in the layers so it flows better (no pun intended).
Now, I have a tutorial on the process I use for blending, but I’ll go over it quickly here as well.
The basic principle of blending is to pull from one color into another to create a smooth gradient, a blend. It is often much easier to blend a lighter color to a darker color.
So, for this what I’ll do is start by blending out the mid-tone, that bright orange. I load up my brush with a very thin layer of the darker orange, place the brush lightly onto the brighter orange, and pull back into the darker orange.
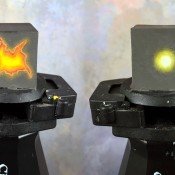
Here’s a picture to show the concept.
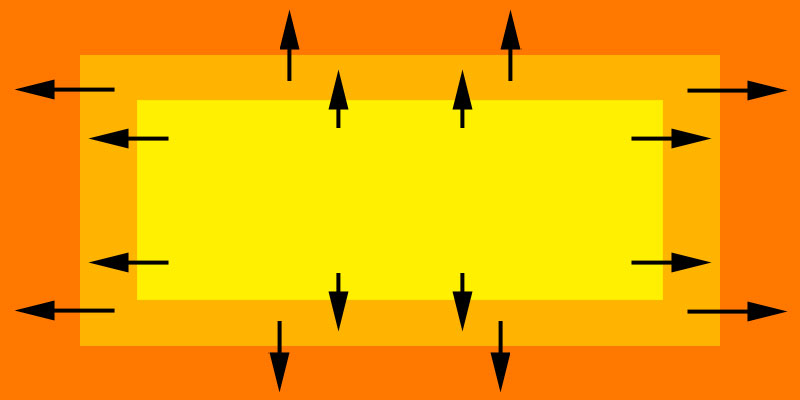
The arrows show the direction I’ll pull.
As you can see, when I need to blend out the yellow I’ll do the same thing by taking the brighter orange, place the brush on the yellow, and pull back into the brighter orange.
This requires layer after layer of thin paint. Each time you start the brush a bit closer to the darker color, creating very thin layers of paint, that in turn create the transition.
Here’s an image I did on that blending tutorial showing what I mean.

That’s blending in a nutshell!
Starting the Blending
As I outlined above, I’ll start with the Hot Orange and blend out the Fire Dragon Bright.
I load my brush with Hot Orange, start in the Fire Dragon Bright layer, and then pull back towards the Hot Orange layer.
I do another layer to try and smooth it out some more.
Mid-tone Blending
Just doing more of the same but now I’m blending out the Flash Gitz Yellow. So, I’m loading my brush with thin layers of Fire Dragon Bright, starting on the yellow and pulling back into the Fire Dragon Bright layer.
I do two layers of this.
Back & Forth
The other element to blending colors if you often have to go back and forth. Sometimes a blend isn’t perfect, so you go to your brighter color and blend towards that. Then you go back to the darker color and blend that out. It’s often a back and forth process until you’re happy.
Warming it Up
I decided that the lava needed a warmer look. So, I took a few thin layers of the yellow, started on the otter edges, and pulled back towards the center. This warmed up the look a bit.
Glazing
The problem with blending brighter colors is it can be very challenging to get completely smooth blends. You can do it with time, practice, and patience, but it also depends on how much work you want to put into it.
I didn’t want to keep fiddling around with going back and forth, so I decided to use some Lamenters Glaze (yellow) to go over the entire area and help smooth things out.
I ended up doing 3 layers of the yellow glaze. From there I called it done.

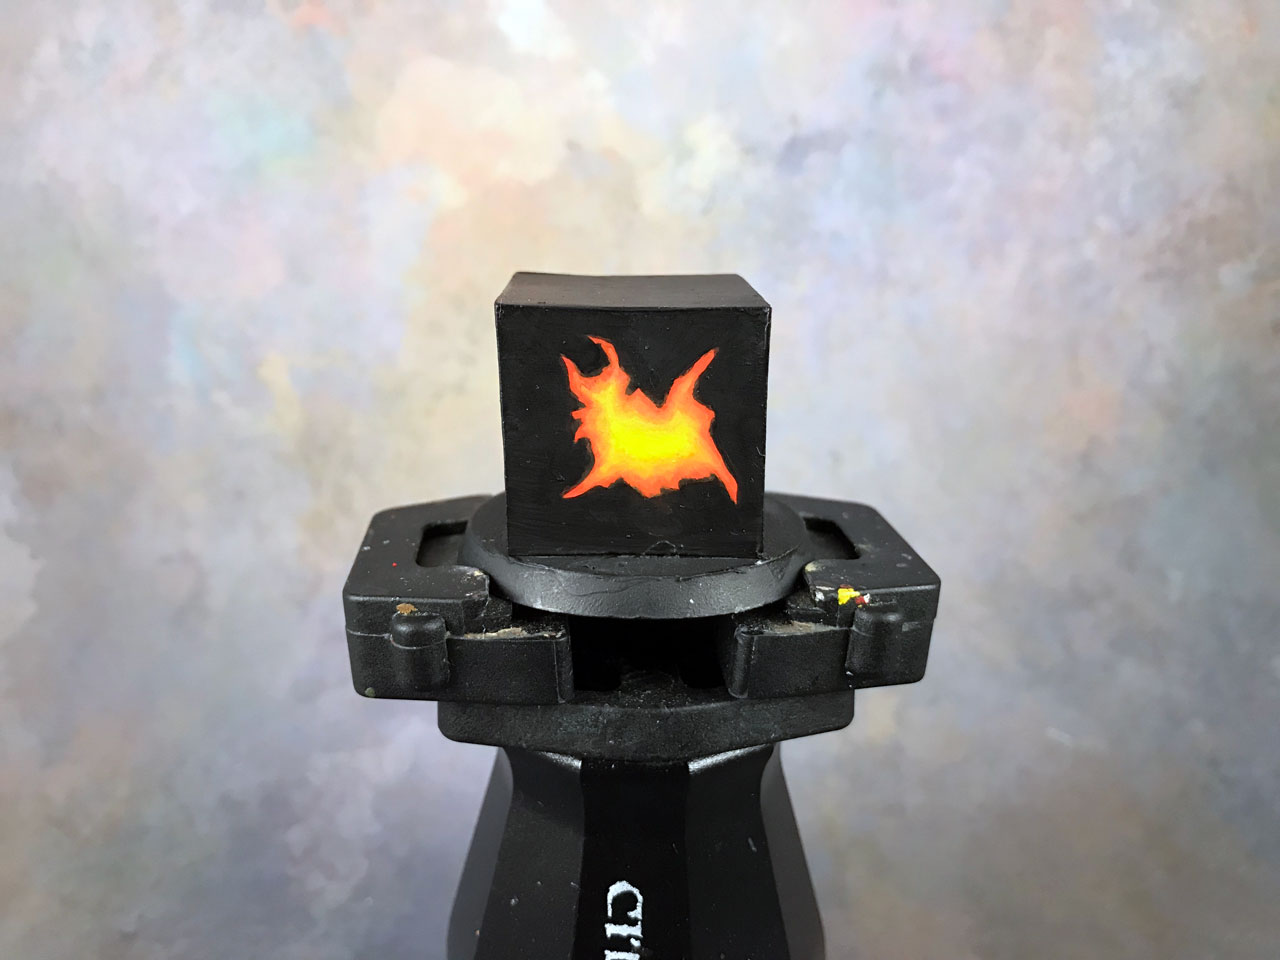
Completed
Here’s a shot, same as above, only I painted the black another color. I like how it looked better this way.
Conclusion
There you have it, how to paint lava. Overall, it’s a pretty simple concept and you can get something that looks good without a ton of work.
Like anything, the more you work it the better the results will be. Have fun with it though and don’t let it frustrate you. Blending can be a chore at times, and orange and yellow can be difficult to blend with.
There are times when I don’t mind blending and I’ll spend an hour on blending something. There are other times when I just want it done and I’ll do some quick and dirty blending, like this tutorial. It all comes down to my mood and the look I want.
Painting something perfectly is ideal, but don’t get burned out chasing perfect. Have fun!
Lastly, I have a tutorial on painting OSL (glow effect) that shows you how to add that glowy effect from the lava. It’s a great follow up to this tutorial :)
Oh, I’ve also got a tutorial on painting flames. That technique uses most of the same colors and is very similar to doing lava.
Do you have a favorite way you like to paint lava? Let me know in the comments!
Specific Painting Techniques & Tutorials
Check out these other tutorials covering specific techniques.
I love painting miniatures and teaching people how to paint. I also really love blogging, so I've combined those two passions here.
- Creative Twilight’s Future and My Thoughts (Feedback Welcomed!) - December 4, 2021
- My Top Gift Ideas for Miniature Painters & Hobbyists + Gifts to Avoid - December 2, 2021
- The Year That Was 2020 and Where I’ve Been - January 17, 2021