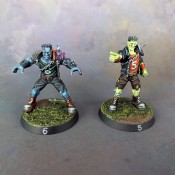
Shading and highlighting miniatures will really step up your painting game. Not only does it add more elements of realism to the model, it also lets the model stand out on a tabletop when you’re playing games.
Ultimately we shade and highlight our miniatures to make the miniature stand out. I’ll explain the concept of shading and highlighting, and guide you through techniques for doing both.
What’s the Point of Shading & Highlighting?
The thing with miniatures is they are small and you are using them at a distance. Being able to pick up the lighting on armor that’s 4ft. from your eyes might not be so easy if it’s not exaggerated. The same holds true of shadows and seeing the creases in a robe.
When we paint for tabletop we often have to really emphasize everything so it’s visible when you’re using the models.
Subtle is great if you’re painting for competition and judges will be holding your model inches from their eyes.
However, to make something noticeable from the other end of a 6 ft. table requires the use of shading and highlighting much more strongly.
How to Shade Miniatures
I feel that shading is the easier of the two techniques. I find they’re easier to figure out where shadows should be, and they are generally also much easier to do.
You can creating shading in a few ways, and there’s more beyond what I’ve listed below, but these will get you started at least.
Also, a tip for determining where shading goes, and this is true of highlighting, is to place your miniature under a light and see where the shadows fall.
Most of the time it’s obvious, but there are times where you might expect there to be a shadow and instead it’s a highlight.
Materials Matter
It’s worth noting that the type of material you are shading will dictate how dark the shading should be. Something that has a reflective surface, like metal, is going to have a wide range in its lightest light and it’s darkest shade. Metal could be near white in its highlight and near black in its shading.
By contrast, a cloth material isn’t going to get as bright and in turn the shading not as dark. The range of colors used on a cloth material are much closer together. This is one simple way we help show the material on the miniature itself, by the use of shading and highlighting.
Build it Up
Lastly, there’s progressive levels of shading. I often paint at least two depths of shadows. I have my mid-tone shading and my strongest shading. The mid-tone shading is done virtually everywhere where the strongest shading is reserved for the deepest areas.
Having levels of shade tones is just another way to improve your painting.
Layering Miniatures
Creating shading with layers is where a lot of painters start. There’s basically two approaches.
- Base coat the miniature the shade color and layer over it with a brighter color, leaving some of the darker layer showing for shading.
- Base coat the model with your primary color and then layer a darker shade color over that in the areas where you would have shadows.

The second approach is the quickest but also the trickiest. Often where there is a shadow it’s in an area tricky to get a brush to. So, trying to paint in shading in areas that are hard to reach is tough.
However, if you paint the entire model the shading color, and then layer over it the brighter primary color, then you don’t have to reach into tough spots with the brush normally. Of course, you’re almost painting the model twice, so it does take a bit more time.
I do have a layering tutorial that will help you out a bit here.
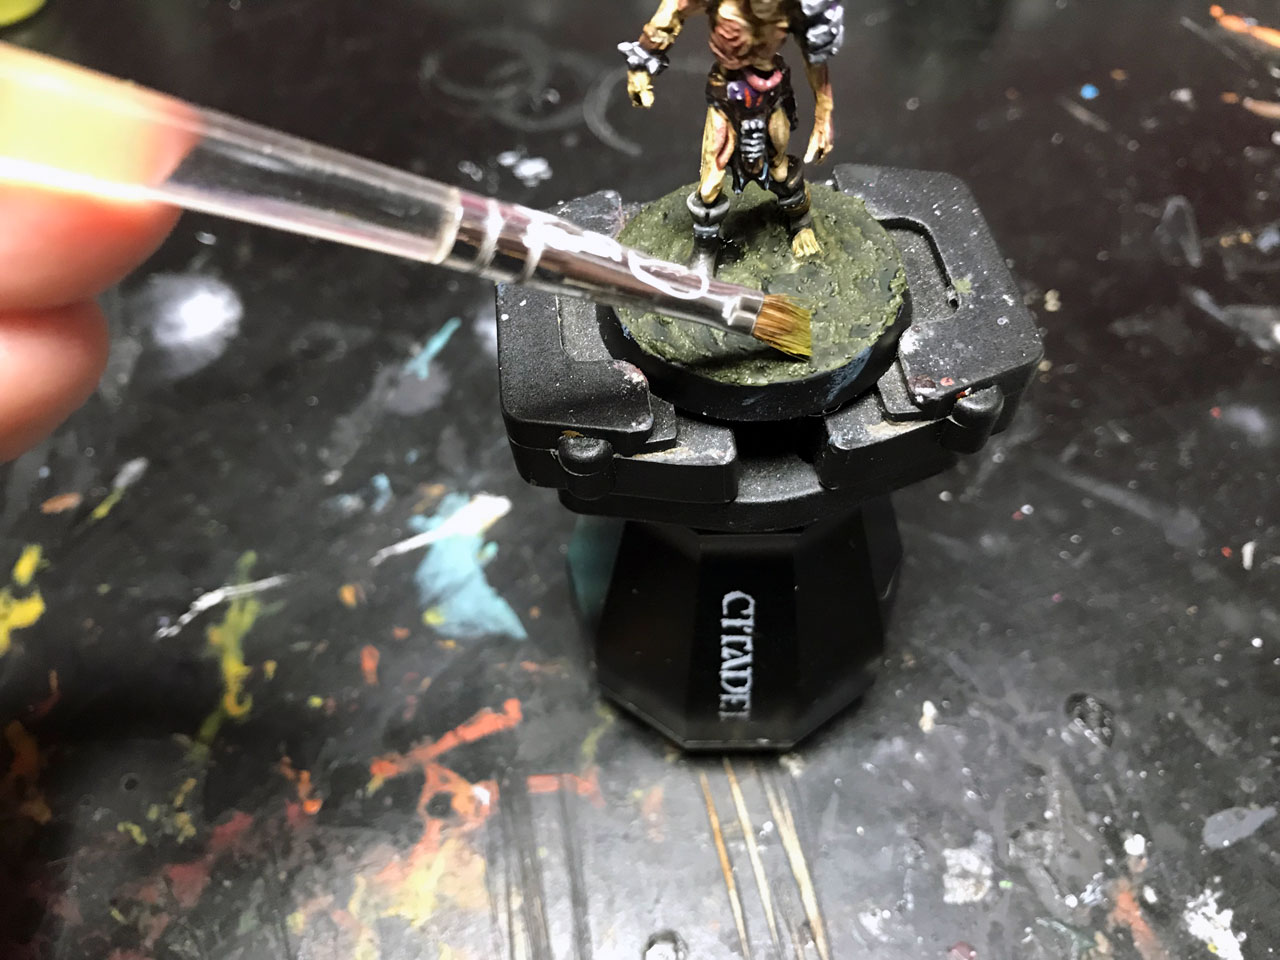
Washes for Shading
Washes are great for beginners and veterans alike. I’ve been painting since 2006 and I still use washes.
The great thing about washes is they gravitate towards the recesses of a model, the typical areas where you’d have shading. This can make getting shading on a miniature very easy and very fast.

Now, I have an article that covers using washes in much more depth, so I’ll keep it a bit short here.
If you want the easiest way to shade then use washes, especially if you’re batch painting a lot of models. Washes may be simple to use, but you can really create some amazing results with them.
Blending Miniatures
There are various forms of blending but they all accomplish the same result of creating a smooth transition between colors.
Using washes would be a form of blending, if done right. It’s one of the reasons I like using them; it’s like simple blending in a bottle.
However, your traditional blending requires some practice and experience, though it’s far easier than you probably think it is.
I have a tutorial on blending with layers that covers this some more.
Creating shading with blending is my favorite way to shade when I’m putting more effort into a miniature than usual. It’s not all that different than doing it with a wash either, and really doesn’t take any more time.
Basically, load your brush with thinned down paint, the color you want to shade with, and apply it as a thin layer where your shadow goes.
I am making it sound a bit easier than it is, but it’s also not overly complicated either. Do check out my tutorial on blending to get a better understanding.
How to Highlight Miniatures
As I said above regarding shading, use a light to help you find the right areas to highlight on your miniature. There are times when a highlight goes in a place you might not have expected and a simple light helps you find those tricky areas.
Type of Material
As with shading, and moreso, is that highlights are going to be dependent on the material you’re painting. Metal is very reflective, so it’s going to pick up very bright colors and reflect them back, in turn creating very light highlights.
However, something like a tree isn’t going to have the same level of highlights on it. A tree’s bark isn’t going to bounce light like metal, so your highlights wouldn’t be as strong.
Always keep the material you’re painting in mind when you shade and highlight. Don’t treat all material the same. Subtle changes in shading and highlights across various materials on a miniature will go a long way to creating an impressive paint job.
Progressive Highlights
You will also want to build up progressive highlights. As the object gets closer to your light source it will get brighter. Highlights should represent distance in a way. The further away from the light source it is the darker the highlights are.
So, you’ll create layers of highlights for a realistic representation of light.
The Type of Light
It’s also worth noting that the type of light source will impact how you highlight. If your miniature is lit by the moonlight in an otherwise dark setting, then the highlights you use will be on the colder side (purples, blues, and greens). If lit by a torch then you’d have warmer highlights (reds, oranges, and yellows).
It’s something to keep in mind when you’re trying to figure out what your highlight colors should be.
Dry Brushing
One of the easiest forms of highlighting is done by dry brushing.
You load your brush with paint, wipe most of it off, and then brush across the area needing highlights.
It’s a very simple technique that most painters learn early. In fact, I have a tutorial on dry brushing, so no need to get that in depth here.
Layering
This is the same thing as with shading only you’re going brighter.
Once you have identified what needs highlights, you simply load your brush with the lighter paint and create a layer over the base coat to brighten up that area.
You’re going to leave the previous layer visible, in turn creating a color transition to indicate light.
Highlighting with layering is the easiest of the methods and it still looks great on the tabletop.
Again, I have a tutorial on layering that should help you out here.
Blending
Identical to shading in approach, blending would be to create a smooth transition to the brighter highlight color.

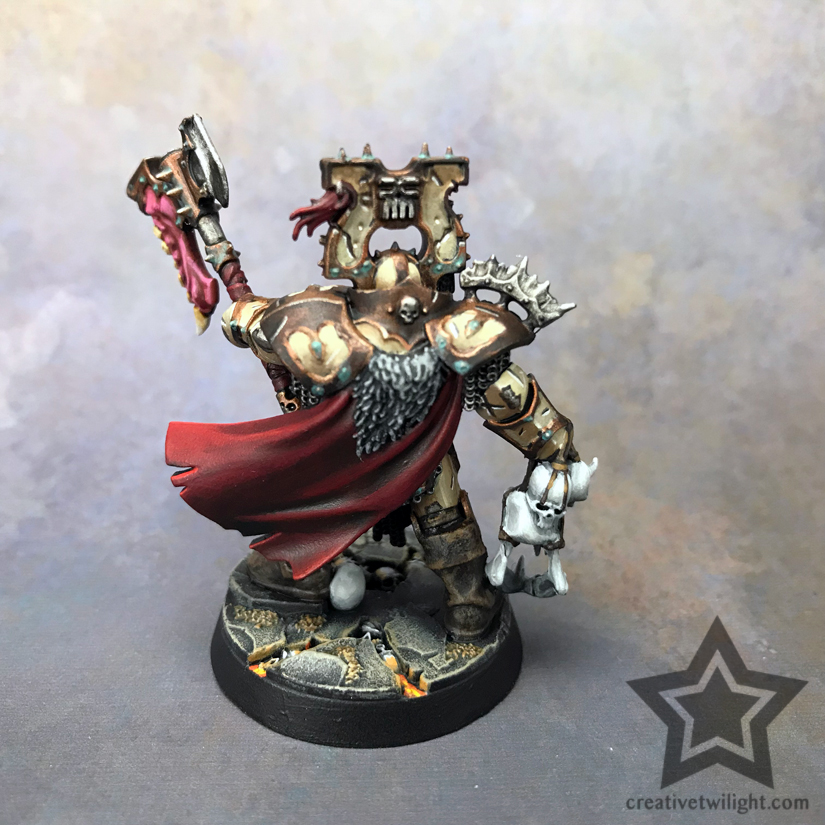
This entire model was painted with blending, from the highlights to the shading.
This is also a more advanced technique and I’ve done a tutorial that covers this much better than I’ll do here.
Edge Highlighting
Edge highlighting is just what it sounds like, highlighting on the edges of something. This could be the armor panels on a tank, the edge of a sword, etc.
The reason it’s noted separately is because how you do it is a bit different, though all the same concepts apply to the colors used. It’s also something a lot of new painters struggle with doing well.
To that end, I have a tutorial on edge highlighting, so check that out to get some more in depth knowledge on the subject.
A Note on Colors
Regardless of if you’re shading or highlighting, the color choices you use are important.
With shading, you’ll rarely ever go to black for creating shadows. Often you’ll want to use darker versions of you primary color to shade with. Don’t shade red with black, shade it with a darker red.
That being said, there are times when using other colors is really helpful for shading. For example, a dark green is a great way to shade red. You can shade blues and reds with purple. Using a burnt orange is good to shade yellow with.
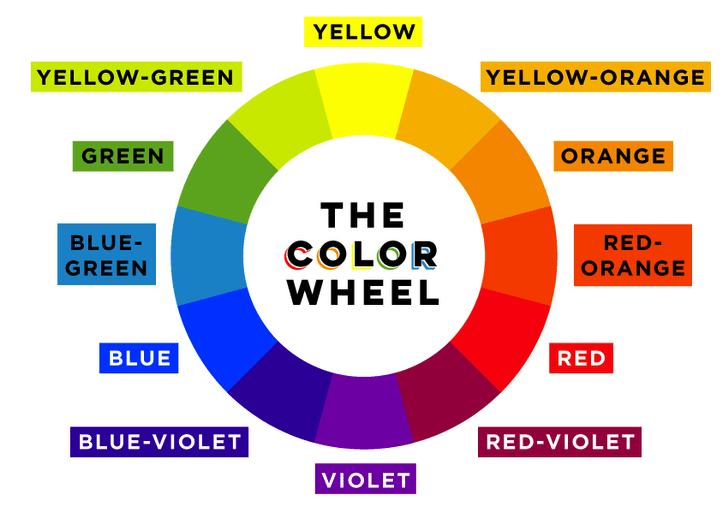
This is true of highlights as well, that using different colors can give a great look. I will often highlight black with blues. You can highlight red with orange and orange with yellow.
Now, I’ve learned a lot of this the hard way through trial and error but there is a better way. It’s all about color theory, and Wargaming Tradecraft has a great series on color theory.
Conclusion
I hope to have given you something to think about and helped you on your way with shading and highlighting.
When you’re new to painting just keep it simple. When I started painting I would use one color for a primary color, one color for shading, and one color for highlights. It was simple, did the job, and I learned.
As I gained confidence and experience, I started adding more steps to the shading and highlighting. What I paint now is miles ahead of what I used to paint, but I started out just like everyone else and had to learn the basics.
If you’d like some more help as you’re learning to paint, then check out my guide that covers everything about miniature painting. It’s a great starting point for any painter to find resources for virtually anything.
Remember, have fun and enjoy the process!
Miniature Painting Techniques & Guides
Learn the basics, as well as the advanced techniques, of miniature painting.
I love painting miniatures and teaching people how to paint. I also really love blogging, so I've combined those two passions here.
- Creative Twilight’s Future and My Thoughts (Feedback Welcomed!) - December 4, 2021
- My Top Gift Ideas for Miniature Painters & Hobbyists + Gifts to Avoid - December 2, 2021
- The Year That Was 2020 and Where I’ve Been - January 17, 2021

Good overview! I really like that you brought up how different materials want to be highlighted differently. I think that’s one of the biggest things that the GW tends to gloss over.
Also, appropriate shades of brown can work nicely to shade red/orange/yellow, especially for the deepest shades.
Thanks.
Material type is a big thing with me. When I see people edge highlight human skin like it was metal I cringe a little. The only time I’ve heard GW mention the material is with something specific, like a gem, otherwise you don’t hear a word about it.
Rhinox Hide is my defacto brown for shading stuff like that: red, orange, and yellow. It’s a very versatile color.
Yeah, Rhinox Hide is just fantastic. So many places it can work.