I’ll be showing you 4 different ways that I use to paint skulls and bones on my miniatures. There’s way more than 4 approaches to painting skulls or bones, it’s just these are the 4 techniques I always use the most depending on what I need.
The techniques I’ll show you will range from easy to advanced. Sometimes you just need to get something done, and other times you want that skull to be a focal point. I’ve got you covered either way.
The other difference with my techniques is the color tone of the skulls. Two of the techniques will focus on an aged and weathered look (more yellow/bone), where the other uses greys and white to give a gritty look.
You can look at it that way, whether you need bone that’s been around for a while, or bone that’s freshly exposed, but I use the colors for another reason. It depends on the color palette I’m using on a model on which bone color I go with. If I have a model that already has a lot of yellow tones, or I feel the aged bone would just blend in too much, then I’ll probably use the grey/white option. The same goes for the other way around. I let the colors I’m using overall dictate the technique I use.
Anyway, let’s jump in!
Disclosure: Some of the links below are affiliate links, meaning, at no additional cost to you, I will earn a commission if you click through and make a purchase. The commission earned helps maintain this site.
How to Paint Skulls & Bones
Again, there’s more than these 4 techniques to paint skulls and bones, but these are ones I use so much that I don’t have to think about it.
Also, all the colors used below are Citadel paints.
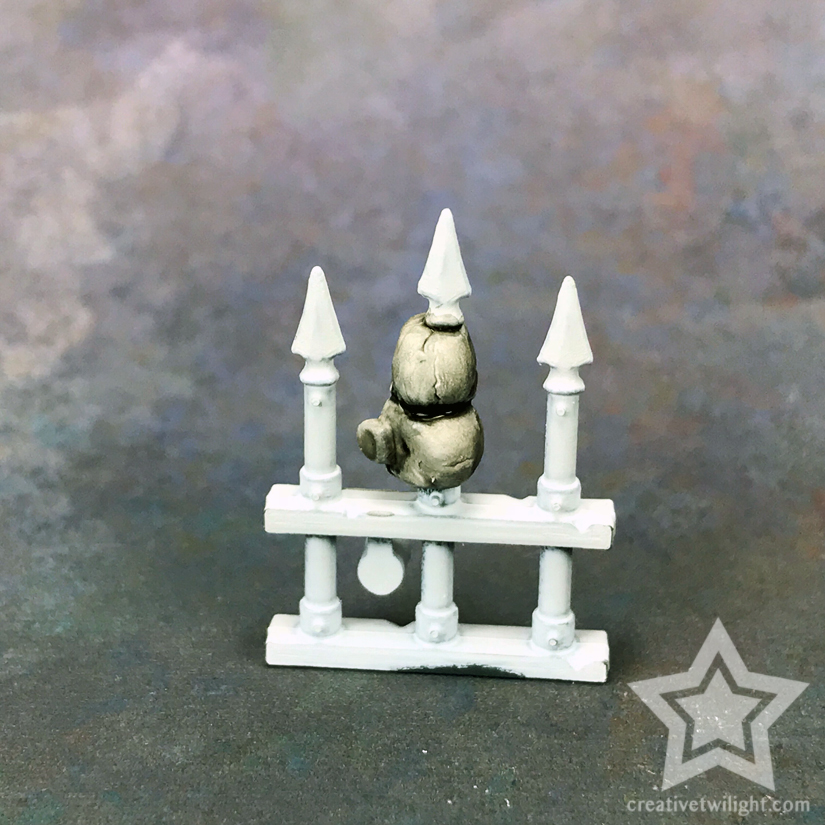
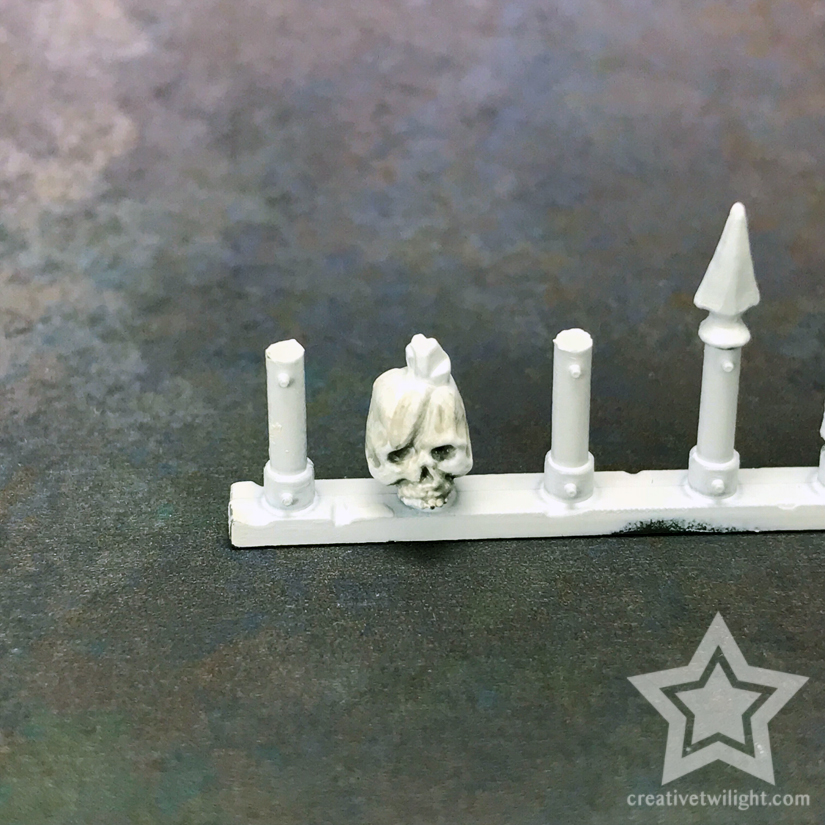
Painting Aged Bone (Easy)
There’s only a few steps to this technique for painting skulls.
It’s really simple to do and it’s my favorite method I use as well. The results are impressive considering the simplicity.
Step #1
Base coat with Screaming Skull.
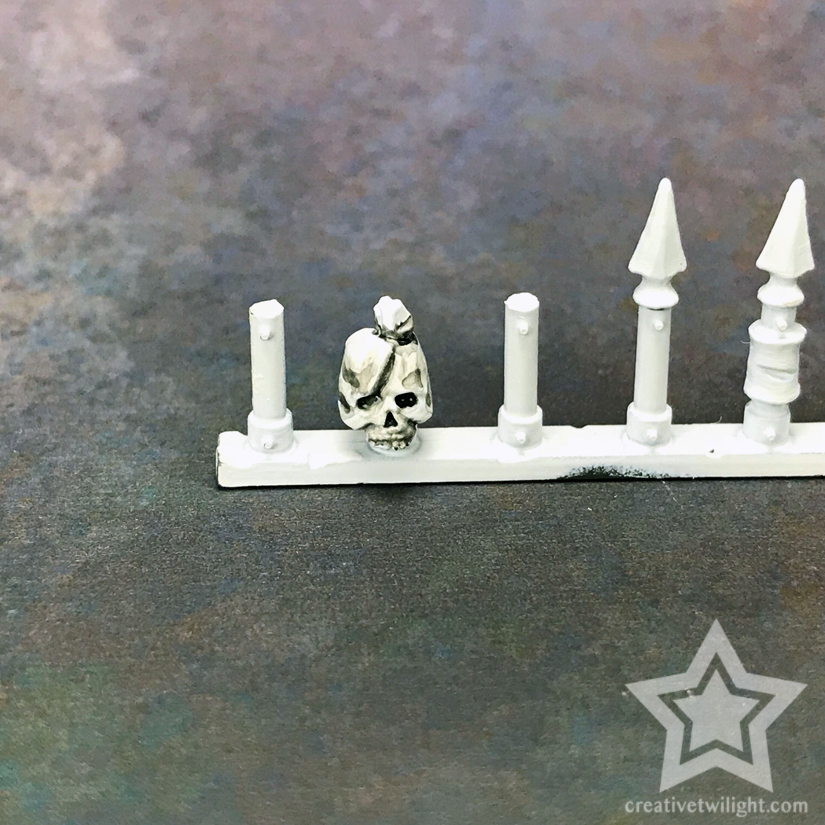
Step #2
Apply a pretty heavy wash of Seraphim Sepia.

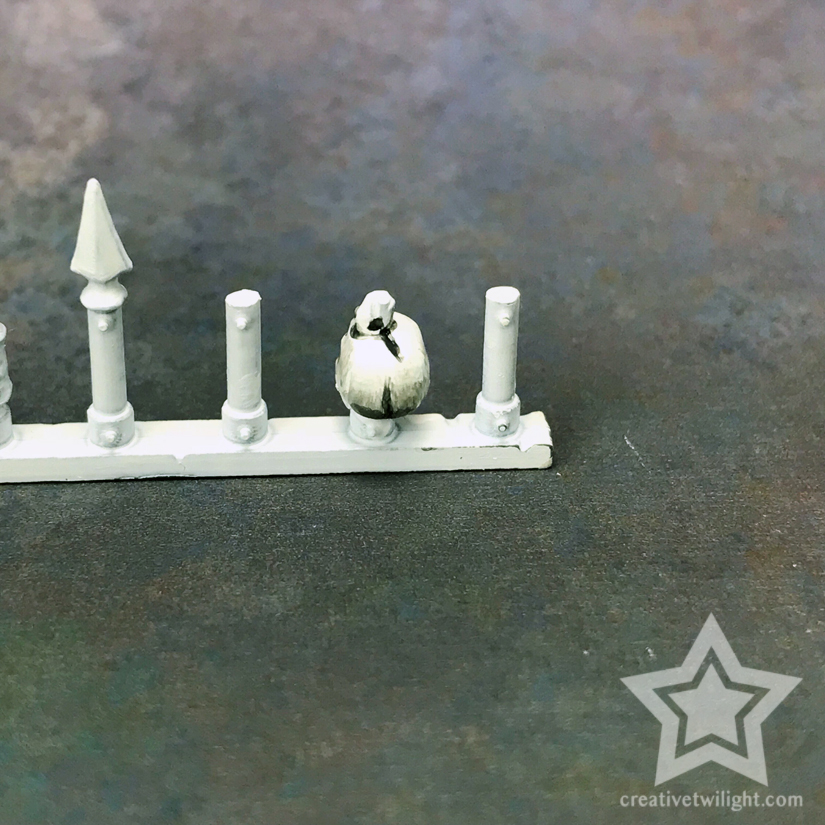
Step #3
I come back in with the Screaming Skull and layer it up and highlight. I prefer to use layering to blend it, but you can just layer it normally, or even dry brush if you wanted.
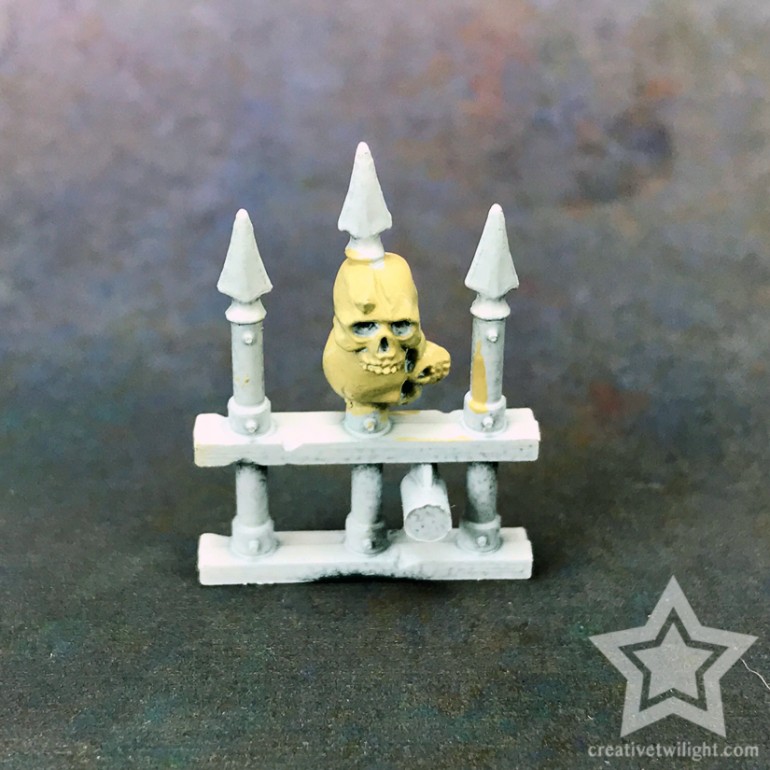
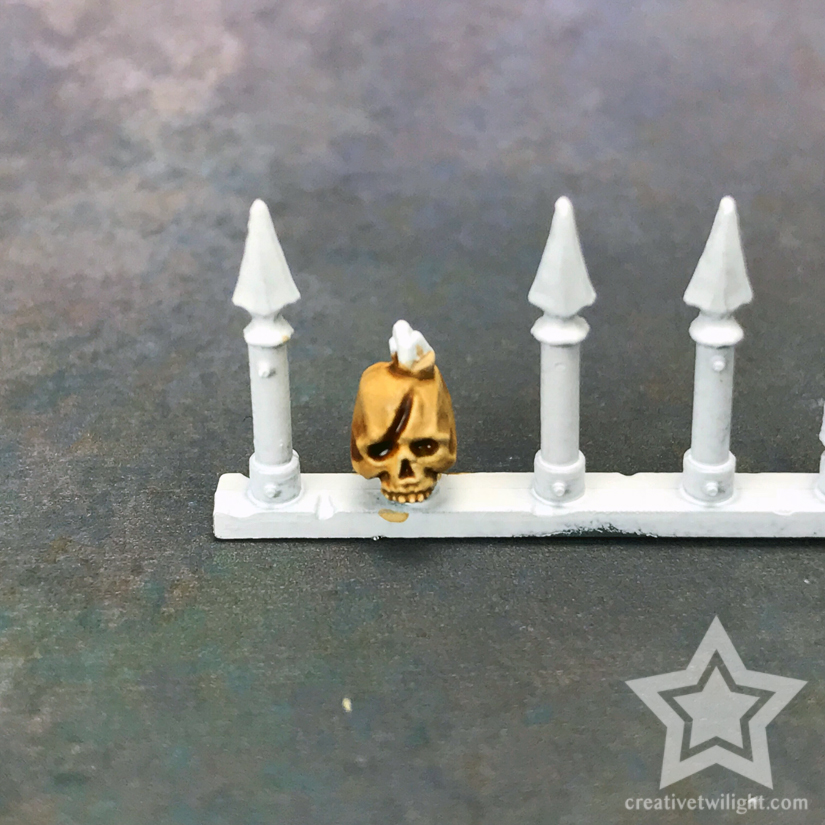
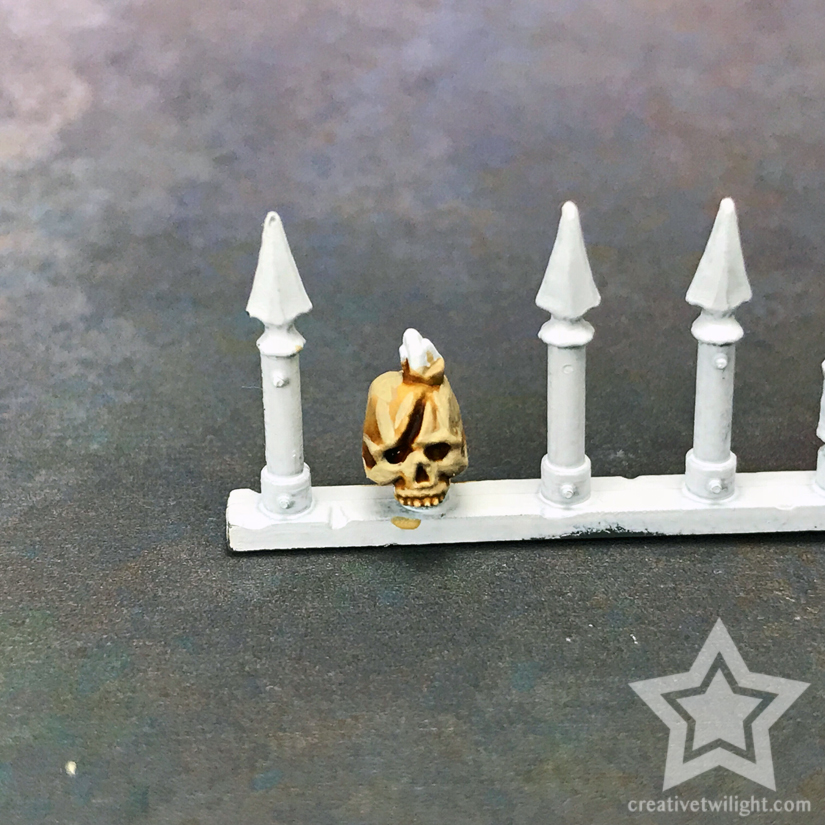
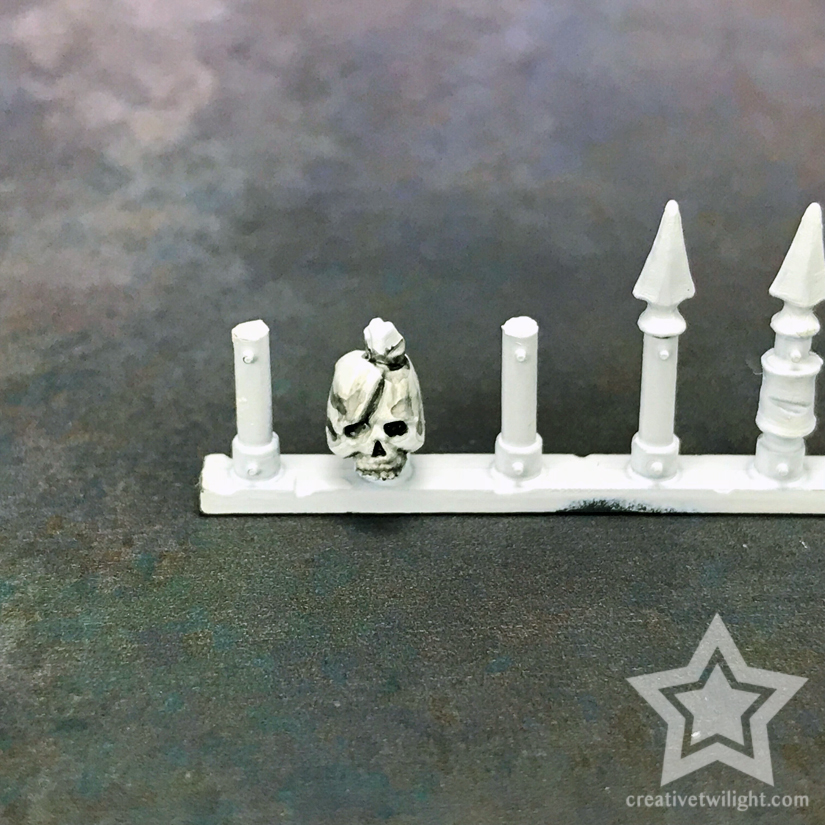
Step #4
Now, all I do is use White Scar to get a few final highlights and I’m done.
The highlights are focused around any cracks in the skull to enhance them, as well as the spots that would get the most light, like the eyebrow area, bottom of the eye sockets, etc.
I also use the white to pick out the teeth.
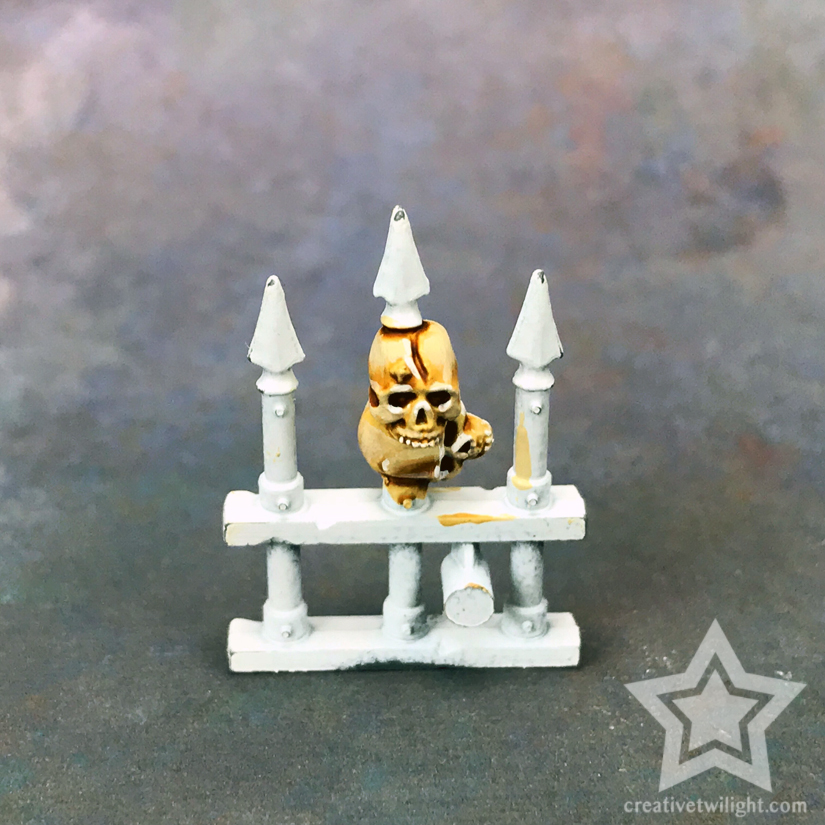
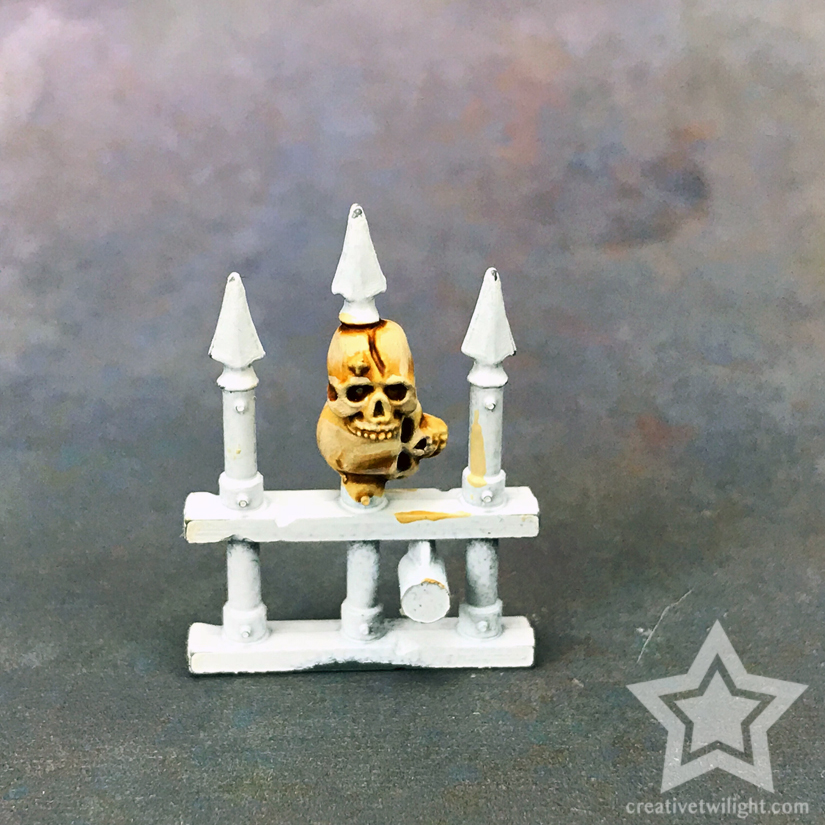
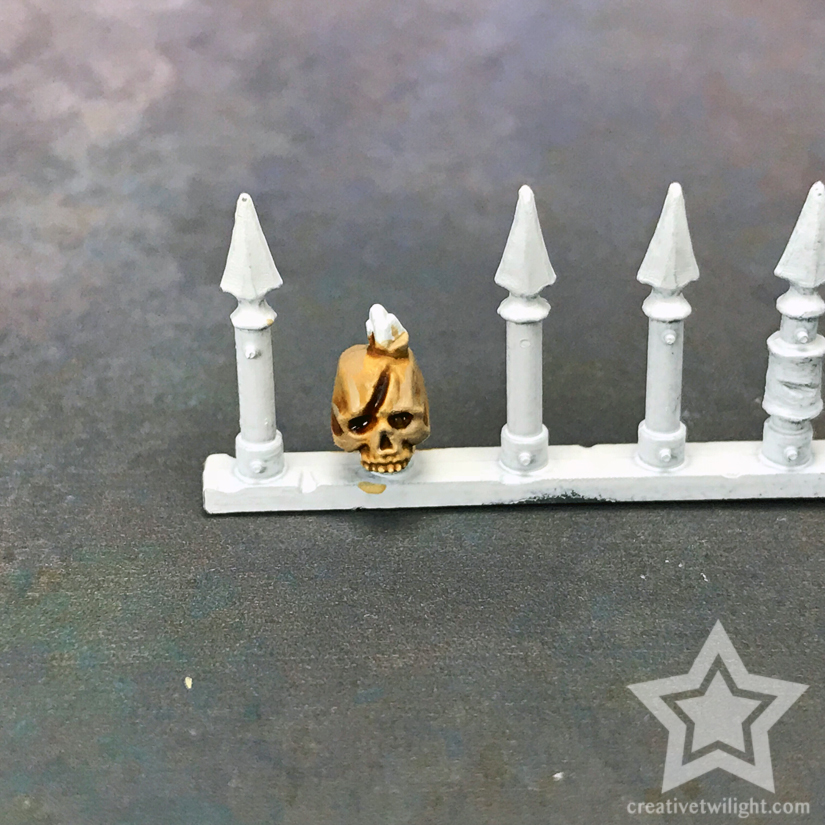
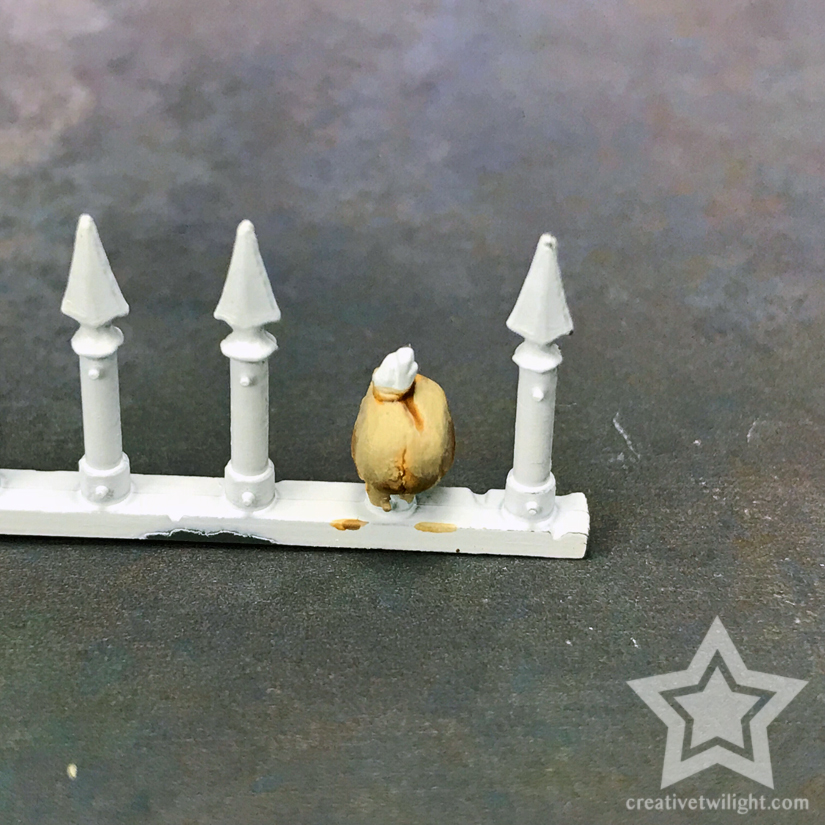
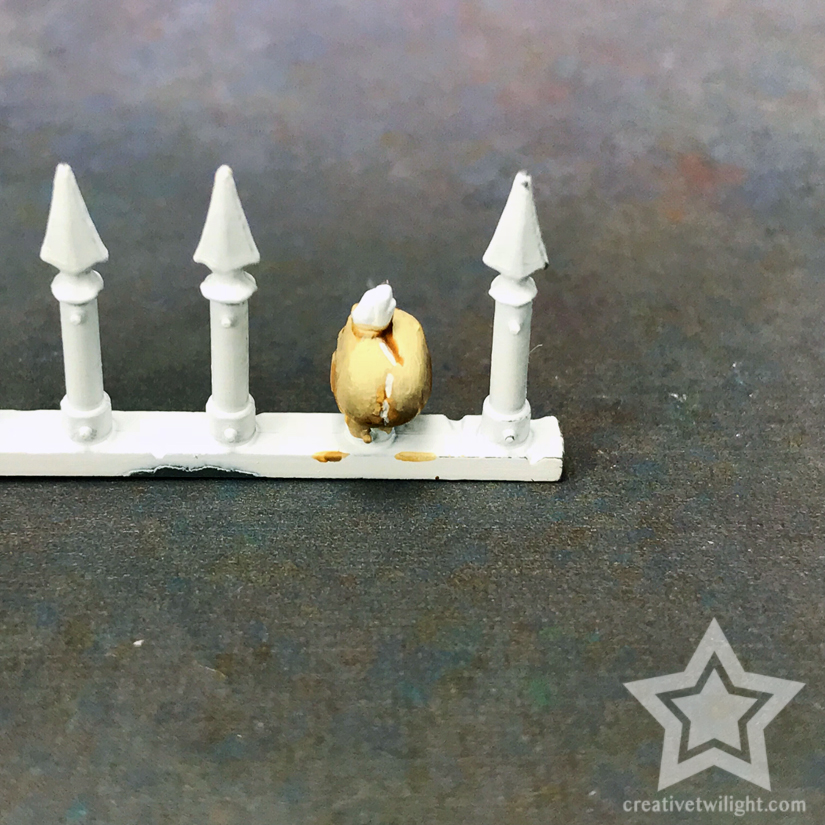
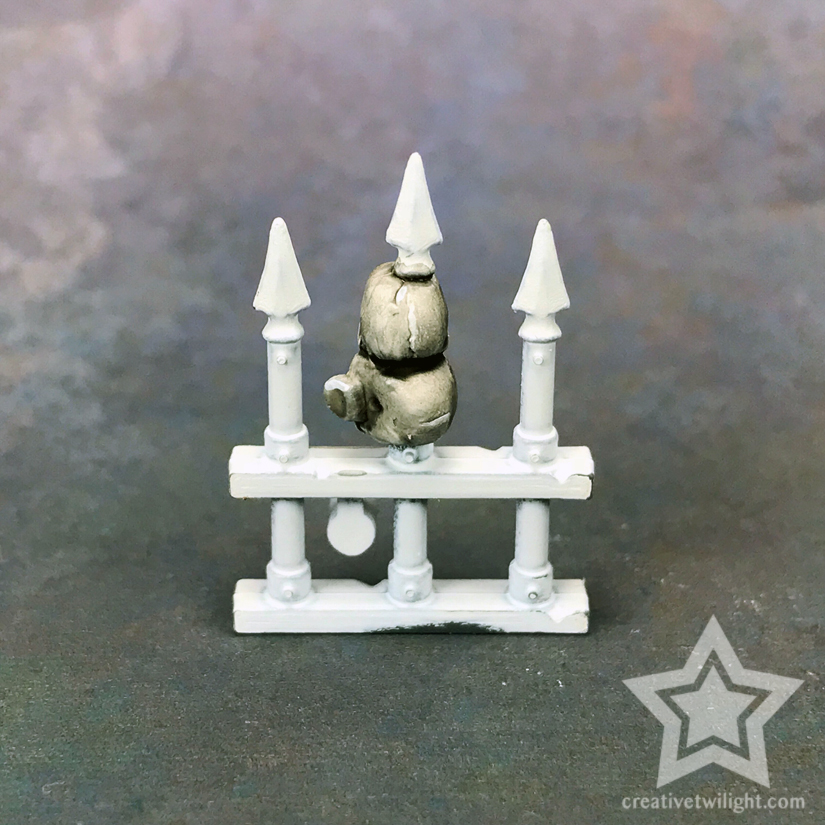
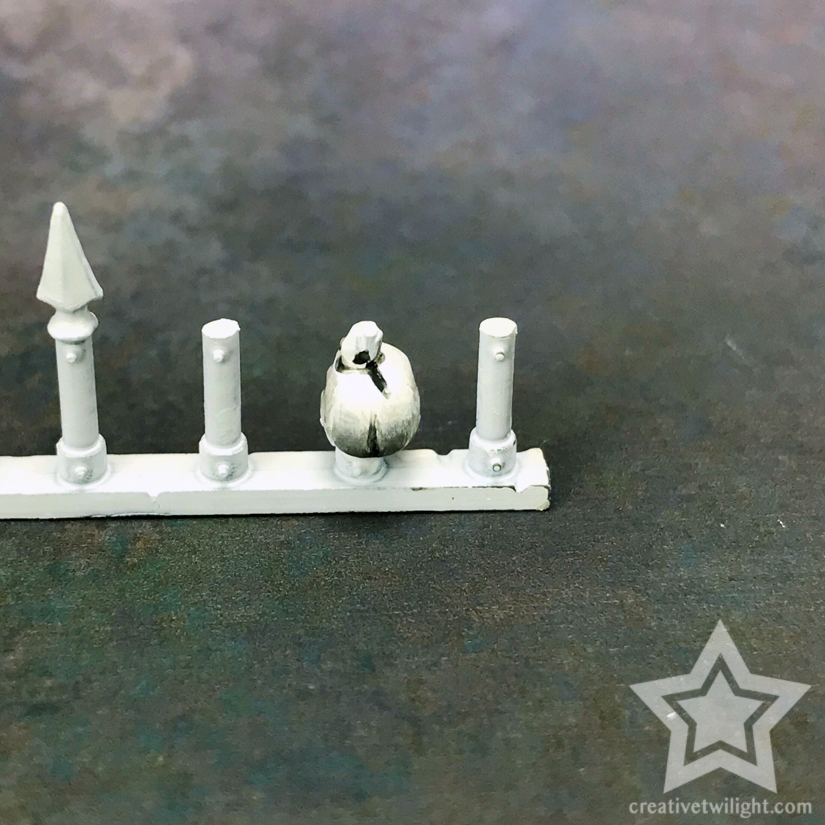
Complete
While the shot in step #4 is complete, I like to zoom out and get a shot instead of remaining so focused in. This is more like you’d see it in a tabletop setting.
Painting Aged Bone (Advanced)
This is very similar in result to the easy one, but it has a few more steps and gives you more control over the result.
Step #1
The skull is base coated with Karak Stone.
Step #2
Now, I apply a heavy wash of Seraphim Sepia.

Step #3
Using Karak Stone, I come back in and layer it back up, but leave the recesses heavily shaded.
Step #4
Now I layer up some more and I use Ushabti Bone for this.
I didn’t spend time on this one blending it like I did with the easy method. The paint colors are so close together that it does most of the work for you. That being said, I could have gotten a smoother result with some simple blended layering.
Step #5
Yet another layer and highlight. This time it’s with Screaming Skull and I stuck to mostly highlights with this.
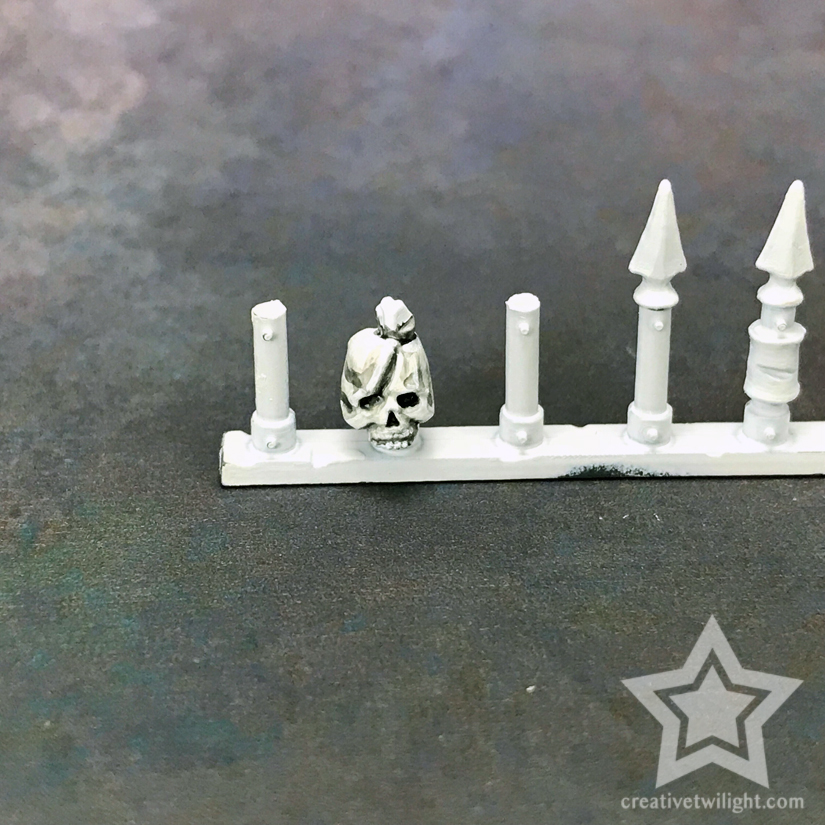
Step #6
The final step is just taking white and hitting the extreme highlights with it, like the eye socket area, nose, cracks, and teeth.
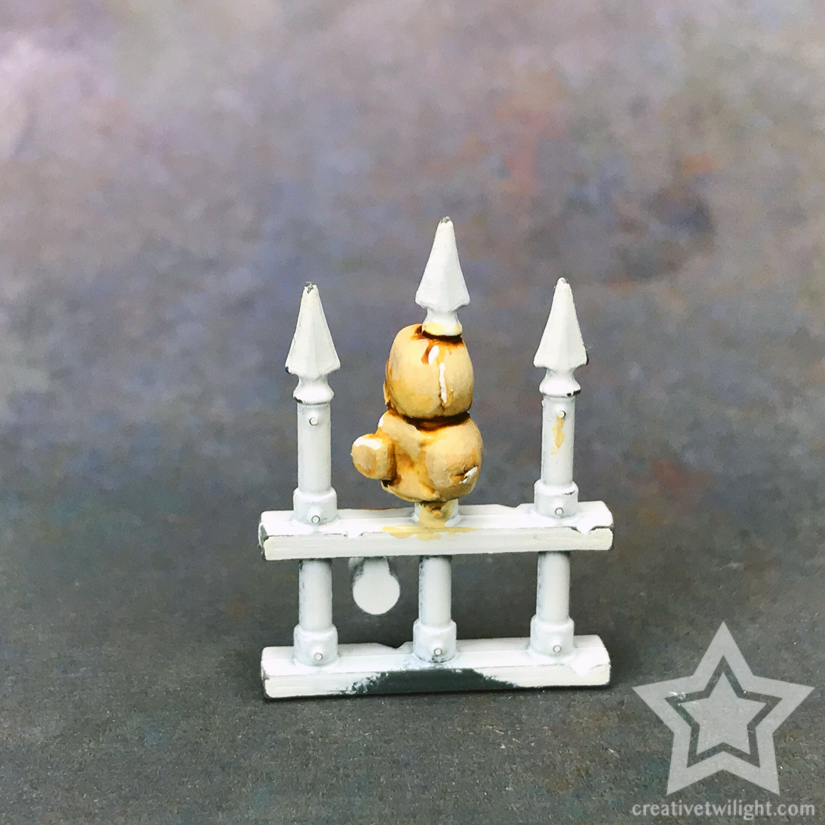
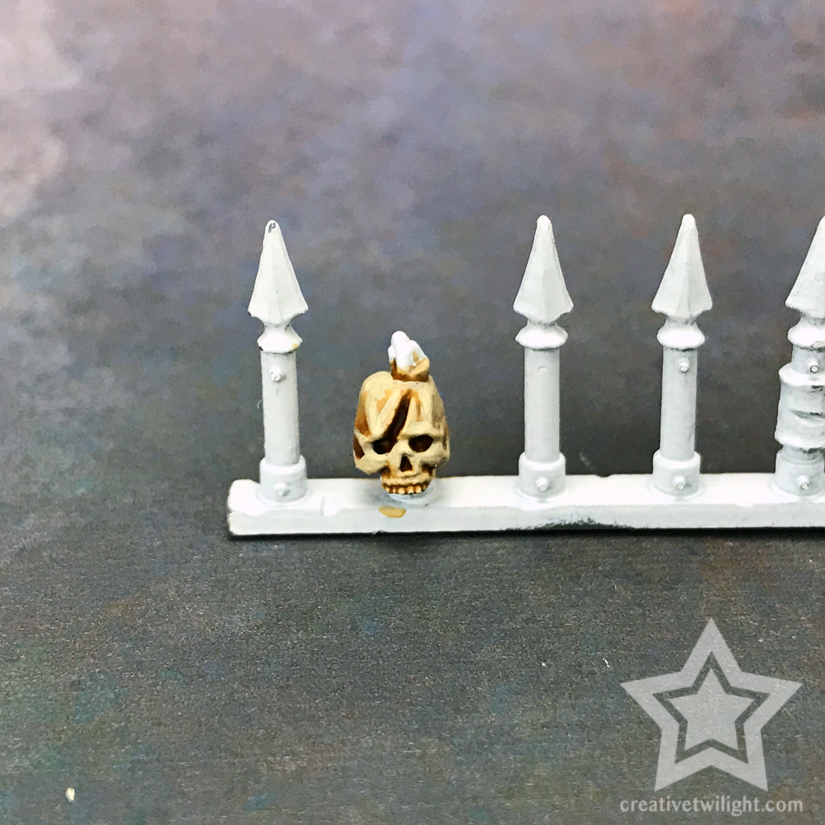
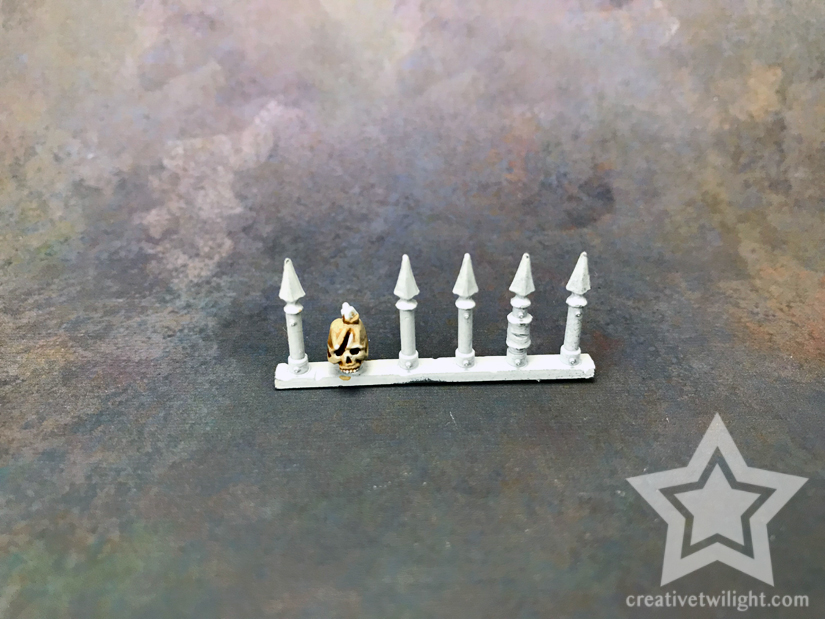
Complete
So, same shot as step #6 but from a more tabletop distance, a more natural distance than all those macro shots.
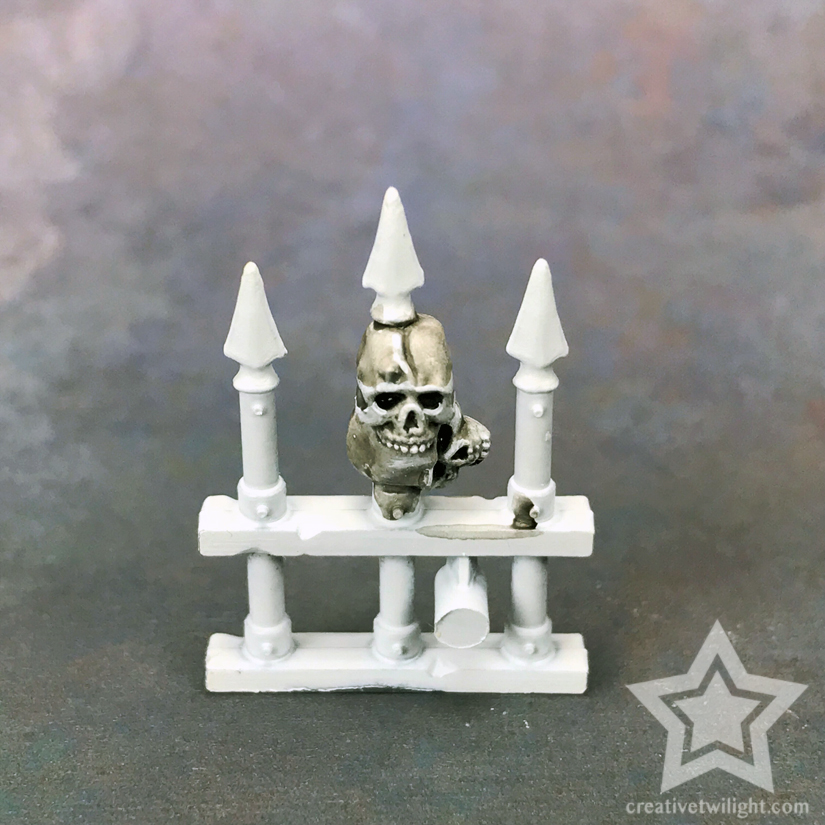
How to Paint Gritty Bone (Easy)
This is the easiest technique I’m showing. It’s great when you’ve got a ton of bones and skulls to do.
Step #1
Base coat the bone with White Scar.
Step #2
Wash pretty heavily with Nuln Oil but focus on the recessed areas.
Step #3
Highlight with White Scar.
These highlights are around any cracks, edges, and I also pick out the teeth in white.
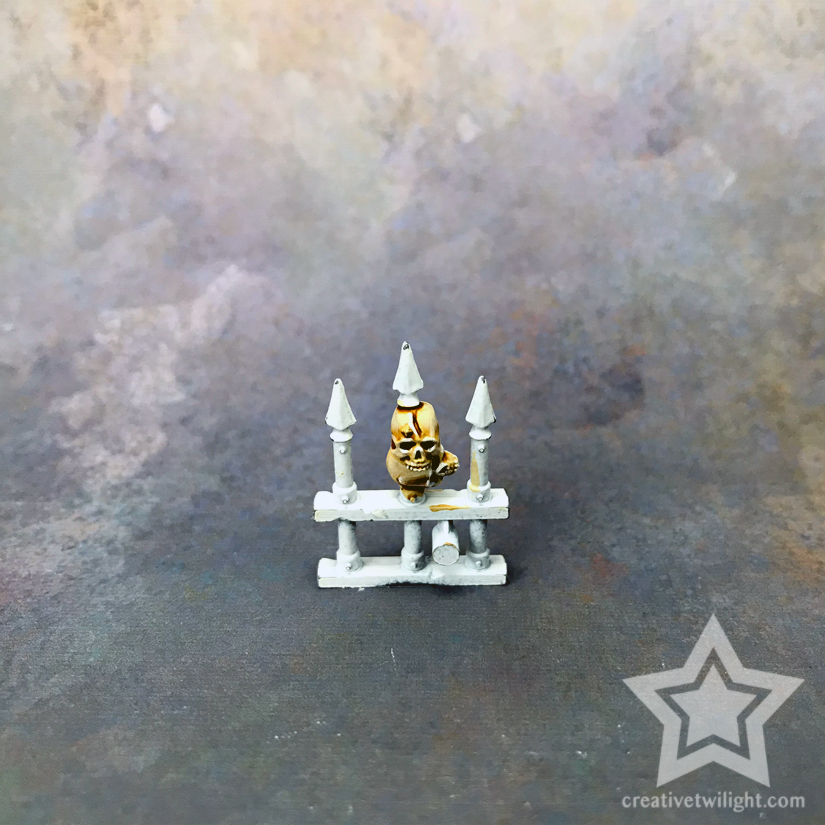
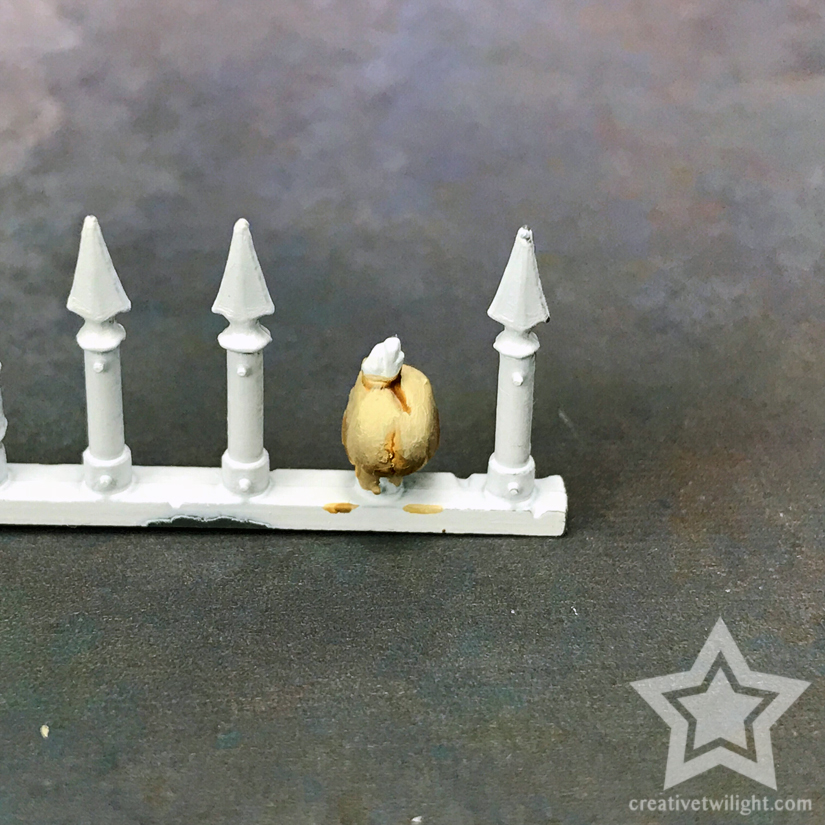
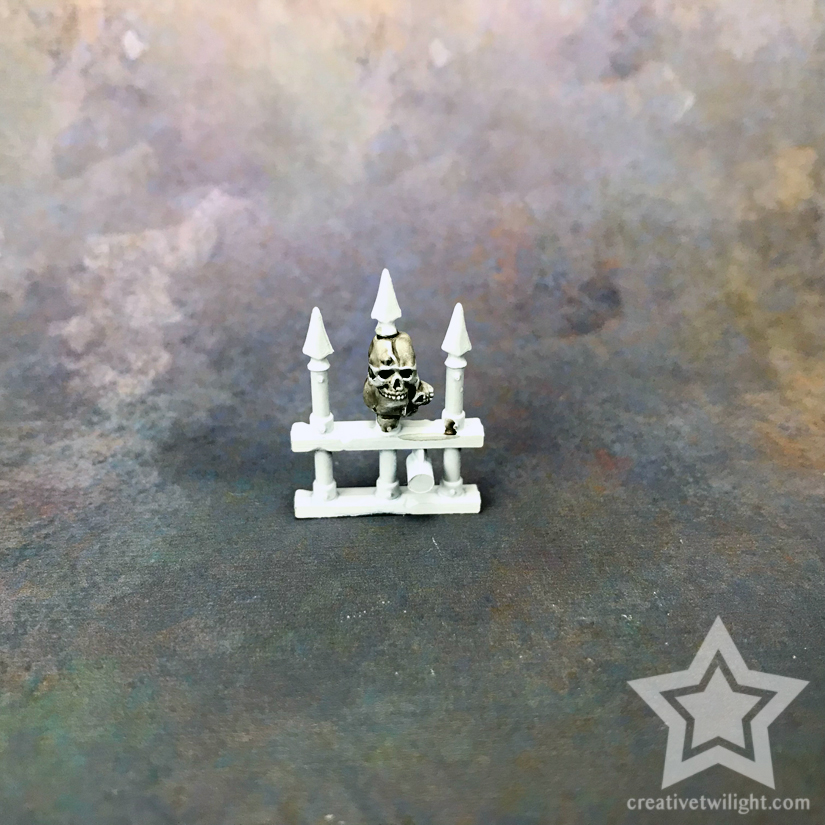
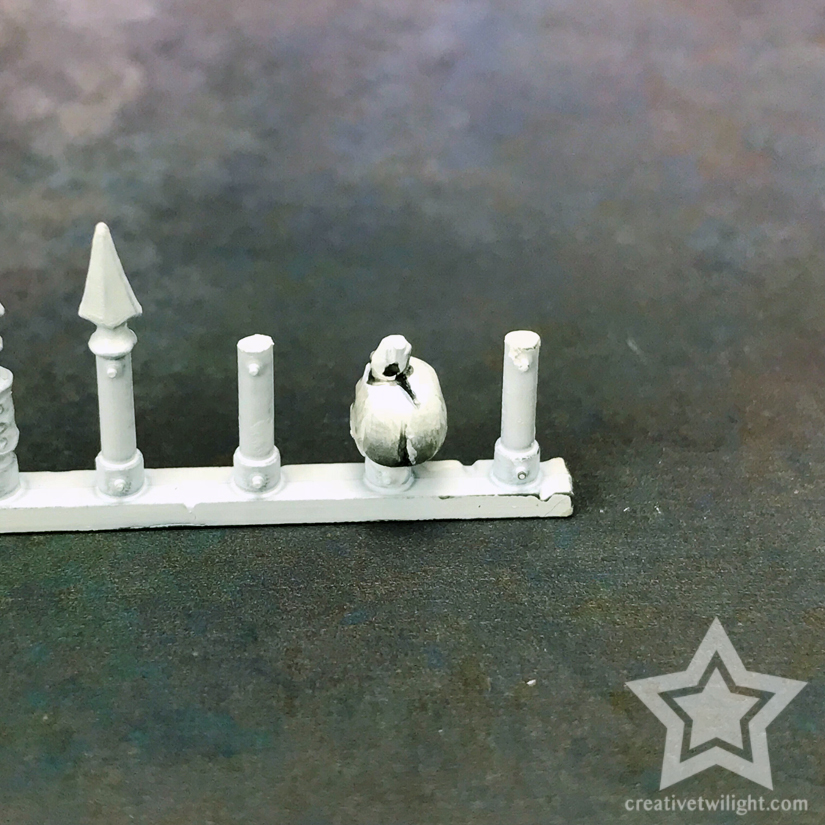
Complete
Step #3 is done, but as before, I’m zooming out to show the result more naturally.
Bonus
If you want to go a step further, then in step #3 you can do a thin blended layer with White Scar, but don’t go too white with it. Then you can use White Scar for a final highlight.
Painting Gritty Bone (Advanced)
This one gives you the brightest, cleanest looking result of those listed.
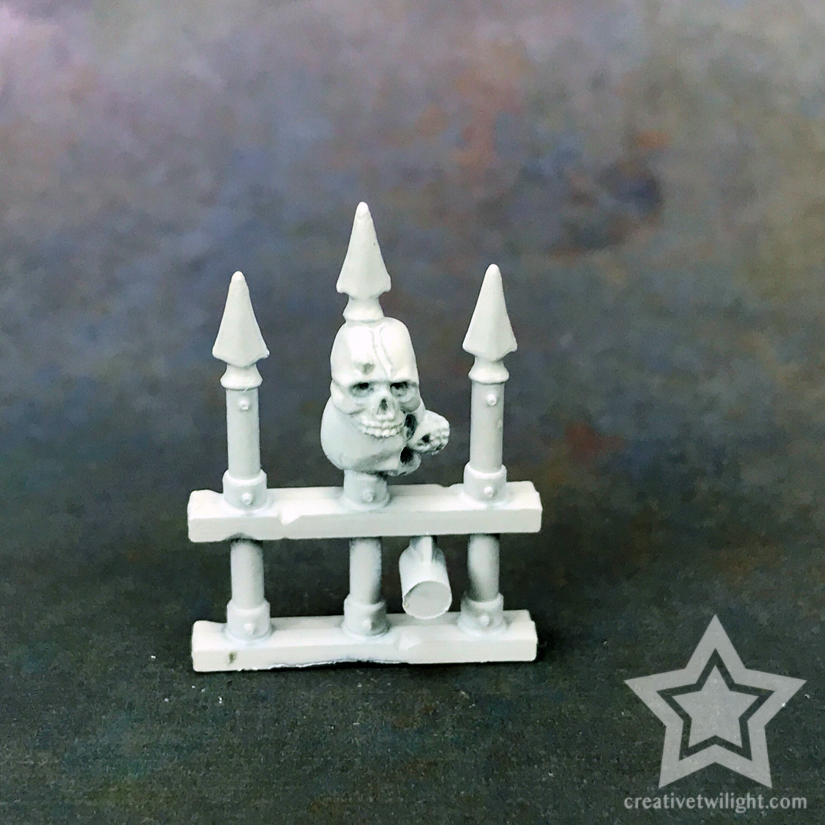
Step #1
Base coat the bone with White Scar.

Step #2
Now, I take Administratum Grey, thin it out, and apply it like a wash to the recessed areas.

Step #3
Now to start some deeper shading.
I do the same thing as step #2, but this time using Eshin Grey. I stick to the areas that should be the darkest, not everything.
Step #4
You’ll notice things are a bit sloppy at this point, so I blend the layers out a bit. I use the Administratum Grey to smooth out the Eshin Grey areas, and I use White to smooth out the Administratum Grey areas.
Basically, it’s typical blending stuff, which is often just a lot of back and forth with colors until you’re happy.
Step #5
The final step, adding the white highlight.
I use White Scar and do some selective highlights where the skulls would get the most light. Most of it’s done already since I started with white, so this is mostly more cleanup from earlier shading.
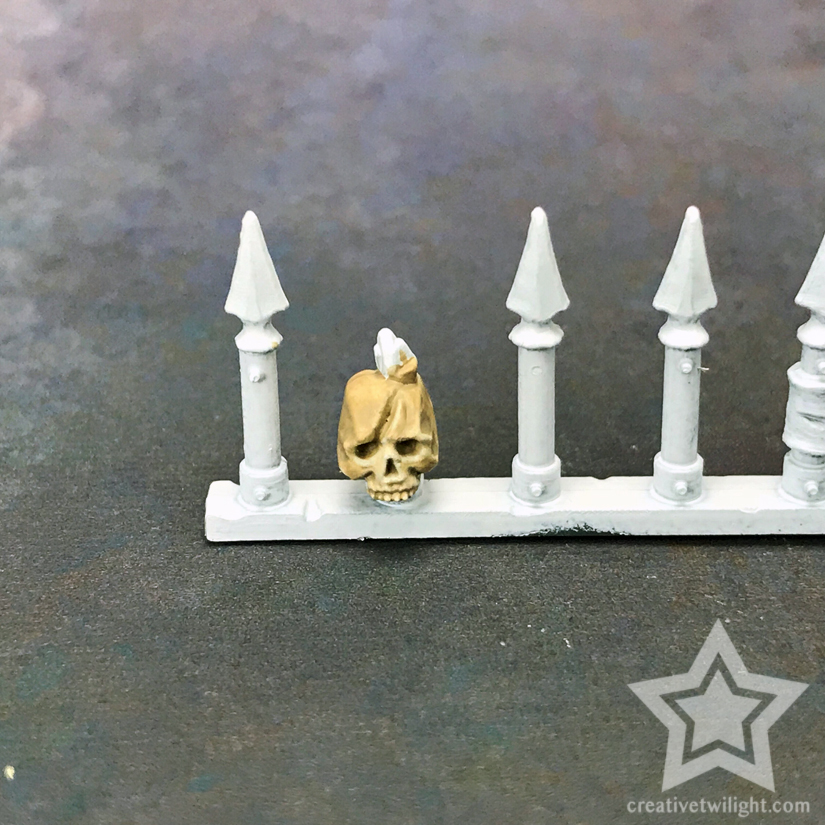
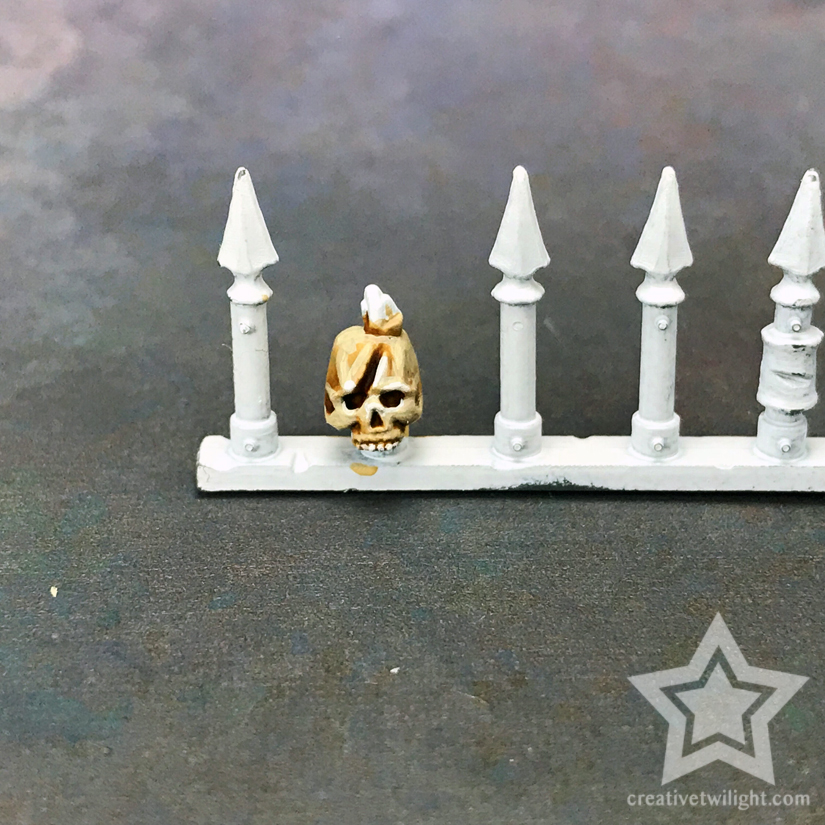
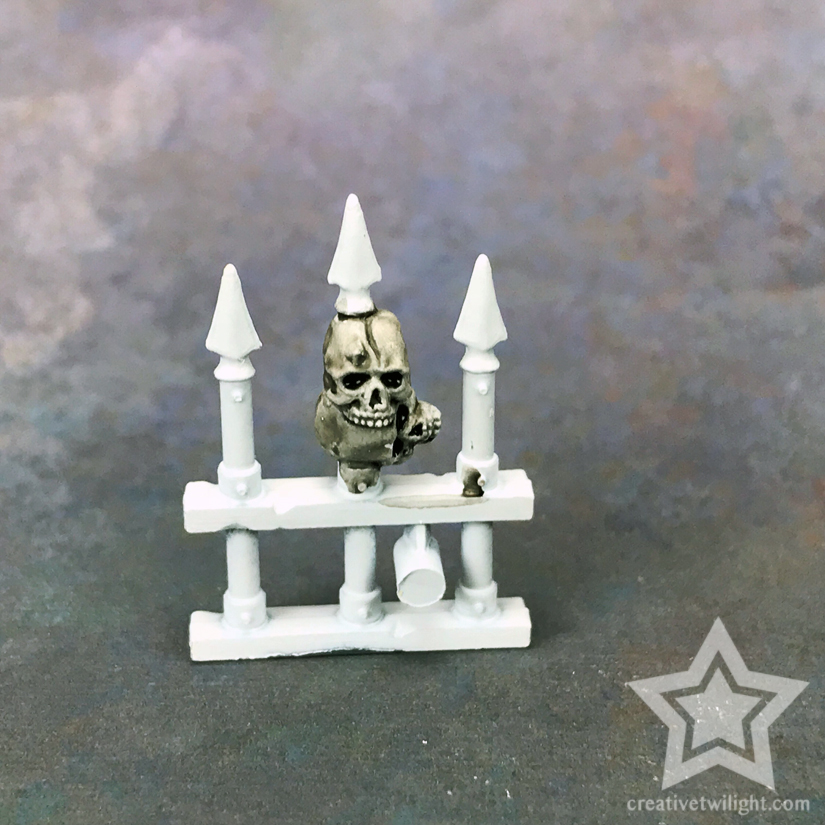
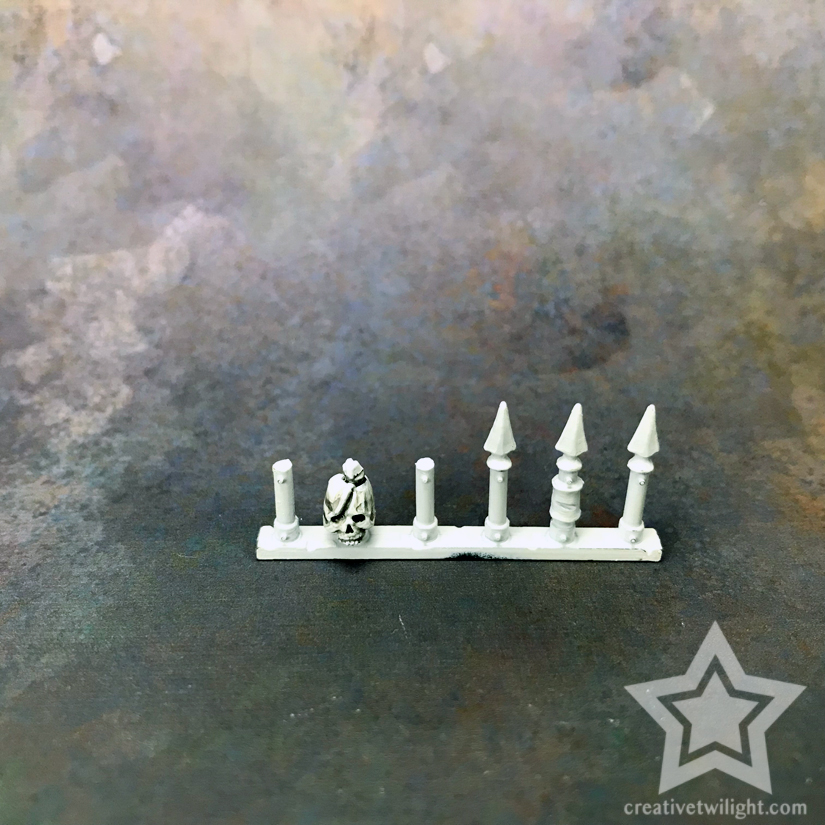
Complete
And a big step back for a better viewing distance.
Conclusion to Painting Skulls and Bones
Hopefully I’ve given you some ideas on ways you can paint skulls and bone for your miniatures. You can certainly follow this exactly, use a combination of these techniques, or just use them as a guide and create your own method.
I tend to use a combination of these techniques as well. I could have easily shown another 3 techniques I use, but I feel that with these 4 as a foundation that you can figure it out from there. There’s no right and wrong way to paint skulls and bones, just whatever suits the model you’re working on.
I should note that having painted over a white primer makes a difference as well. Normally I paint over a black primer, but I didn’t want to have to work up to white from black in this tutorial. Doing these techniques to paint skulls over a black primer gives a much darker tone to the result.
If you have a different way you paint skulls and bone then I’d love to hear it in the comments.
Specific Painting Techniques & Tutorials
Check out these other tutorials covering specific techniques.
I love painting miniatures and teaching people how to paint. I also really love blogging, so I've combined those two passions here.
- Creative Twilight’s Future and My Thoughts (Feedback Welcomed!) - December 4, 2021
- My Top Gift Ideas for Miniature Painters & Hobbyists + Gifts to Avoid - December 2, 2021
- The Year That Was 2020 and Where I’ve Been - January 17, 2021
Looks well, I think I prefer the first two versions. Makes things pop a little more but I suppose it depends on that model.
It really does depend on the model and if you’re aiming for contrast or something that blends in.
Good examples and an easy to follow guide.
I use two different techniques myself.
The first involves (over a white undercoat and my most common go to method) baneblade brown, then laying up to ushabti bone leaving the recesses with the baneblade brown showing. Then some extreme highlights with white {Replacing the white with Zamesi desert when going for older bones} followed by a wash of Agrax.
The second method I use for teeth when it comes to painting larger models. This involves layering and blending zamesi desert into the bone colour at the ushabti stage (I am still working from a baneblade brown base as it creates a wonderful colour for the recesses of the bone) I then wash the area with yellow ink first and then a nice darker shade (usually agrax again) to get the finished look. (Adding in white and grey where appropriate.)
Nice. Yeah, brown makes for a good shade on bone as well. That’s what I was saying, there’s just so many ways to do it. It comes down to personal preference and what you’re after.
They all look pretty good to me. I can see how the various approaches would work better on different projects.
I prefer to work in just one direction, and I always prime black, so I start with getting a decent mid-brown on there like XV-88 or Gorthor brown, and then work up to Screaming Skull. How much effort and how many layers are involved in that working up varies depending on how good the detail is on the skull, how much time I’m spending on the model as a whole, how stark I want to make the lighting seem, and how important the skull is to the final appearance of the model.
I do sometimes use more grey tones, but rarely. In that case, again, I’d start with my darkest tone, but it would probably be Administratum or Celestra grey, and then work up to White Scar.
Coming up from black really makes a huge difference, and it’s what I normally do too. I was lazy and figured priming in white would save me time for this tutorial :)
I’m completely with you on the effort too. Sometimes I do blending on the skulls, other times I layer, other times I wash and call it good, etc.
The reason I work from light to dark, most of the time – not always, is that for blending it’s easier to blend a color darker than lighter. Blending a lighter color over a darker color can be problematic, so I’ve gotten into the habit of starting lighter for base coats.
Yeah, since I do little or no blending, that’s not a concern for me, so working from dark to light works as my default.
The effort comment was, as much as anything, because I’ve been doing a bunch of things on Sector Imperialis bases recently. Some of the detail is pretty good, but the skulls on them are all ridiculously shallow, and the options are pretty much either to phone it in, or to basically freehand it.