Like most miniature painters, I painted leather for miniatures the same way for years and years. That technique was to just use browns, add some highlights, and wash it with more brown.
However, I always saw better painters create a more realistic look to leather with their painting and I admired it. So, one day I decided to try it, loved the results, and am here today to show you how to do it yourself.
Disclosure: Some of the links below are affiliate links, meaning, at no additional cost to you, I will earn a commission if you click through and make a purchase. The commission earned helps maintain this site.
Painting Worn Leather
Getting a realistic look to leather is a lot easier than you think. The trick is to give it a textured look. Real leather wears out in spots, areas that have a lot of contact with things, and lightens up. It can also get worn lines as well from folding in the same spots over and over.
So, those are the things we’ll replicate when painting the miniature and in turn give it a realistic look.
All the paints I use in this technique are from Citadel (Games Workshop).
Stippling or Sponging
The big trick to doing leather is all in the painting technique. So, I want to take a moment to chat about it.
Stippling is creating a layer using small dots. It creates a textured look in our case. To do it, you put some paint on the end of a brush and dot the leather repeatedly.
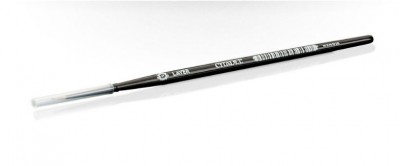
What I’m going to do is use an old worn out brush for the stippling, so I can stab the paint on without worrying about ruining my brush. However, I do have a good brush on hand for the areas that are harder to get.
This brush has worked well for me because it’s still got some softness to it. I previously tried a brush with shorter bristles that was firmer, but I didn’t like the results I was getting.
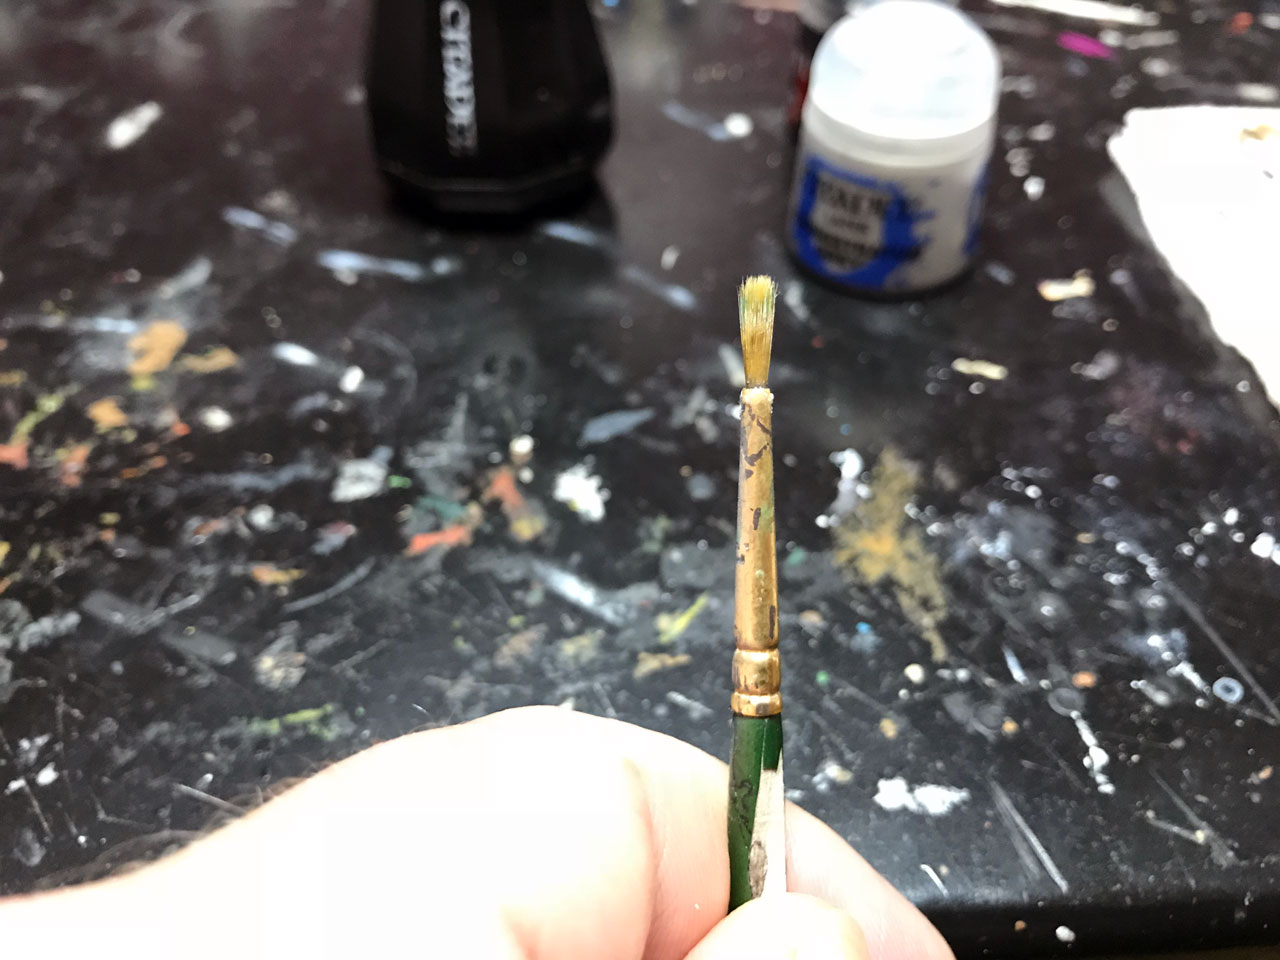
All I do is load the brush with paint, wipe most of it off on a paper towel, and stab, stab, stab! It’s very much like dry brushing, but you stab instead of a brushing motion.
Now, you can do this with a sponge as well. It’s a lot quicker with a sponge because you can cover more area quickly and easily. You just get some paint on the sponge, sponge most of that paint off on a paper towel, then lightly dab the leather areas.
While I love using a sponge for doing leather, the problem with this model is the smaller pieces I’m working on, namely the boots, leather straps, etc.
Note: Some of the pictures below are blurry. I apologize. I’ve taken pictures for this tutorial twice now and there’s always something wrong…
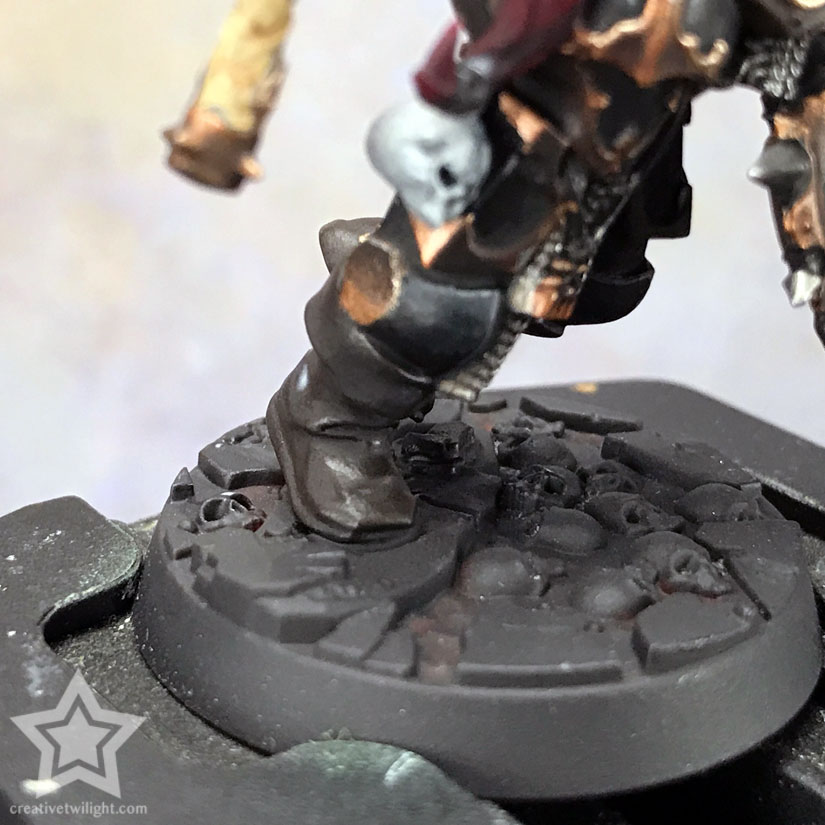
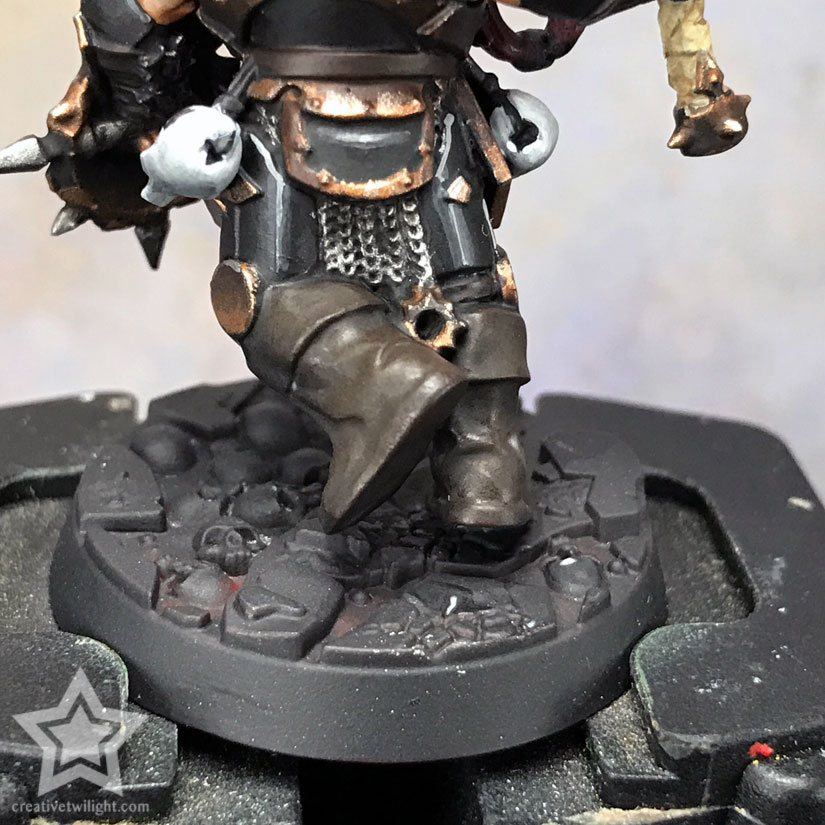
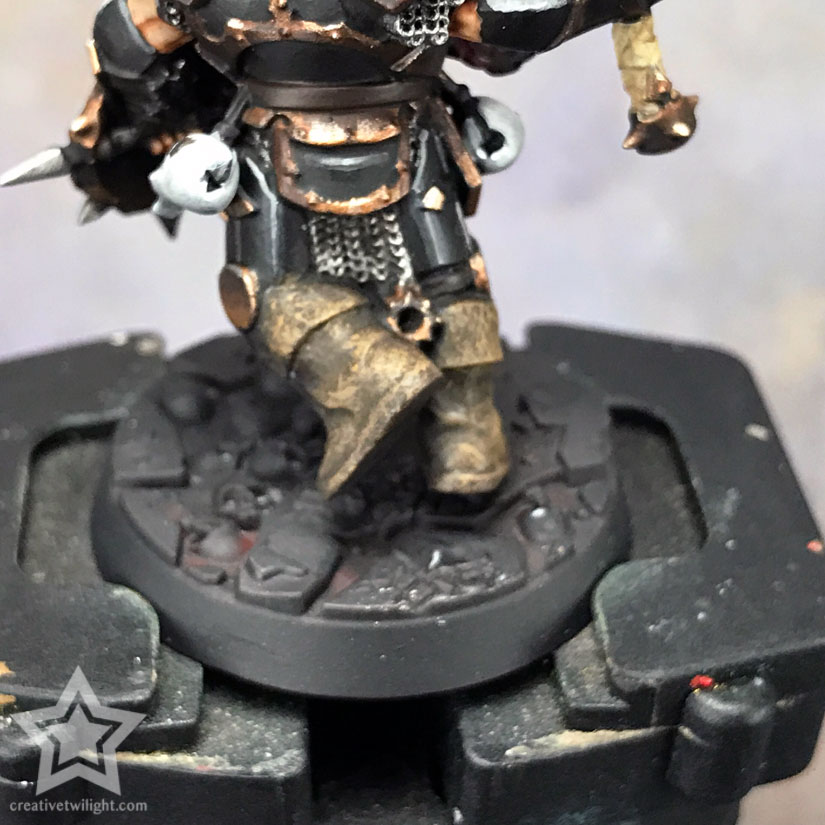
Step #1 – Base Coat + Wash

Simple enough, I just base coat the leather areas and wash it.
In my case, I’m using Rhinox Hide as the base coat and then using Nuln Oil (GW black wash) to wash the Rhinox Hide.
I do put the wash on pretty heavily, which you’ll see below. You kind of have to go heavy with it just because Rhinox Hide over black is pretty dark, so you need to load it up to really see the wash effect.
Base Coat + Nuln Oil Wash
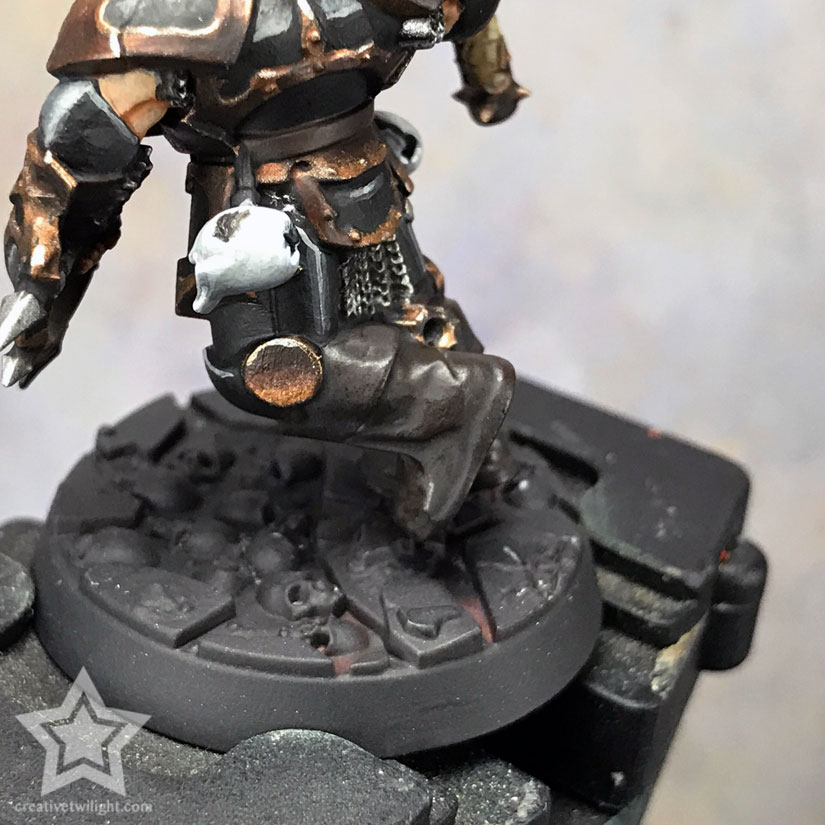
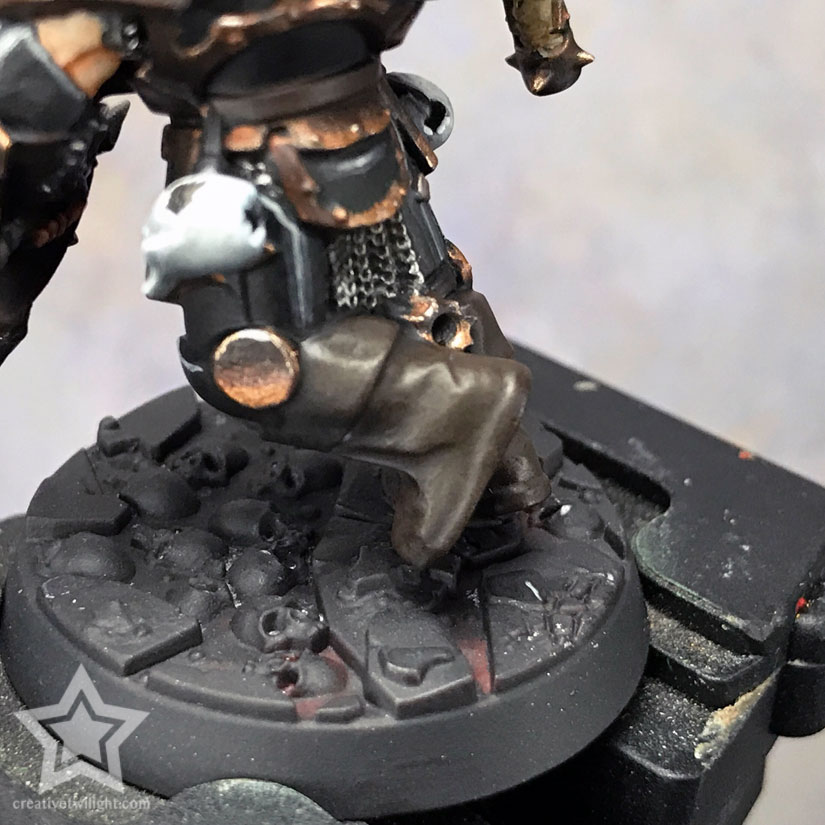
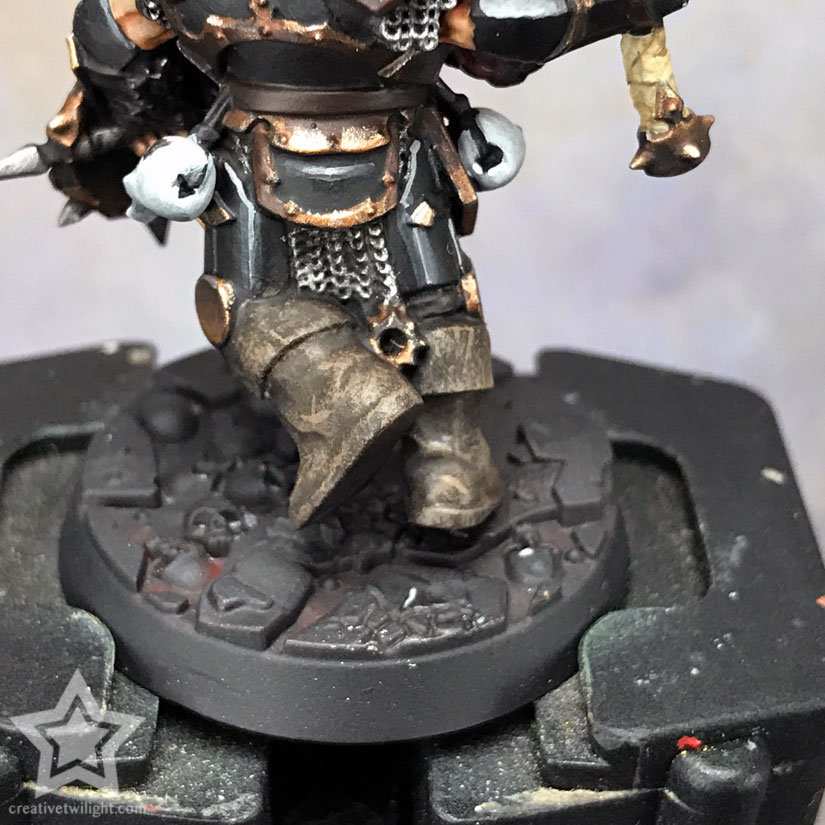
Step #2 – First Layer
This is where I start building up the foundation for the worn leather look.
I take my base coat of Rhinox Hide and stipple the leather in the raised areas and the areas that will get light.
It doesn’t look like much at this point, but it’s all about building up the texture.
As I mentioned above, I also use a small detail brush for the tough spots where I can’t easily get in with the other brush, or a sponge if that’s the route you’re going. I like the Citadel Small Layer Brush, but any brush that gets a fine point will work.
So, for the leather straps around the miniature’s forearm, I use the detail brush and gently stipple with that.
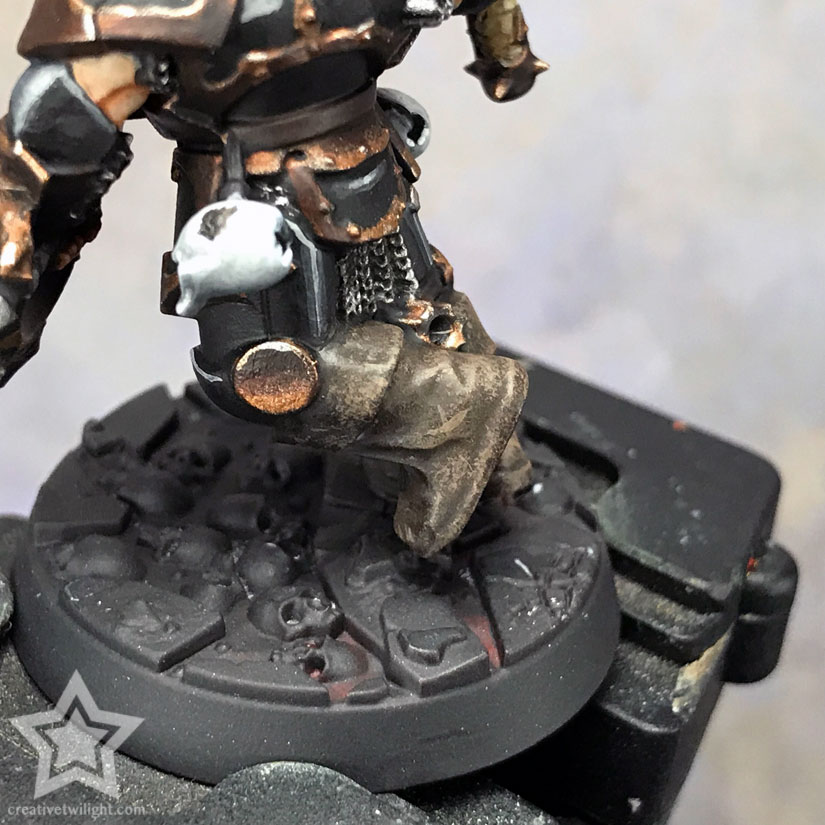
Step #3 – Second Layer/Highlights
This is a repeat of the last step, only using a lighter color and pulling it back a bit.
For this step I use Steel Legion Drab and stick to stippling the raised areas and those areas seeing the most light. I make sure to leave some of the previous layer visible.
I’m careful to go lightly in this step. It’s easy to go overboard with stippling. Start lightly and it’s easy to go over it if it should be brighter.
A tip to fix the stippling if you get too much on there is to go back to the previous color, Rhinox Hide in this case, and stipple over the areas that have too much.
I also create small hatch marks in areas using a normal detail brush. Like I said above, leather will wear lines into itself, so I’m selectively adding those worn lines and focusing around areas where the leather would either fold a lot, or brush against something.
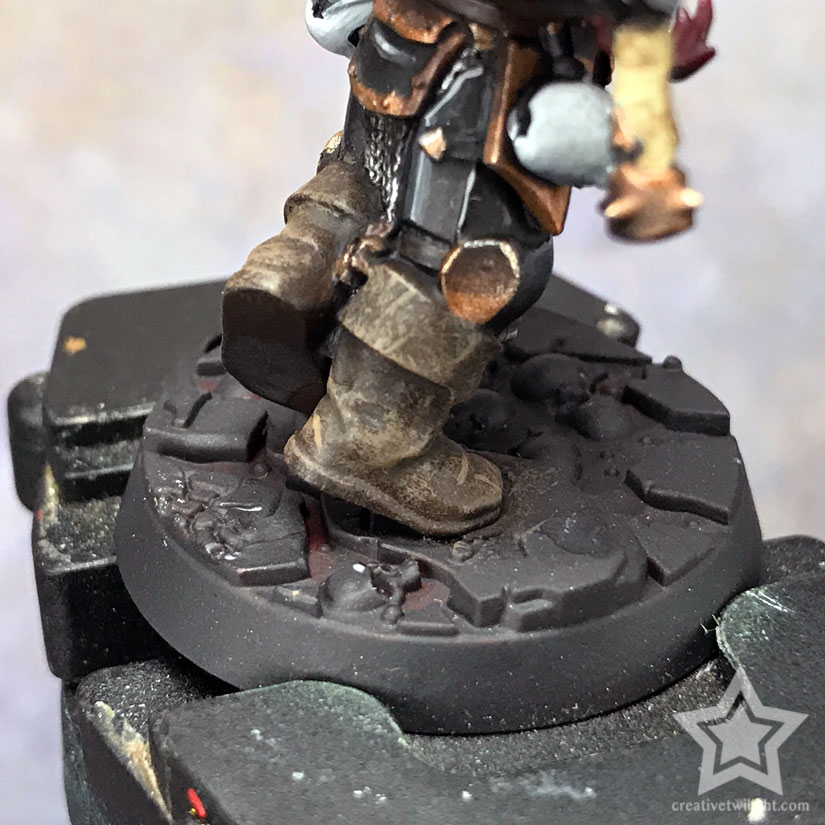
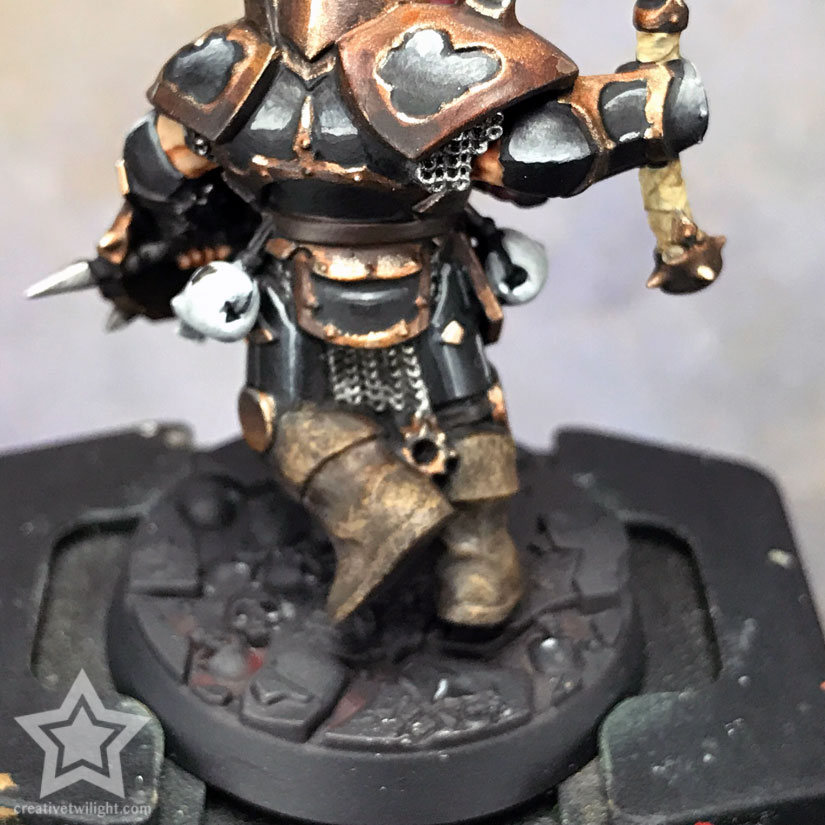
Step #4 – Third Layer/More Highlights
The final layer and more of the same.

In this step I’m using XV-88 and I focus only on the spots that get the most light.
This is the final highlight, so I do this selectively to push the contrast a bit and really sell that worn look.
Again, I take it easy to not go too bright.


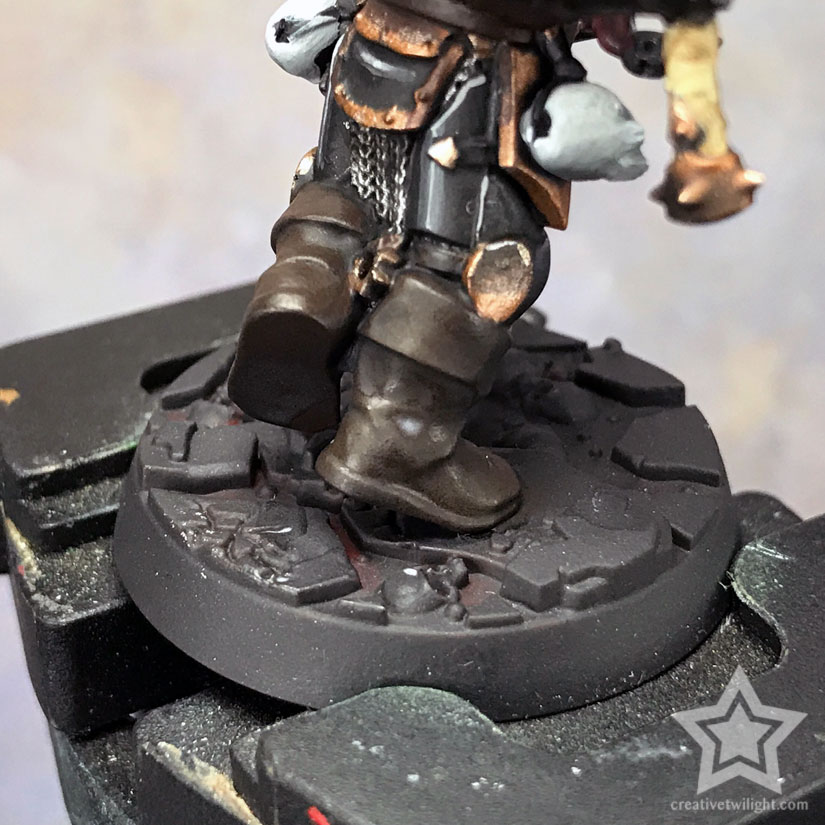
Step #5 – Glazing/Complete
This step is optional. If you like the look of what you’ve got after the last step, then leave it there and call it done. I, however, like to pull those previous layers back down to the same tone as the base coat.

All I do is take some Lahmian Medium and mix it in with my base color of Rhinox Hide. I use a ratio of 4 parts Medium to 1 part Rhinox Hide. I’m aiming to tint, not wash.
I load my brush, but not too much as I’m glazing and not washing, and lightly go over the leather.
This glaze will tone down the previous layers a bit as I find it’s too strong of a contrast otherwise. Worn leather tends to be very dull, so you don’t want too much contrast – in my opinion anyway.

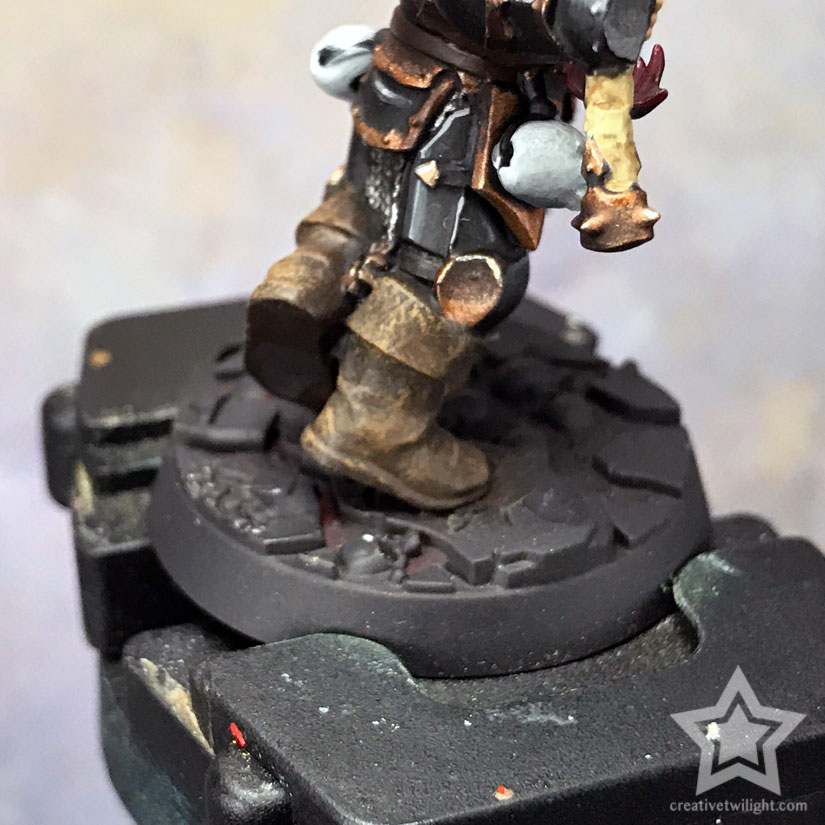
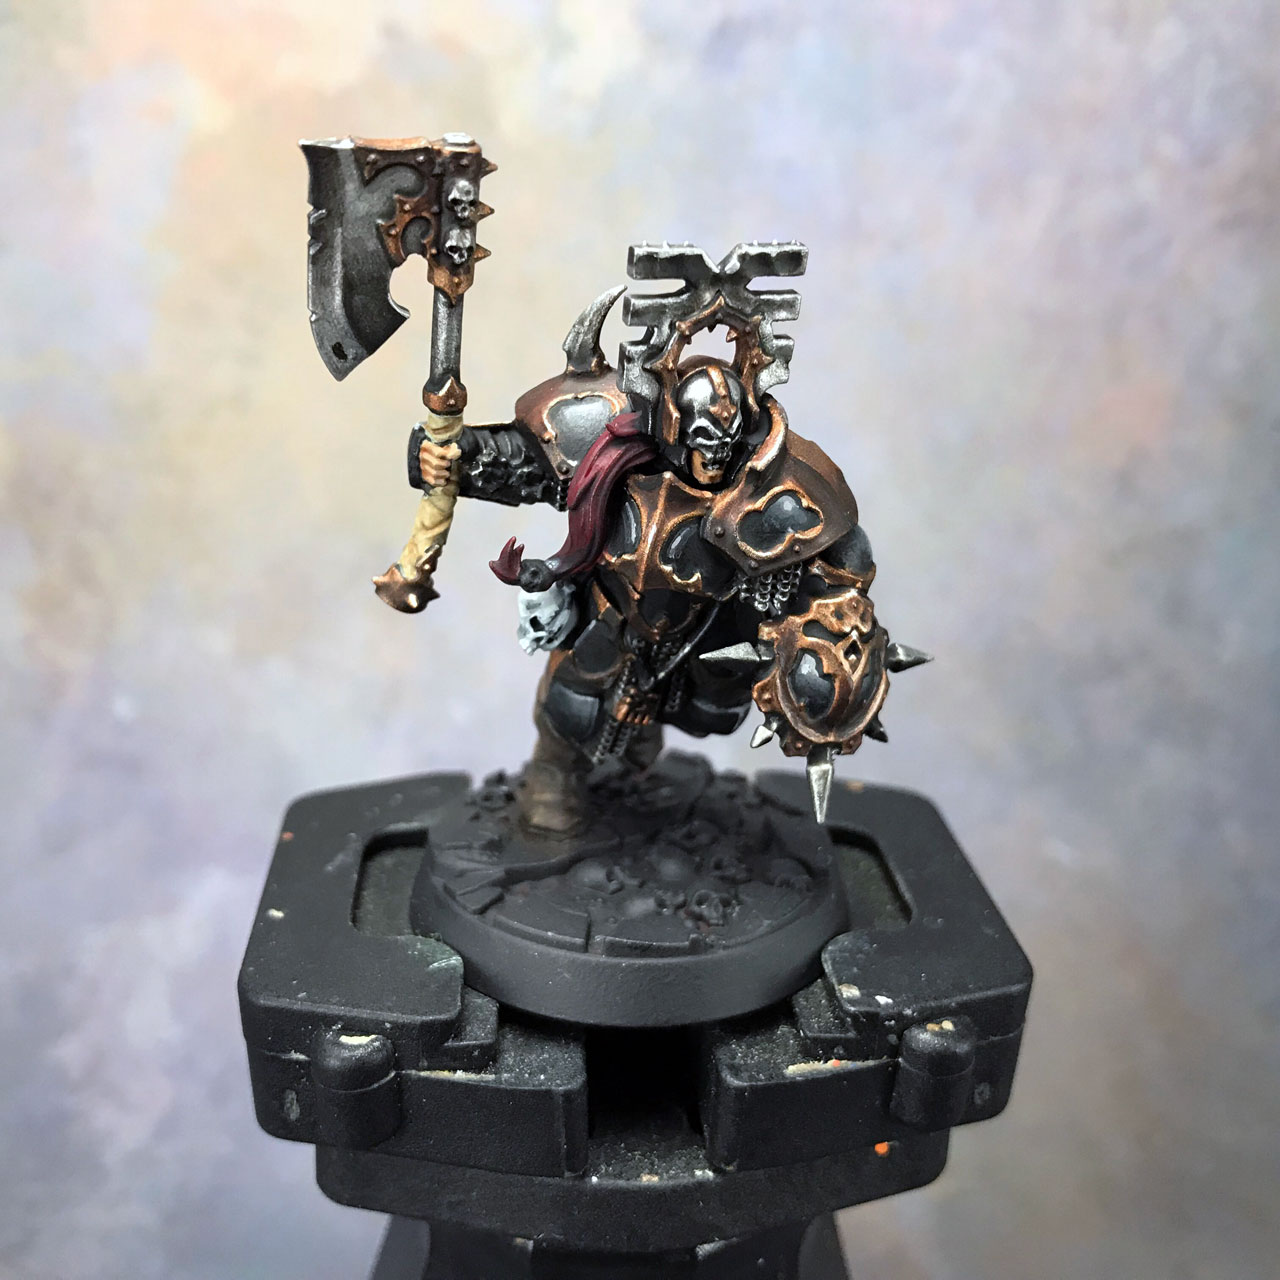
That’s it. It’s done!
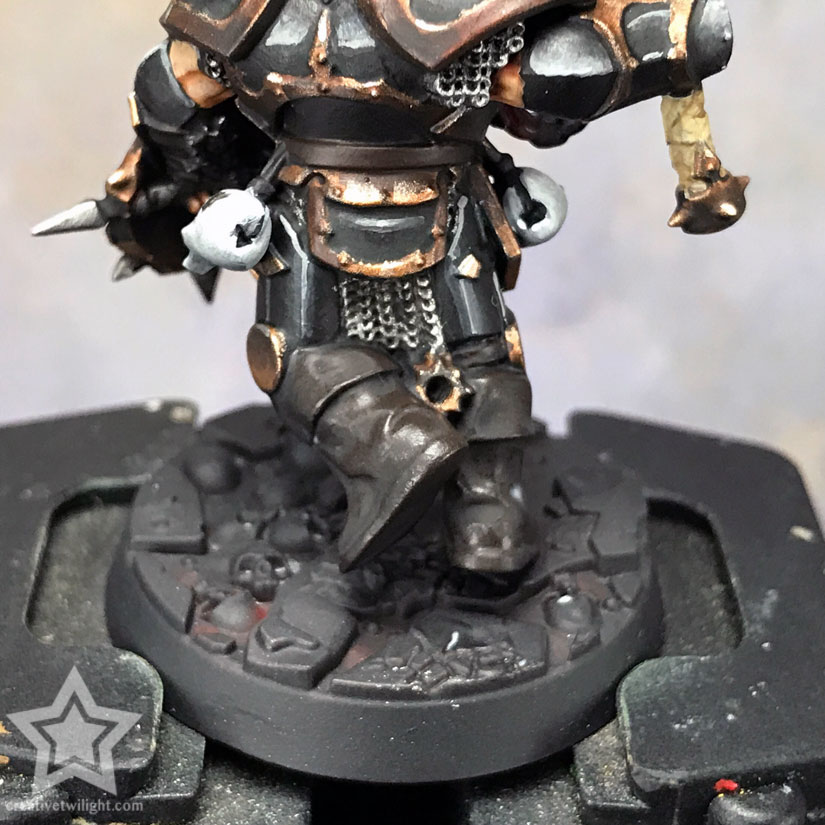
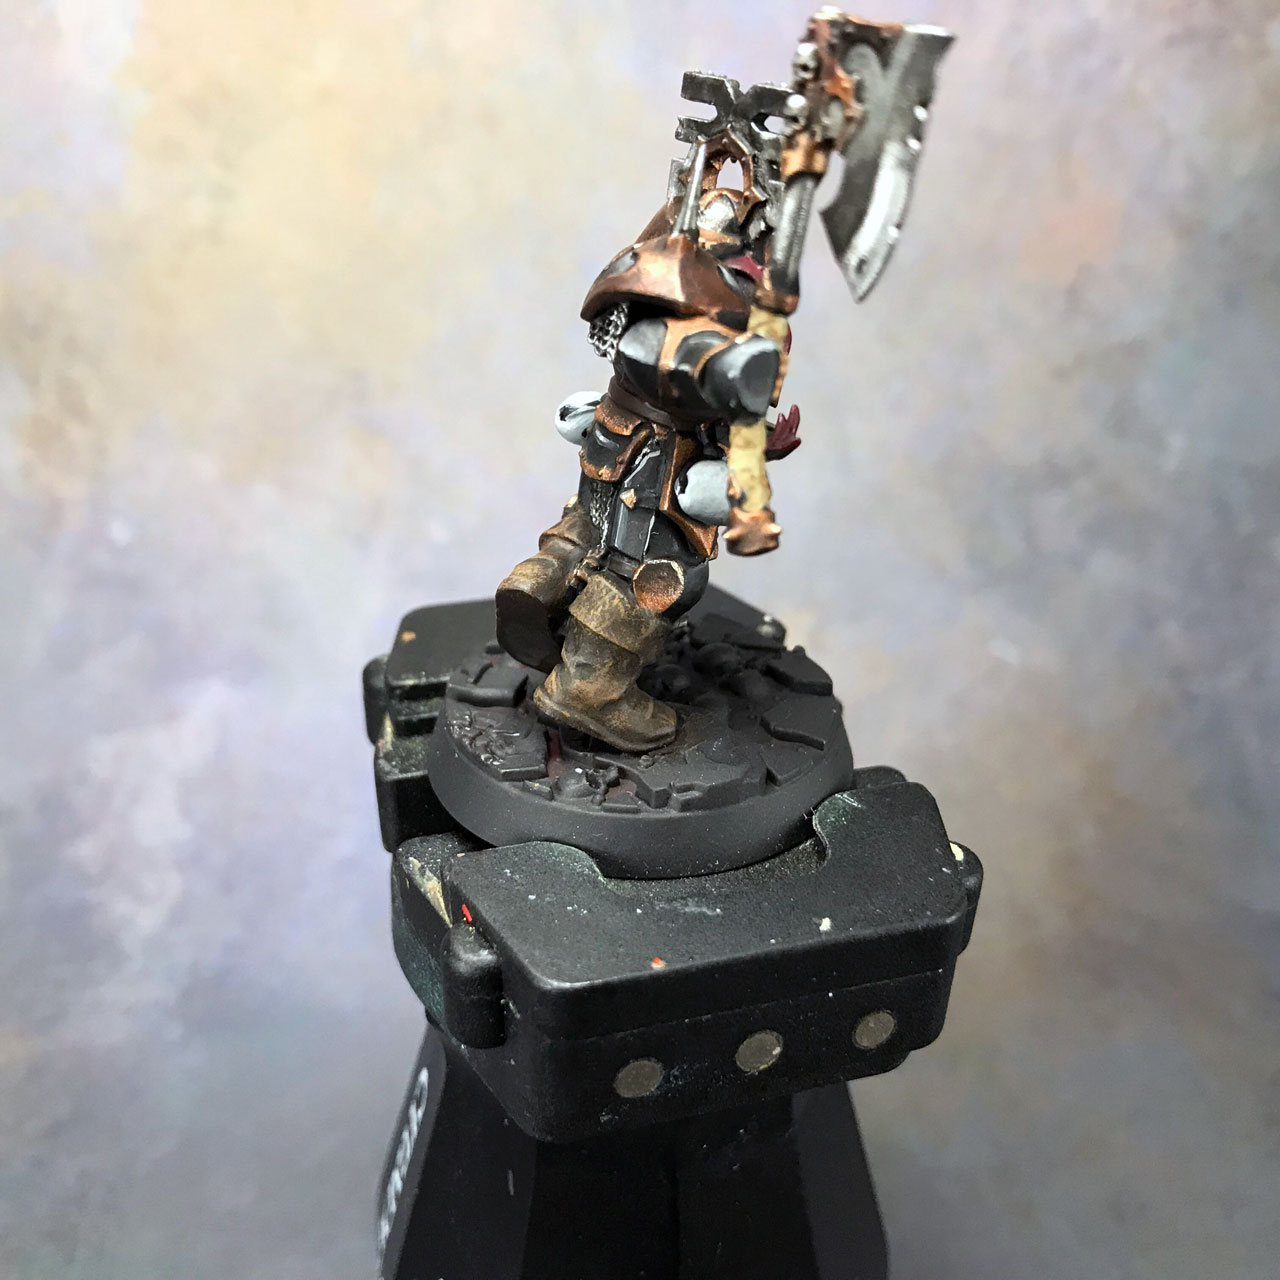
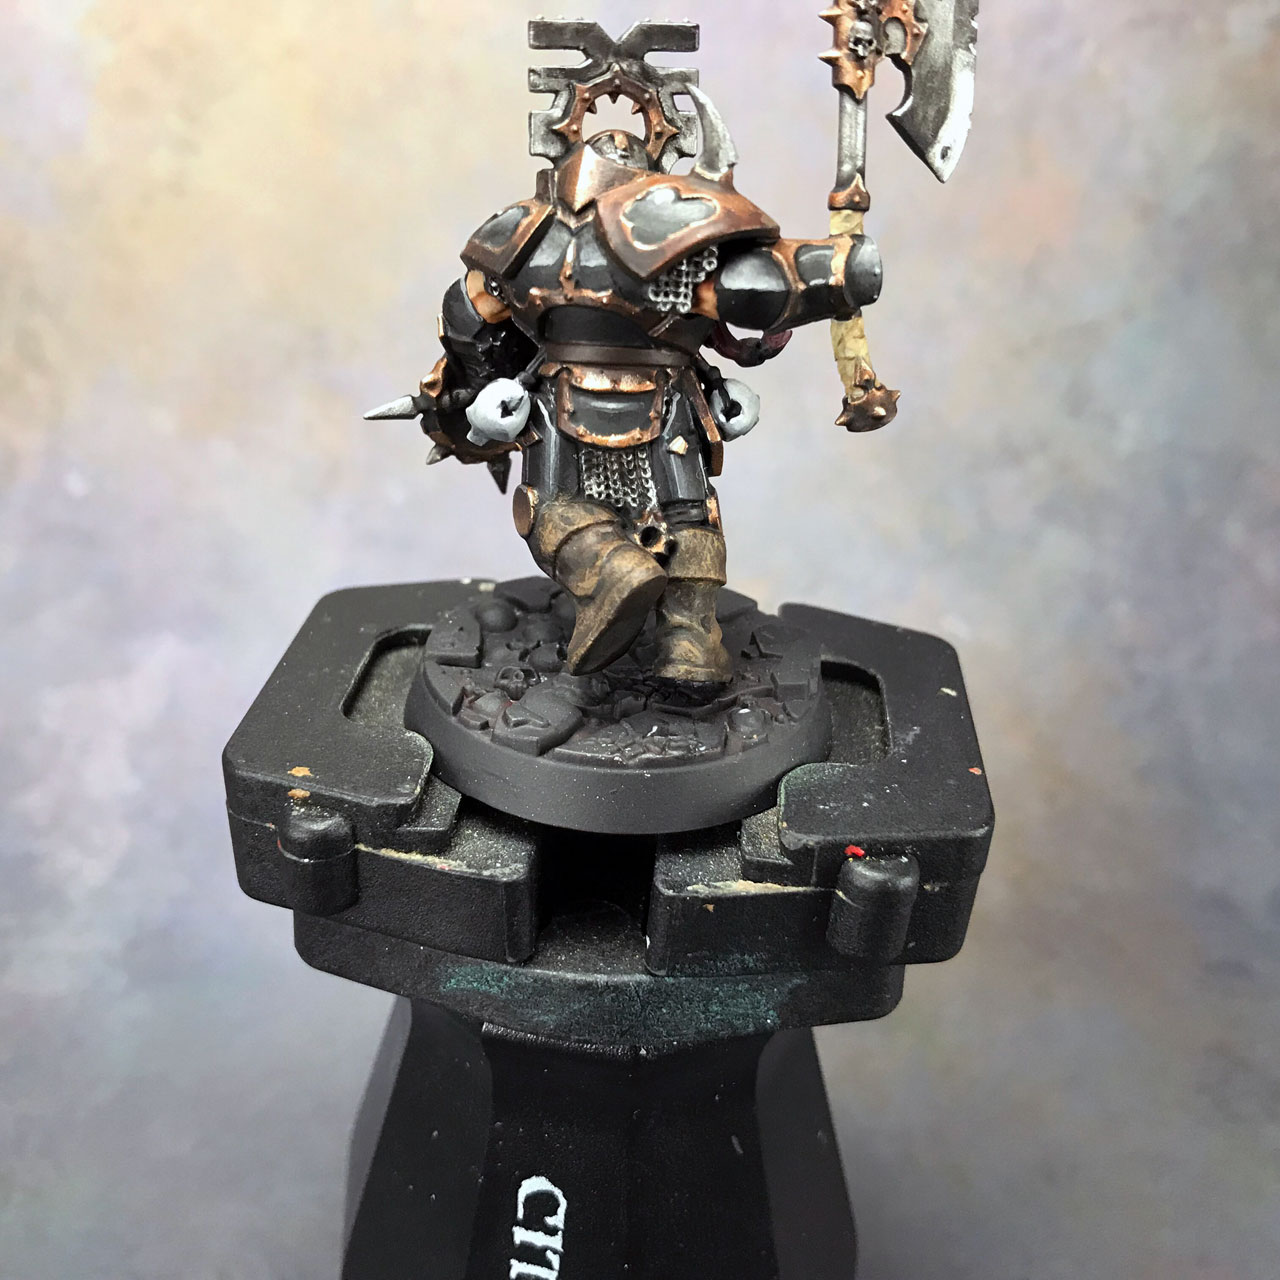
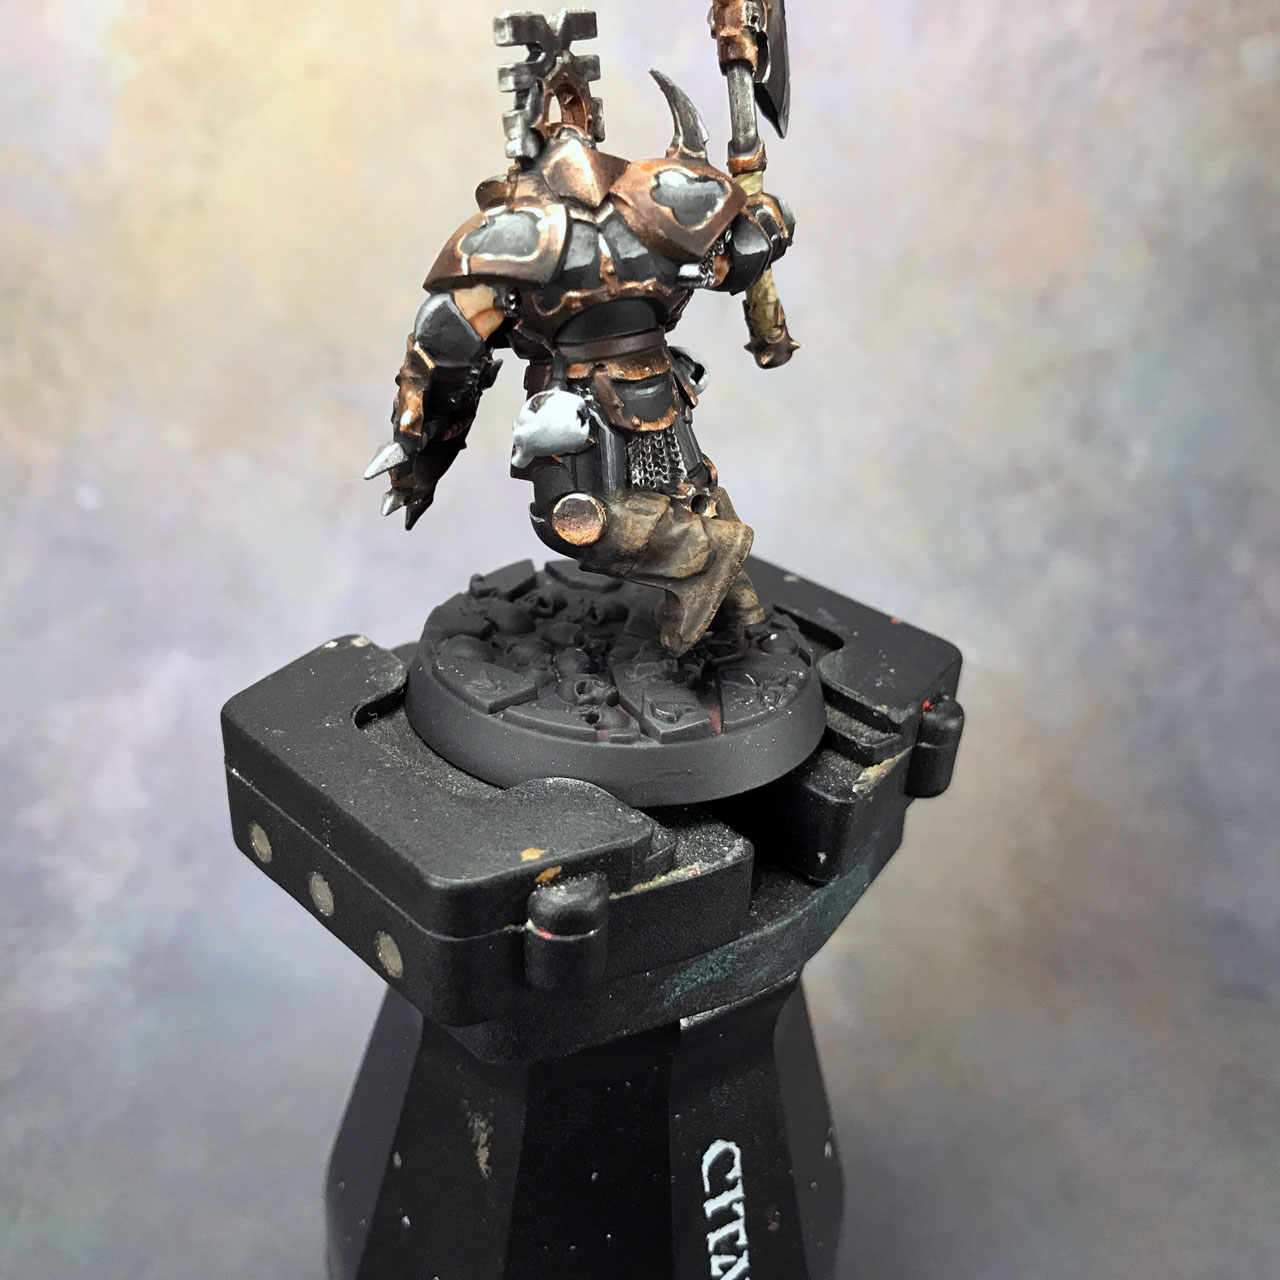
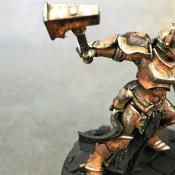
Here’s some zoomed out so you can better see how it looks on the table.
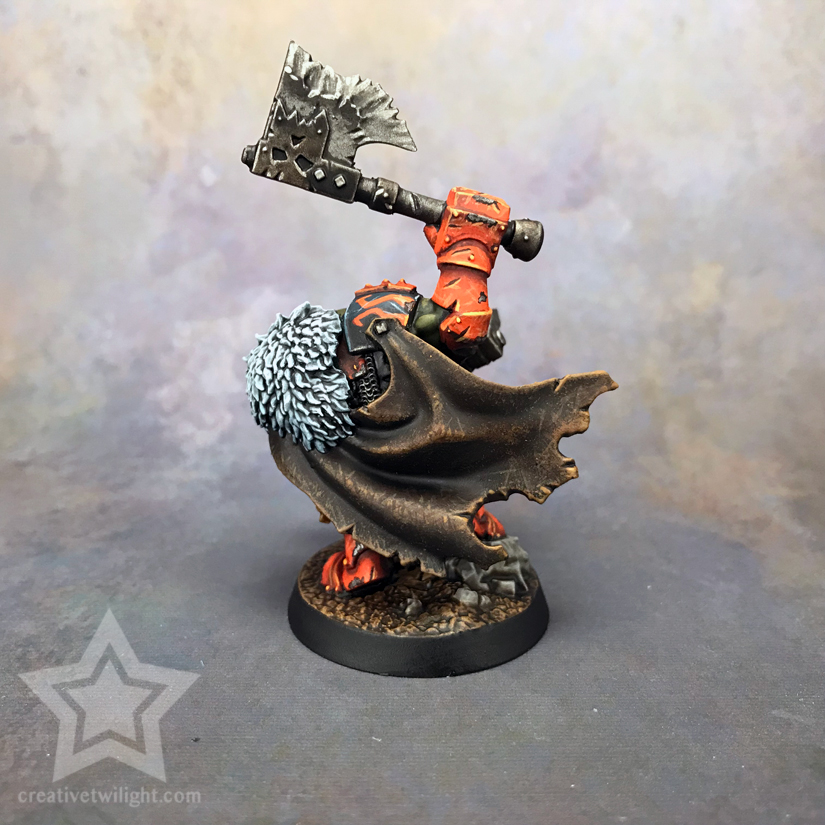
Here’s a shot of another model I did this on. The only difference on this Orruk’s cloak is I used a sponge since it was a big surface and I didn’t have smaller leather areas to do.
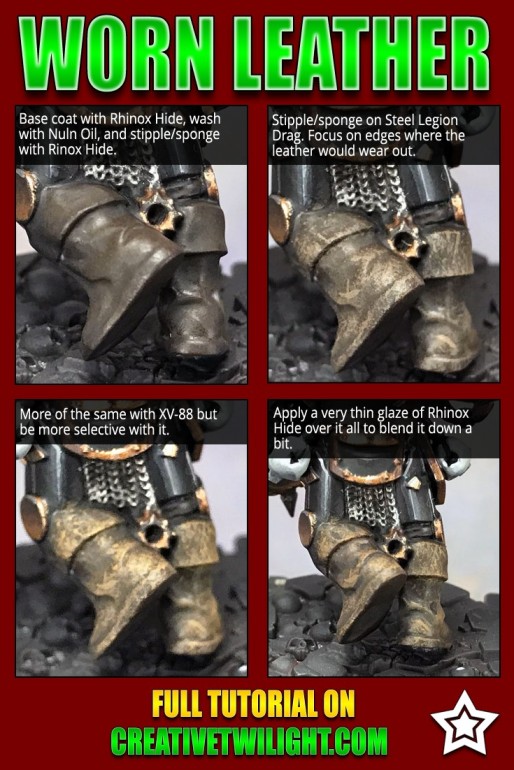
Quick Reference Chart
Here’s a chart for reference if you’d like to save it.
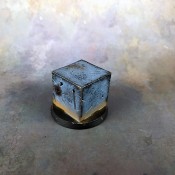
Another Example (Stippling)
Admittedly, I like look with sponging more than stippling. I was also a lot more selective in the pattern too, giving a higher contrast than the boots above. Plus, I think it’s just easier on a larger surface.
Leather Straps
Leather straps are a bit different than larger leather areas. The wear on them happens differently.
Here’s a good tutorial from Kujo Painting on how he does leather straps.
You’ll notice that Kujo does his leather differently than I do, the cap, so if you’re interested in his technique then check that out.
Conclusion
This process is still new to me, and I’m sure I’ll refine it over time, but I do think the results are good. It’s certainly better than my usual of base coat + wash, that’s for sure.
You could certainly go lighter than I did, as I was a bit heavy in some of those steps with the stippling, and get a look much closer to the sponged technique. Also, you can stipple with a layer brush, gently as to not ruin the tip, and get way more control over the process. It looks great but does take longer.
The goal here is to get you on the road to creating some cool worn leather, not to define the process precisely.
Also, you don’t have to use the colors I did. Leather comes in various shades and colors. I stuck to darker tones to fit the model, not because leather has to be a dark brown. You can do lighter browns, grey, even black. The technique is the same no matter what: stipple/sponge progressive lighter layers.
Hopefully you found this useful, and if you have your own technique for leather then I’d love to hear it.
Be sure to check out our other painting tutorials, and I also have a good article on ways to become a better painter you may find worthwhile.
Specific Painting Techniques & Tutorials
Check out these other tutorials covering specific techniques.
I love painting miniatures and teaching people how to paint. I also really love blogging, so I've combined those two passions here.
- Creative Twilight’s Future and My Thoughts (Feedback Welcomed!) - December 4, 2021
- My Top Gift Ideas for Miniature Painters & Hobbyists + Gifts to Avoid - December 2, 2021
- The Year That Was 2020 and Where I’ve Been - January 17, 2021
Nice tutorial Thor. I’ll be sure to try it out.
Thanks! I feel like I’ll end up updating this over time as I get better with it, but thought I’d share what I’ve learned so far.
Nice work! I wasn’t sure about it at the penultimate stage, but then that final glaze really pulled it all together.
Thanks.
I love glazes for just that reason, to pull colors back together. It’s hard to always get tones just right, but a glaze will smooth it all out later.
Lovely tutorial. Added to my favorites for later reference. Cheers.
Thanks.
The next time I have something I can do the sponge leather on I’ll update this to include that as well.
Excellent! Thor the cloack is is jawdropping, must steal your technique (but I’m not patient, like you sadly, I think I’ll splat a liter of paint on them as usual). Am I lost the Showcase of the Khorne white boy? I’ve a bunch of them on my desk staring at me, but I’m wondering if I’m going to paint them.
Thank you.
It doesn’t take a lot of patience. Really it’s just a few layers of paint with a sloppy technique.
The Khorne white boy?
The main character of the tutorial! Clearly it’s not white!
Oh! I finished painting him but I haven’t taken pictures yet. I’m waiting to get the entire warband done first.
It seems impressive from the teaser, but I think it could be tricky to catch a picture that shows fully his beauty, I’ll gladly wait the full warband.
I’ll have to get them all setup in my lightbox. I had tried some pictures at my painting desk while working on him and they looked terrible.
Wow these tips are amazing! Gonna use this on my next leather piece. Do you use for straps or is it too thin to bother?
Thanks!
I did, but it’s definitely not as distinct on the straps. It does work well on larger straps though, like a shoulder strap that’s way more obvious.
I do want to add to this when I do a strap though, as they are a bit different. The big difference with straps is they get more hatch marks, the light lines. Basically, draw some lines perpendicular to the straps, from the center towards the edges, to indicate wearing from being bent, curved, etc.
It’s tricky to explain, which is why I need to add that in here.